
This Karioka Recipe is a quick and easy-to-make Filipino dessert made of delicious sticky rice balls coated with a sweet caramel sauce. It's a simple yet crunchy-sweet-chewy texture and one of the addicting street foods in the Philippines!
Looking for more Filipino desserts? Try my Steamed Taro Buns, Biko (Sweet Sticky Rice), Ice scramble, Filipino Fruit Salad, or Kamote Turon (Sweet Potato Spring Rolls)!
Jump to:
What is Karioka?
Karioka or Carioca is a sweetened deep-fried sticky rice ball made of glutinous rice and coconut milk dough mixture then dipped in a coconut and sugar mix sauce.
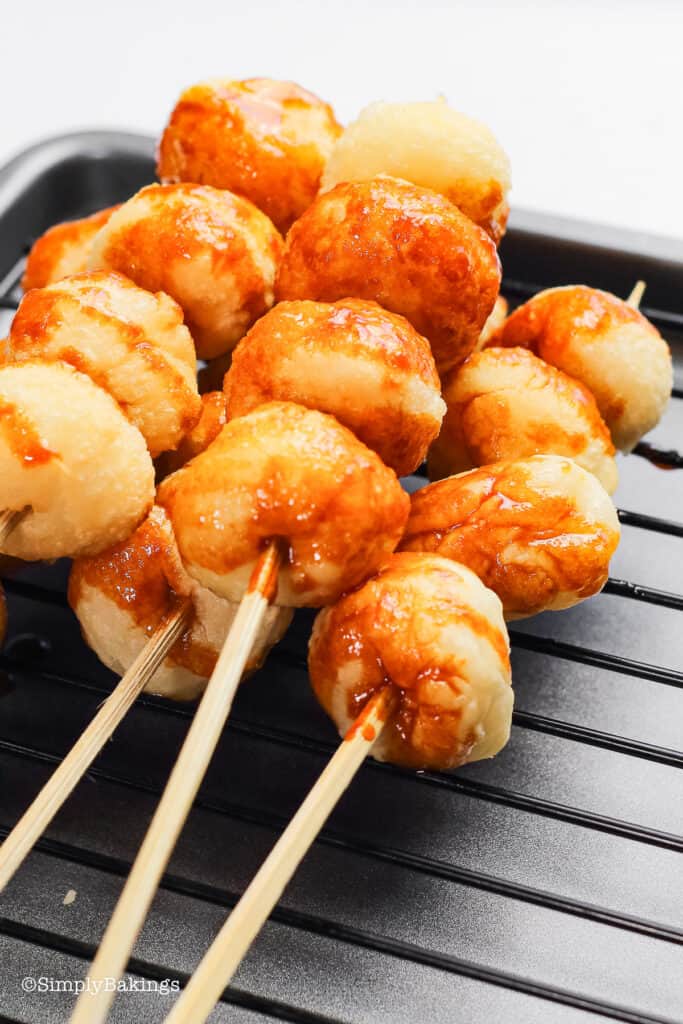
They are usually served skewered on a thin bamboo stick or individually as snacks or dessert. This is definitely one of the delicious sweet treats that you can find in the Philippines.
This carioca recipe is so quick and easy to make, amazing and addicting! No wonder that this is one of the Filipino family-favorite dessert recipes. Give this a try!
Health Benefits of Glutinous Rice Flour
- Easy to digest, making it suitable for sensitive digestive systems.
- It's gluten-free, ideal for those with celiac disease or gluten sensitivity.
- Rich in carbohydrates, it provides a quick energy boost.
- It contains resistant starch, promoting gut health by supporting beneficial bacteria.
- Low in fat, it helps manage fat intake.
Substitution
- You can use sweet rice flour, also known as mochiko, tapioca flour, potato starch, coconut flour, cornstarch or other gluten-free flours, instead of glutinous rice flour. It's easy to find at Asian grocery stores or from online vendors.
- Instead of a regular sweet sauce, coat your fried rice balls in a brown sugar glaze. Simply mix light brown sugar with a little water and cook until thickened.
Variations
- Instead of frying, bake the balls for a lower-fat option.
- For a twist, try adding grated coconut to the dough for extra flavor.
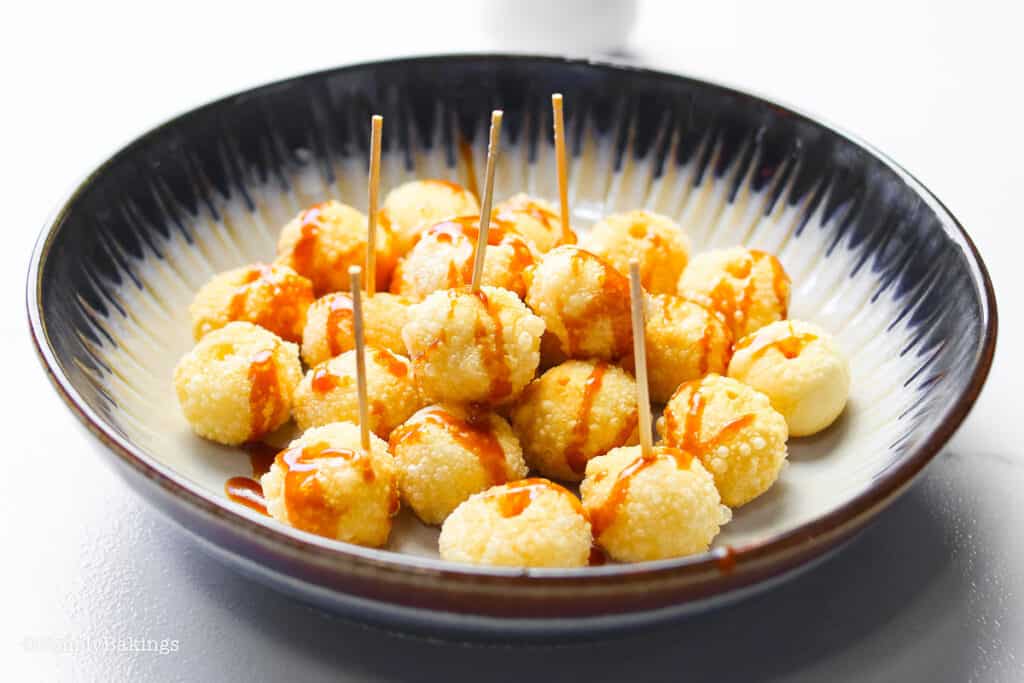
- Serve the Karioka balls on a decorative platter with toothpicks for easy eating.
Storage
You may store them at room temperature for about 1 to 2 days or cover them loosely with film and refrigerate for about 5 to 7 days. However, the cold temperature will change the texture from chewy to hard one.
Top Tips
- If the flour and coconut milk dough mixture is too sticky, add more flour. If it’s too dry, add some coconut milk until the dough is smooth and pliable.
- Poke holes through each ball before frying to prevent exploding in oil and lessen the splattering of oil.
- It is best to eat this dessert immediately but in case there are left-overs, you may re-crisp them by placing them in the oven at 350 degrees for just a few minutes or in a pan over medium heat.
Ingredients
Listed below are all the ingredients you will need:
- glutinous rice flour
- all-purpose flour
- coconut milk
- vegetable oil
Instructions
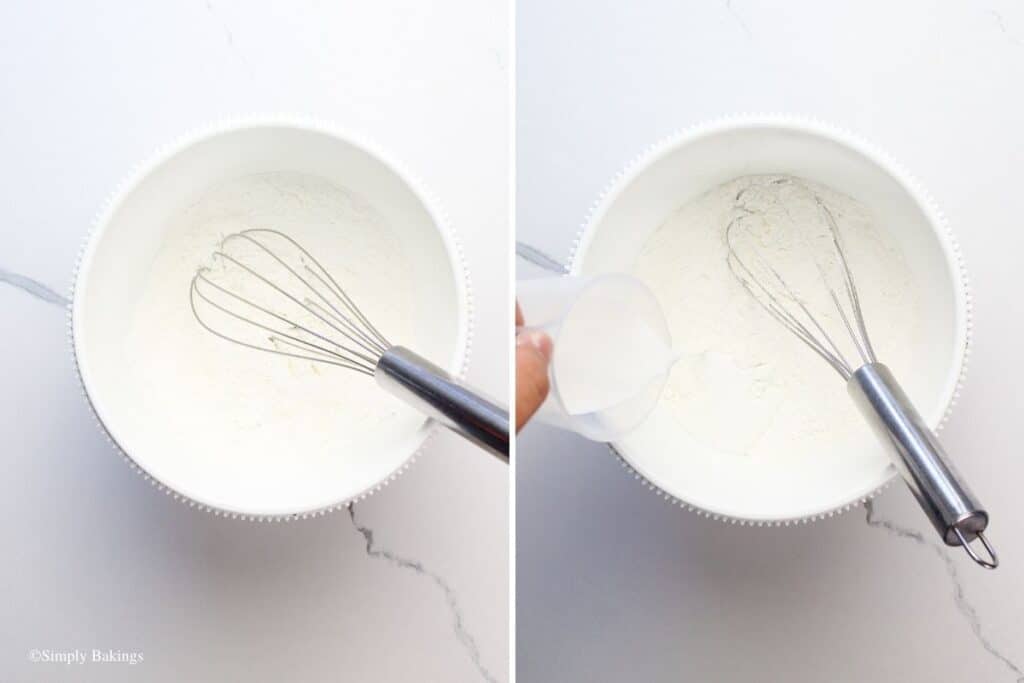
In a large bowl, whisk together glutinous rice flour and all-purpose flour. Next, slowly stir in the coconut milk until a dough is formed:
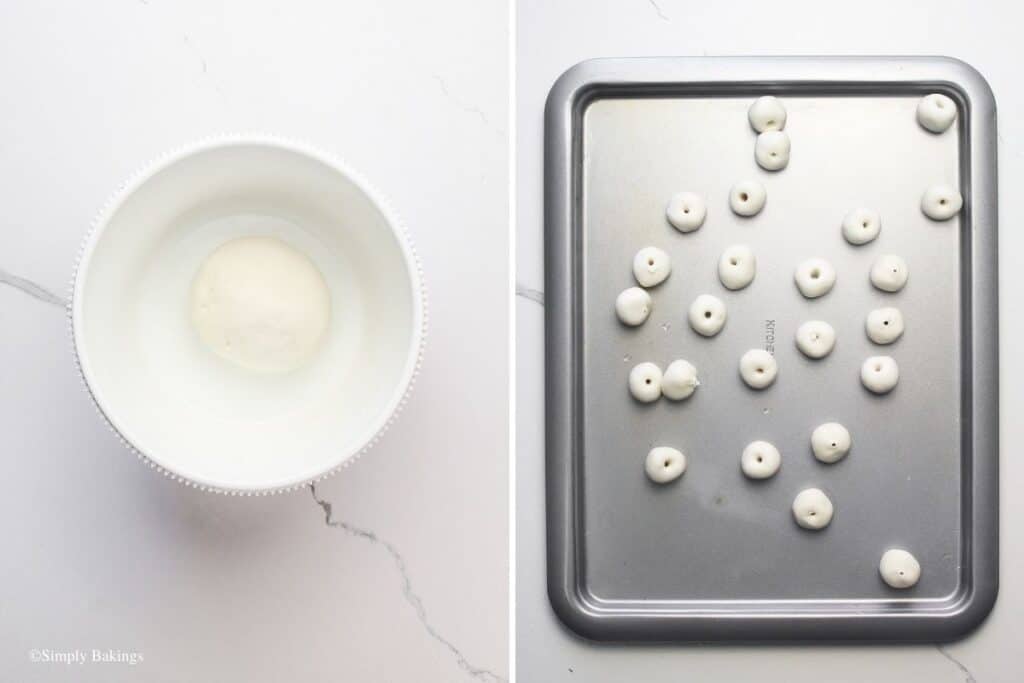
Then knead the dough for 3 minutes or until smooth, allow the dough to rest for 5 minutes. Scoop out 10 grams of the dough mixture and form it into a ball. Using chopsticks, poke a hole in the dough balls before frying:
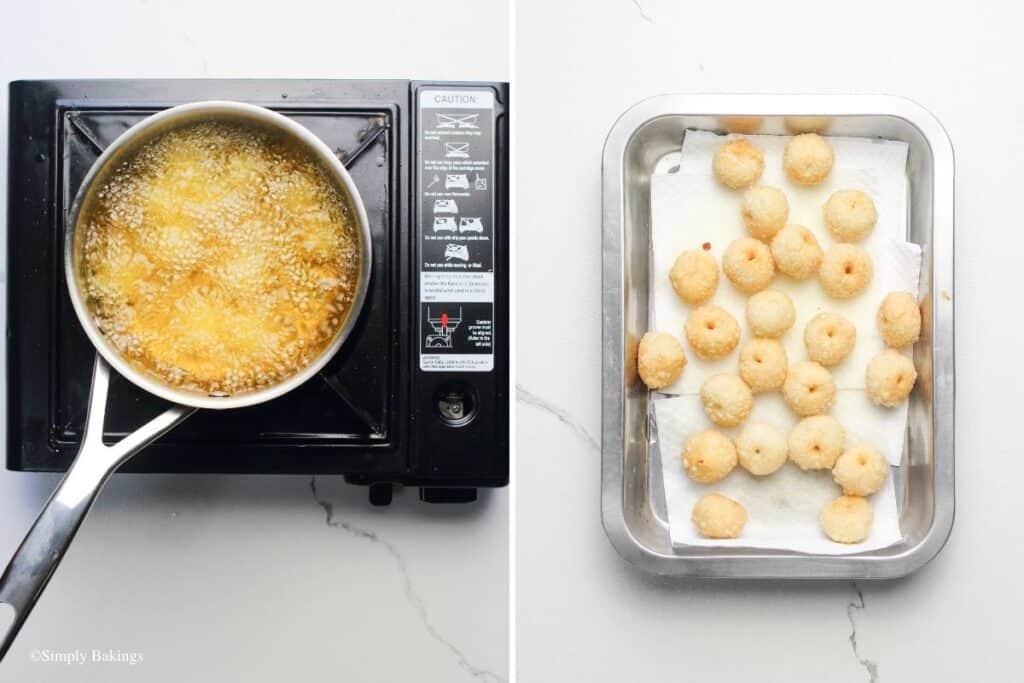
In a deep pan over medium-high heat (330 degrees Fahrenheit), add about 3 inches of oil and fry the karioka small balls. Fry in hot oil for 2 minutes or until lightly brown and crisp (Karioka balls will float to the top when cooked).
Remove with a slotted spoon and place on a plate lined with paper towels to drain excess oil:
Drizzle or dip the Karioka balls until fully coated with your favorite sweet sauce. Skewer in bamboo skewers if desired:
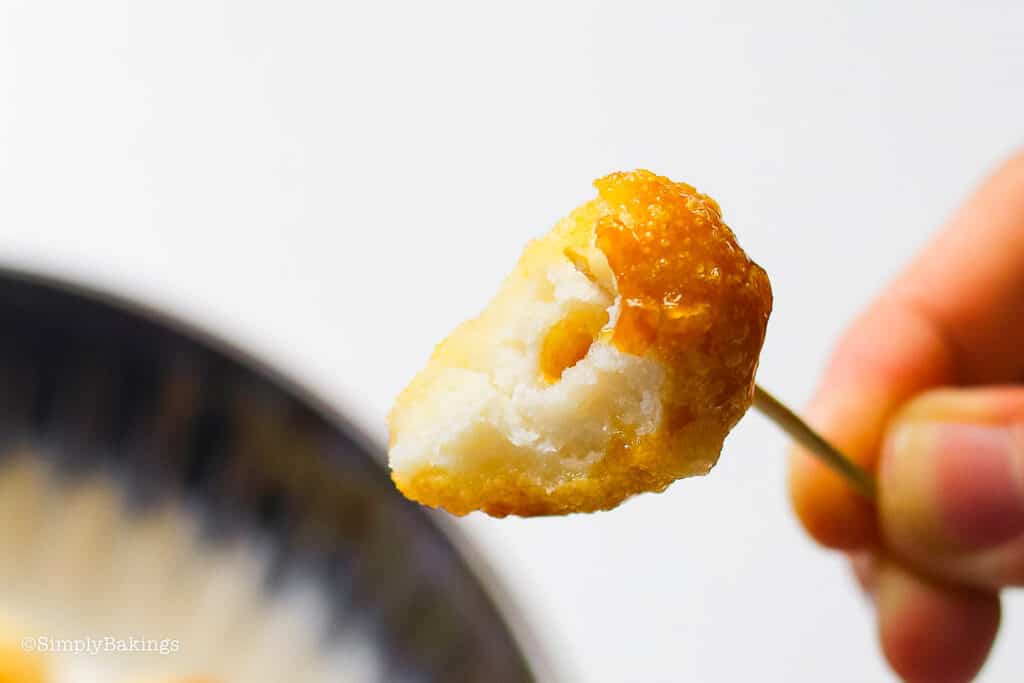
Enjoy these amazing karioka with your favorite drink for a snack or dessert! It looks so "masarap!" (delicious!). Yum!
Check out also my latest Filipino snack recipe, Pitchi Pitchi!
Frequently Asked Questions

Karioka Recipe
Ingredients
- 1 cup glutinous rice flour
- ½ cup all purpose flour
- ½ cup + 1 tablespoon coconut milk
- vegetable oil for frying
Instructions
- In a large bowl, whisk together glutinous rice flour and all-purpose flour.
- Next, slowly stir in the coconut milk until a dough is formed.
- Then knead the dough for 3 minutes or until smooth, then allow the dough rest for 5 minutes.
- Scoop out 10 grams of the dough mixture and form it into a ball.
- Using chopsticks, poke a hole in the balls before frying.
- In a deep pan over medium heat (330 degrees Fahrenheit), add about 3 inches of oil and fry the karioka balls.
- Fry for 2 minutes or until lightly brown and crisp (Karioka balls will float to the top when cooked).
- Remove with a slotted spoon and place on a plate lined with paper towels to drain excess oil.
- Drizzle or dip the Karioka balls until fully coated with your favorite sweet sauce.
- Skewer in bamboo skewers if desired.

Maricris Olanday says
Hi! Are you sure about the ratio of dry to liquid ingredients? Because I tried making it, it was to runny. I ended up adding way too much glutinous rice powder and apf. I just split it half and also made ginataang halohalo.
Julius says
Have you tried again Maricris? I believe the measurement has been updated.
LoHa says
Same as the other person who commented that the dough is too runny. you can even form balls, only blobs and its bot thick enough to keep a hike in it with a chopstick. Please update your receipe.
Lainey says
Hi LoHa, we are so sorry about that! We double-checked the recipe and updated the measurements.
Claire M says
This Karioka recipe is fantastic! The sweet, chewy rice balls with caramel coating remind me of my childhood. Can't wait to try making these at home!
Jackie says
this is soooo good! It's like eating on the streets of PI without the humidity. lol
Cherry says
They look so deliciously sweet. I'd like to try this snack soon. Thanks for this recipe, Lainey! 🙂
Sweet says
This is one of my favorite homemade recipes. I can't wait to try this!
Sheen says
Yummy!!
Aira says
I absolutely loved this Karioka recipe from Simply Bakings! The step-by-step instructions were so easy to follow, and the results were amazing. The combination of glutinous rice balls coated in a sweet coconut syrup was perfectly chewy and flavorful—just like the ones I remember from street vendors back home. I also appreciated the helpful tips and substitutions, making it easy to adjust based on what I had in my kitchen. This recipe is a must-try for anyone craving a delicious Filipino snack. Can’t wait to make it again!
Jane says
This tasted amazing! It's super easy to make and mainly pantry ingredients.
Dimple says
Interesting! This is a must try.