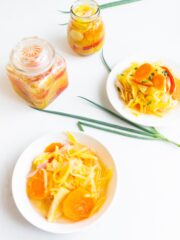
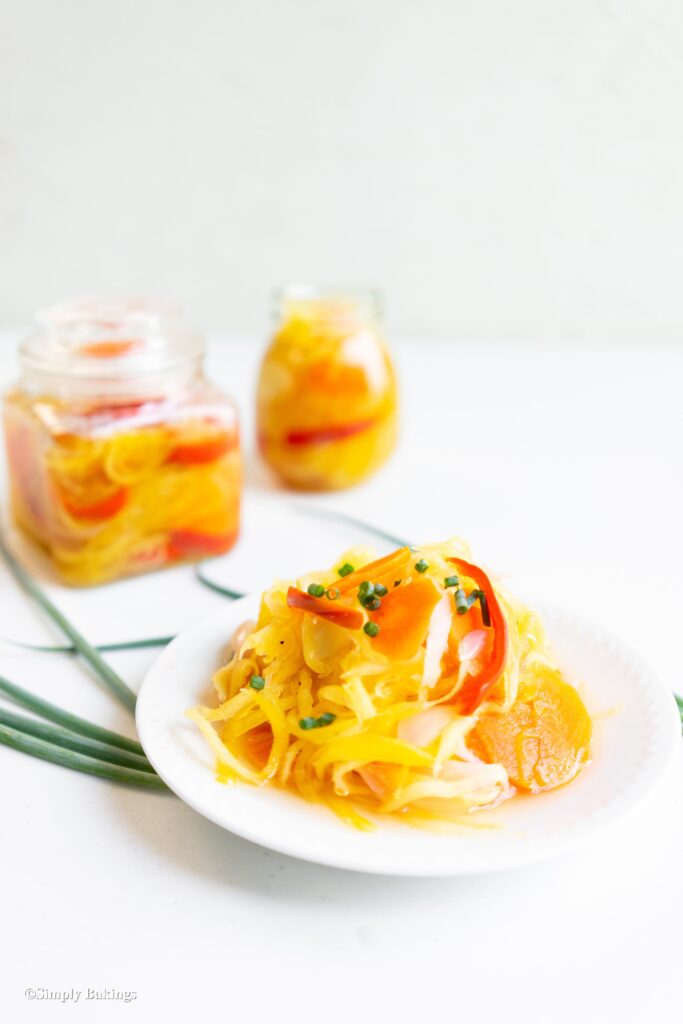
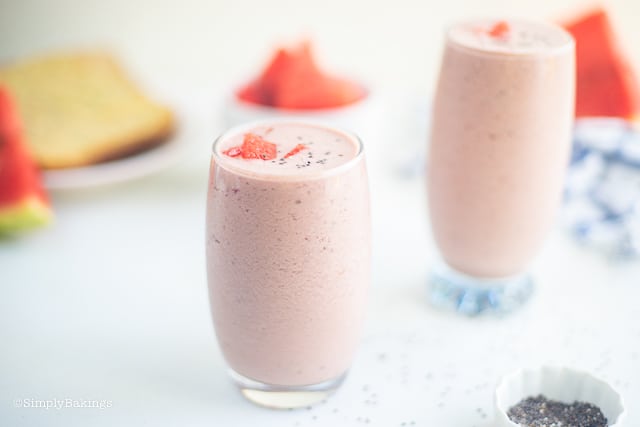
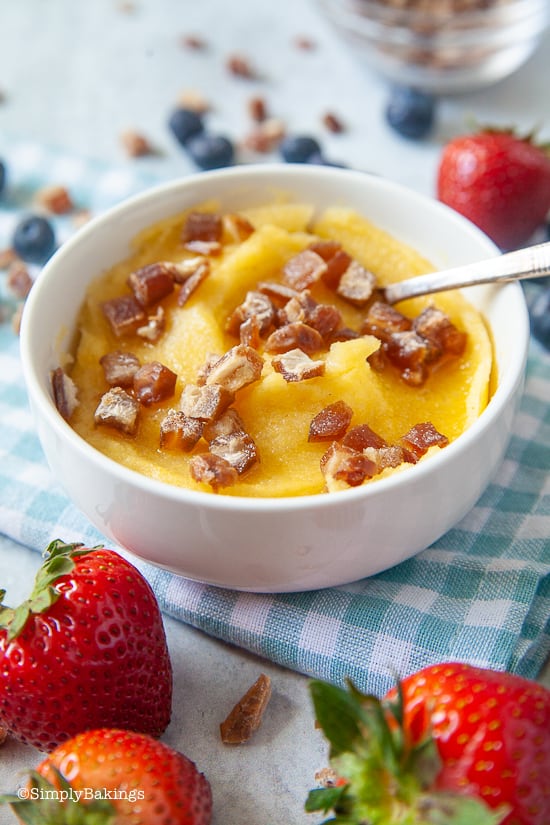
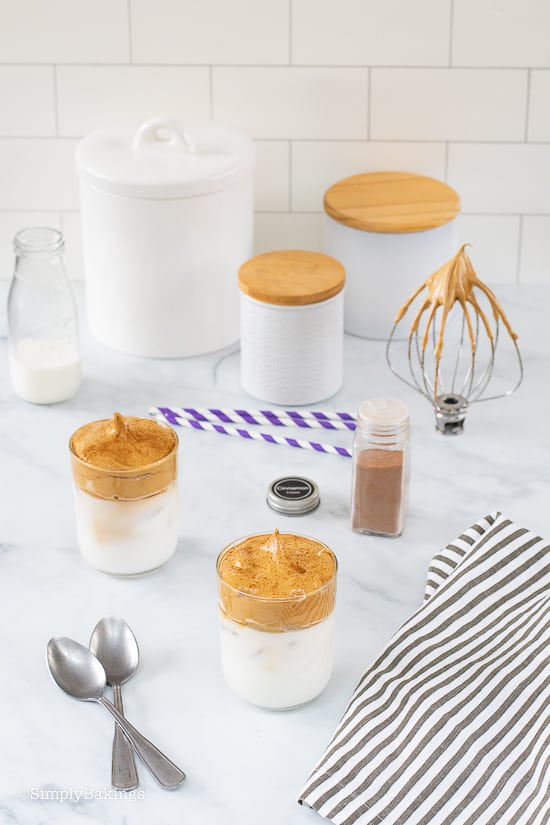
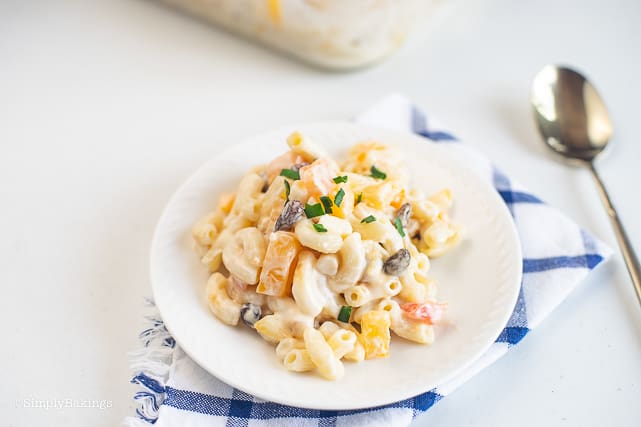
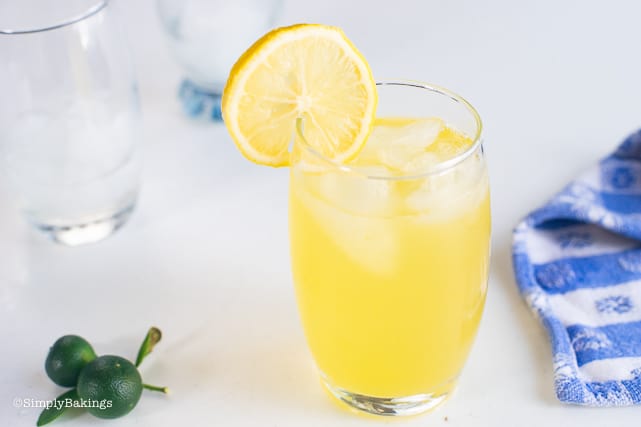
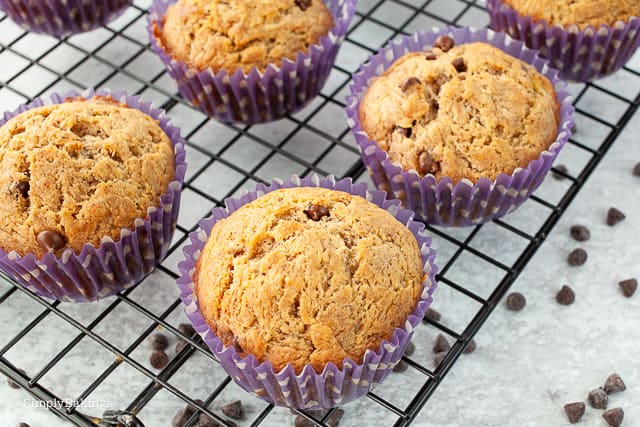
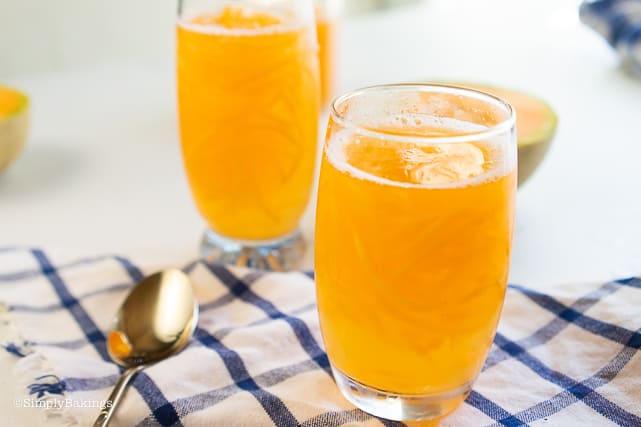
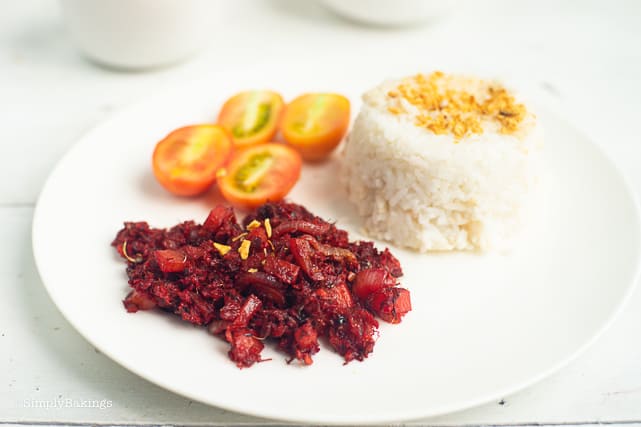
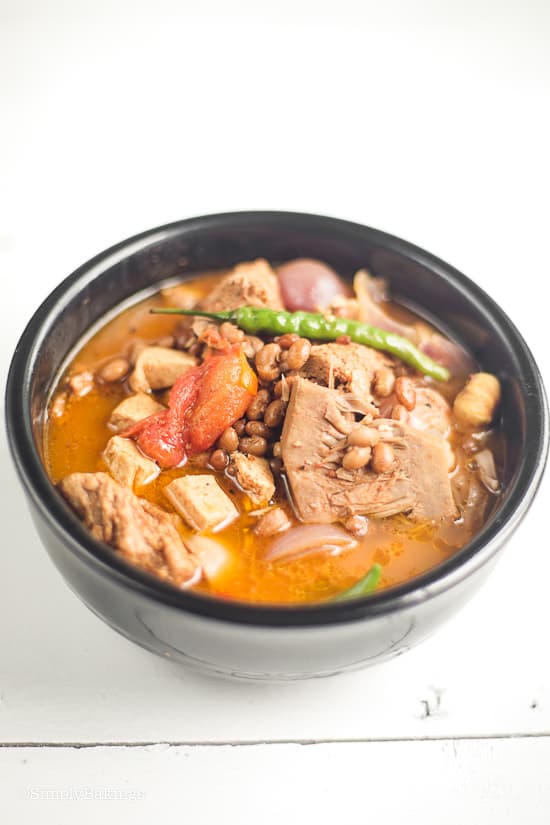
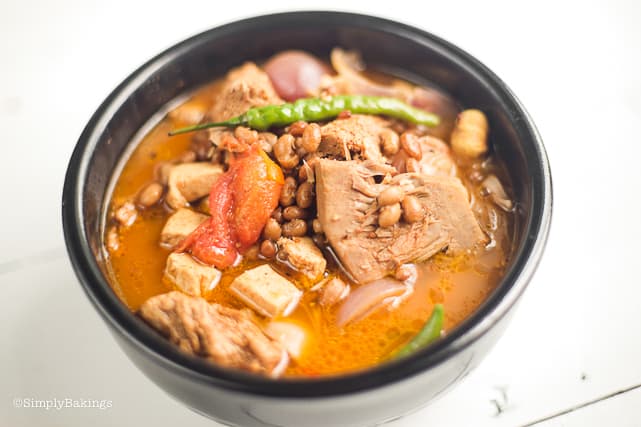
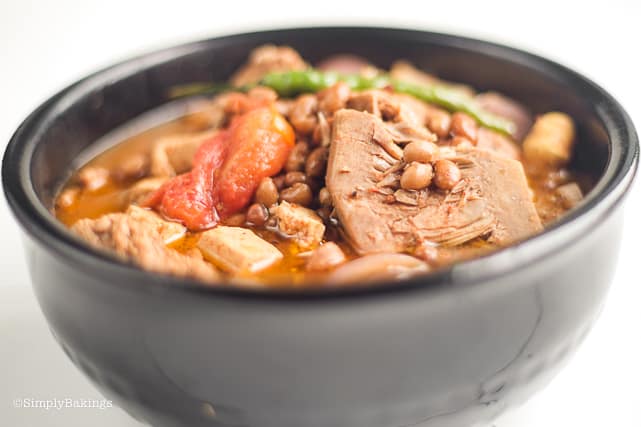
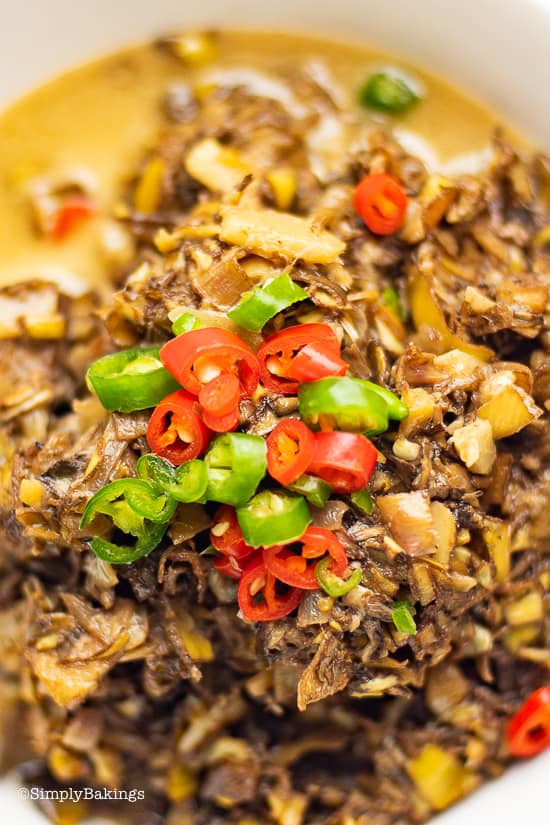
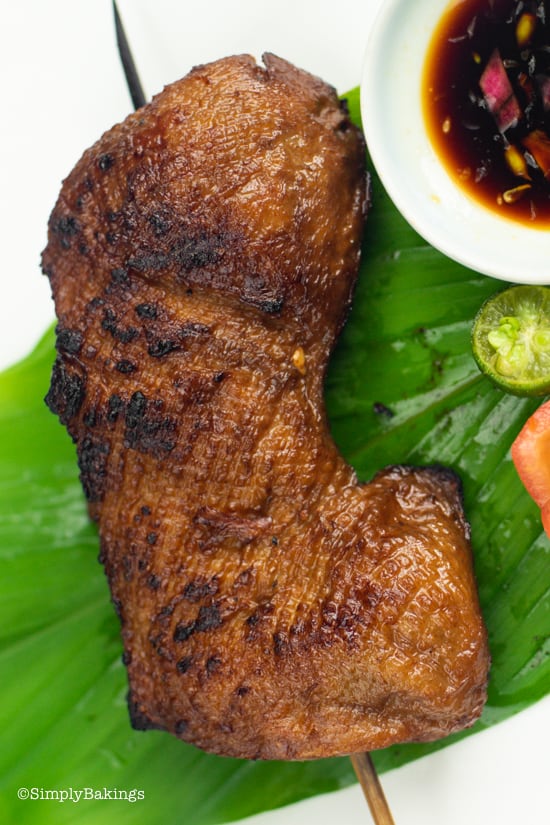
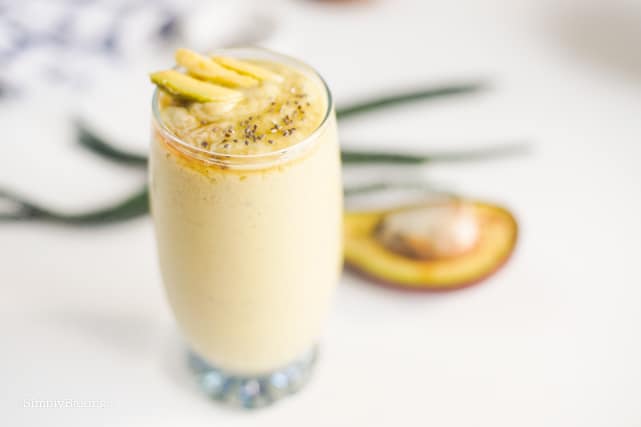
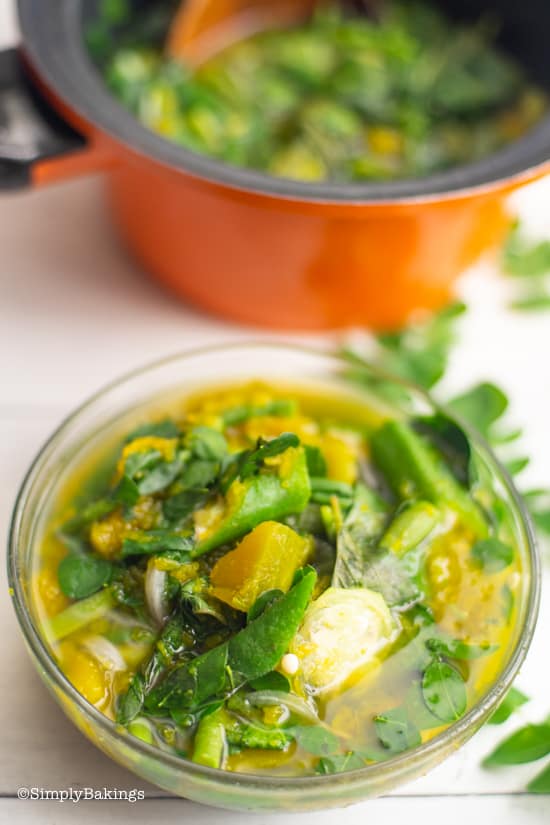
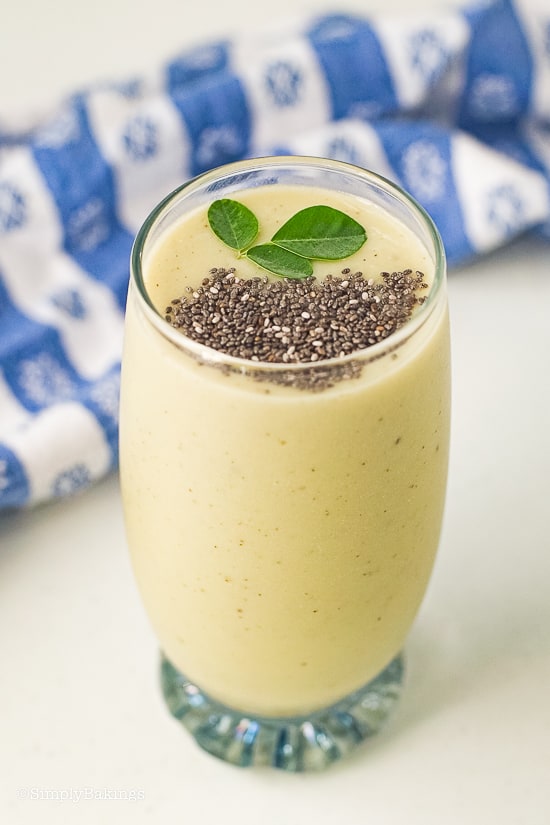
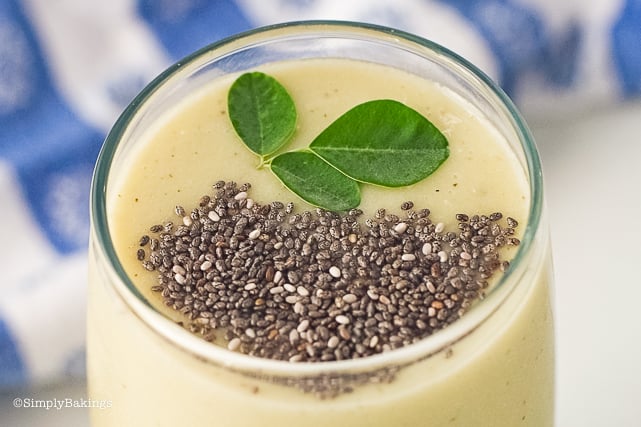
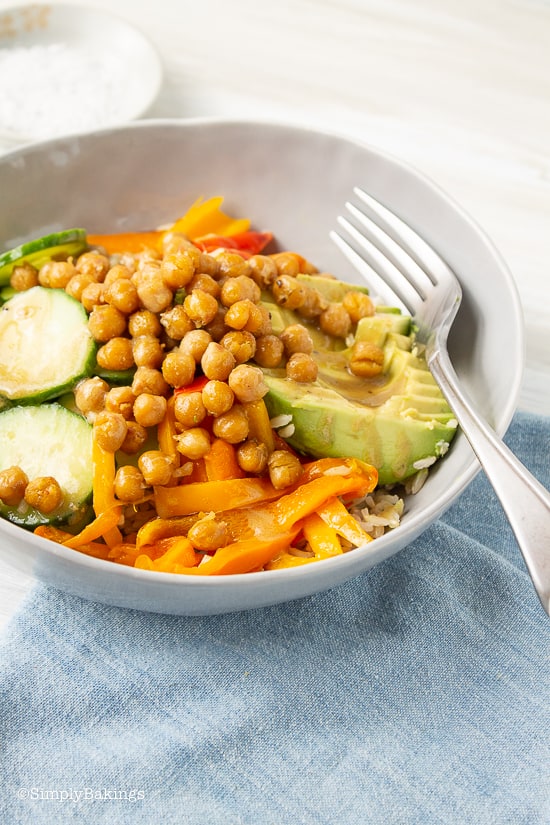
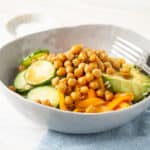
Rich in flavor and filling, the Chickpea Buddha Bowl is made with roasted sweet bell peppers, fiber-rich chickpeas, brown rice, creamy avocado, and the refreshing taste of English cucumber all in one!
Why is it called Chickpea Buddha Bowl?
Religion doesn't have anything to do with this amazing, plant-based recipe. The word "Buddha" was coined for its name because of the abundance of healthy and filling ingredients in one bowl when you look at the bowl sideways, it forms a plump circle shape like that of a Buddha's belly.
The servings are enormous, but you can share them with your family. However, if you are cooking this for yourself and feel it is too much to eat in one sitting, you can chill the rest of your delicious Chickpea Buddha Bowl and heat it when you are ready to eat.
Also, you can also eat it cold!

Tips and Procedures:
- Do you love having a lot more delicious food in your Chickpea Buddha bowl? You can add sweet potatoes, butternut squash, brussel sprouts, and tofu.
- If you love having a crunchy texture in every bite, try adding sesame seeds, sunflower seeds, and roasted pumpkin seeds. Yum!
- After assembling all the ingredients in your bowl, you can drizzle lime juice or a bit of lemon juice on top. It gives a fresh, tangy flavor to your Chickpea Buddha Bowl in seconds!
- If you are craving tahini sauce, you can make that instead. The ingredients for tahini sauce are also very easy to find.
- Do you have kale plants in your garden? You can chop some fresh kale and assemble together with the other ingredients.
How to Make Chickpea Buddha Bowl:
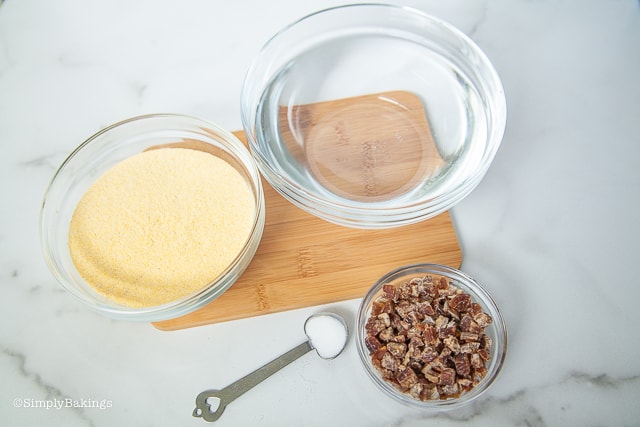
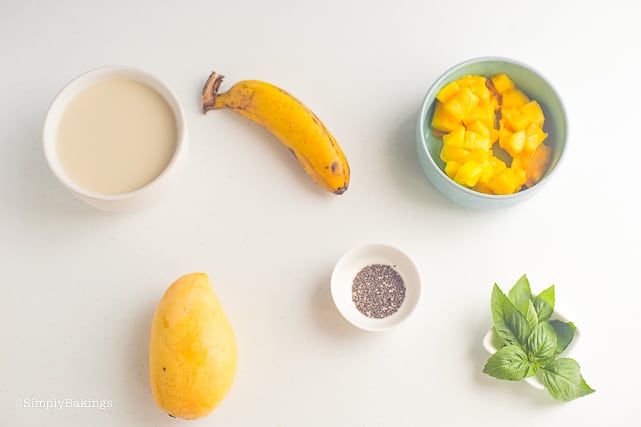
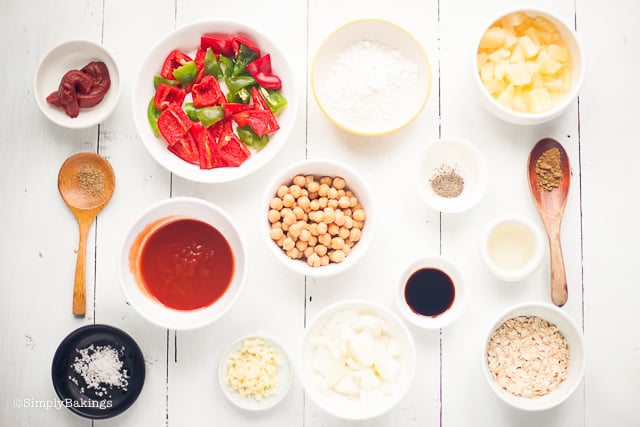
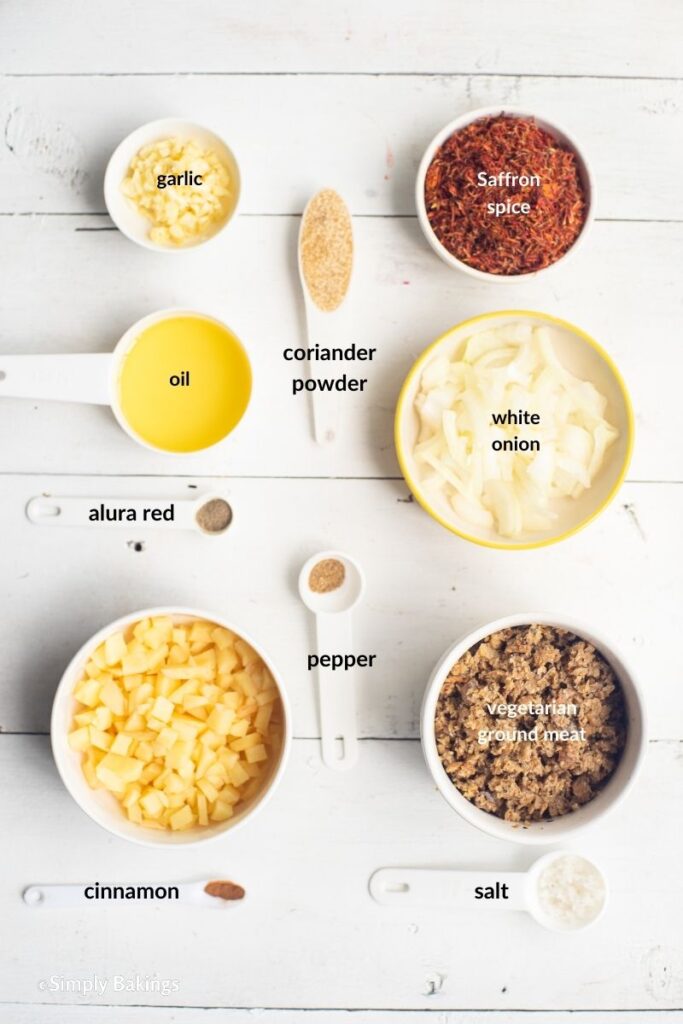
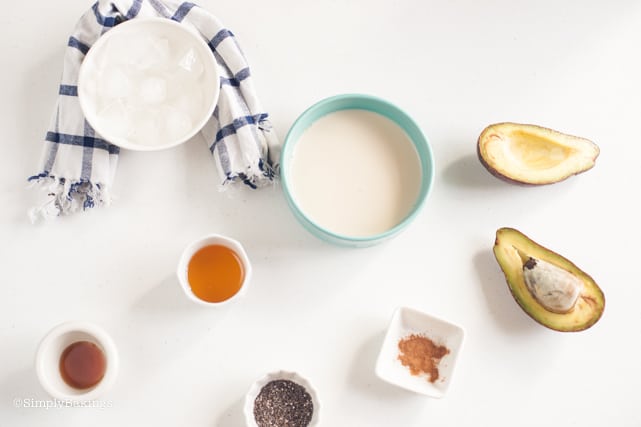
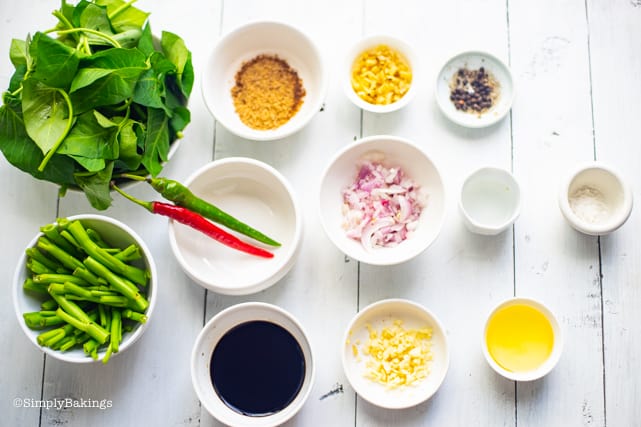
Listed below are all the ingredients you will need:
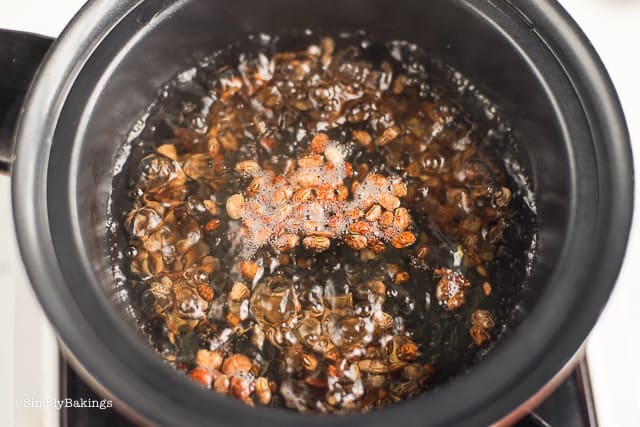
- cooked chickpeas
- brown rice
- olive oil
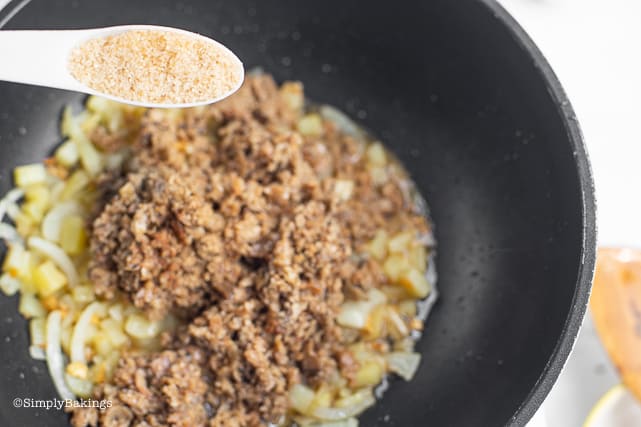
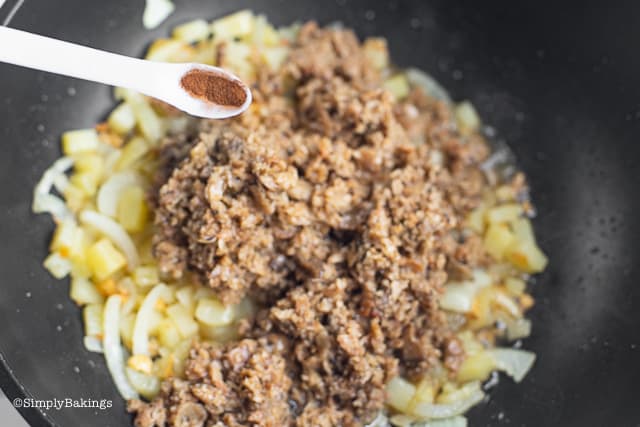
- ground coriander
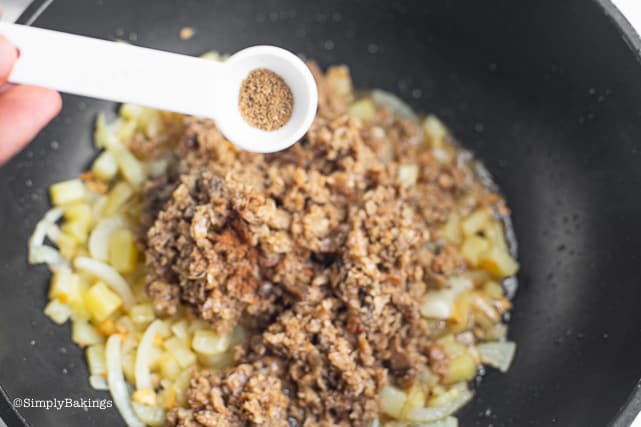
- ground cumin
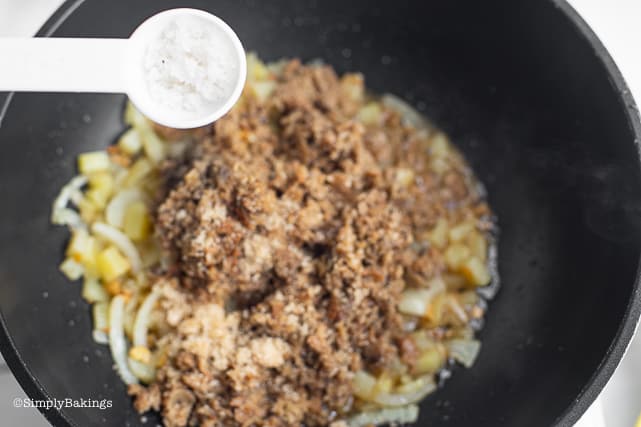
- sea salt
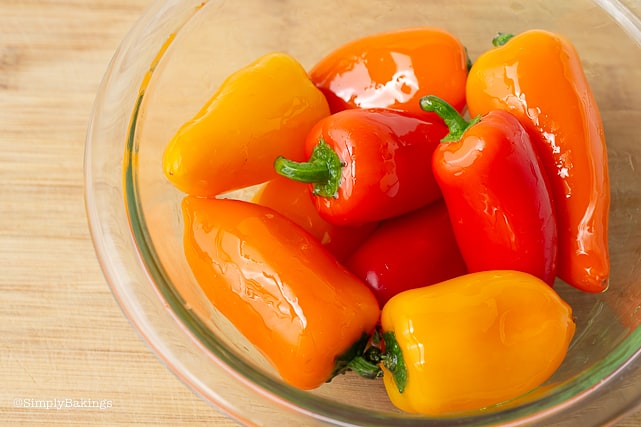
- mini sweet peppers
- English cucumber
- avocado

Dressing:
- vegan dijon mustard
- brown sugar
- apple cider vinegar
- olive oil
- sea salt
- ground pepper
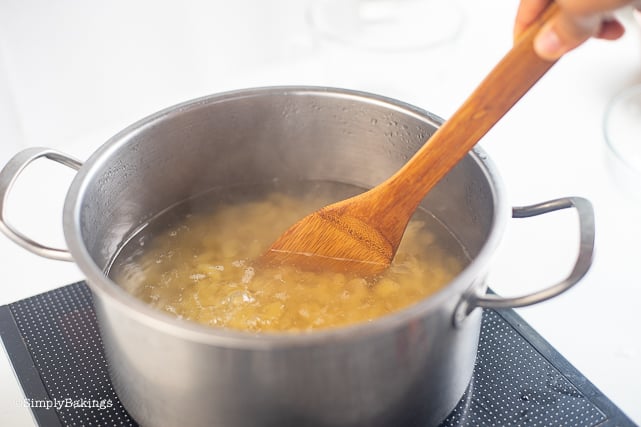
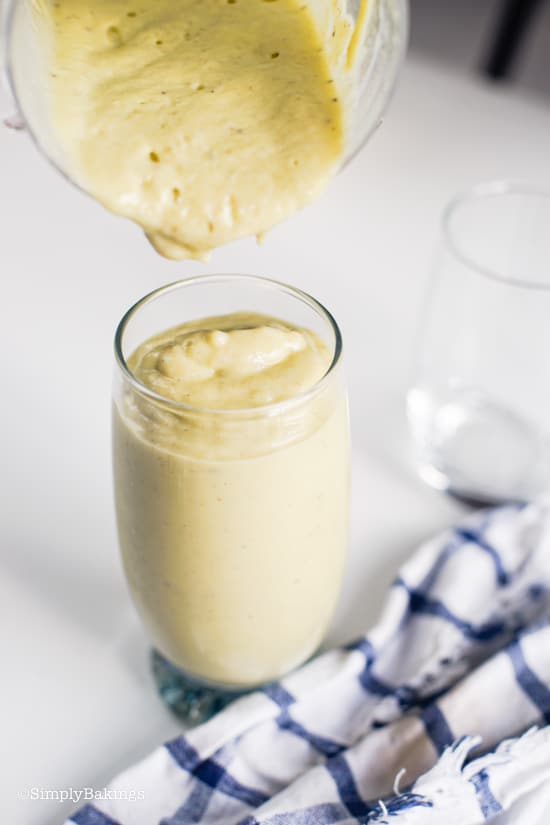
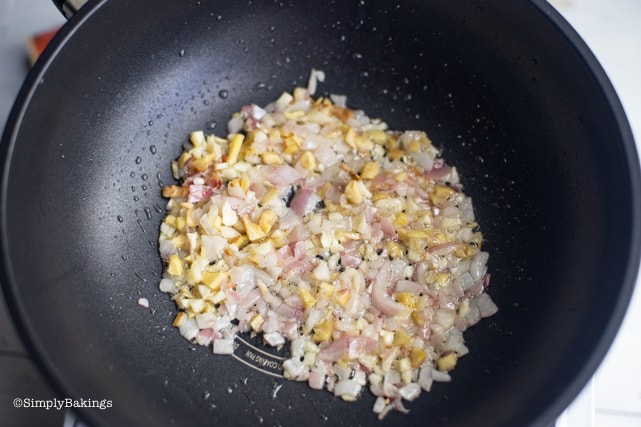
Preheat oven to broiler on high and line baking tray with aluminum foil. Cook brown rice according to package directions.
Now, let's get all the other ingredients ready!
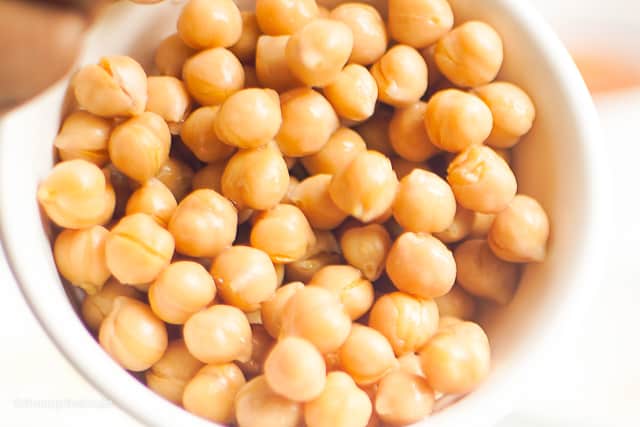
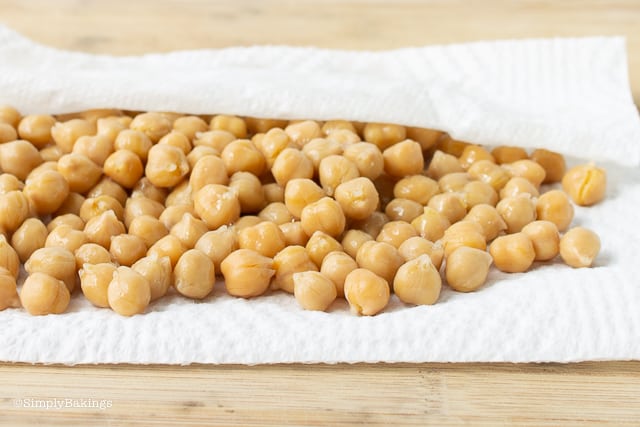
Rinse and drain chickpeas and gently pat dry with paper towels:
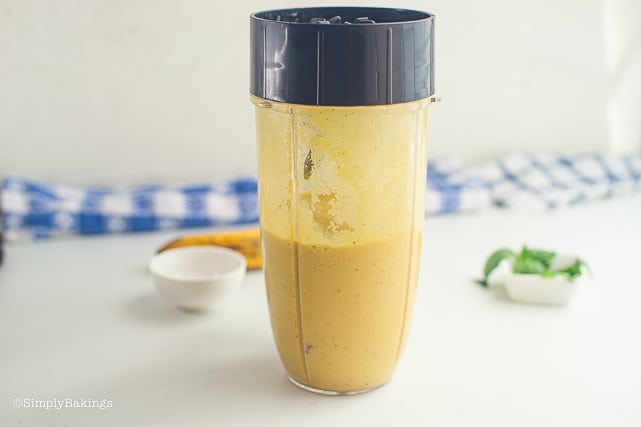
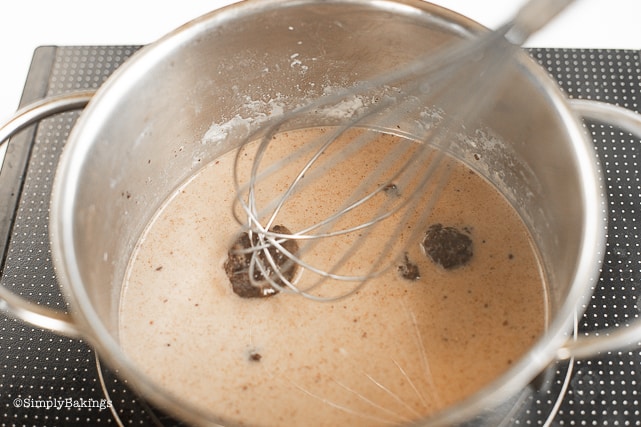
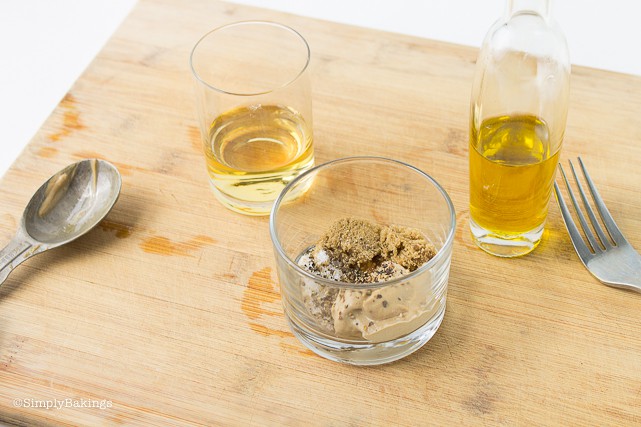
Dressing:
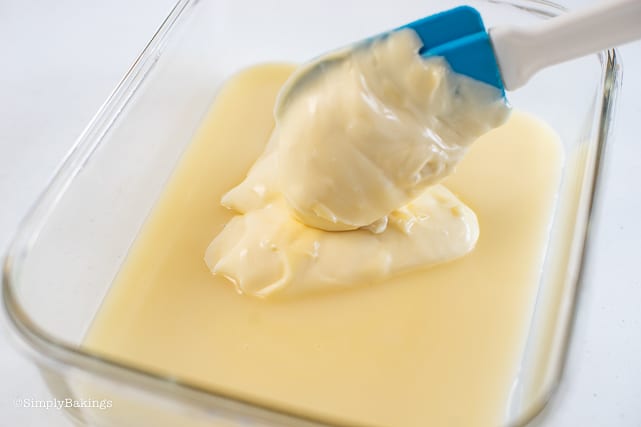
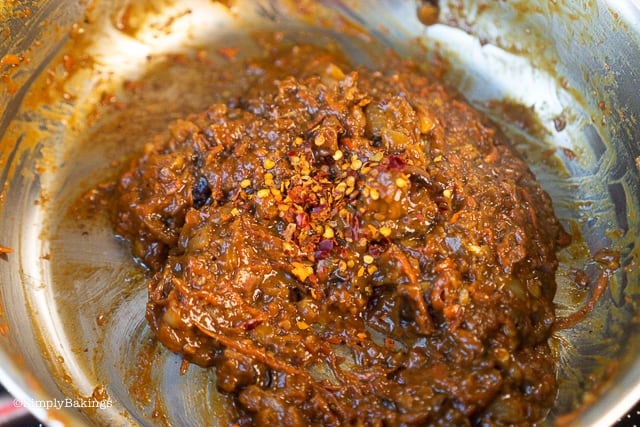
Combine all dressing ingredients and whisk with a fork until smooth and combined:
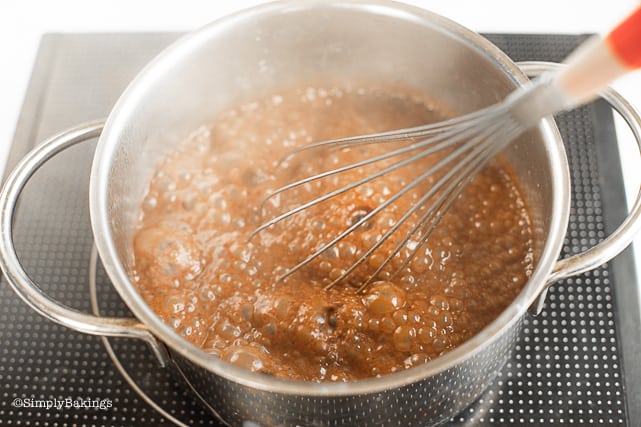
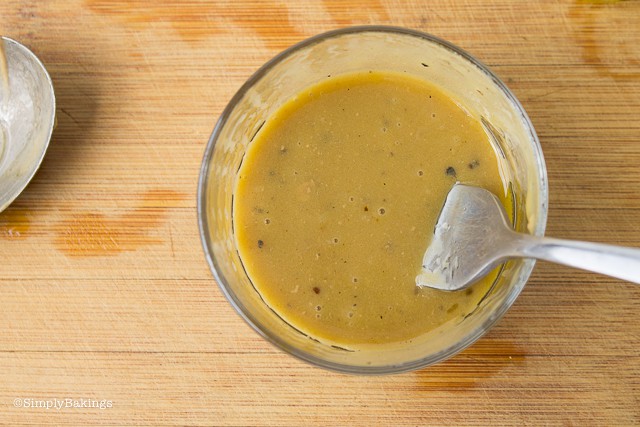
The dressing will look like this after mixing thoroughly:
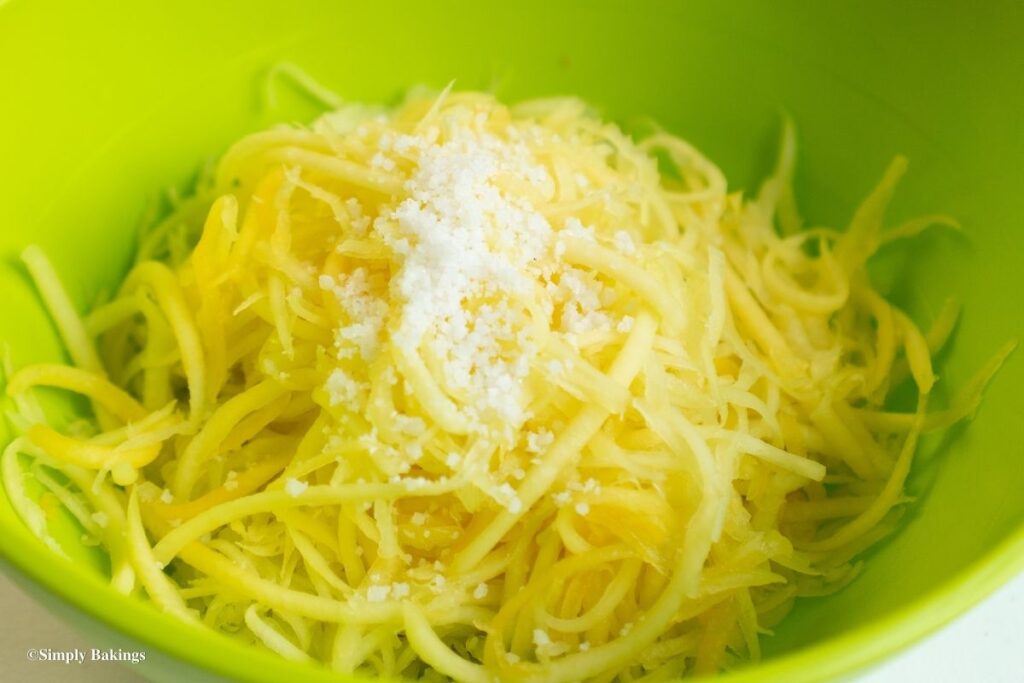
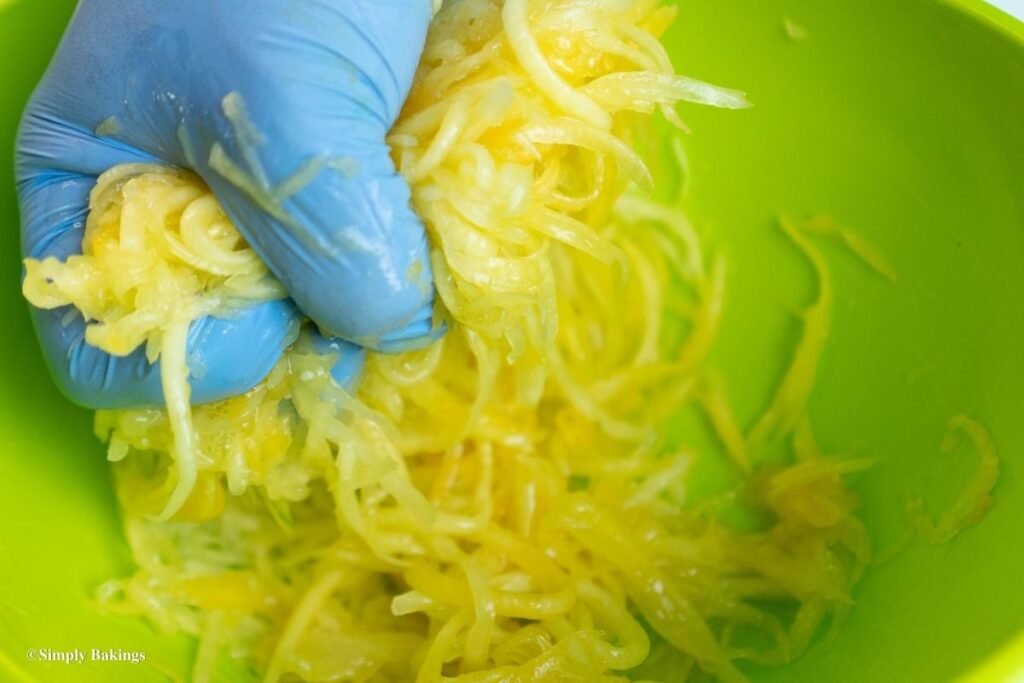
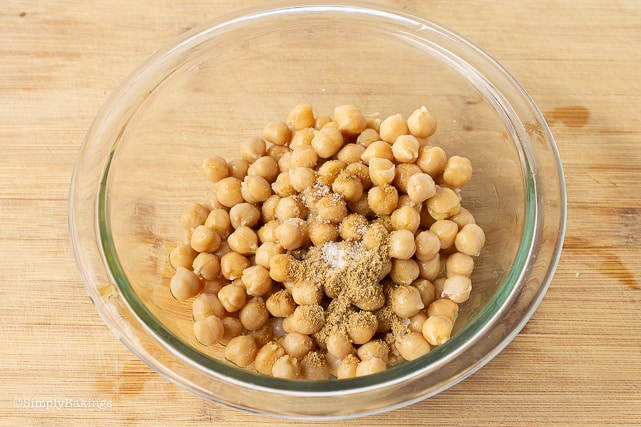
In a large bowl, add chickpeas, 1 tablespoon olive oil, coriander, cumin, and sea salt and toss to coat the chickpea and set aside:
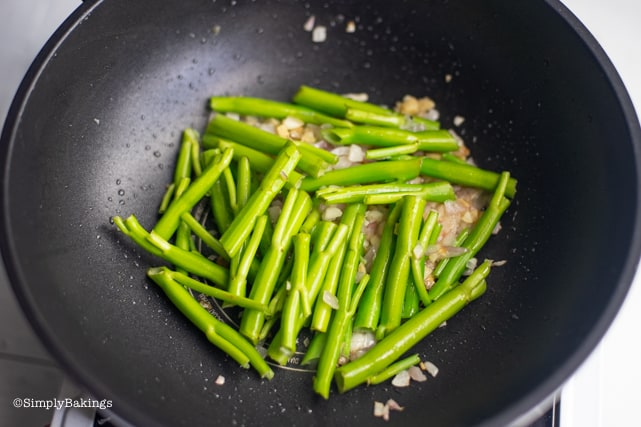
In a medium-sized bowl, add the mini sweet peppers and toss with the remaining olive oil until coated and set aside:
Spread coated chickpeas and mini peppers on a baking tray and position mini peppers so they will be closest to the heating element:
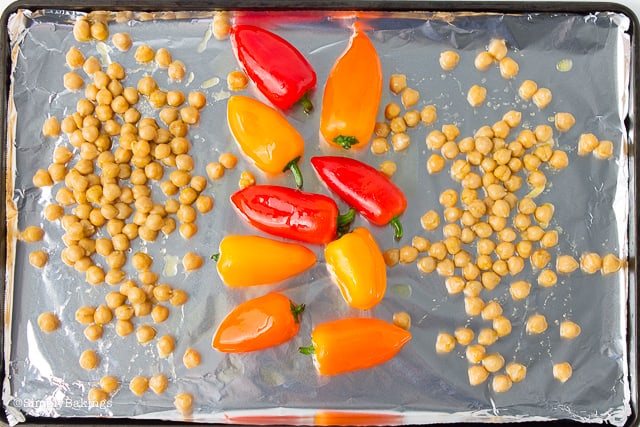
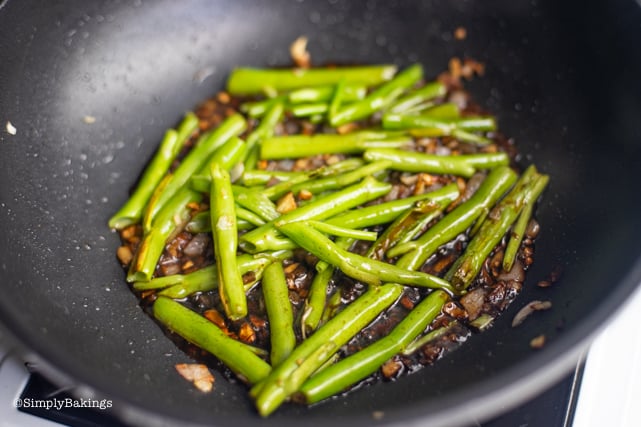
Broil peppers and chickpeas for 4 minutes before shaking the pan or stirring to rotate chickpeas. Broil for a further 3 minutes before flipping the peppers and stirring the chickpeas. Broil for a final 3-4 minutes until chickpeas are golden and peppers are lightly charred on 2 sides. Remove from broiler and allow to cool slightly:

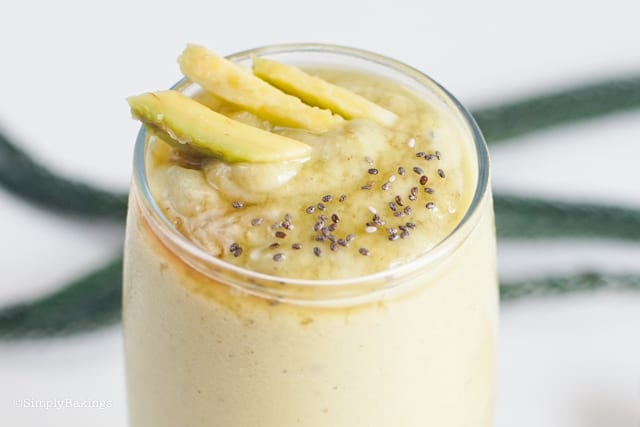
Wash cucumber and slice to thin circles. Cut avocado in half and remove the pit. Slice lengthwise into thin slices before scooping to remove from the shell:

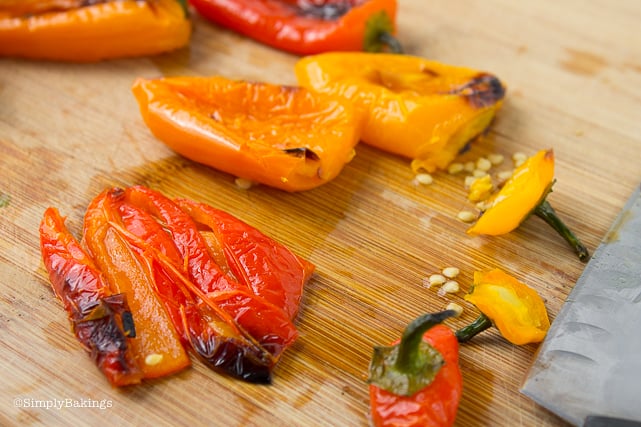
Cut stem ends off of roasted peppers. Scrap with a knife to remove most of the seeds before slicing lengthwise into strips:
Assemble the bowl:
Divide the rice between 2 or 3 plates and top with prepared vegetables:
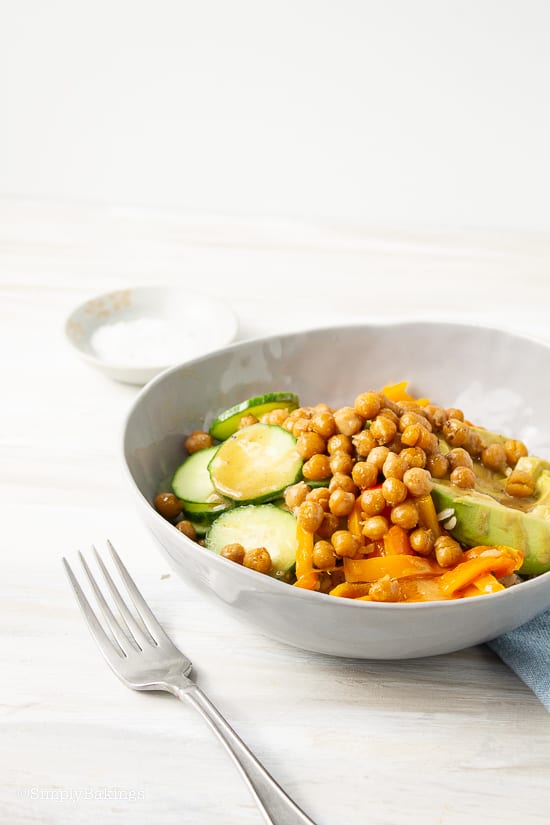
Sprinkle with roasted chickpeas and drizzle dressing evenly over plates or bowls:

Frequently Asked Questions for Chickpea Buddha Bowl:
Q: Can you freeze buddha bowls?
A: Yes, you can! When you are ready to serve or eat, just thaw and pop in your microwave.
Q: What makes it a buddha bowl?
A: It is called the Buddha bowl because of the several ingredients in one bowl and recipe. The ingredients seem to overflow in one bowl and form a circle, like that of a Buddha's belly.
Q: Do you eat buddha bowls hot or cold?
A: You can eat Chickpea Buddha Bowl either hot or cold. It is delicious either way you eat it.
Q: Are Buddha bowls good for weight loss?
A: If you are aiming for weight loss, you can replace the brown rice with many healthy options that are lower in carbs. But yes, it is good for weight loss since it is a very filling meal.
Q: Can I use quinoa instead of brown rice for this recipe?
A: Yes, for sure you can use quinoa instead of brown rice.
More Delicious Plant Base Recipes:
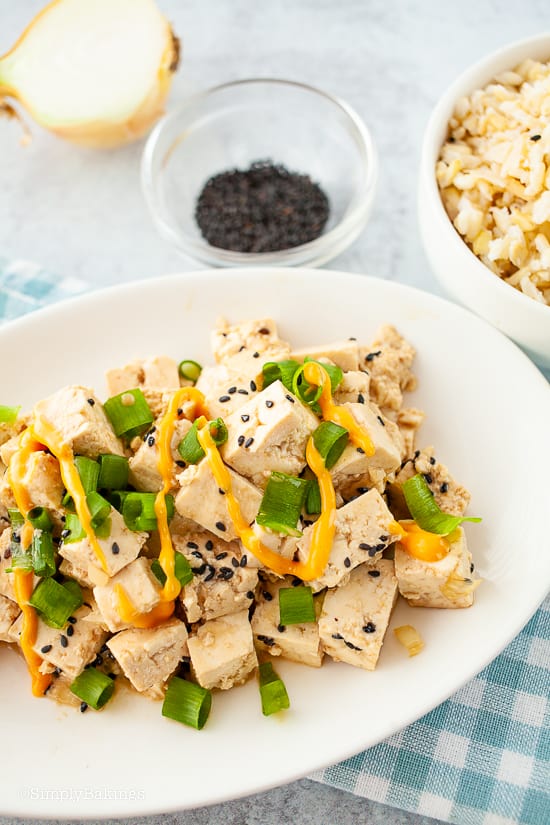
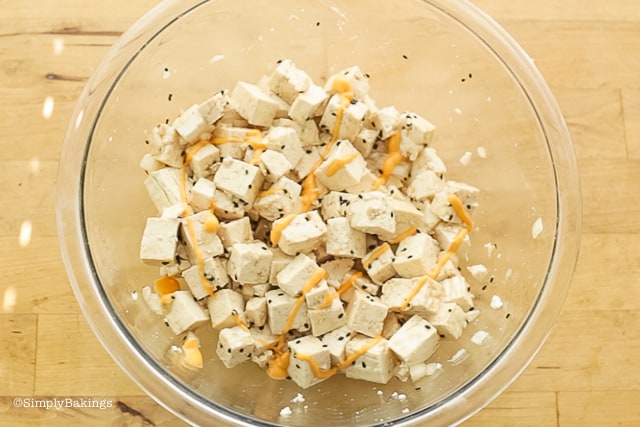
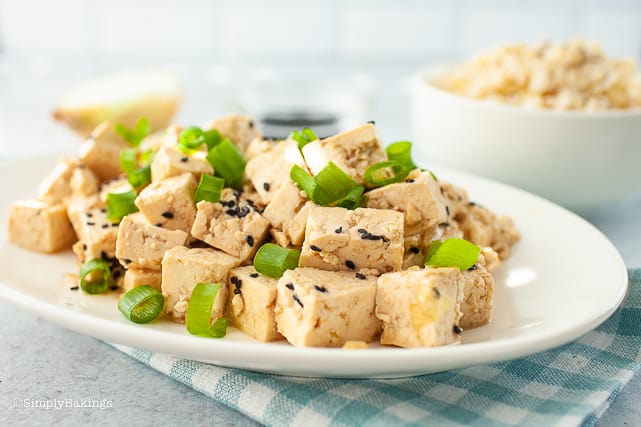
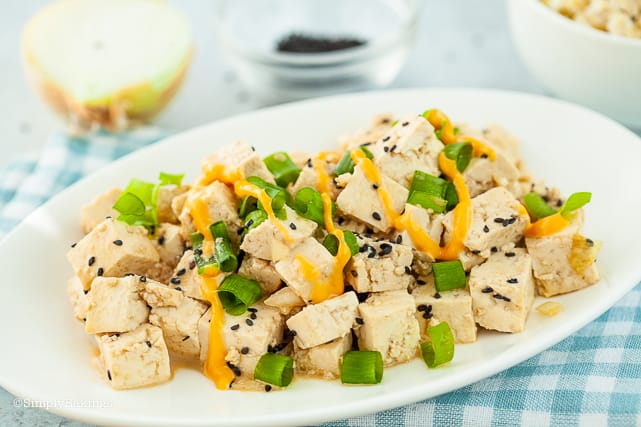
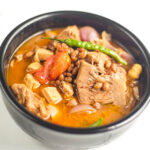
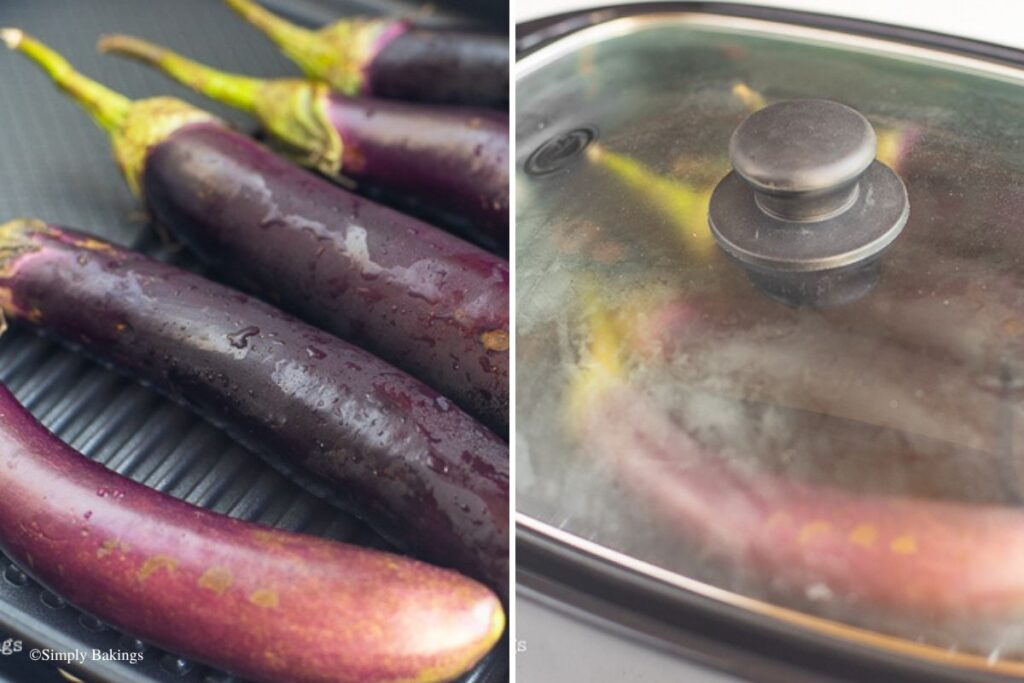
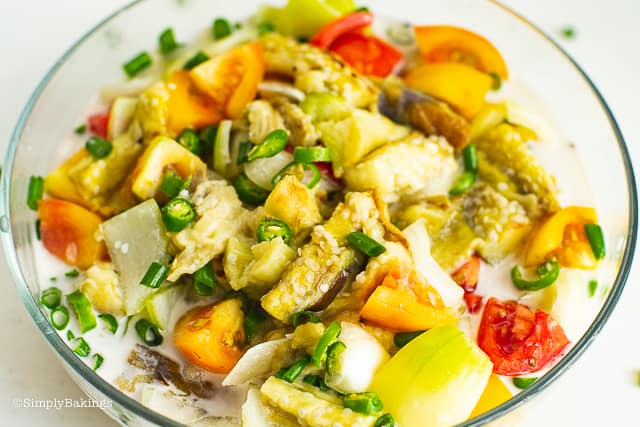
- Tofu Poke
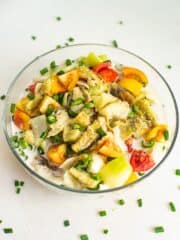
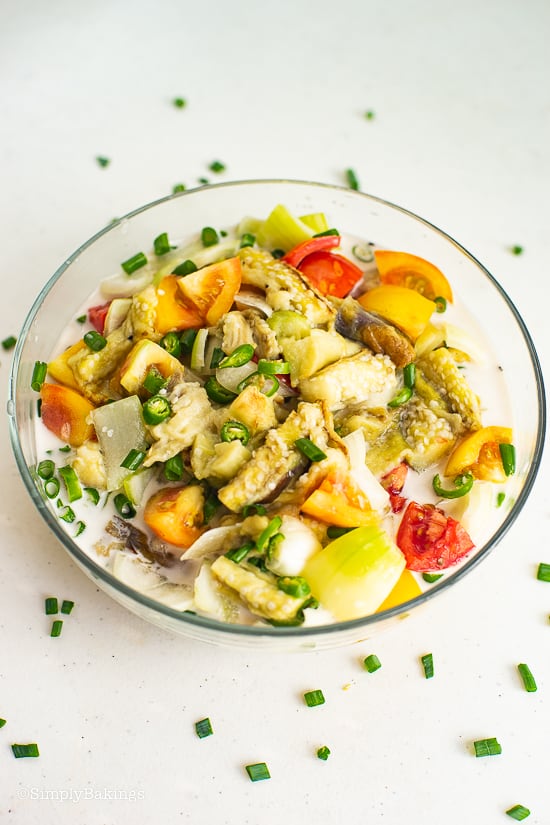
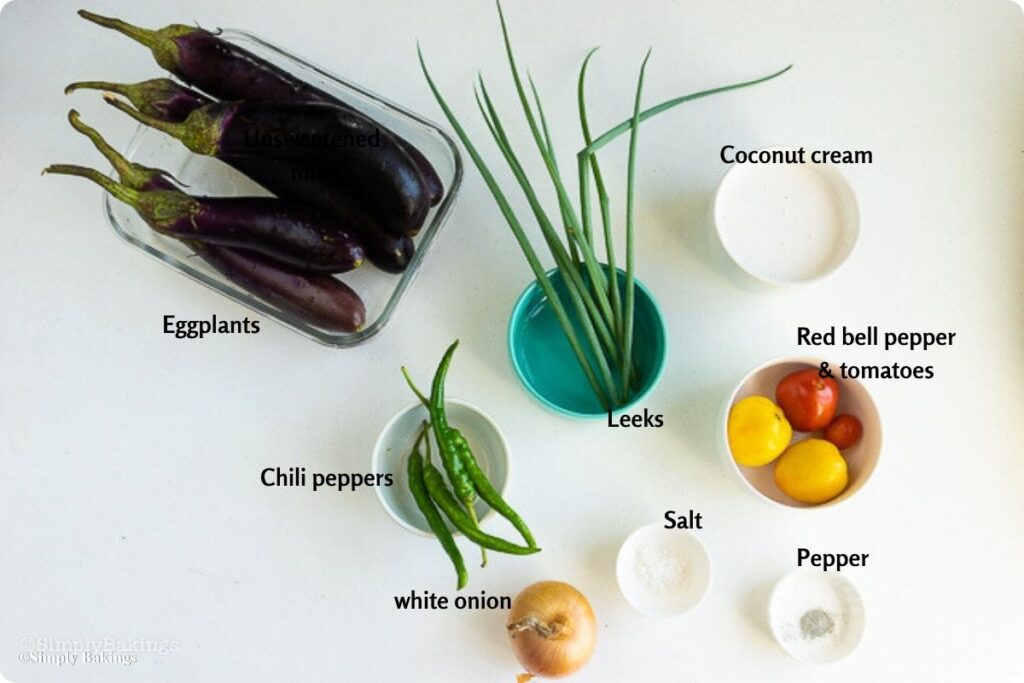
- Grilled Eggplant with Coconut Milk
- Quick & Easy Pancit Bihon
- Vegetable Lumpiang Shanghai
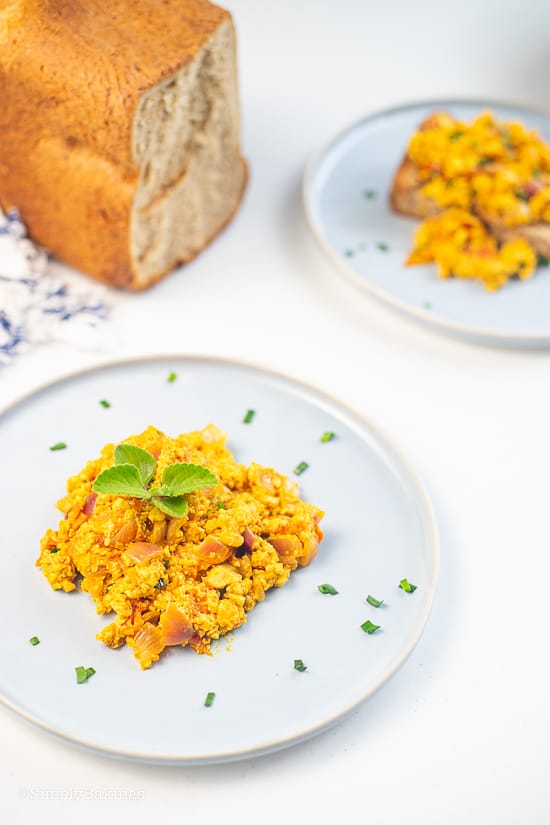
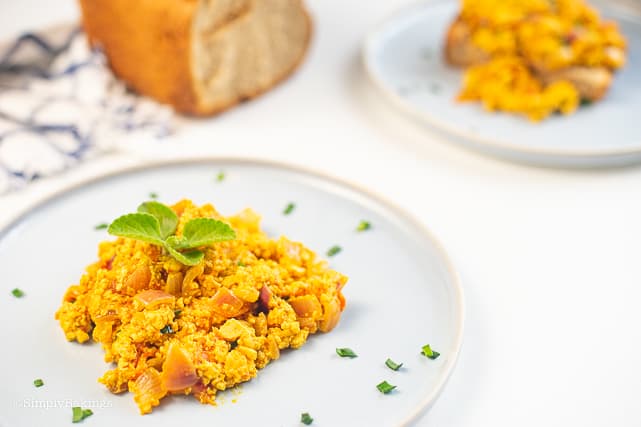
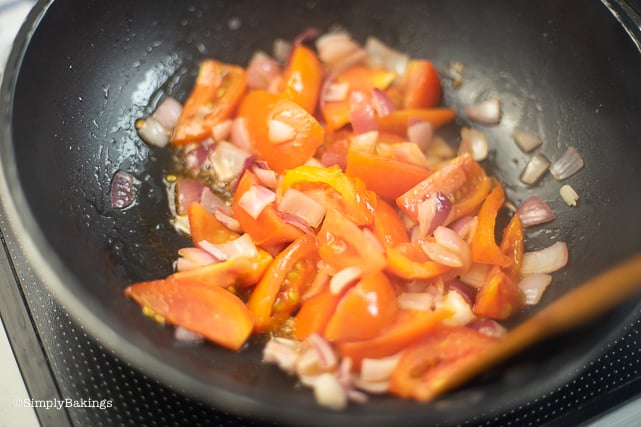
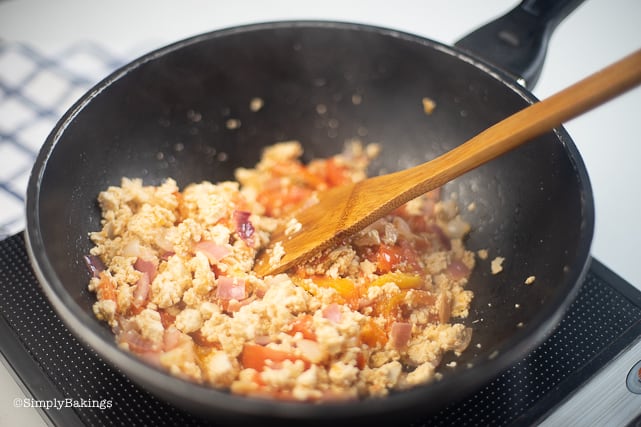
- Tofu Scramble Recipe - Filipino Style
Chickpea Buddha Bowl
Ingredients
- 1 ½ cup cooked chickpeas
- 1 cup brown rice
- 2 tablespoon olive oil divided
- ¼ teaspoon ground coriander
- ¼ teaspoon ground cumin
- ¼ teaspoon sea salt
- 8-10 mini sweet peppers wash and dry
- ½ large English cucumber
- 1 large avocado
Dressing:
- 1 tablespoon vegan dijon mustard
- 2 teaspoon brown sugar
- 1 tablespoon apple cider vinegar
- 2 tablespoon olive oil
- ¼ teaspoon sea salt
- ¼ teaspoon ground pepper
Instructions
- Preheat oven to broiler on high and line baking tray with aluminum foil.
- Cook brown rice according to package directions.
- Rinse and drain chickpeas and gently pat dry with paper towels.
Dressing:
- Combine all dressing ingredients and whisk with a fork until smooth and combined.
- In a large bowl, add chickpeas, 1 tablespoon olive oil, coriander, cumin, and sea salt and toss to coat the chickpea and set aside.
- In a medium-size bowl, add the mini sweet peppers and toss with the remaining of olive oil until coated and set aside.
- Spread coated chickpeas and mini peppers on a baking tray and position mini peppers so they will be closest to the heating element.
- Broil peppers and chickpeas for 4 minutes before shaking the pan or stirring to rotate chickpeas. Broil for a further 3 minutes before flipping the peppers and stirring the chickpeas. Broil for a final 3-4 minutes until chickpeas are golden and peppers are lightly charred on 2 sides. Remove from broiler and allow to cool slightly.
- Wash cucumber and slice to thin circles. Cut avocado in half and remove the pit. Slice lengthwise into thin slices before scooping to remove from shell.
- Cut stem ends off of roasted peppers. Scrap with a knife to remove most of the seeds before slicing lengthwise into strips.
Assemble the bowl:
- Divide the rice between 2 or 3 plates and top with prepared vegetables.
- Sprinkle with roasted chickpeas and drizzle dressing evenly over plates/bowls.
Notes

NEVER MISS A RECIPE!
PINTEREST / FACEBOOK / INSTAGRAM / TWITTER
If you’ve tried this or any other of my recipes, don’t forget to rate the recipe and to leave me a comment. I love hearing from you!