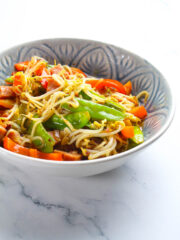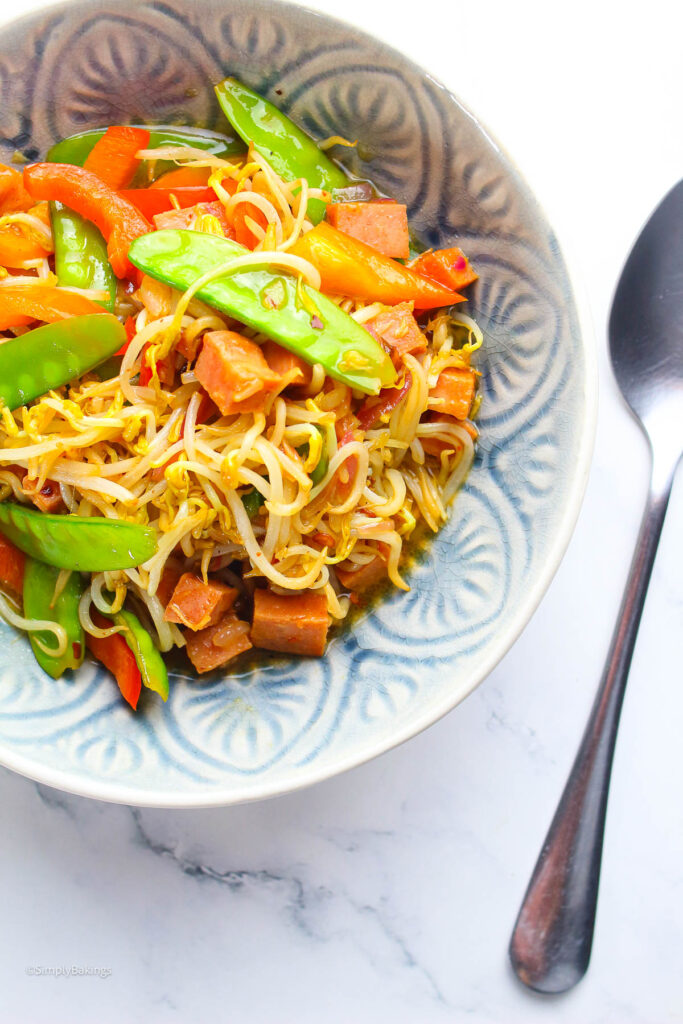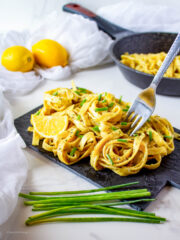
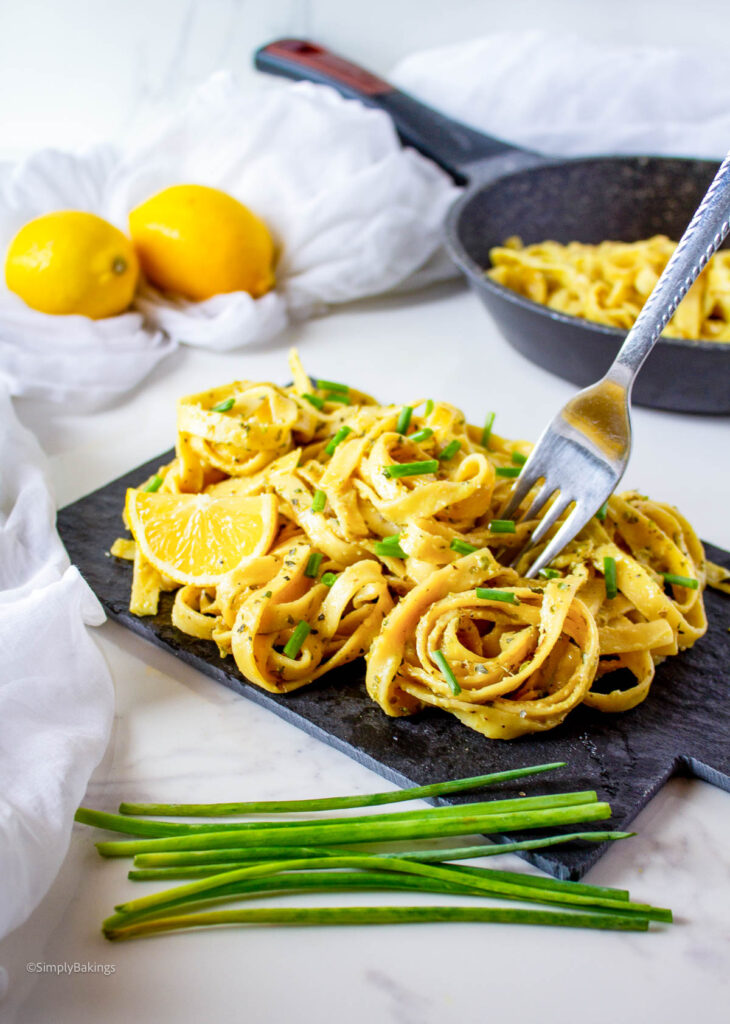
Have a delightful lunch or dinner with this simple vegan lemon pasta recipe for your next family gathering. It's a mix of cooked pasta, lemon juice, and cream, which makes a light and comforting dish!
If you're into pasta, I have Vegan Pancit and Kalabasa Pasta recipes ready for you.
Why You’ll Love This Recipe
This vegan lemon pasta recipe is a creamy and vibrant dish packed with fresh lemon flavor in every bite. It's a simple one-pot dish that uses pantry staples and is great for busy home cooks looking for easy pasta recipes for a comforting weeknight dinner or cozy lunches at home.
The combination of creamy sauce, fresh basil, and zesty lemon makes a fresh and tasty pasta dish that takes less than an hour to prepare. Turmeric also gives the pasta a lovely golden hue, making it appear as good as it tastes!
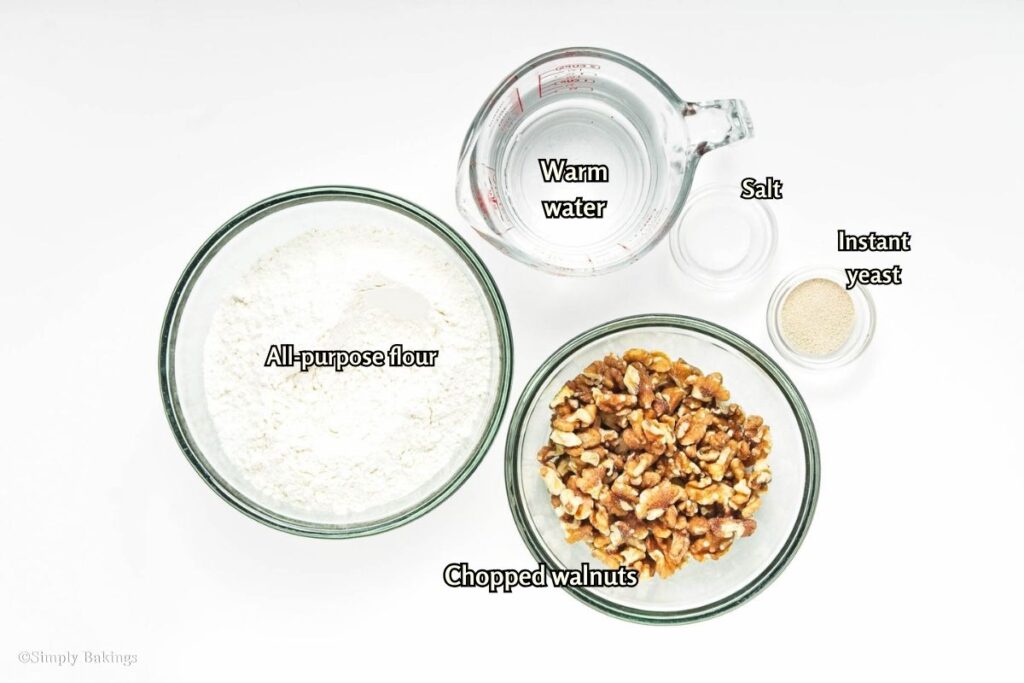
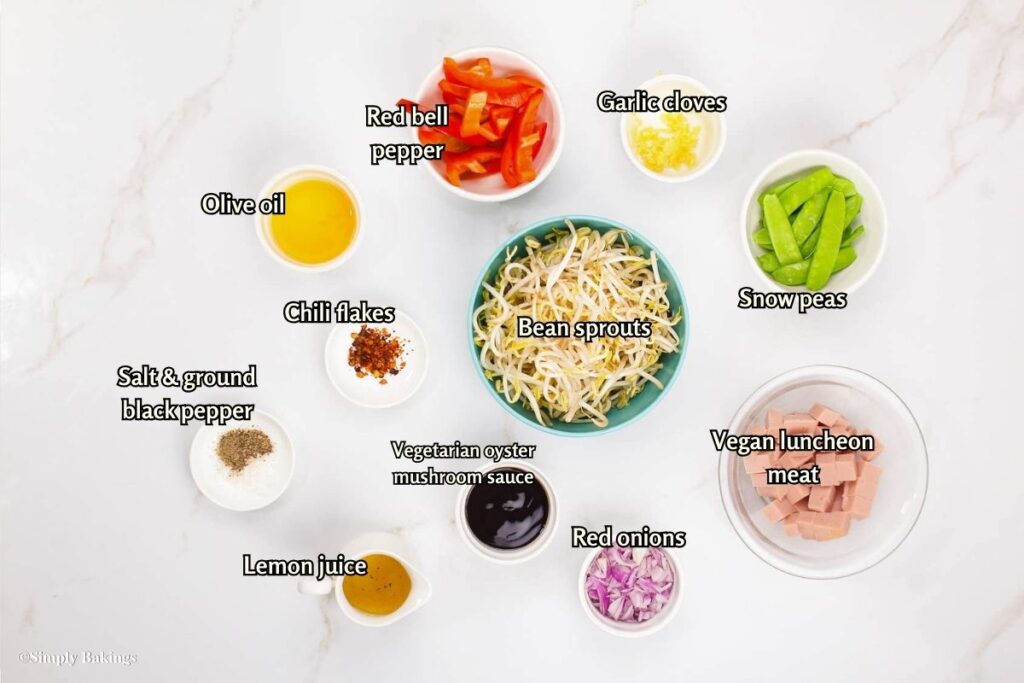
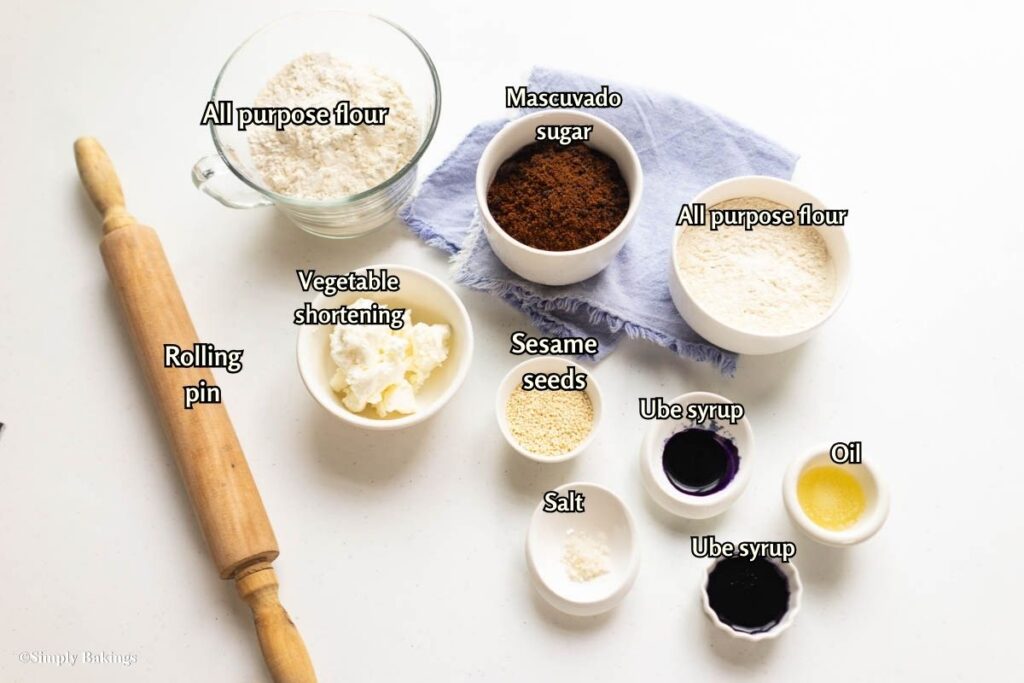
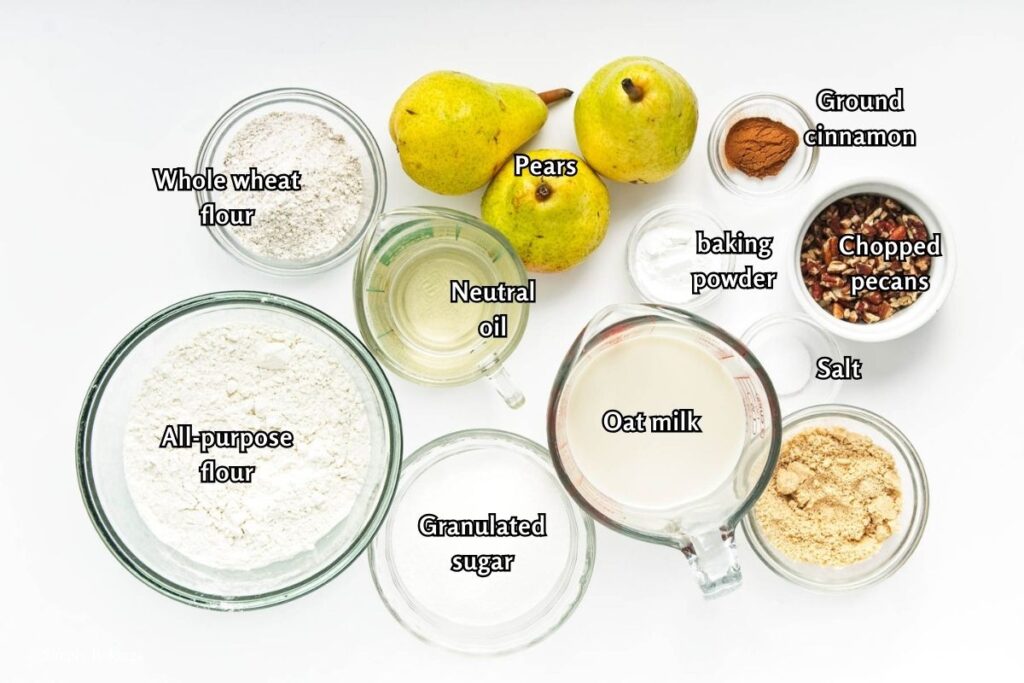
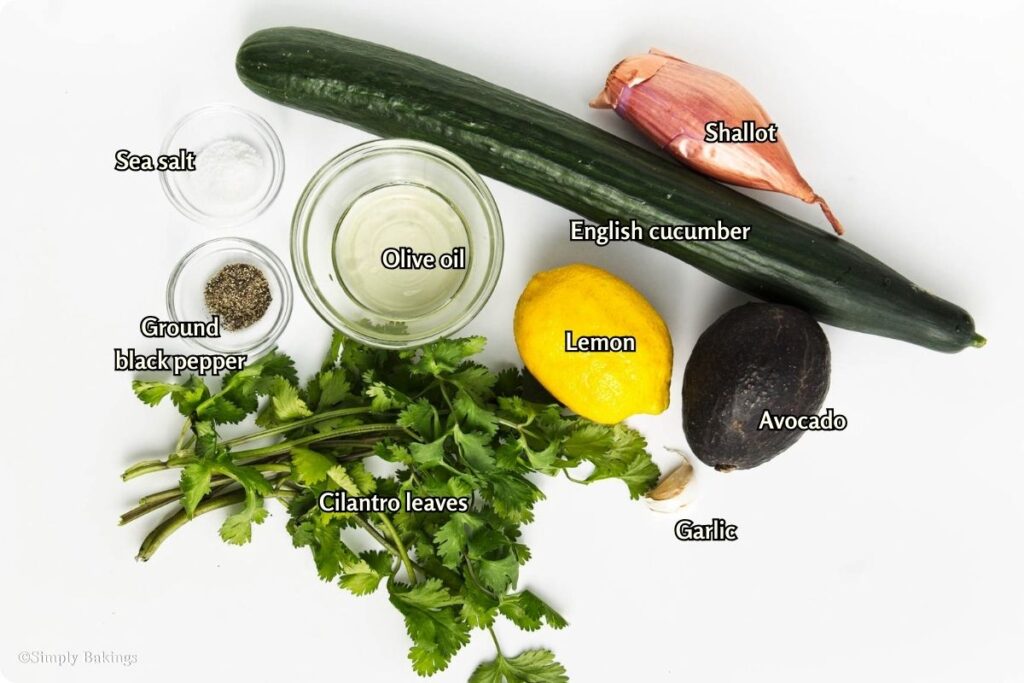
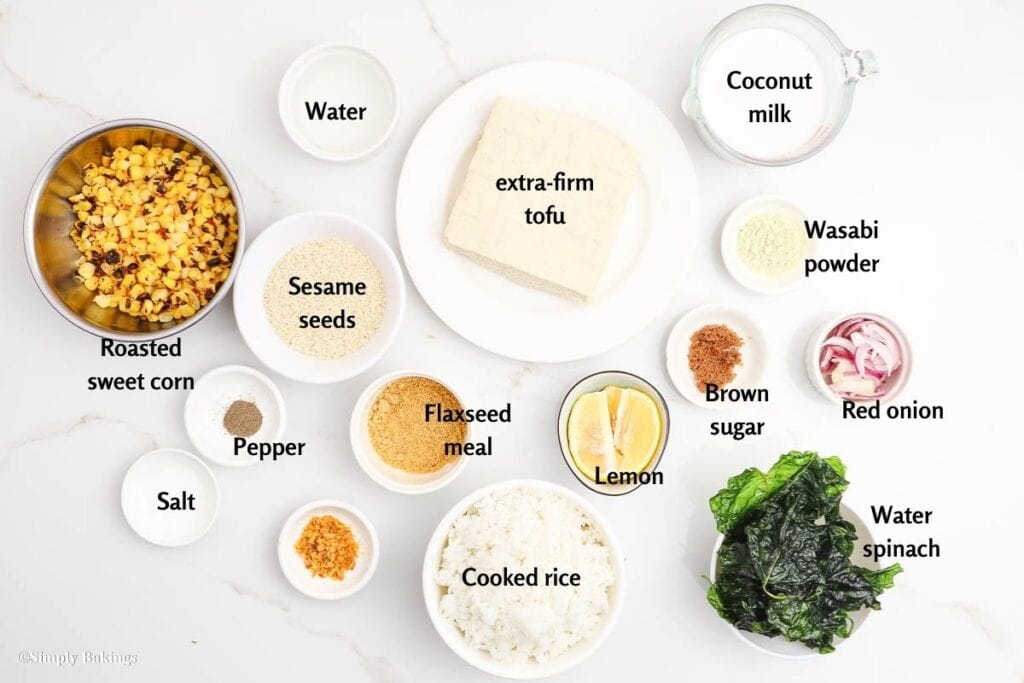
Ingredients
Listed below are all the ingredients you will need:
- pasta
- lemon
- cooking cream
- vegetable bouillon
- turmeric
- fresh basil
- parmesan cheese
See the recipe card for quantities.

I like to stock up on baking essentials with Thrive Market. If you haven't tried it yet, claim your first order with 30% off and a gift through my link. Be a #ThrivePartner, too!
Instructions
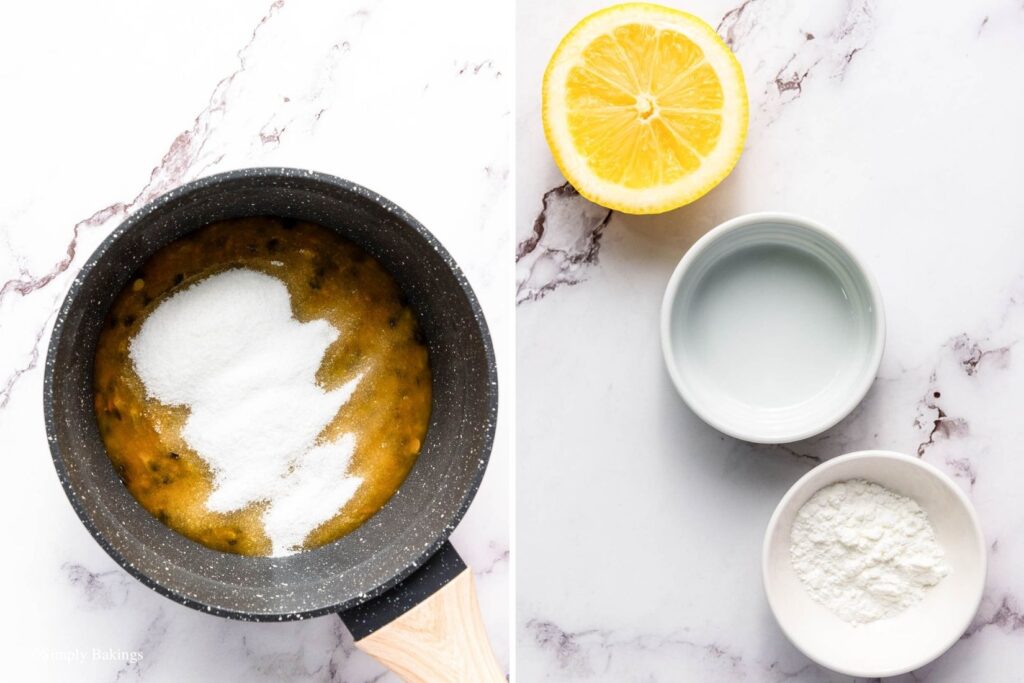
Prepare the Ingredients
1. Zest the lemon to get about 1 tablespoon of lemon zest, then squeeze to extract the fresh lemon juice.
2. Set aside the lemon zest and juice.
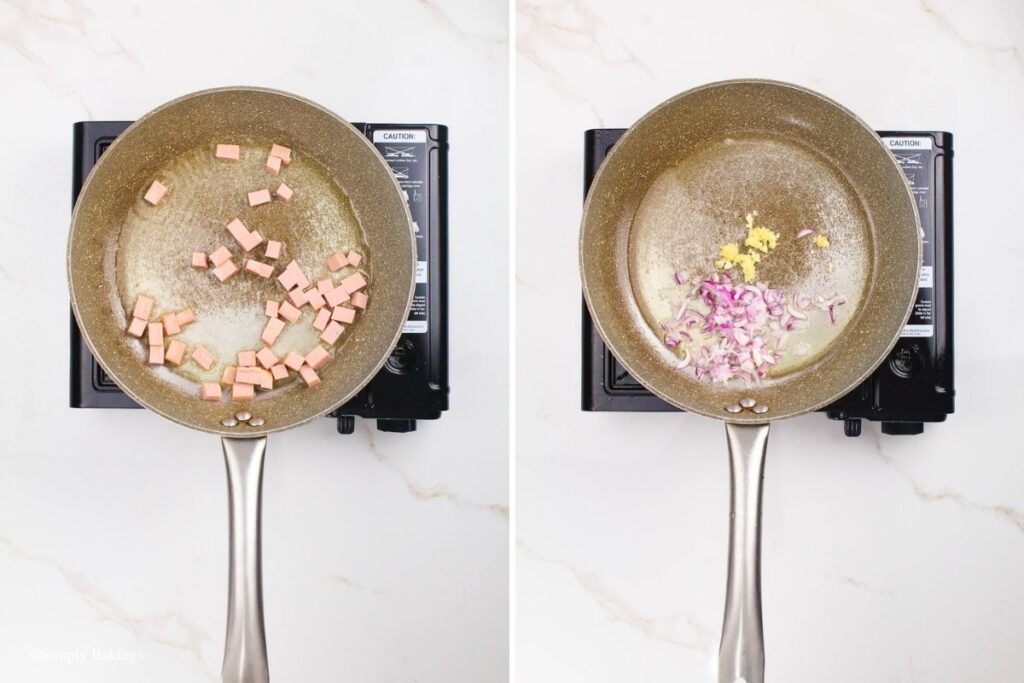
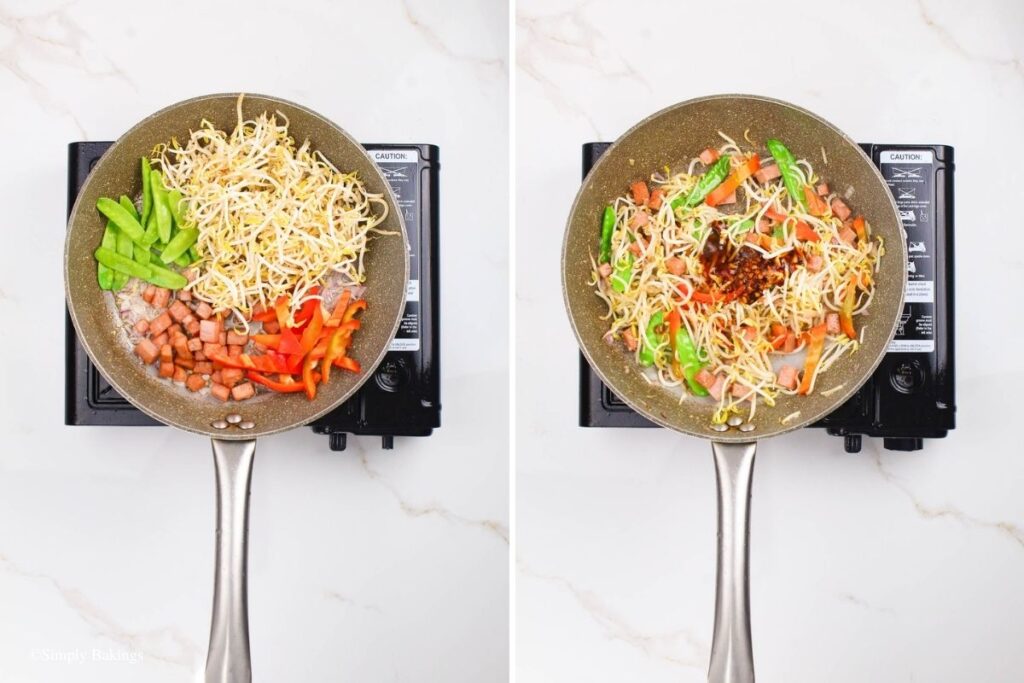
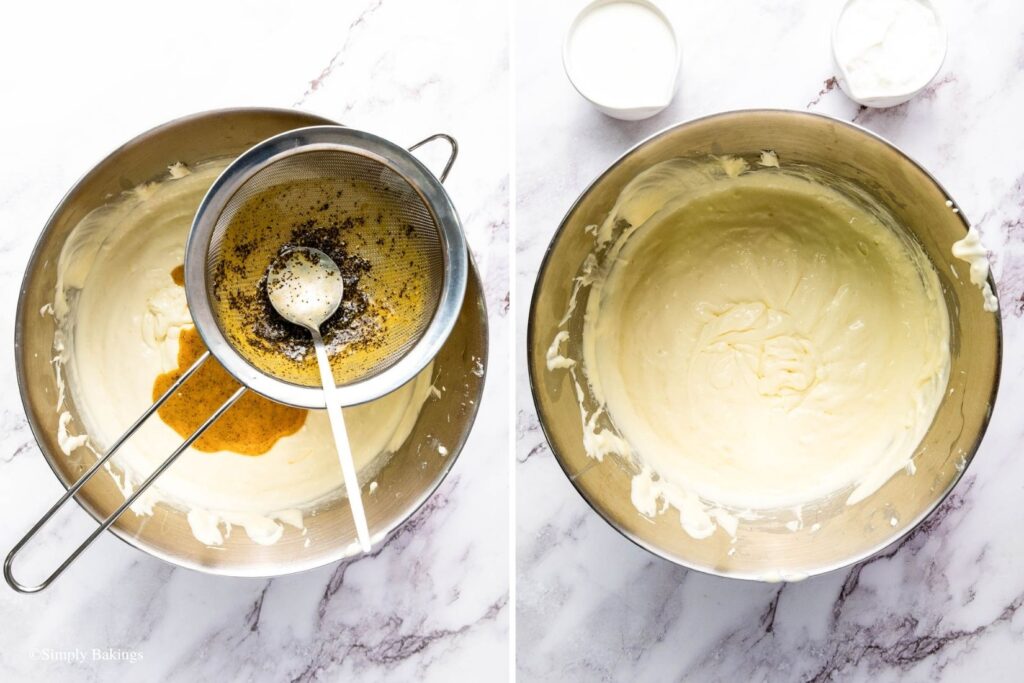
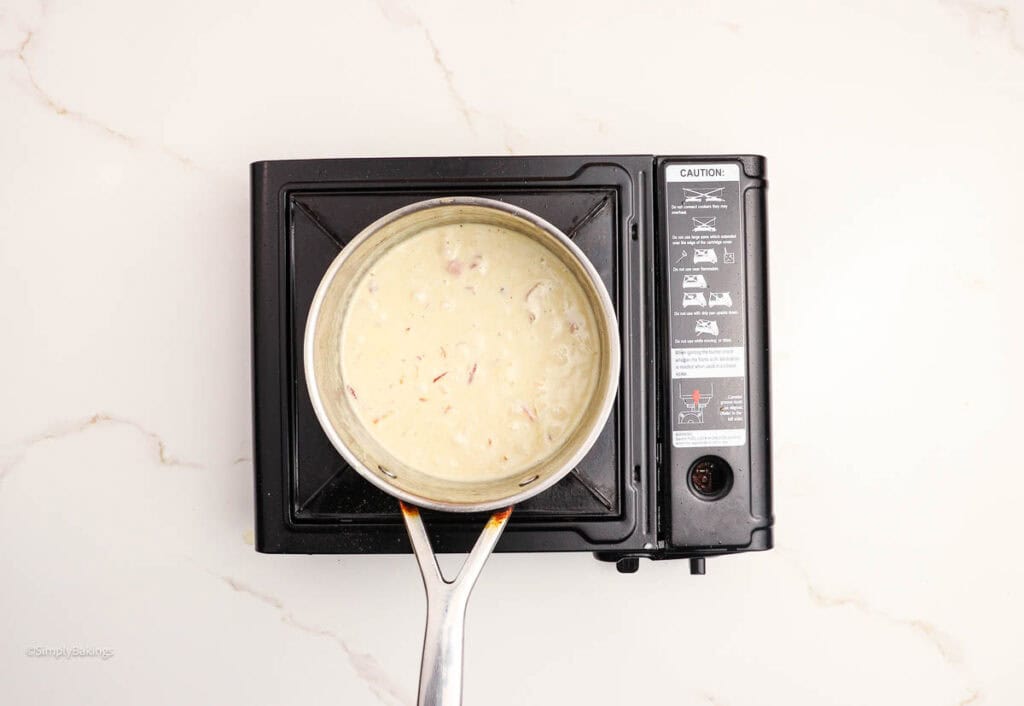
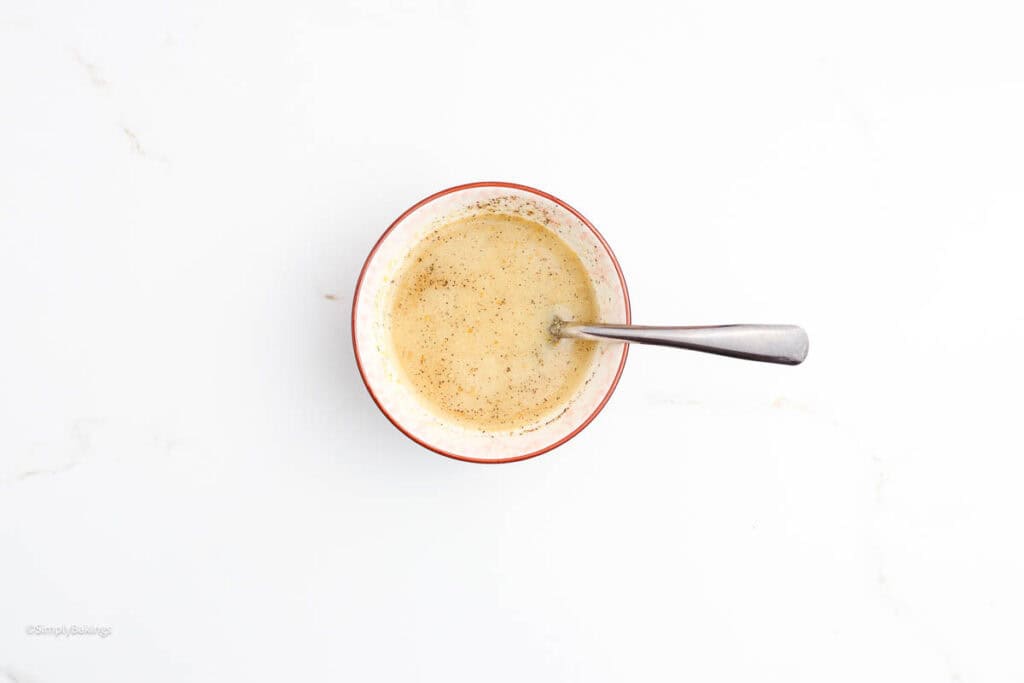
Make the Sauce Base
3. In a large pan or pot, add cooking cream, lemon juice, turmeric, a vegetable bouillon cube, and half of the lemon zest.
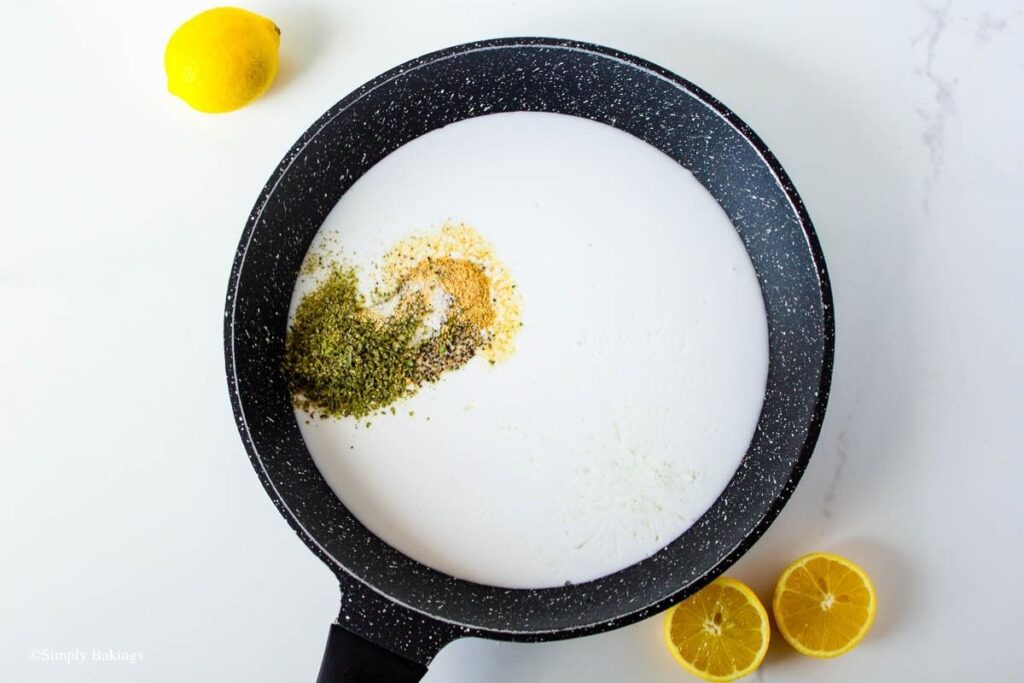
4. Bring the mixture to a boil over medium heat.
Cook the Pasta
5. Add the pasta directly into the pan.
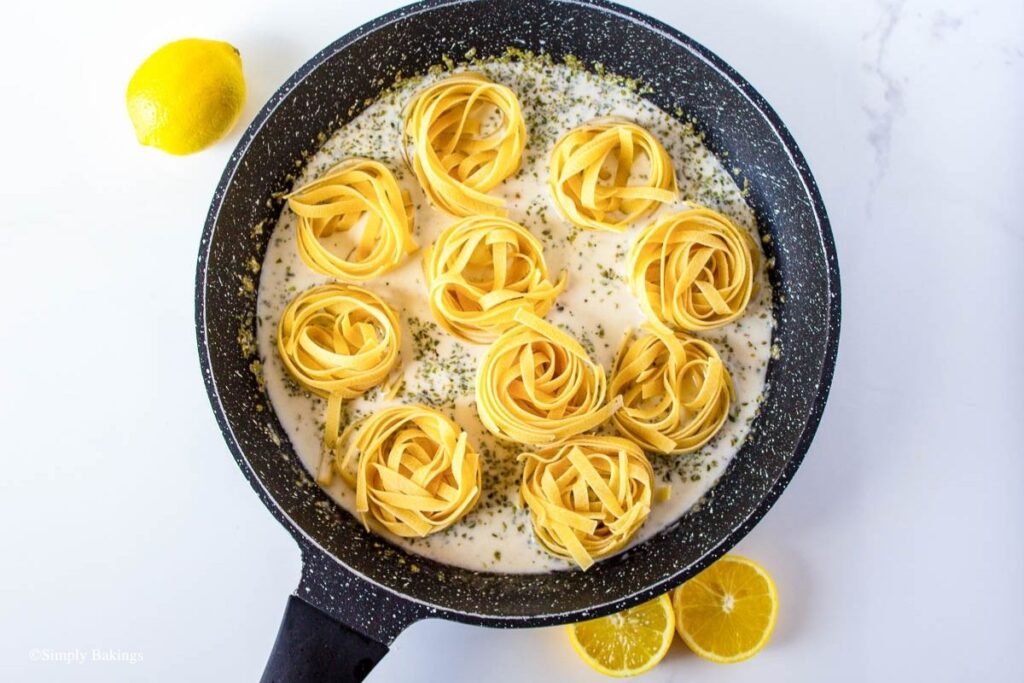
6. Cook according to the package instructions, stirring occasionally.
7. If the liquid evaporates too quickly before the pasta is fully cooked, add a small amount of water as needed.
8. Continue cooking until the pasta is tender and the sauce has thickened.
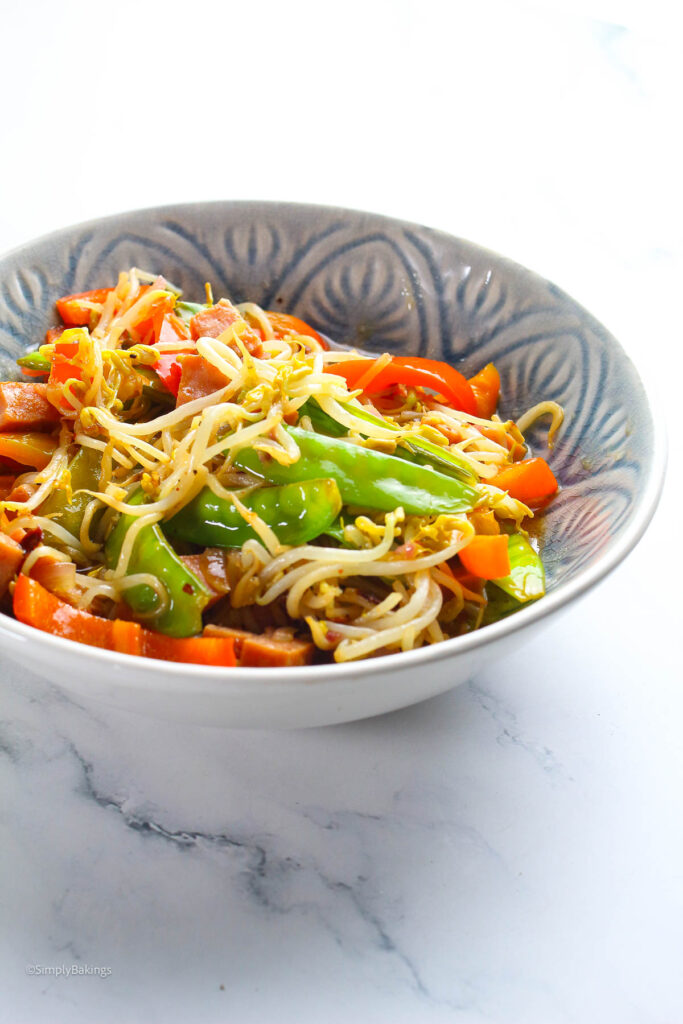
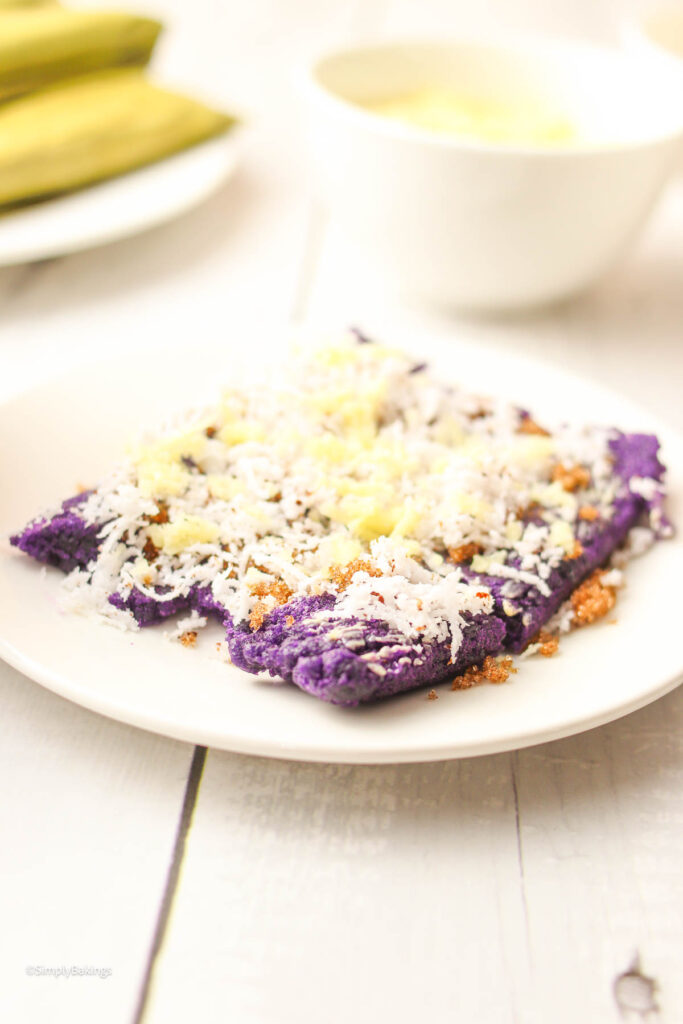
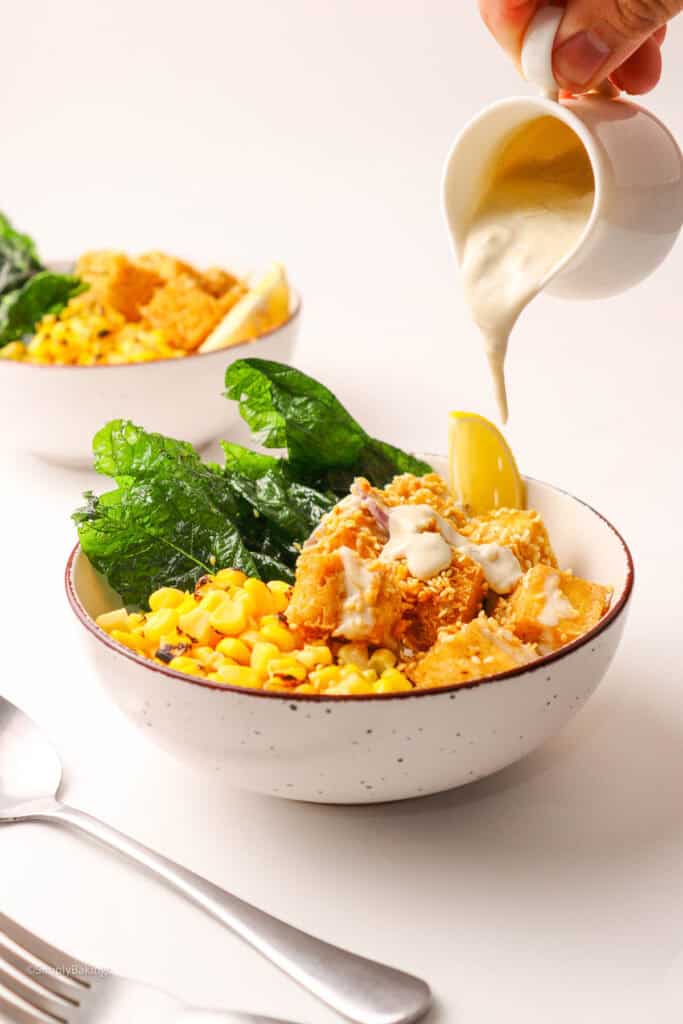
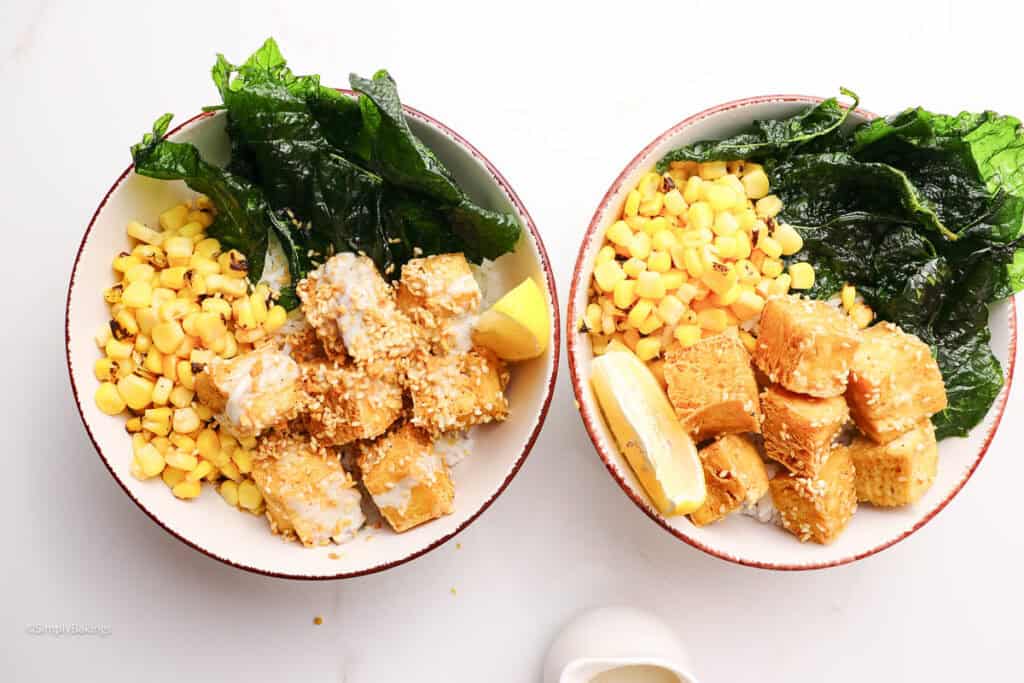
Finish and Serve
9. Once cooked, remove from heat.
10. Top with parmesan cheese.
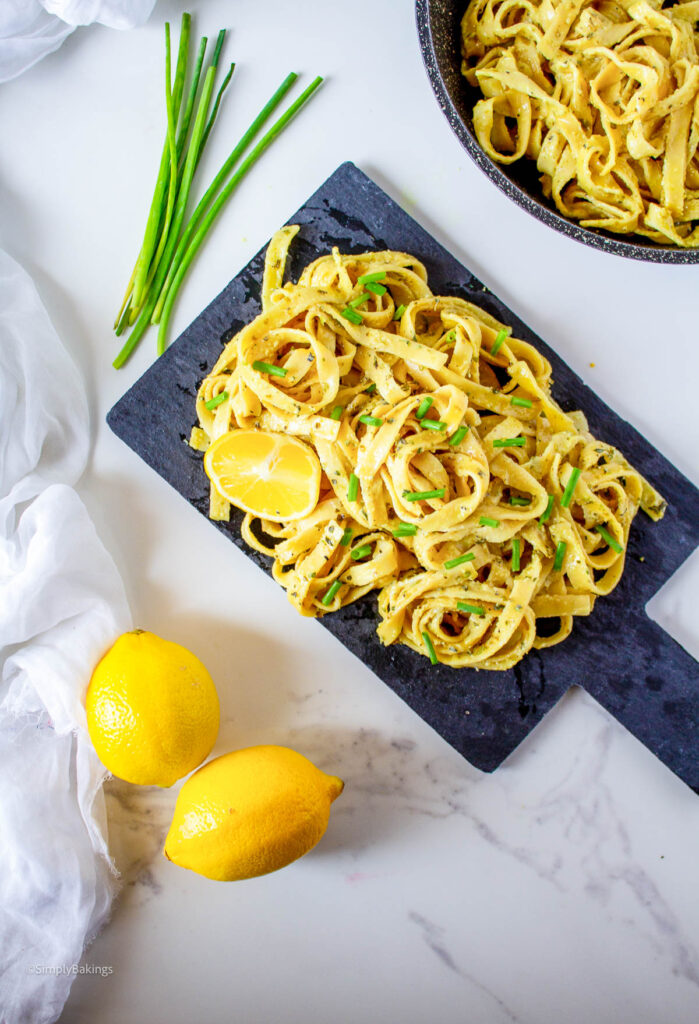
11. Garnish with fresh basil and the remaining lemon zest.
12. Serve immediately and enjoy.
Substitutions & Variations
- Ingredient Swap
If no tagliatelle is available, use spaghetti. - Variation
For a dairy-free option, use coconut cream instead of cooking cream. - Mistake to Avoid
Don't overcook the pasta! You don't want to dry out the sauce before the pasta tenderizes. If needed, gradually add a splash of water slowly. - Storage Tips
- Store leftovers in an airtight container in the fridge for up to 2–3 days.
FAQs

Best Vegan Lemon Pasta
Ingredients
- 1 pound pasta such as tagliatelle or macaroni
- 1 whole lemon zested and juiced
- 2 cups cooking cream
- 1 cube vegetable bouillon
- 1 teaspoon turmeric
- fresh basil for garnish
- 4 ounces parmesan cheese for topping
Instructions
Prepare the Ingredients
- Zest the lemon to get about 1 tablespoon of lemon zest, then squeeze to extract the juice.
- Set aside the lemon zest and juice.
Make the Sauce Base
- In a large pan or pot, add cooking cream, lemon juice, turmeric, a vegetable bouillon cube, and half of the lemon zest.
- Bring the mixture to a boil over medium heat.
Cook the Pasta
- Add the pasta directly into the pan.
- Cook according to the package instructions, stirring occasionally.
- If the liquid evaporates too quickly before the pasta is fully cooked, add a small amount of water as needed.
- Continue cooking until the pasta is tender and the sauce has thickened.
Finish and Serve
- Once cooked, remove from heat.
- Top with parmesan cheese.
- Garnish with fresh basil and the remaining lemon zest.
- Serve immediately and enjoy.
Notes
- Select the pot you will use to cook the one-pot lemon pasta, such as a 12-inch-diameter pan, but you can use a larger pot if you prefer.
- Use pasta shapes that fit well in the pan for even cooking.
- Add water gradually if needed to prevent the pasta from drying out.
- For a fully vegan version, use dairy-free Parmesan cheese alternatives.

You Might Also Like:
Recipes for Every Moment
Want comfort after a tiring day? A plate of creamy vegan lemon pasta is what you need. It's full of fresh flavor and easy to make!