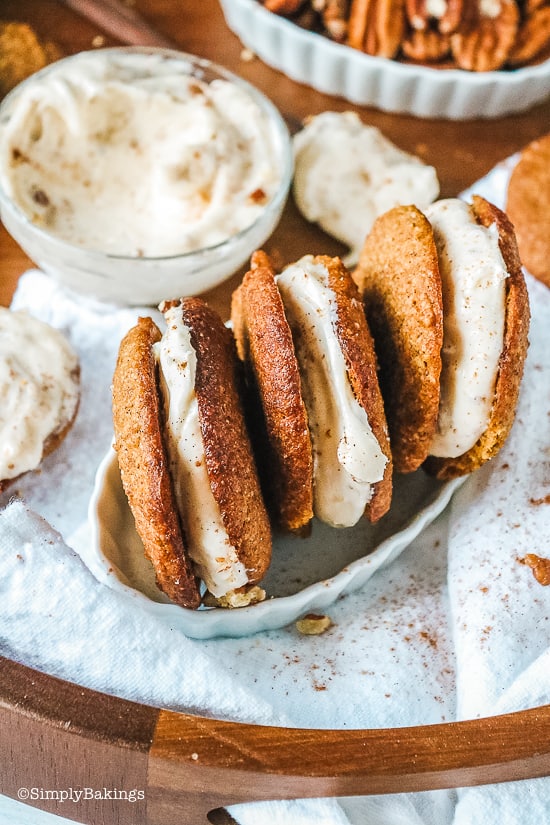
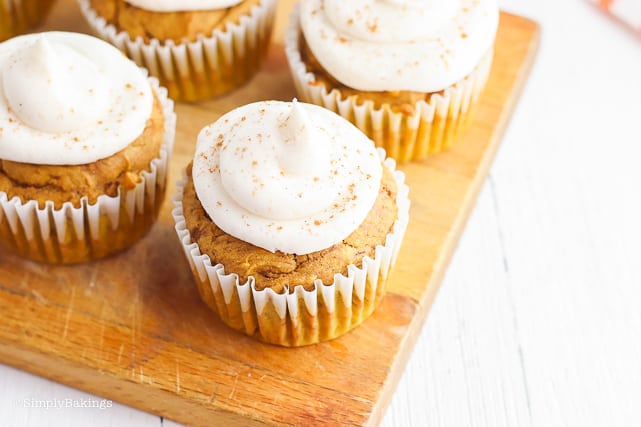
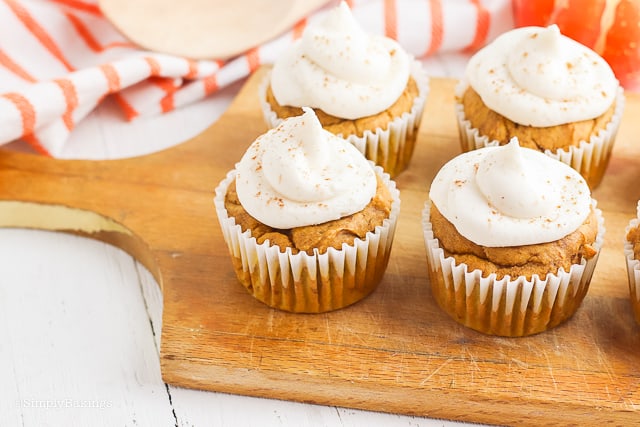
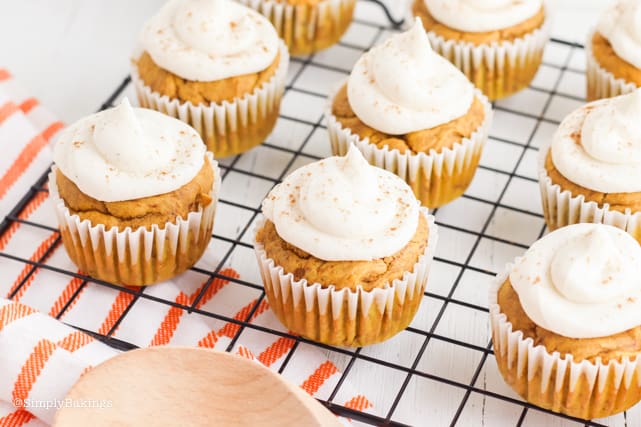
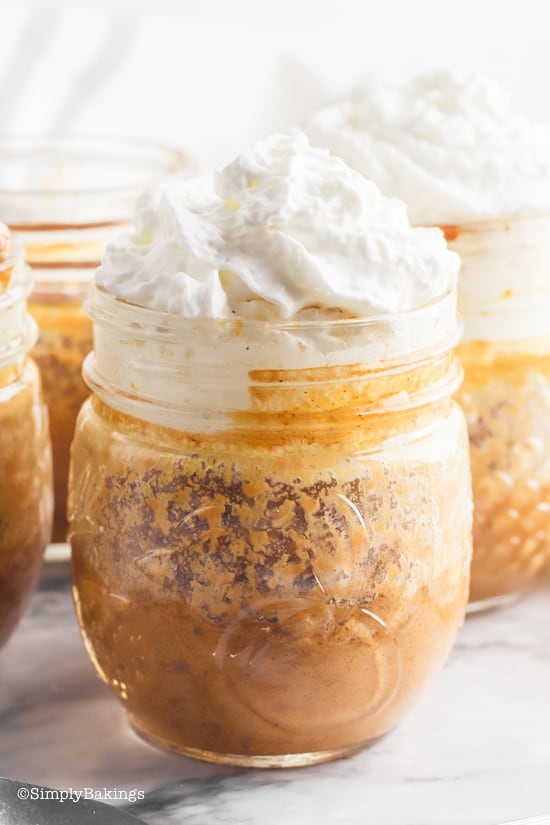
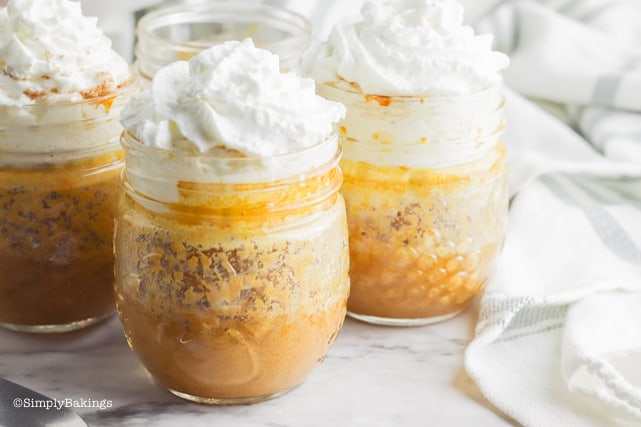
Welcome fall season with this Pumpkin Pie in a Mason Jar recipe. It combines rich pumpkin puree, warm spices like cinnamon and pumpkin pie spice, and creamy evaporated milk. Baked in individual jars, it’s a fun, portable dessert topped with whipped cream, perfect for fall gatherings or cozy treats!
Looking for more desserts to share for Thanksgiving? Try my Pumpkin Spice Latte Cupcakes or my Oreo Pumpkin Cheesecake!
Substitutions
- Dairy-free: Swap the evaporated milk with coconut milk or almond milk for a dairy-free version.
- Sugar-free: Use a sugar substitute like stevia or monk fruit to make the dessert sugar-free.
Variations
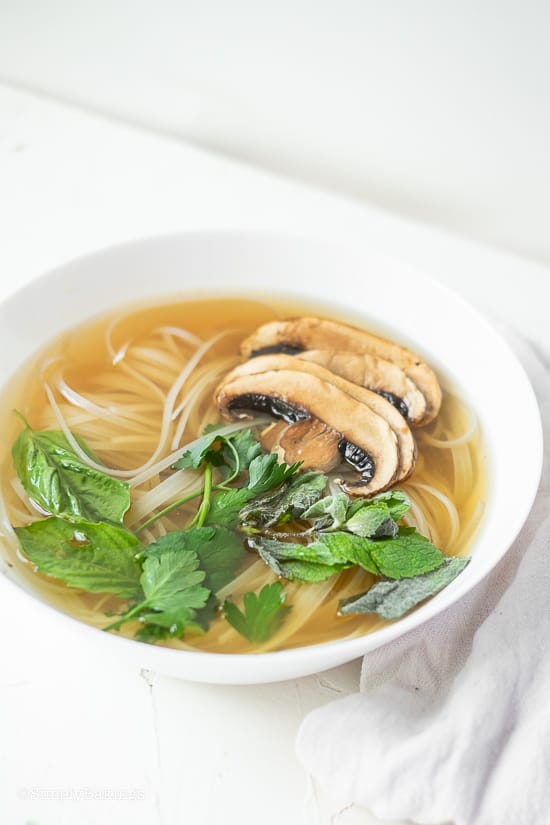
- Serve it alongside a hearty fall meal like roasted meat or a savory soup. The spiced, creamy sweetness of the pumpkin pie complements warm, comforting dishes really well.
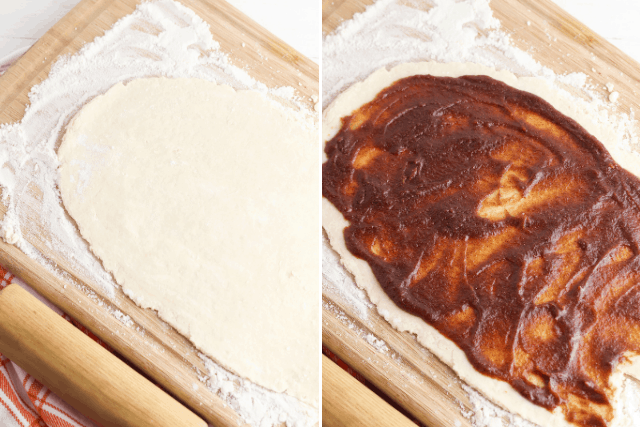
- Add a graham cracker crust at the base of the mason jars to mimic a pie crust.
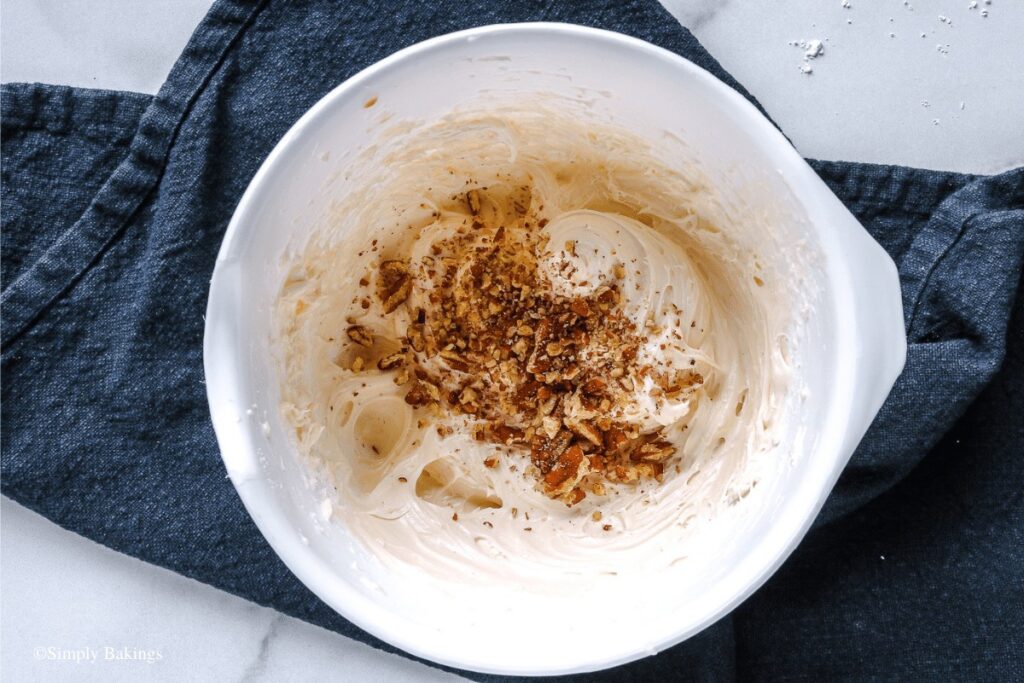
- Toppings: candied pecans, chocolate shavings, and crushed graham crackers
Storage
- If you have leftovers (though I doubt you will!), simply cover the jars with their lids and store them in the fridge for up to 3 days.
- When you’re ready to enjoy another jar, you can either eat it cold or warm it up in the microwave for about 30 seconds to 1 minute. Don’t forget to add fresh whipped cream after reheating!
Top Tips
- These pie jars can easily be made the day before serving. In fact, I think its flavor is best after being chilled overnight.
- If traveling for Thanksgiving, add the jar lids and bring them with you. And right before you serve, add the whipped cream.
- If you don't like the messy look of the mason jars, simply take a wet cotton swab or a paper towel and wipe down the inside of the pumpkin jars.
- Overfilling the jars: Make sure to leave some space at the top of the jars to prevent the filling from overflowing during baking.
- Skipping the cooling process: Let the jars cool completely before adding any toppings. If you add whipped cream while the jars are still hot, it will melt and lose its fluffy texture.
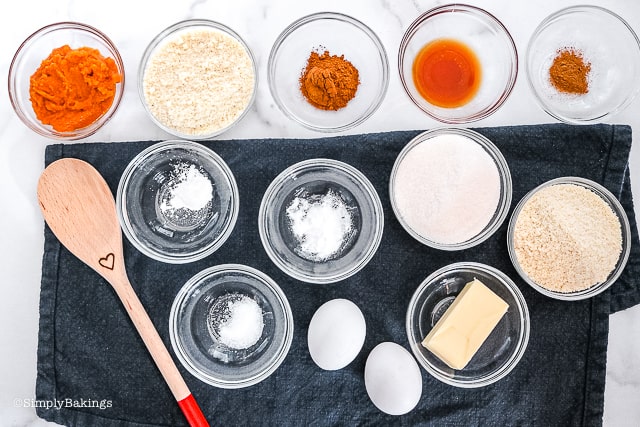
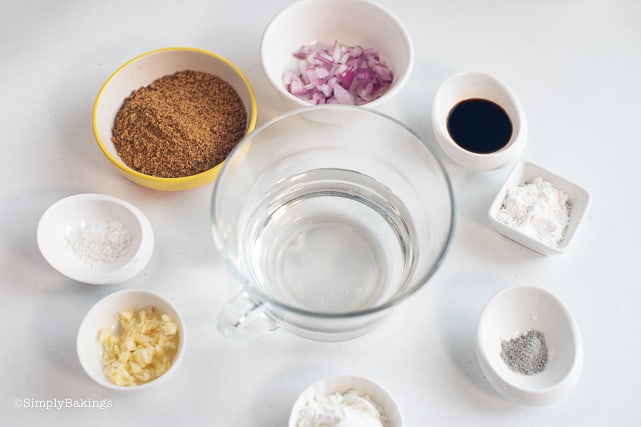
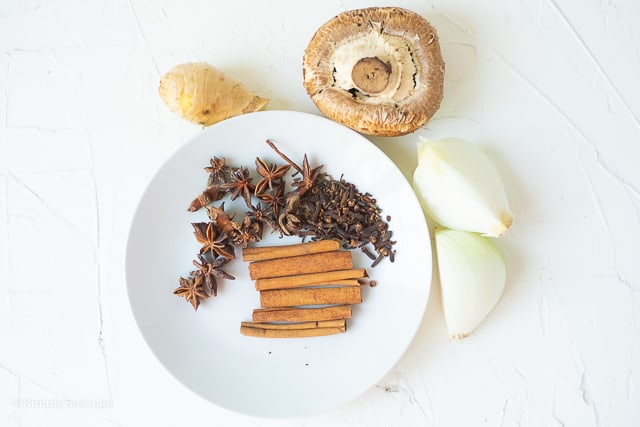
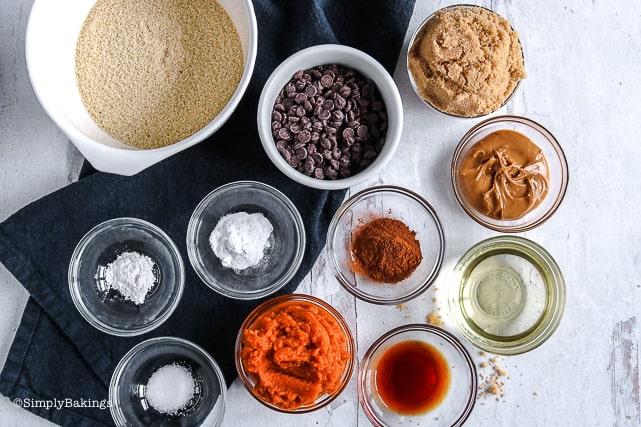
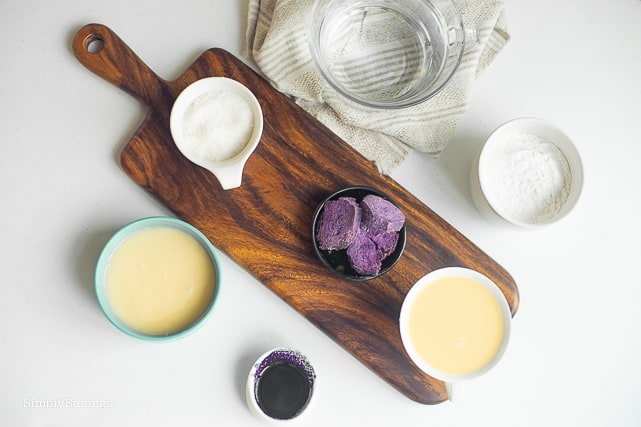
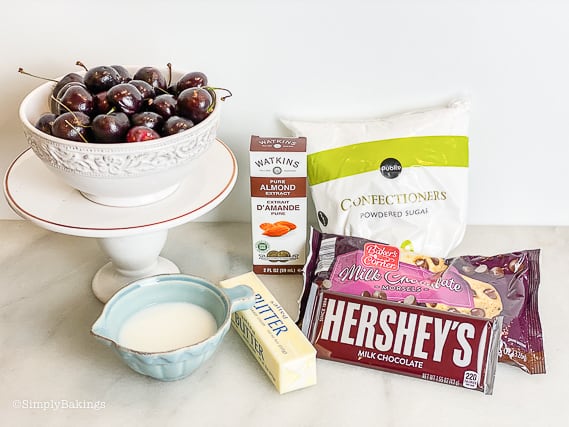
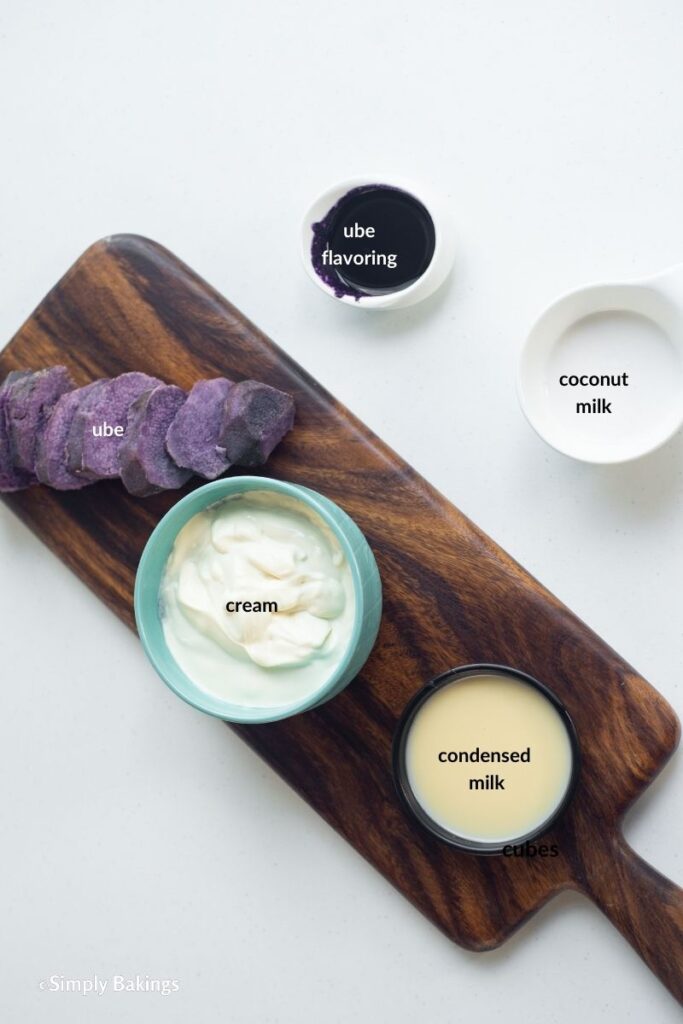
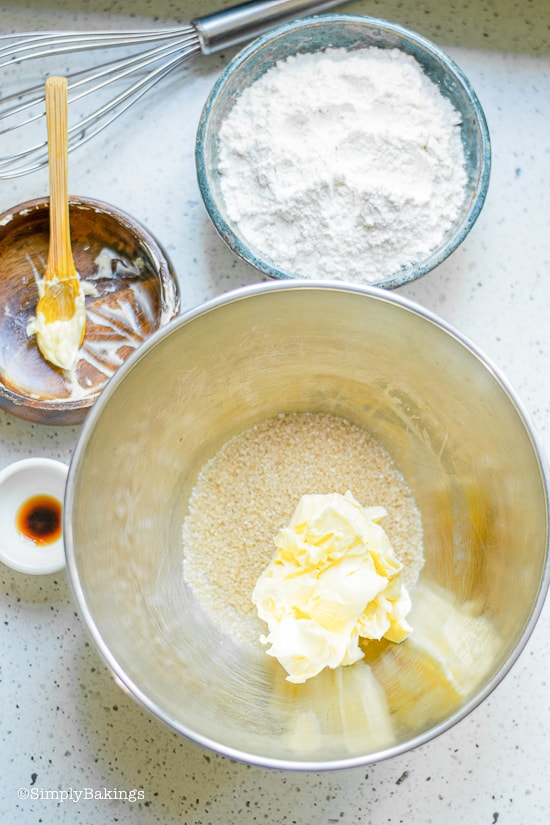
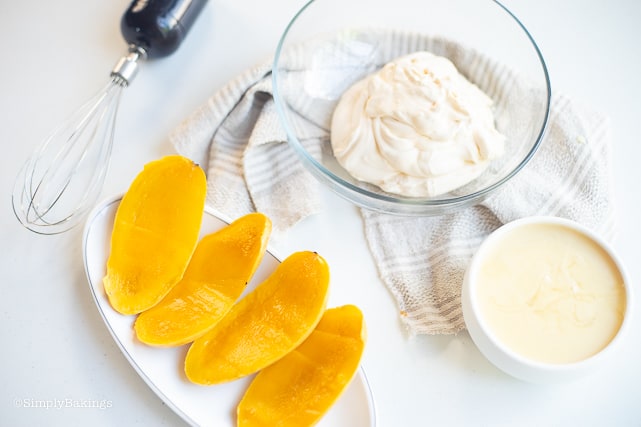
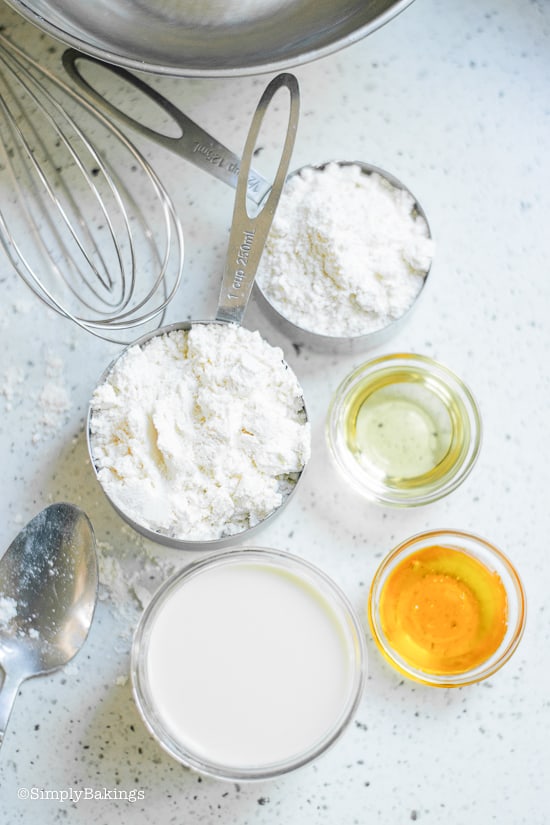
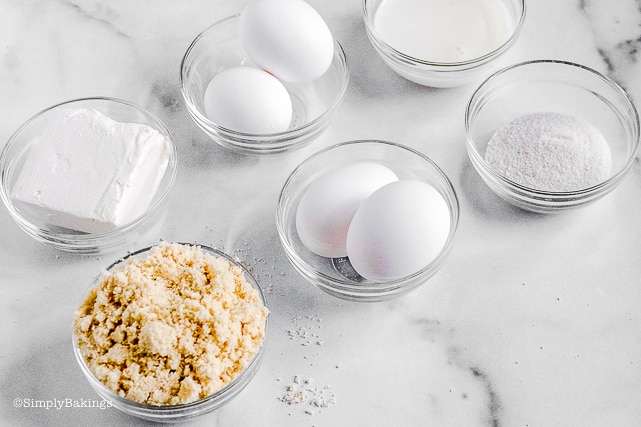
Ingredients
Listed below are all the ingredients you will need:
- brown sugar
- white sugar
- eggs
- vanilla extract
- pumpkin puree
- pumpkin pie spice
- ground cinnamon
- salt
- evaporated milk
- half-pint jars
- sugar
- cinnamon
- whipped cream
Instructions
Preheat the oven to 350°F.
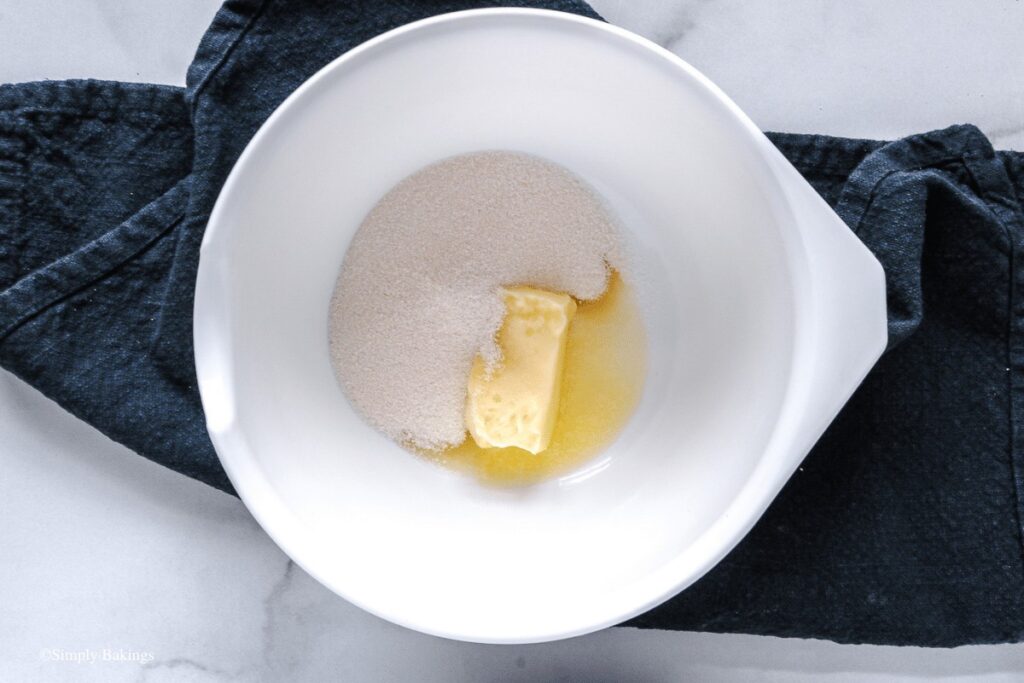
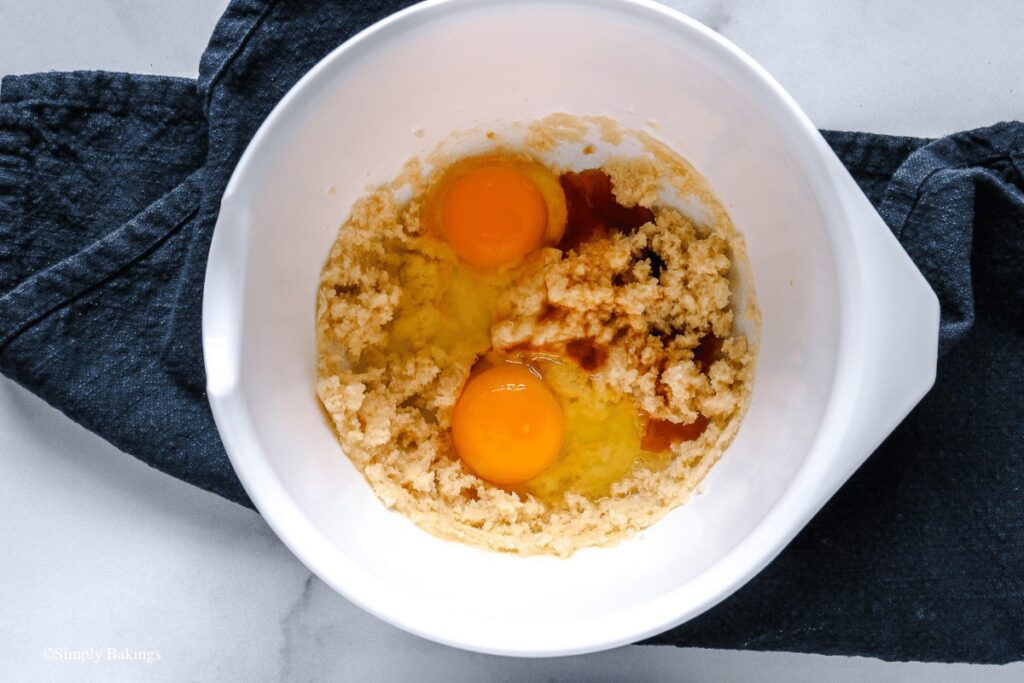
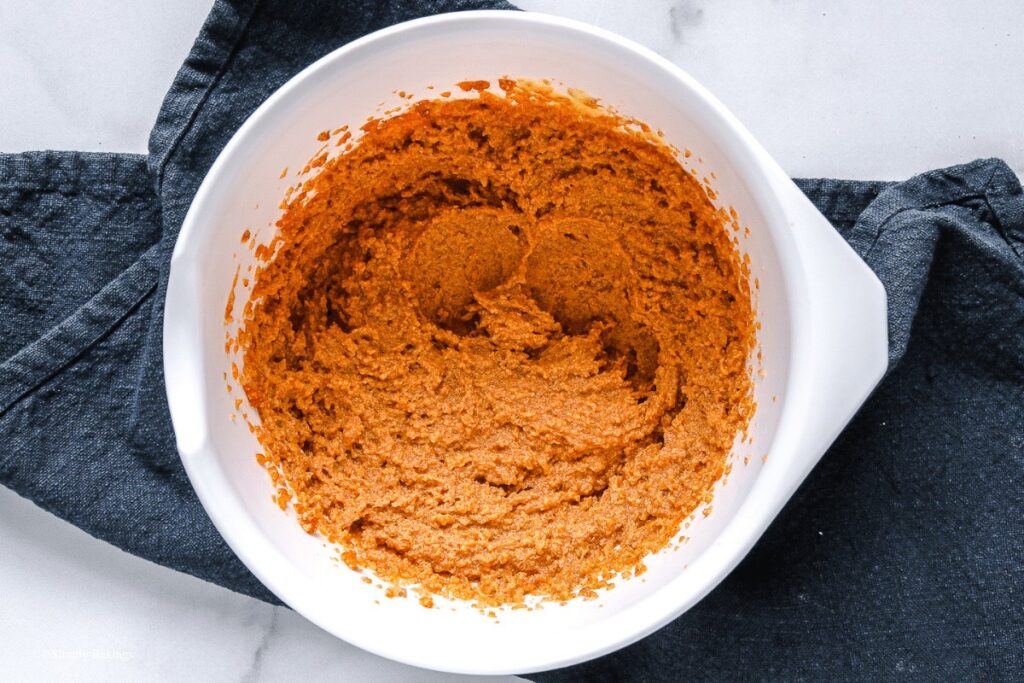
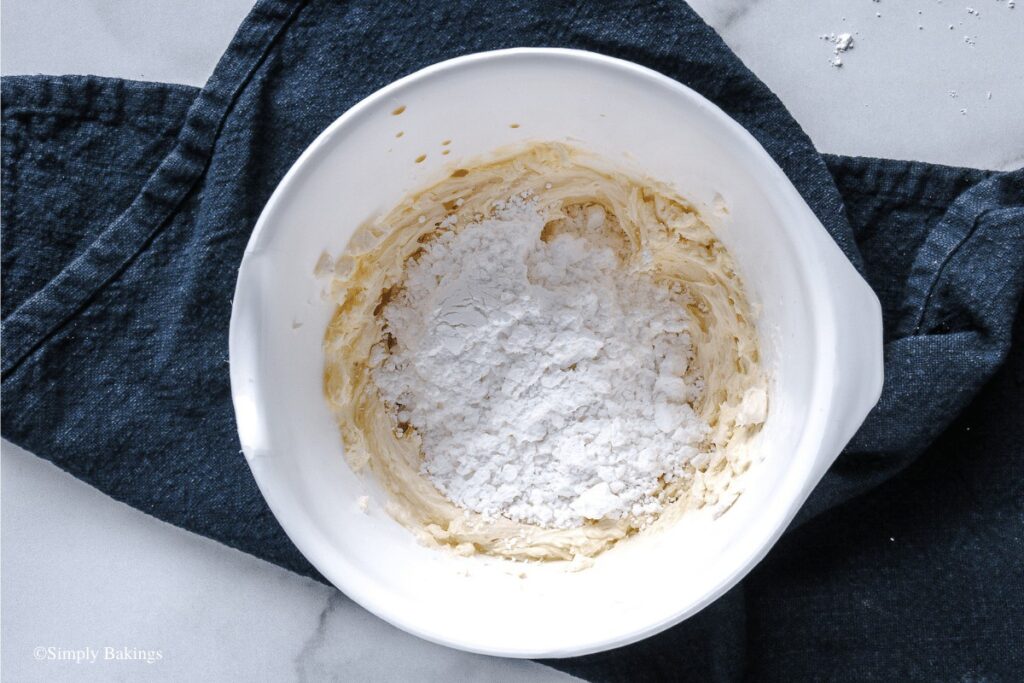
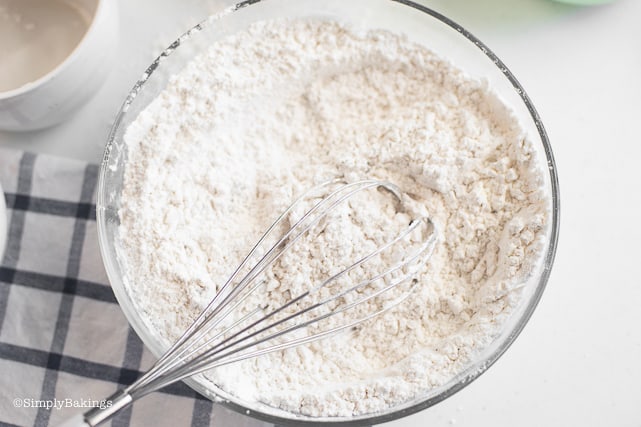
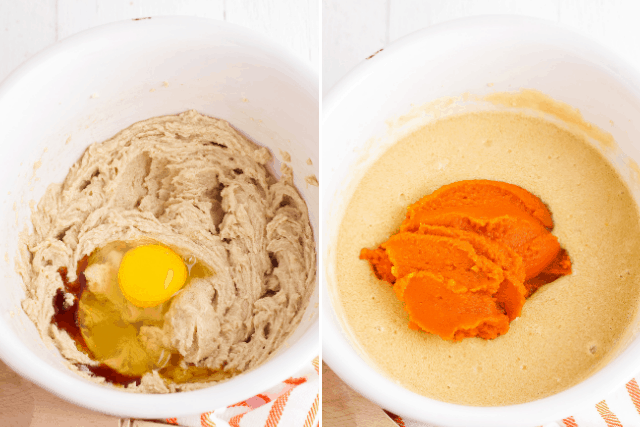
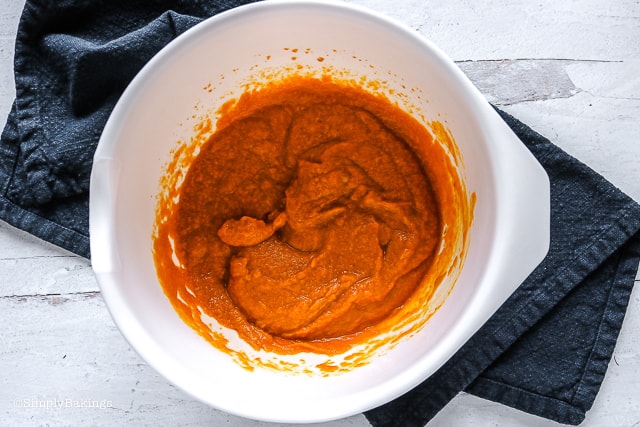
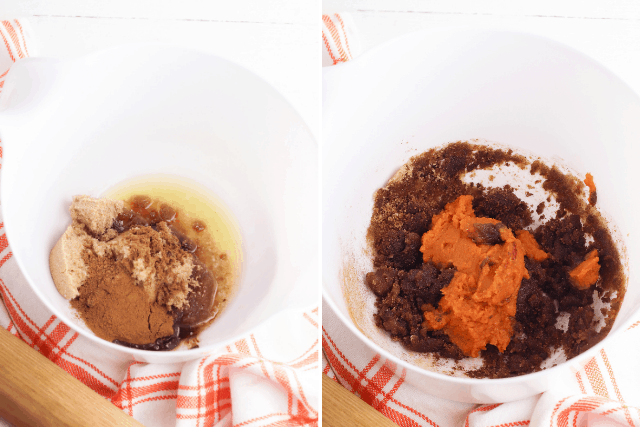
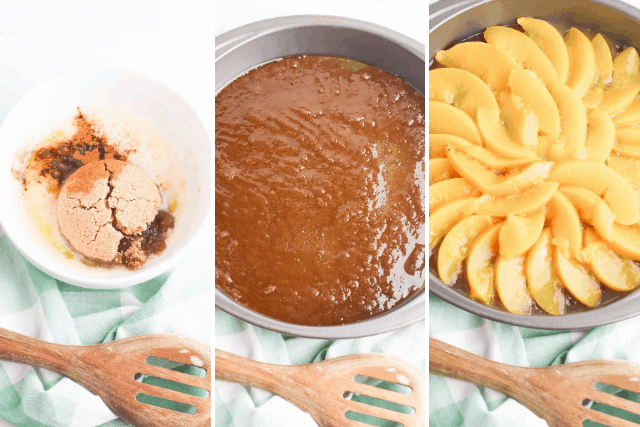
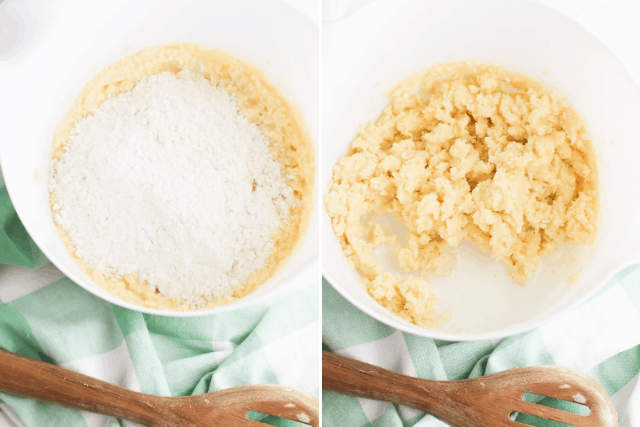
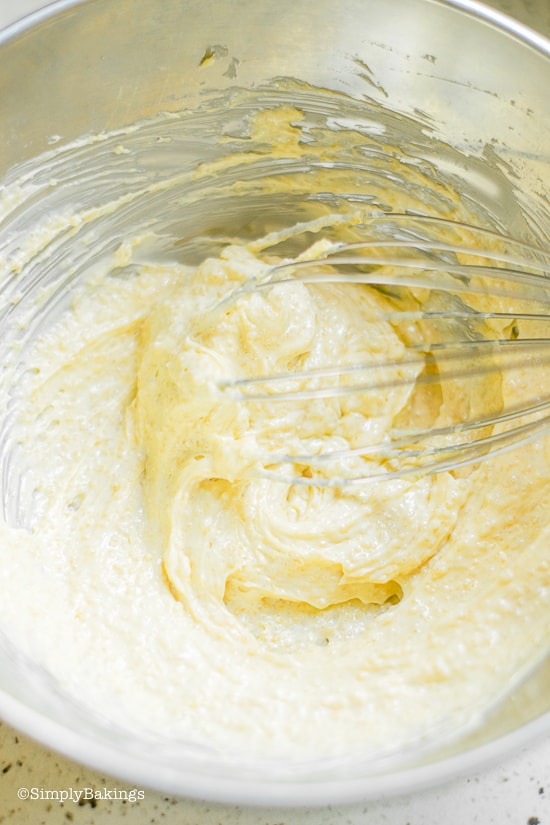
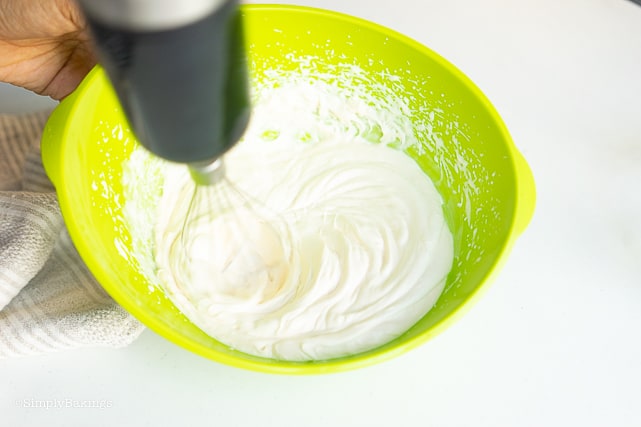
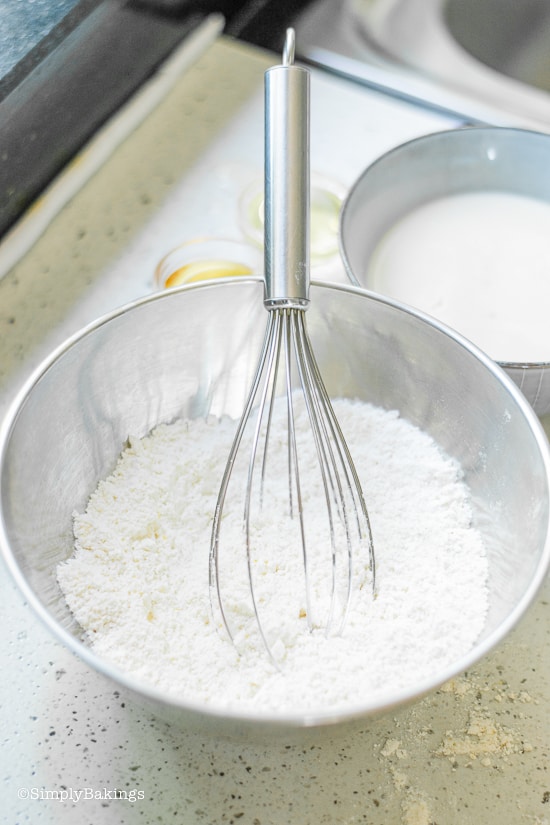
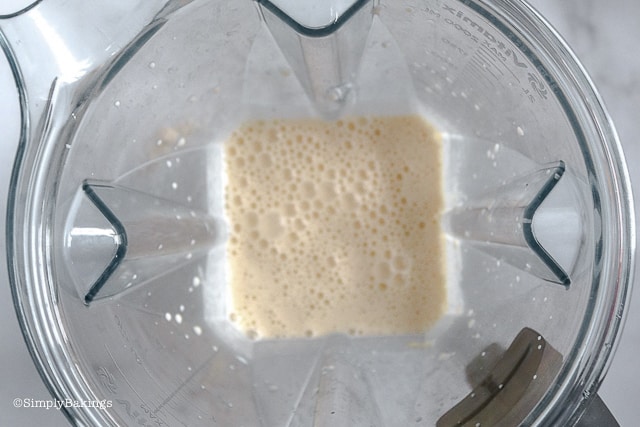
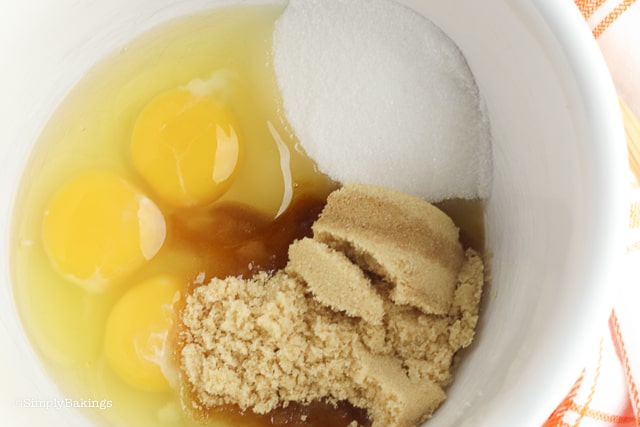
In a large bowl, whisk together the sugars and large eggs.
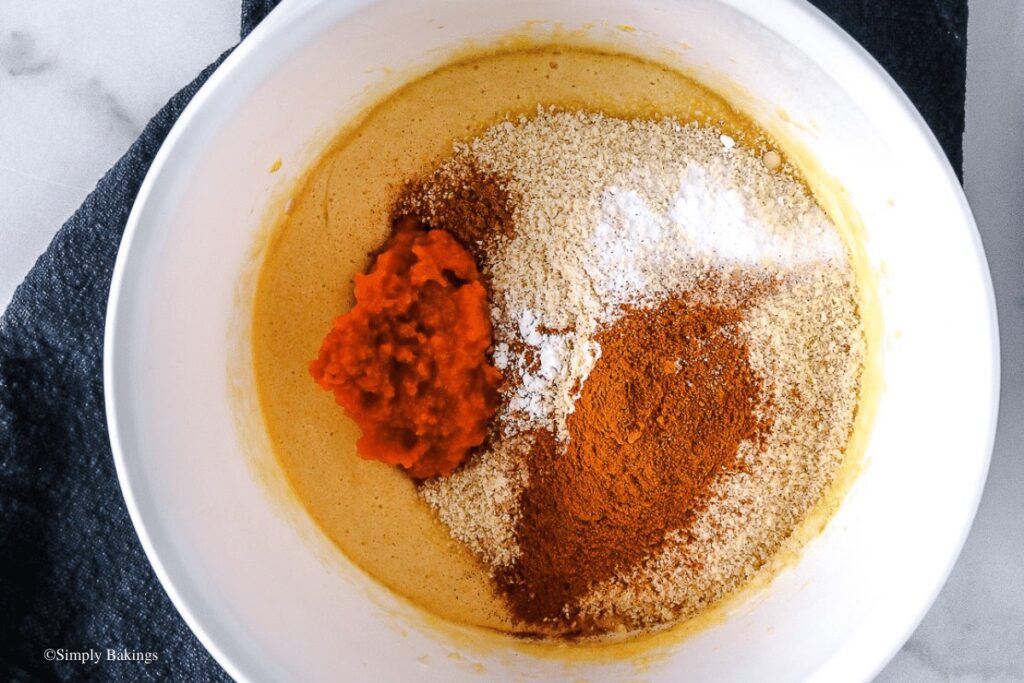
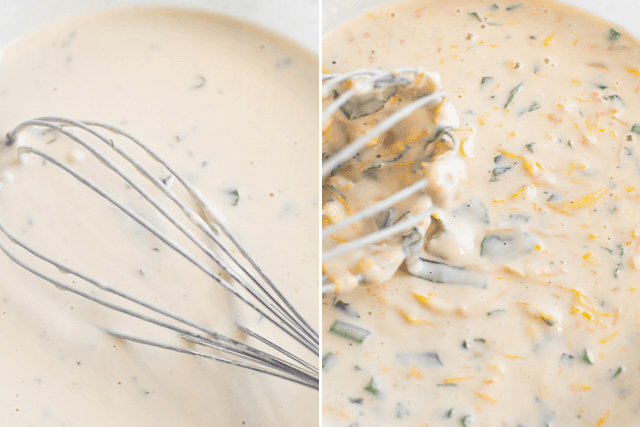
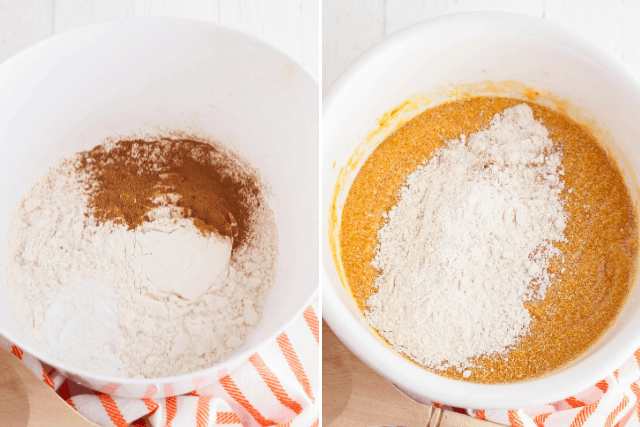
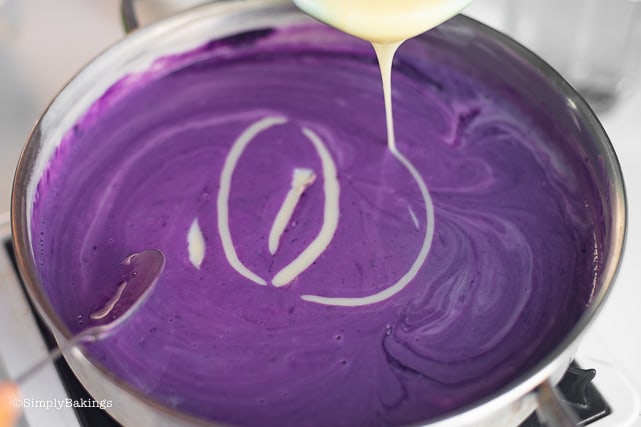
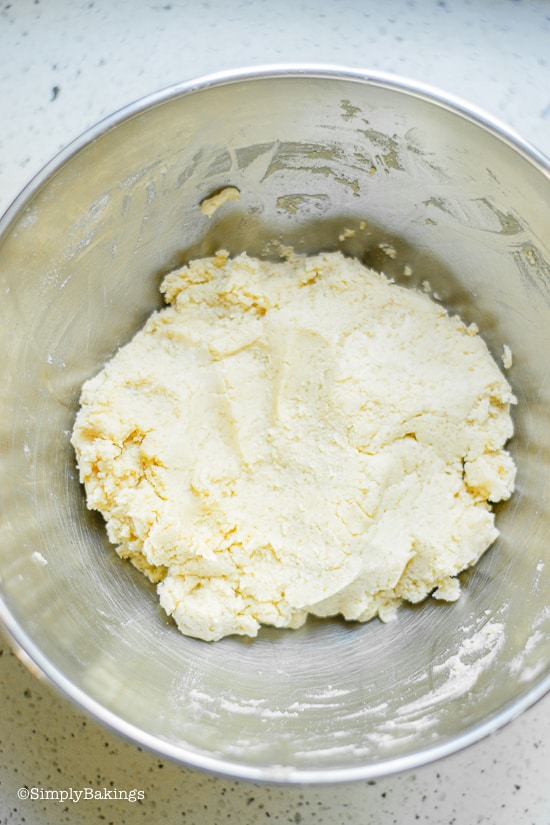
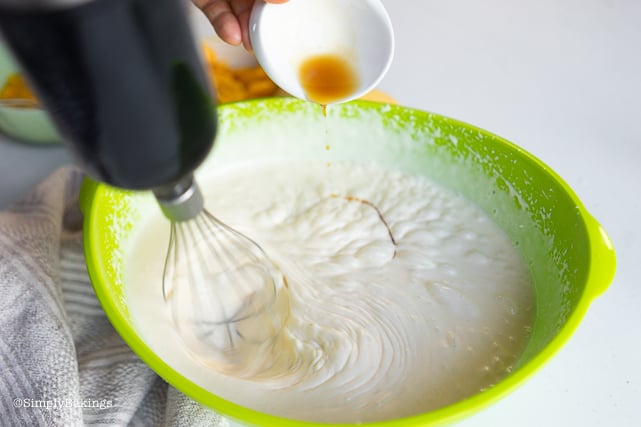
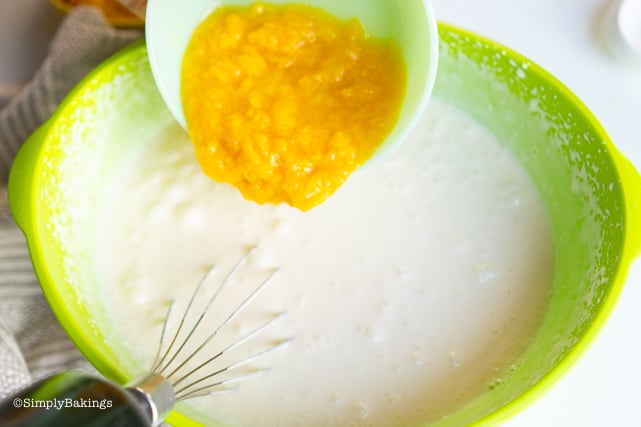
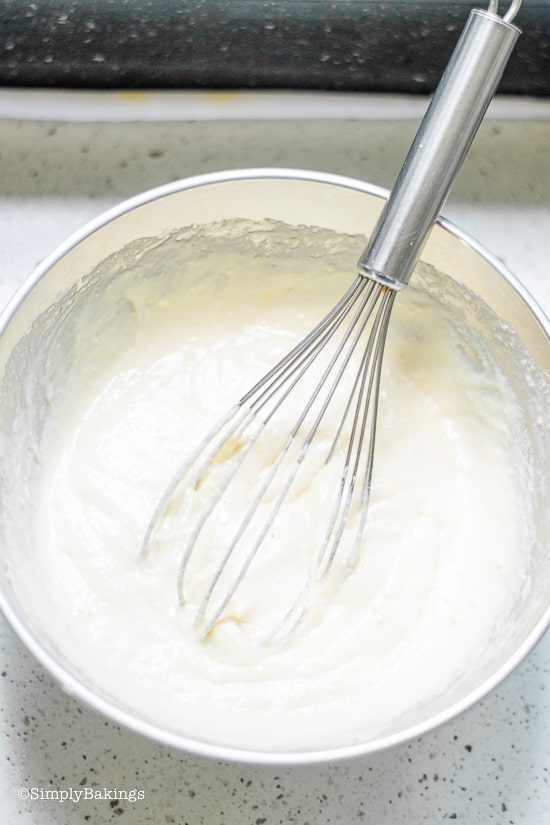
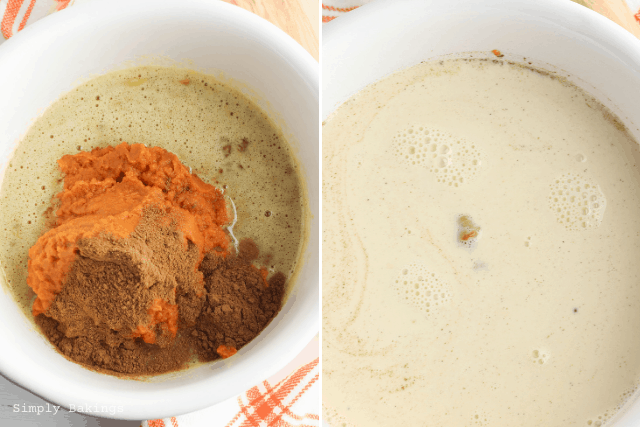
Next add vanilla extract, pumpkin puree, pumpkin pie spice, cinnamon, salt, and mix until well combined. Then mix in the evaporated milk.
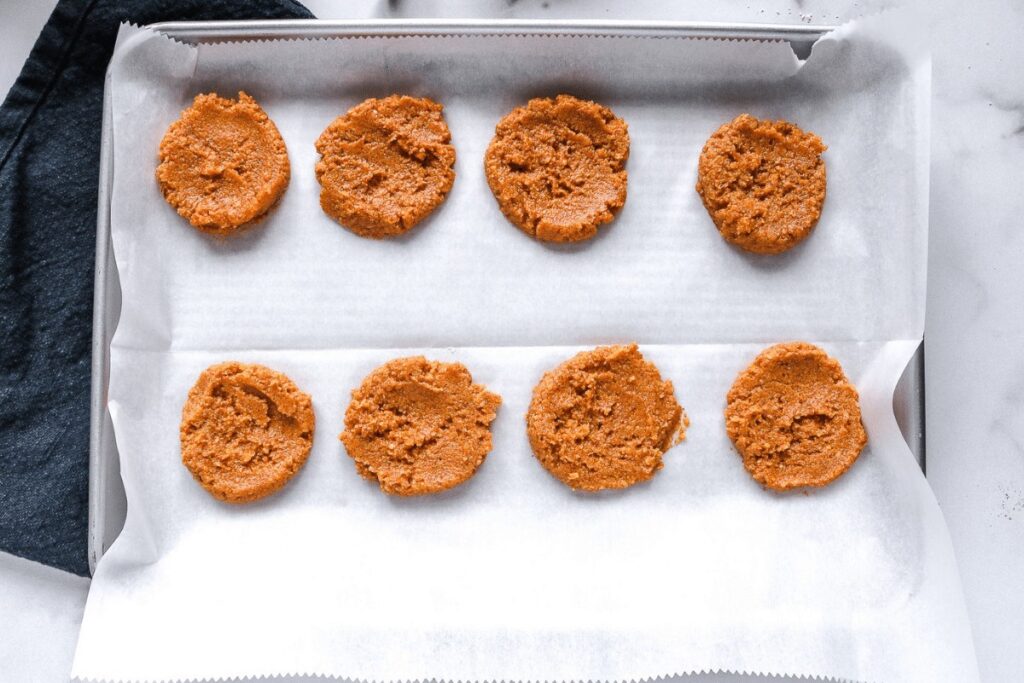
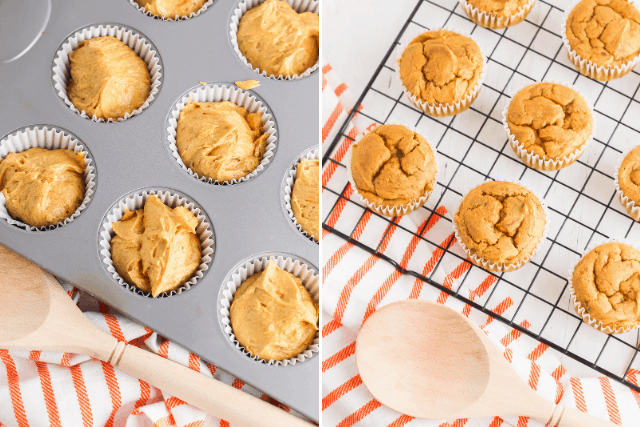
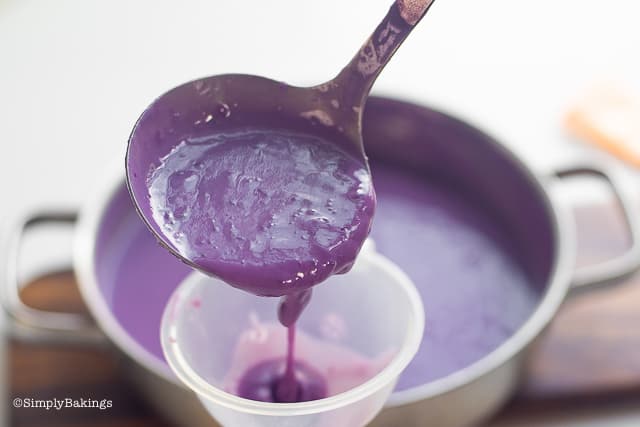
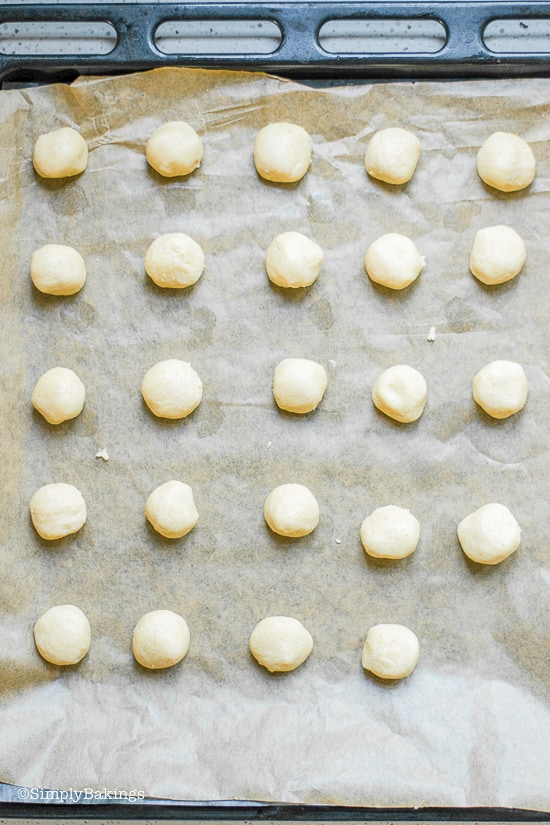
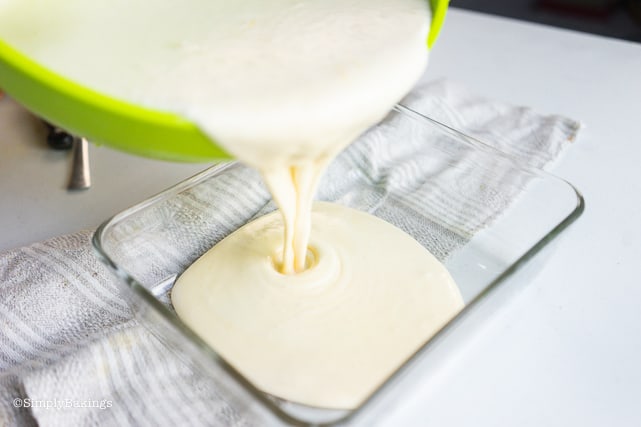
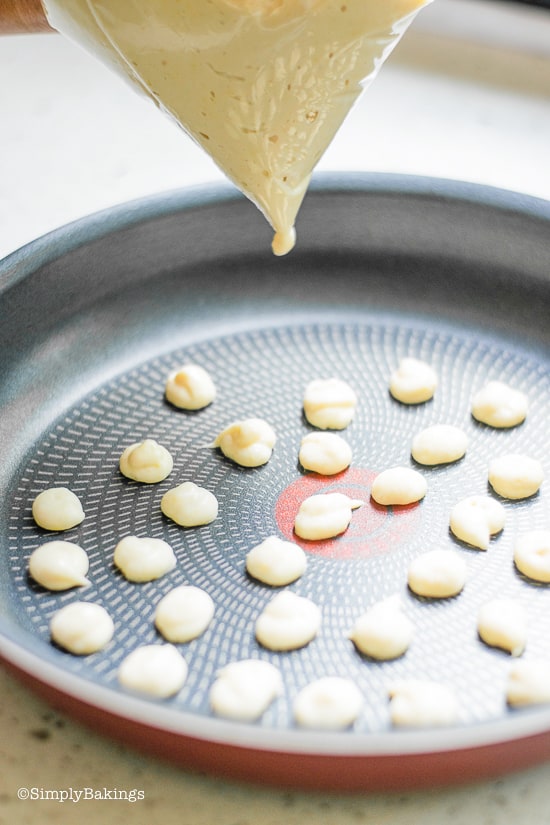
Pour the mixture into the jars, leaving a small amount of space at the top of each jar and place the jars in a small baking dish and place in the preheated oven.

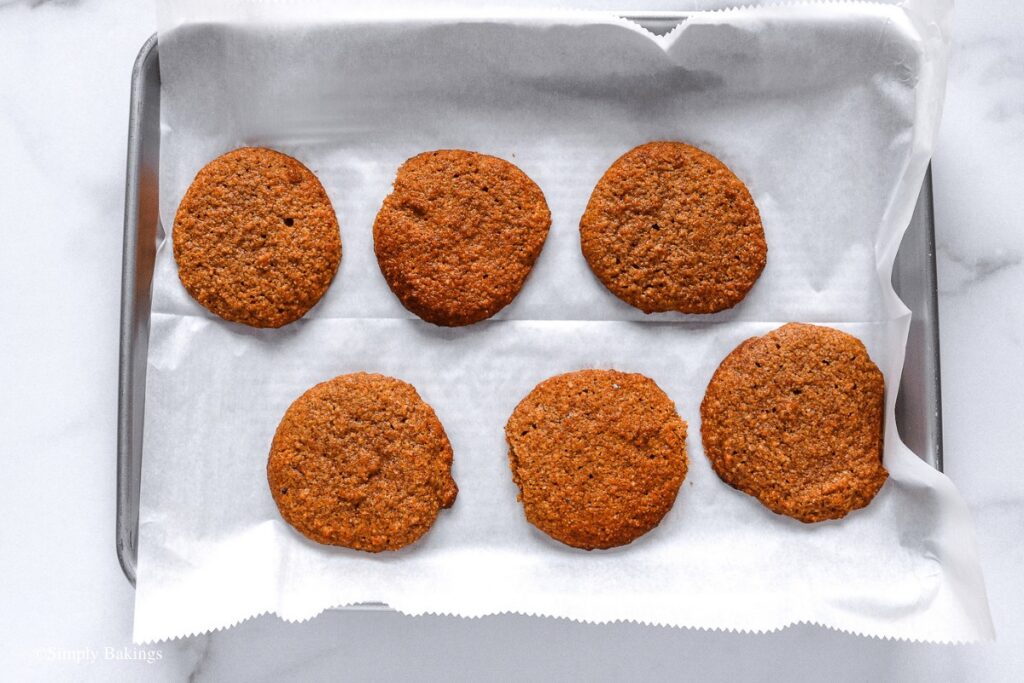
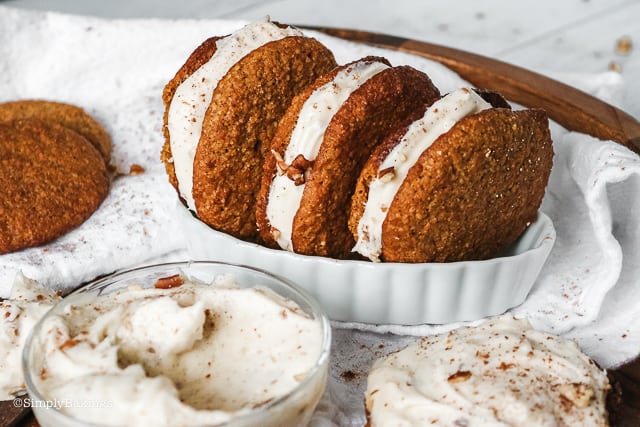
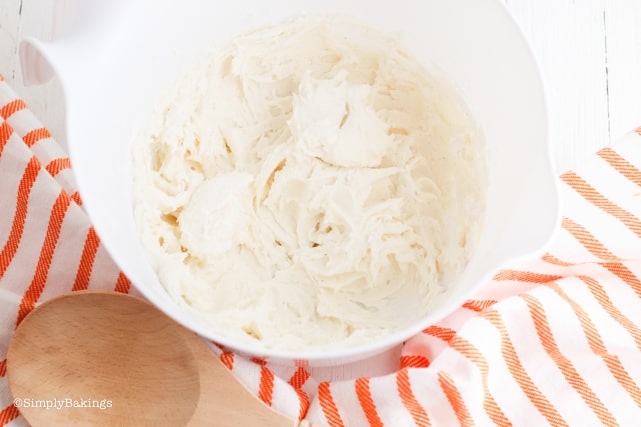
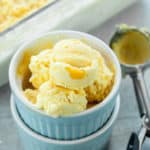
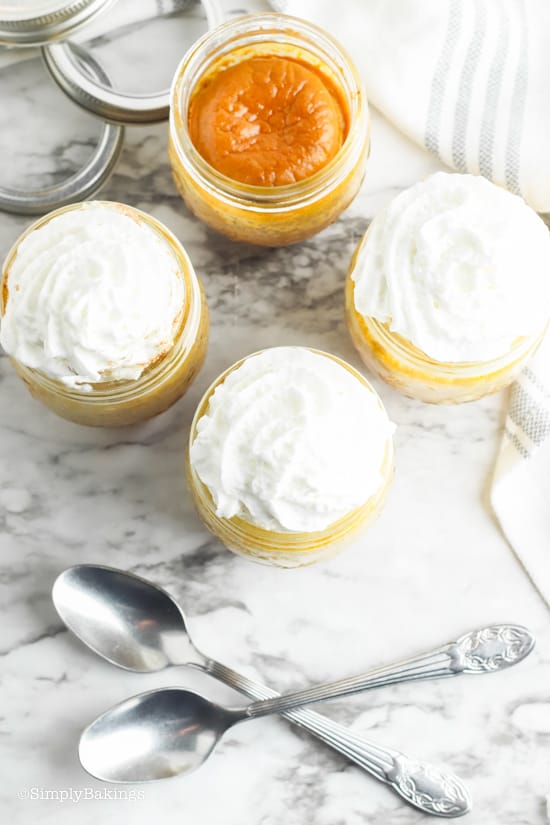
Bake for 35 to 40 minutes or until the center, is set and a toothpick inserted into the center comes out clean. Top with whipped cream, cream cheese frosting or chocolate mousse. Enjoy!
FAQ
Try more of my favorite pumpkin flavored recipes:

Pumpkin Pie in a Mason Jar
Ingredients
- 1 cup brown sugar
- ¼ cup white sugar
- 3 eggs
- 1 teaspoon vanilla extract
- 1 15- ounce can pumpkin puree
- 1 teaspoon pumpkin pie spice
- 1 teaspoon ground cinnamon
- ½ teaspoon salt
- 1 12- ounce can evaporated milk
- 5 half-pint jars
- 1 tablespoon sugar combined with ½ teaspoon cinnamon for topping optional
- Whipped cream for topping optional
Instructions
- Preheat oven to 350 degrees.
- In a large bowl, beat together the sugars and eggs. Then add vanilla extract, pumpkin puree, pumpkin pie spice, cinnamon, salt, evaporated milk and mix until well combined.
- Mix in the evaporated milk and then pour the mixture into the jars, leaving a small amount of space at the top of each jar. You may have a small amount of pumpkin mixture leftover.
- Pour the mixture into the jars, leaving a small amount of space at the top of each jar.
- Place the jars in a small baking dish and place in the preheated oven and bake for 35 to 40 minutes or until the center, is set and a tooth pick inserted into the center comes out clean.
- Allow the jars to cool completely, then top with whipped cream and cinnamon sugar before serving, if desired.
Notes
- These pie jars can easily be made the day before serving. In fact, I think they taste best after being chilled overnight.

With Thanksgiving around the corner, it's time for your favorite heart-warming foods, family and friends get together.
But with what's happening in the world, Thanksgiving might not be the same for 2020. My family already made the decision to cancel and just celebrate it separately. 🙁
But for those of you who are still able to celebrate, here's a spin on the Thanksgiving classic Pumpkin Pie!
It's perfect for individual servings, can be made ahead of time, and will wow your family and friends: Pumpkin Pie in jars!