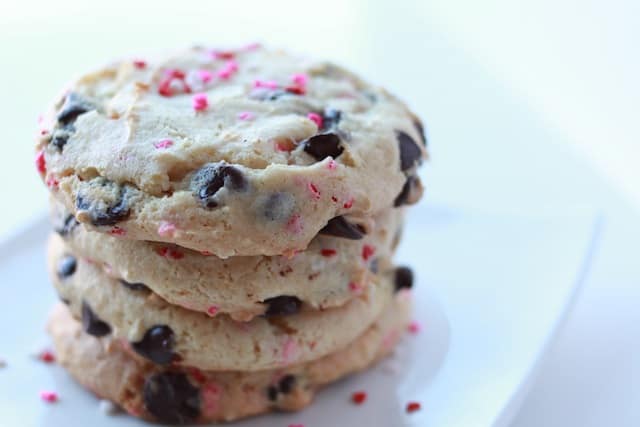
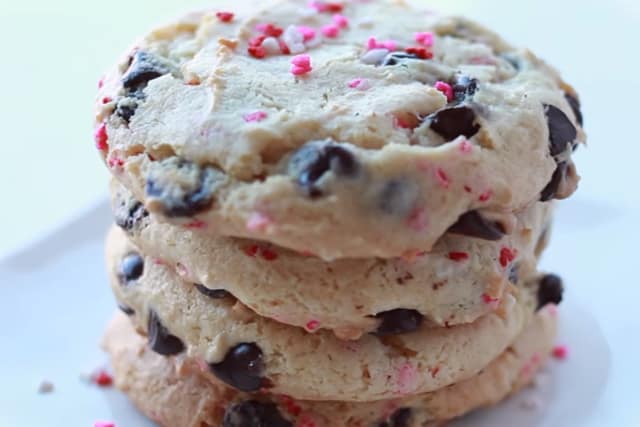
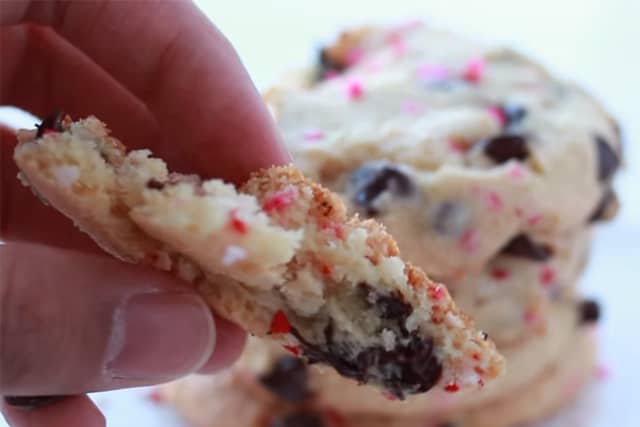
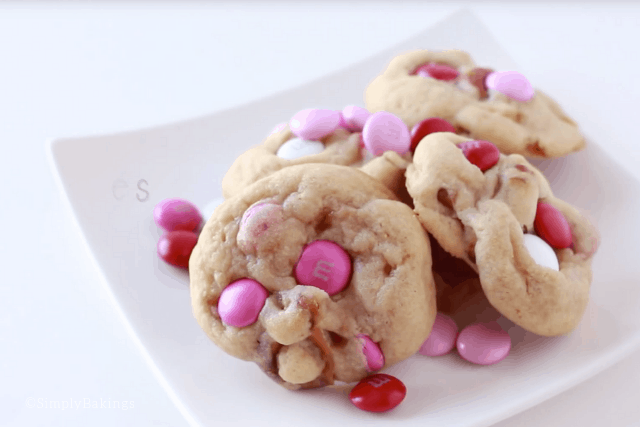
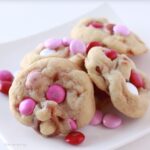
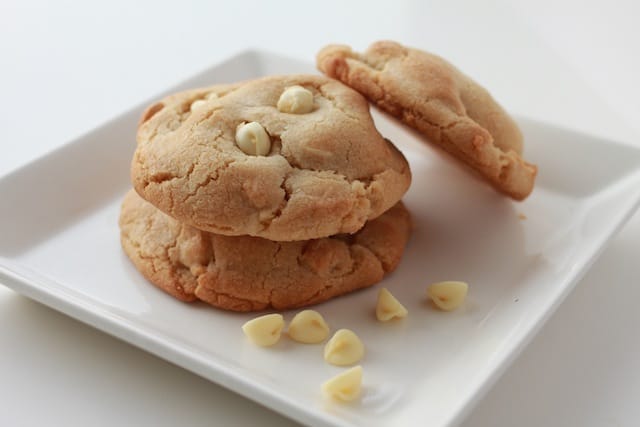
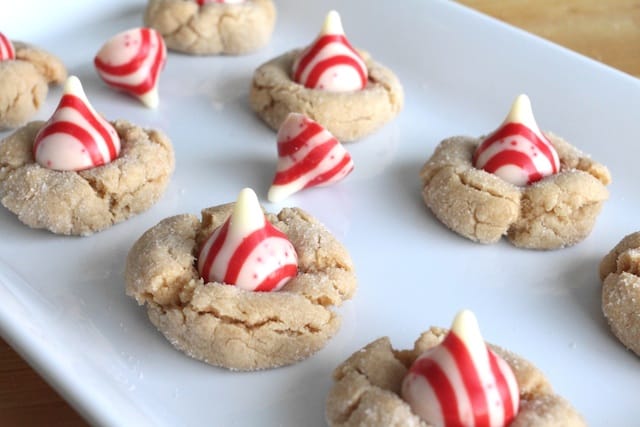
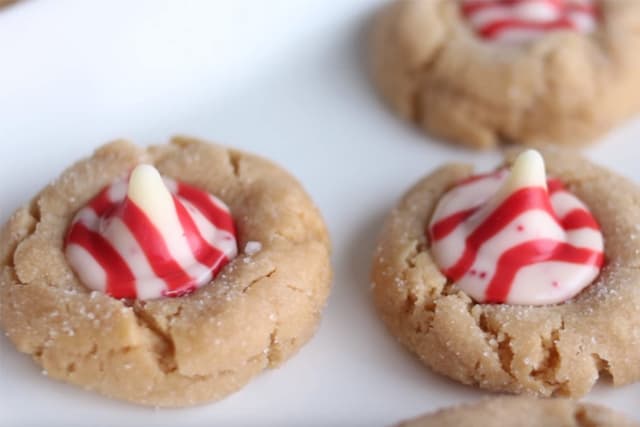
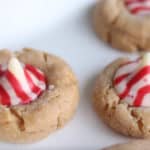
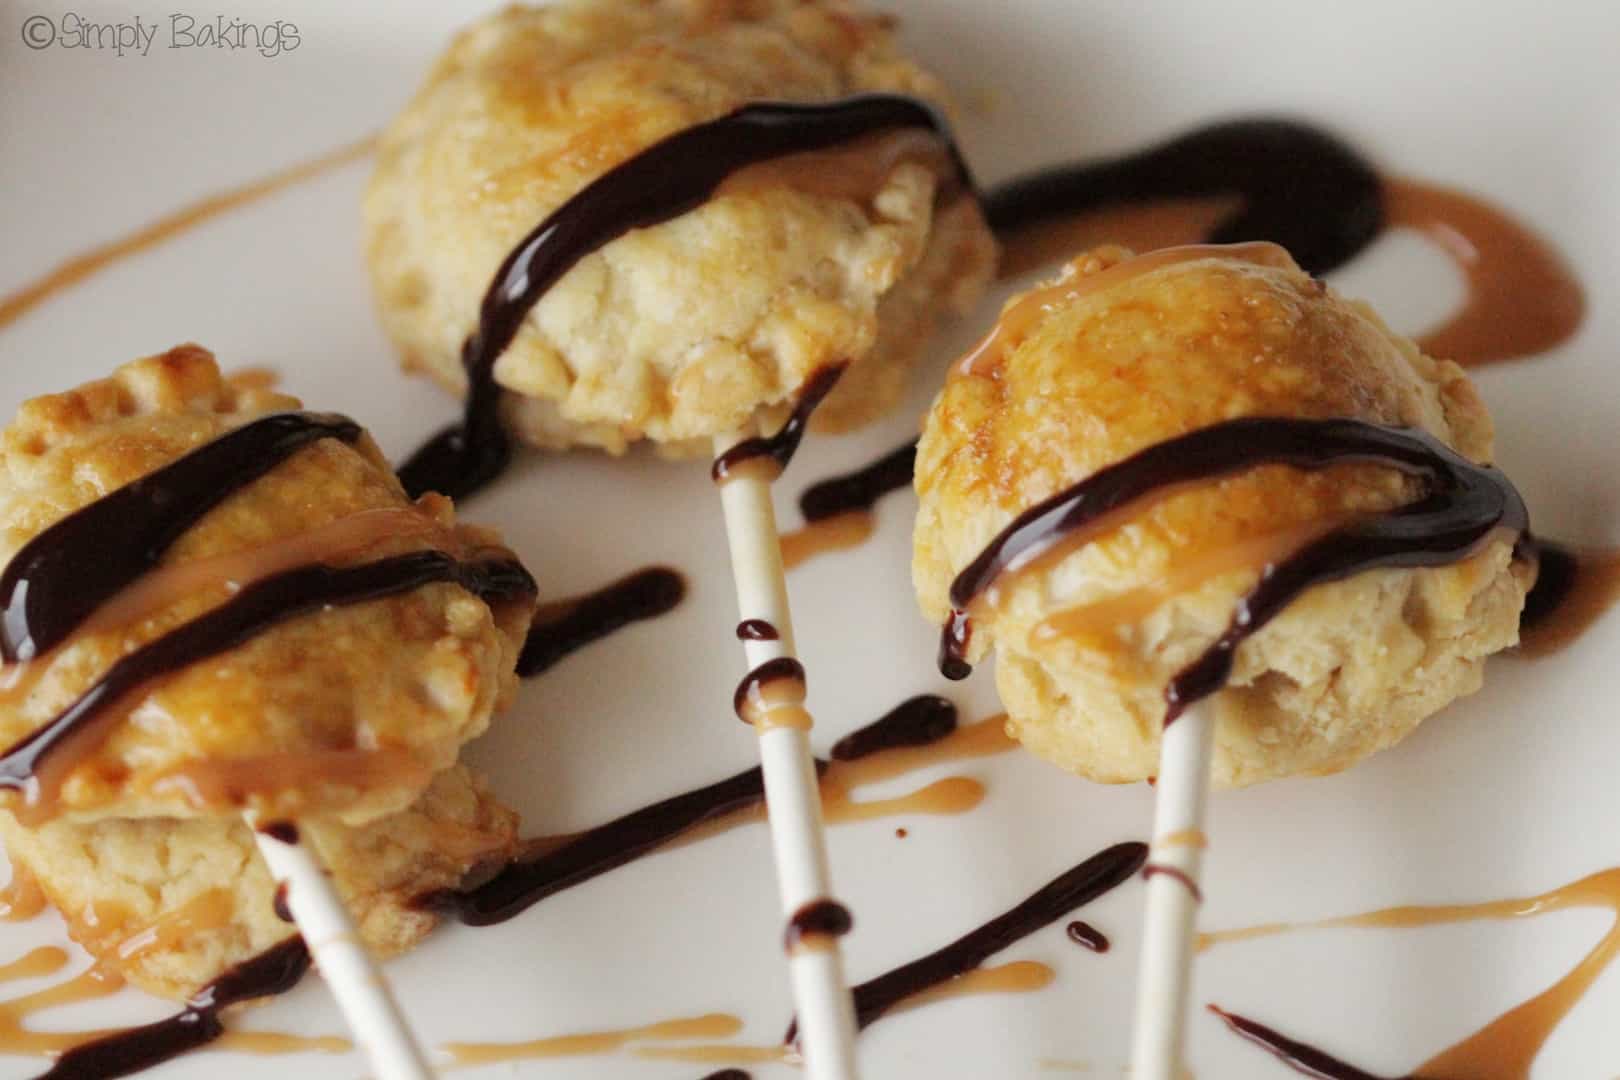
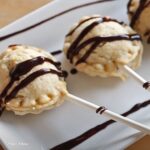
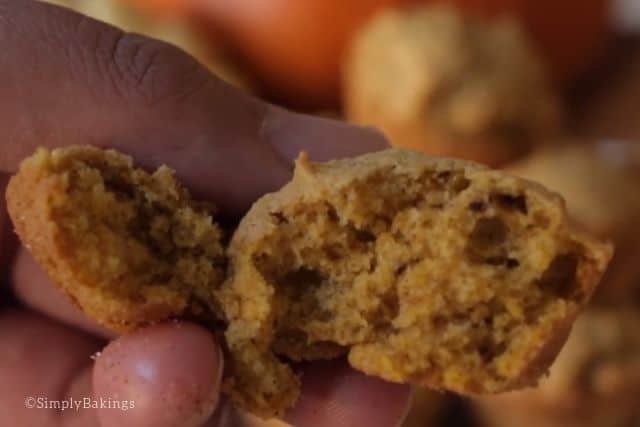
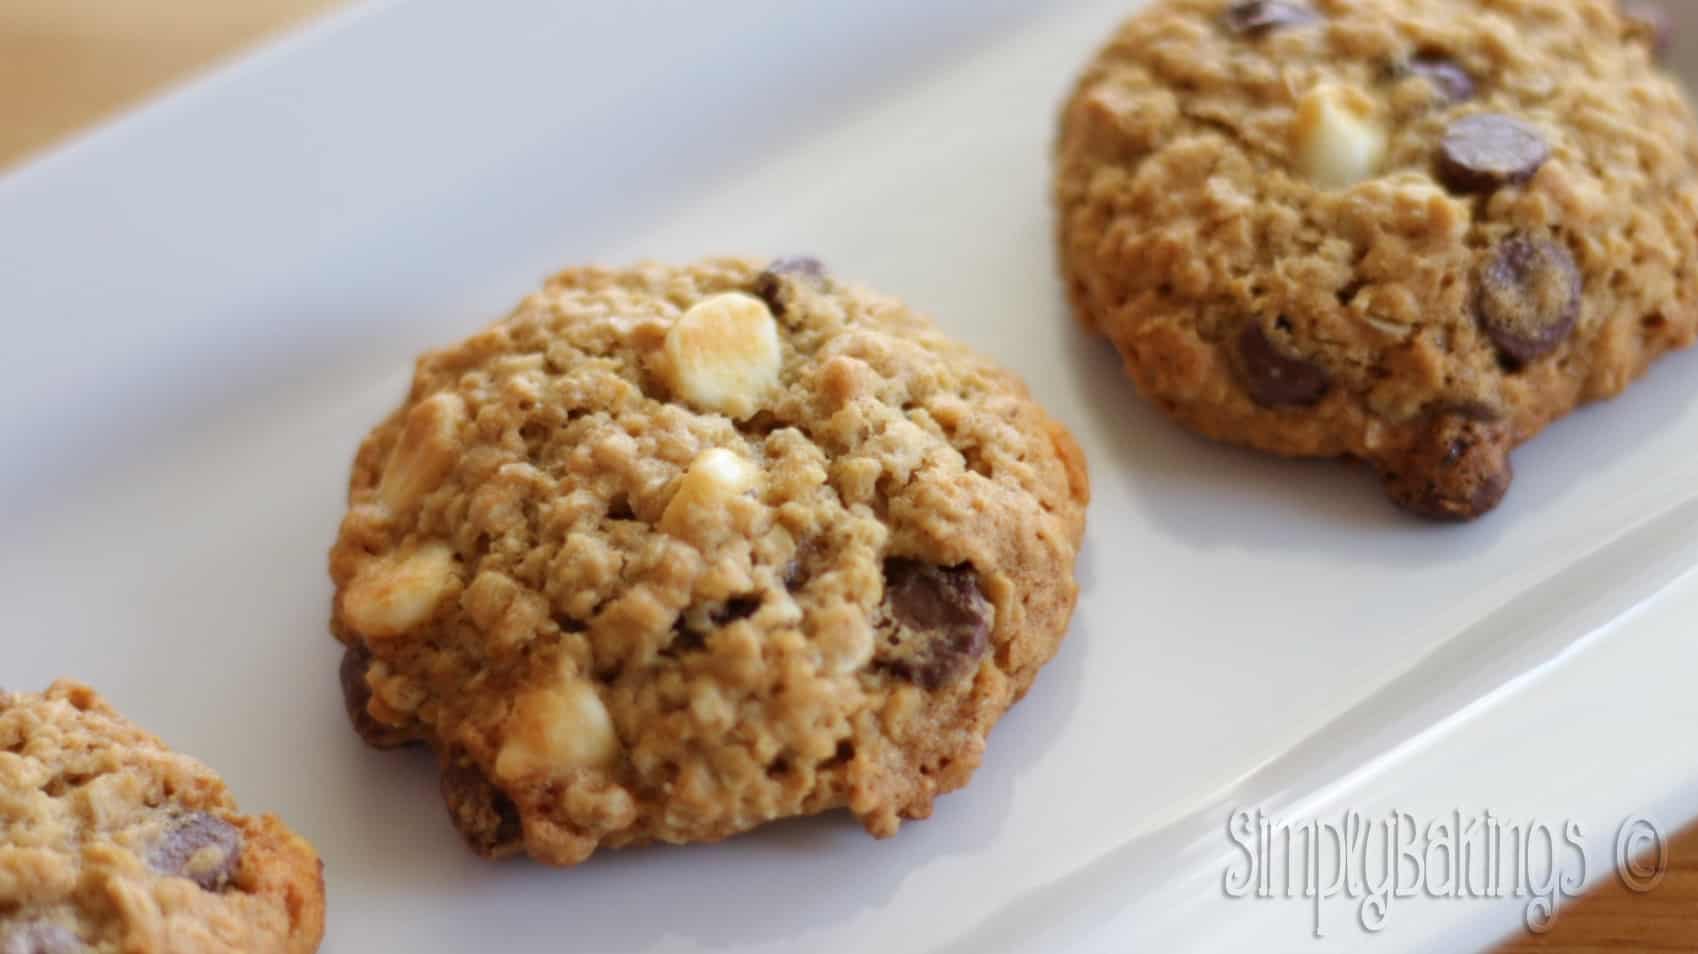
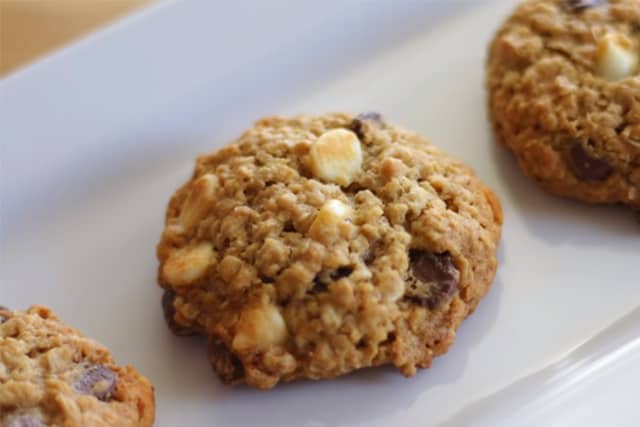
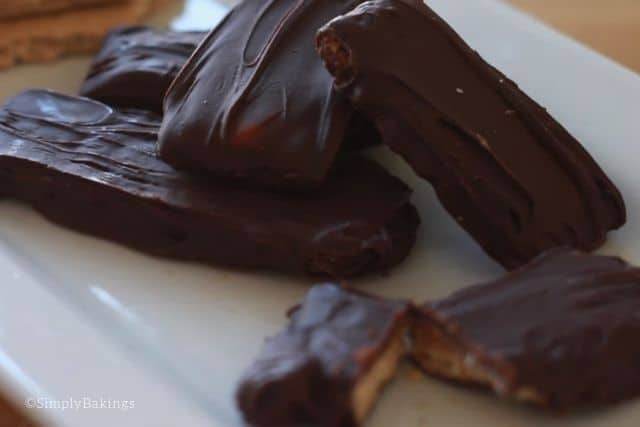
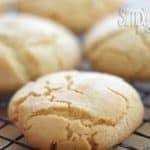
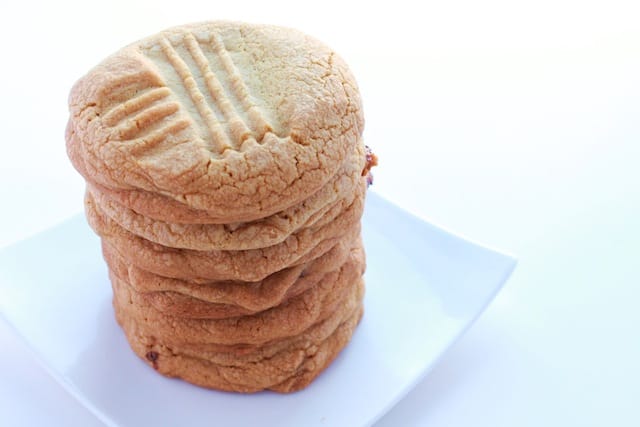
These Peanut Butter Stuffed Cookies are simple to make, and have a wonderfully, crunchy moist crumb, with caramel surprise in every bite! These cookies are perfect to have for dessert after meals or with your afternoon tea.
Check out my other delicious cookie recipes, including Nutella Cookies, Fruity Pebble Marshmallow Cookies, and 3 Ingredient Macaroon Cookies!
What are Peanut Butter Stuffed Cookies?
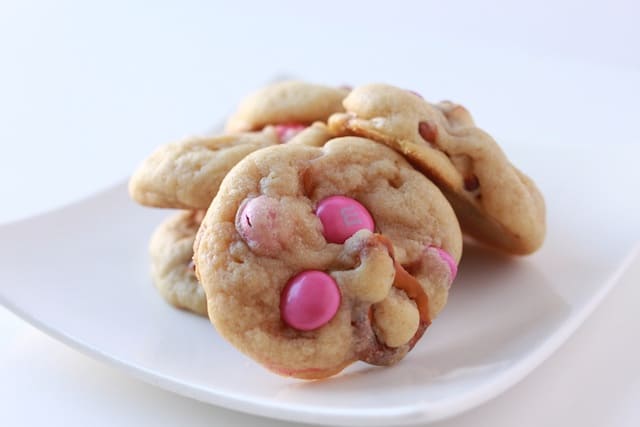
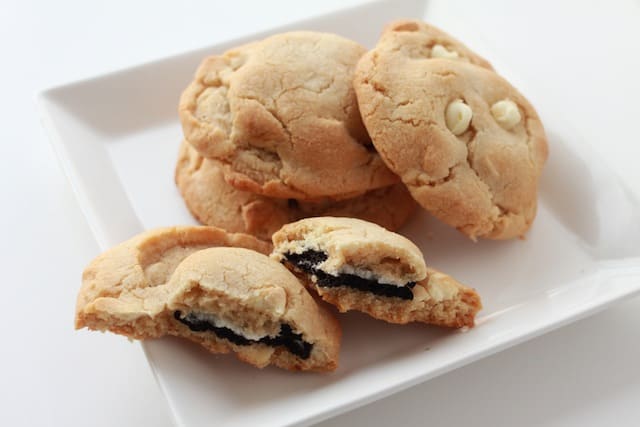
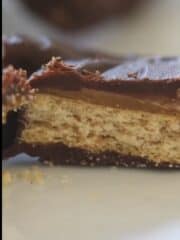
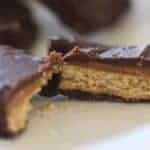
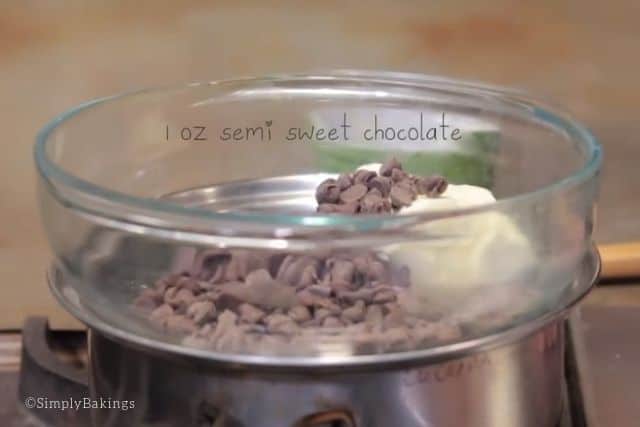
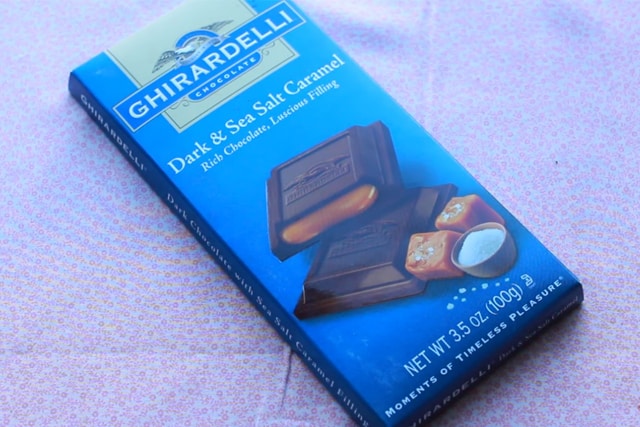
These cookies take a classic peanut butter cookie recipe to the next level by hiding a piece of Ghirardelli dark salted caramel chocolate inside. The result? A perfectly baked cookie with a melty, sweet, and salty surprise in every bite.
Why You’ll Love This Recipe
- Easy to make – No complicated steps or chilling time.
- Rich and indulgent – The perfect balance of peanut butter and chocolate.
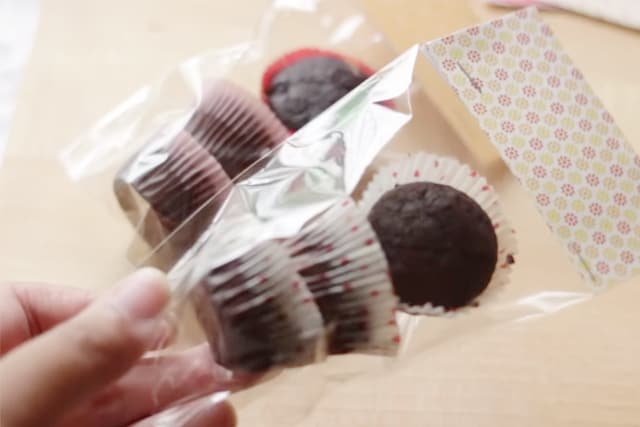
- Great for gifting – These cookies stay fresh and make a fantastic homemade gift.
- Kid-approved – Both kids and adults will love them!
Substitutions
- Butter - Coconut oil, margarine, unsweetened applesauce
- Peanut Butter - Almond butter, cashew butter, sunflower seed butter
- Milk - Almond milk, oat milk, soy milk, water, heavy cream
- Salt - Sea salt, Himalayan pink salt, soy sauce, miso paste
- All-Purpose Flour - Gluten-free flour blend, whole wheat flour, oat flour
- Ghirardelli Dark Salted Caramel Chocolate - Milk chocolate + sea salt, dark chocolate + caramel, chocolate chips or chunks

Variations
- Classic Chocolate Peanut Butter Stuffed Cookies - A rich cocoa powder cookie base with a creamy pb filling creates the perfect balance of chocolate and peanut butter. Use a bowl of a stand mixer with a paddle attachment to ensure a smooth butter mixture for a chewy texture.
- Peanut Butter & Jelly Stuffed Cookies - A nostalgic twist, these chocolate peanut butter cookies have a gooey pb filling mixed with jam for a PB&J-inspired treat. Follow the step instructions, placing a dollop of peanut butter and jam in the center before sealing the dough.
- Protein-Packed Chocolate Peanut Butter Cookie - Boosted with peanut butter protein powder, these chocolate peanut butter stuffed cookies are a great post-workout snack. Replace butter with coconut oil, use large eggs for structure, and swap flour for oats to keep them wholesome and chewy.
Storage
- Store cookies in an airtight container at room temperature for up to 5 days.
- For longer storage, freeze them for up to 3 months.
- Reheat in the microwave for 10 seconds for that fresh-from-the-oven taste.
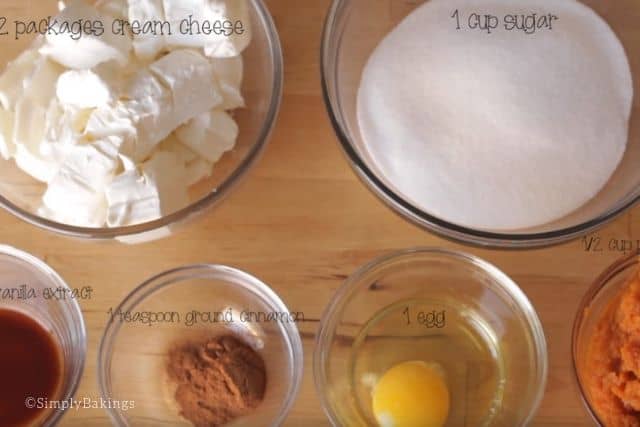
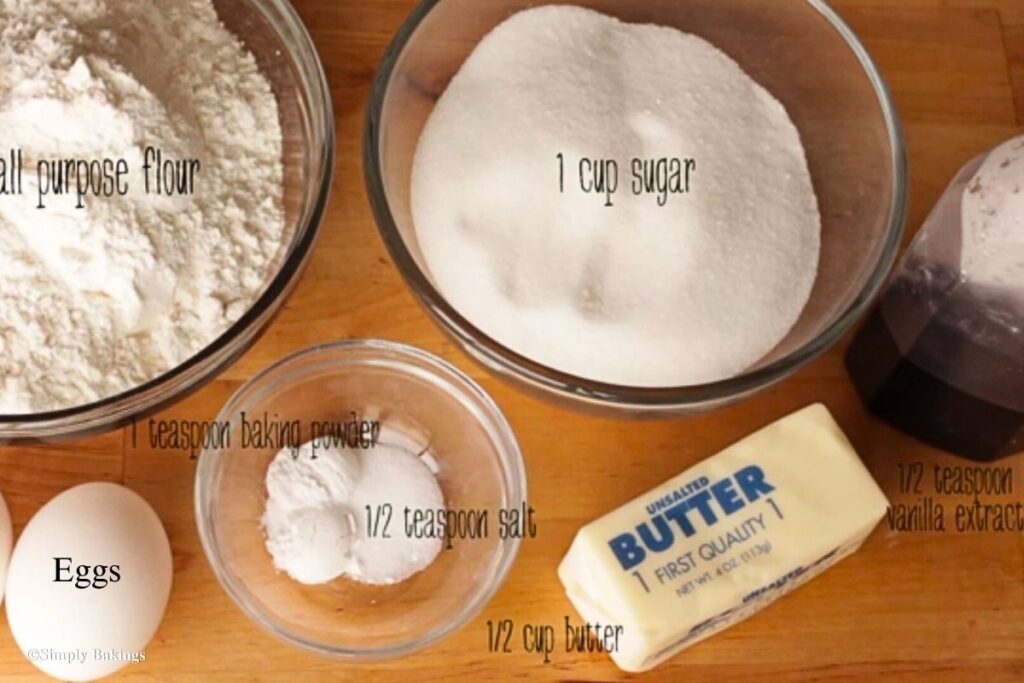
Ingredients
These are the ingredients that you will need:
- butter
- brown sugar
- white sugar
- egg
- peanut butter
- milk
- vanilla extract
- baking soda
- salt
- all-purpose flour
- Ghirardelli dark salted caramel chocolate
Instructions
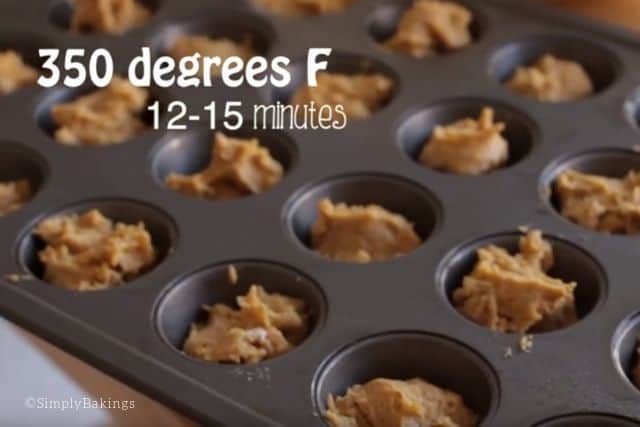
Preheat oven to 375 degrees F and grease the cookie sheet, use parchment paper or Silpat.
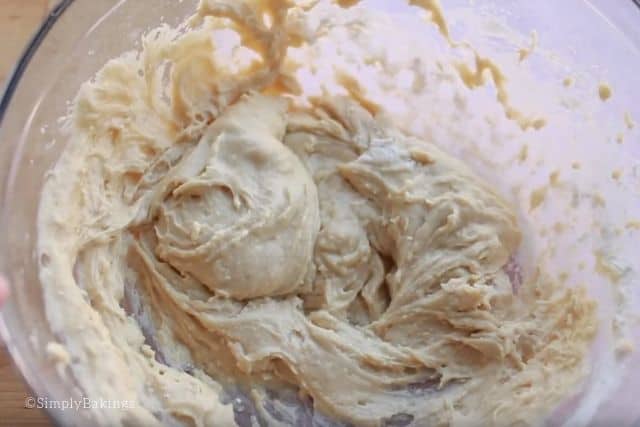
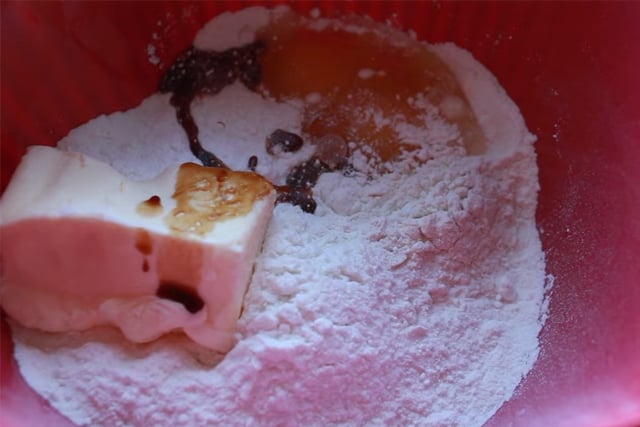
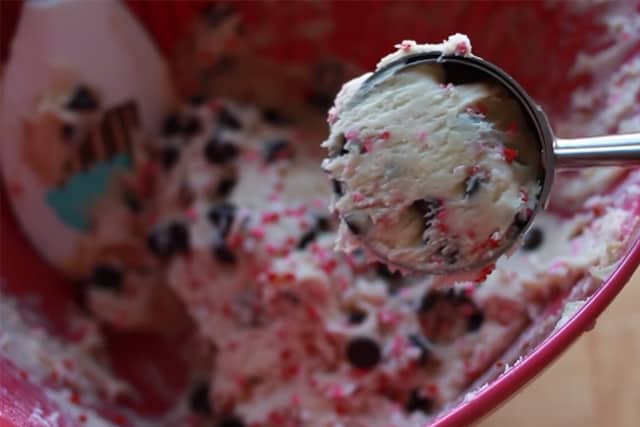
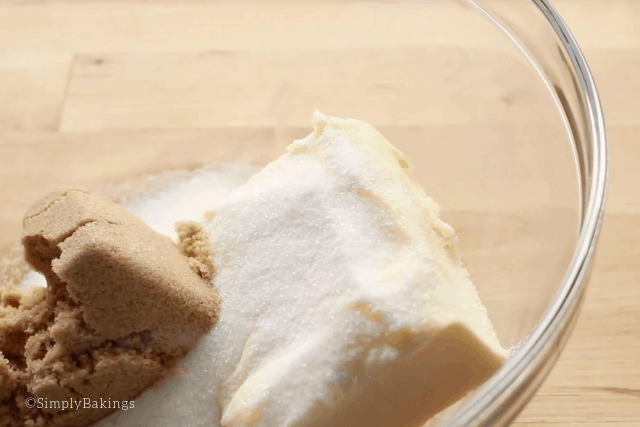
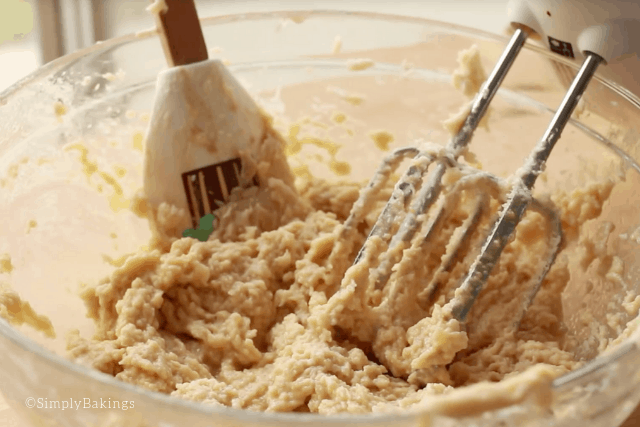
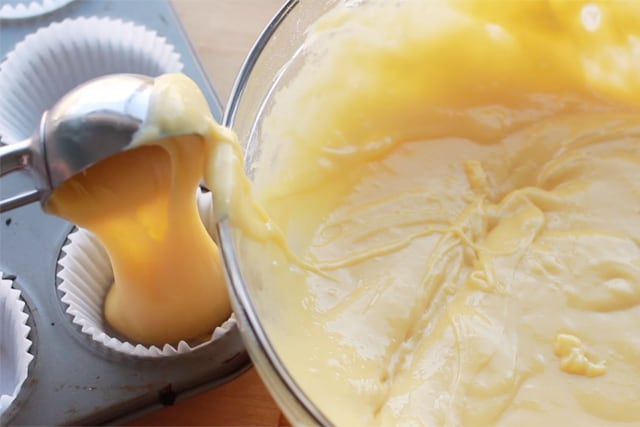
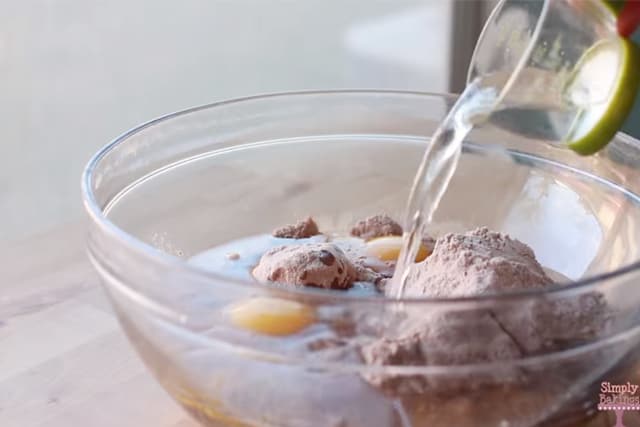
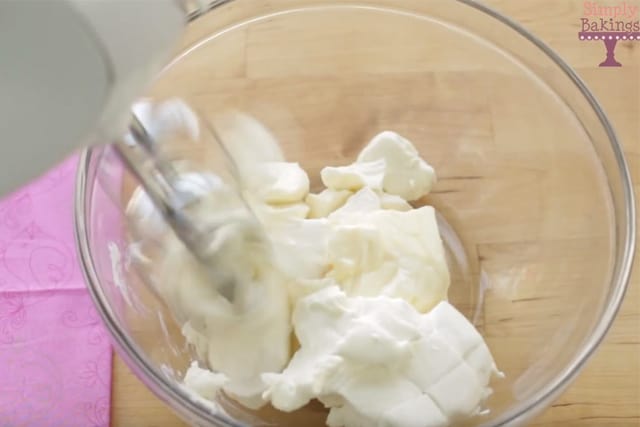
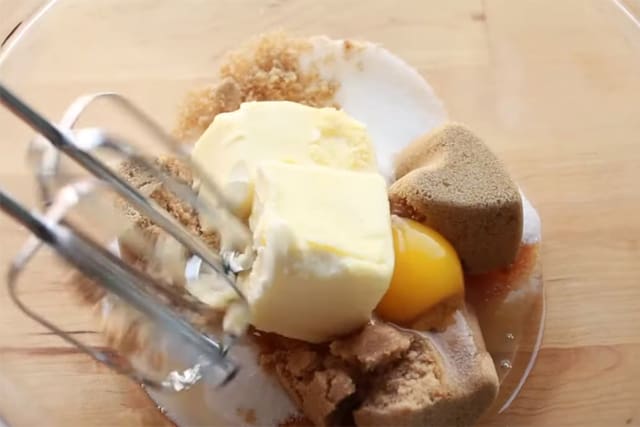
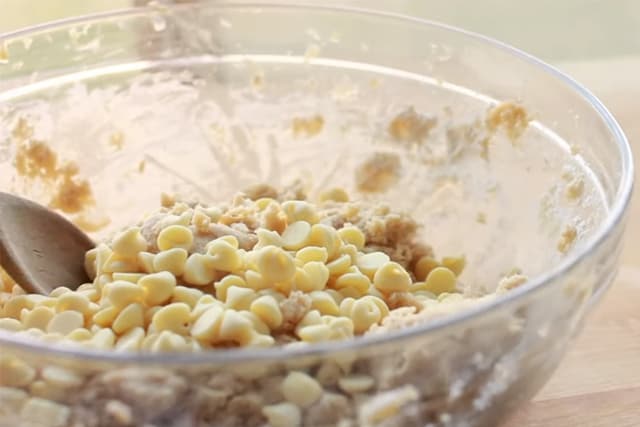
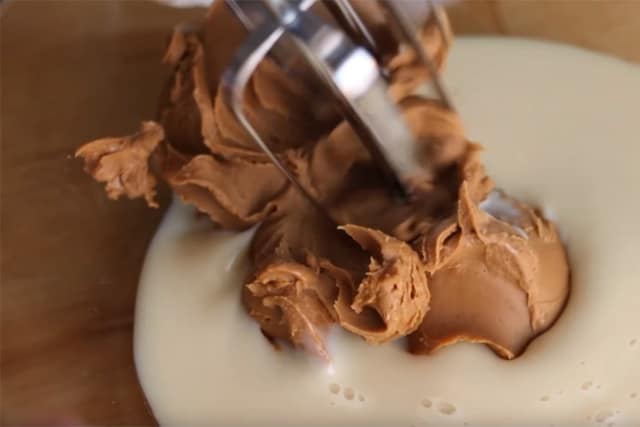
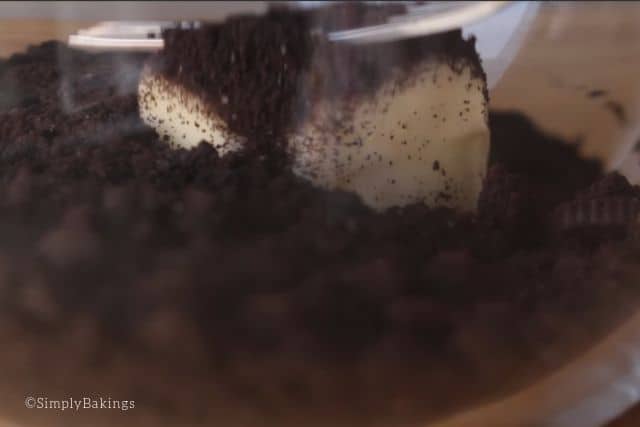
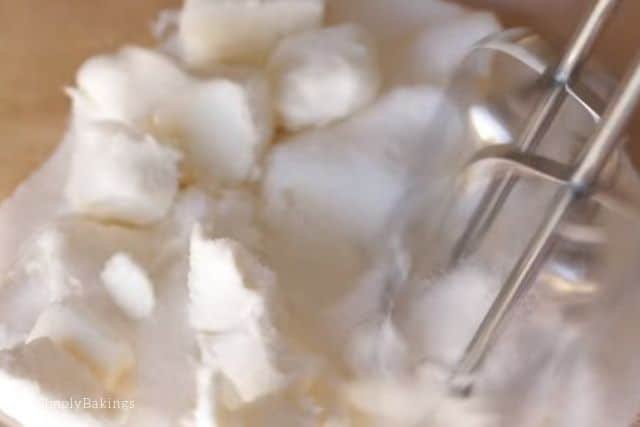
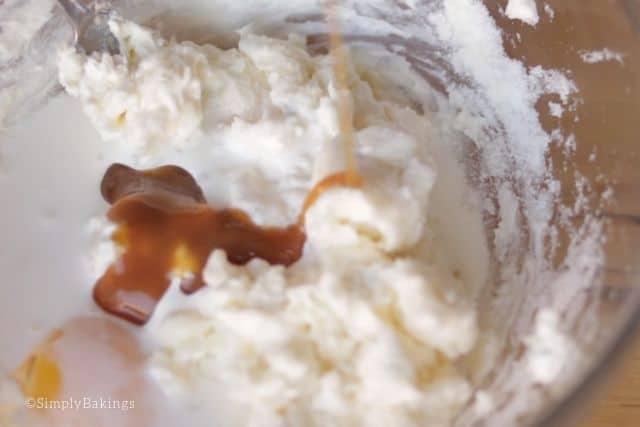
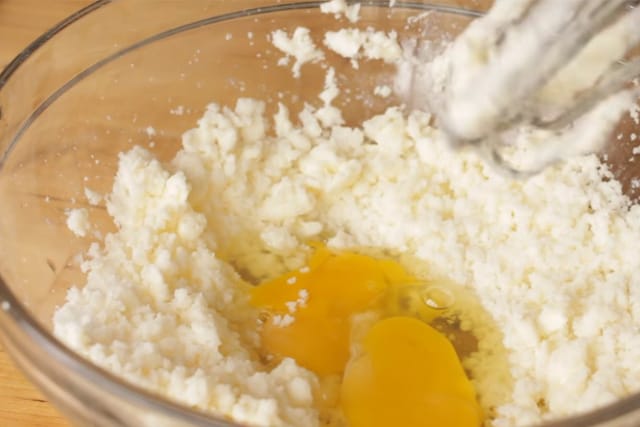
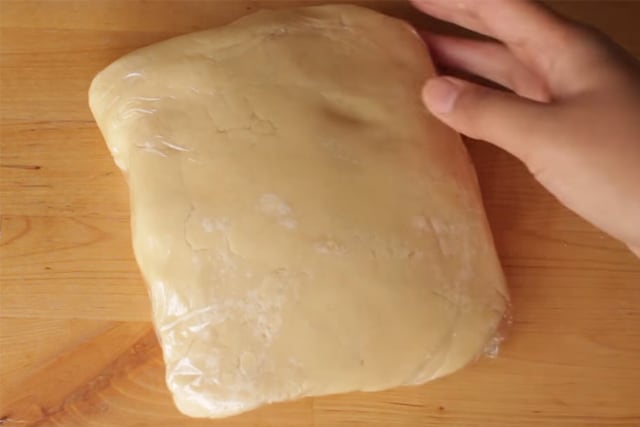
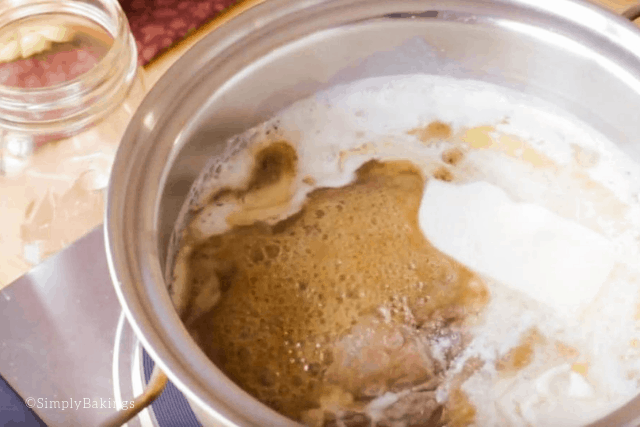
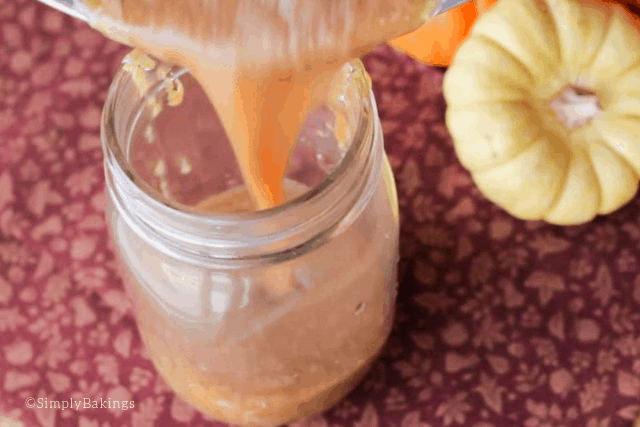
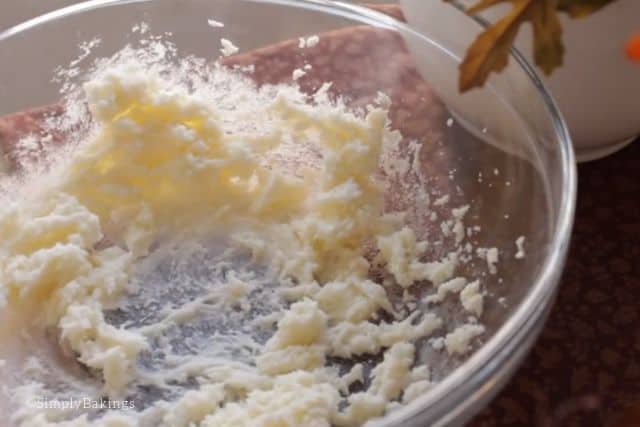
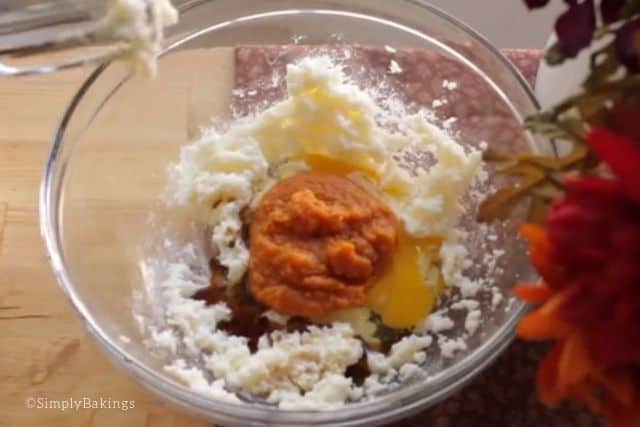
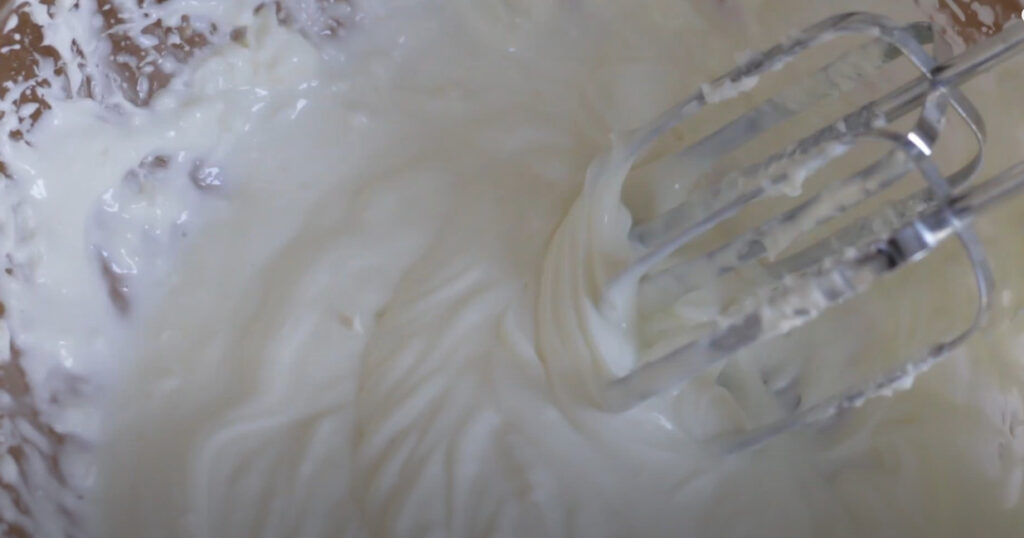
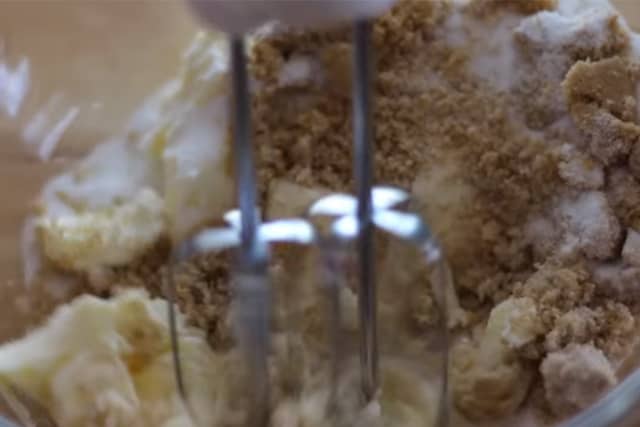
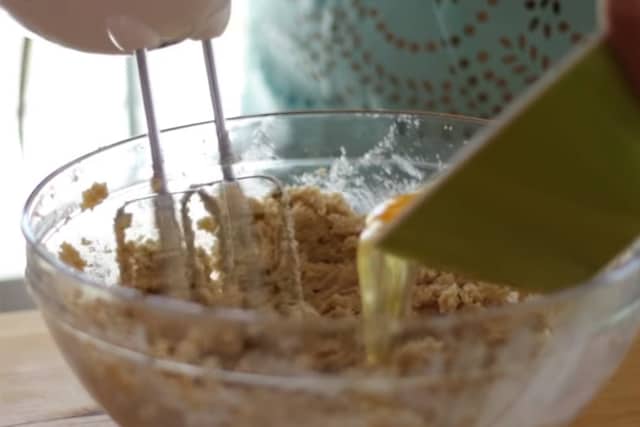
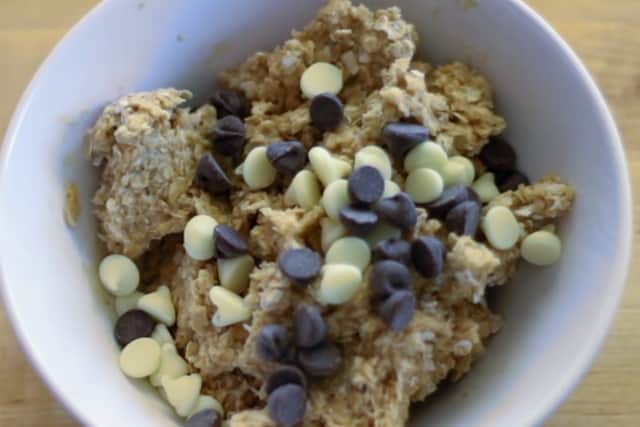
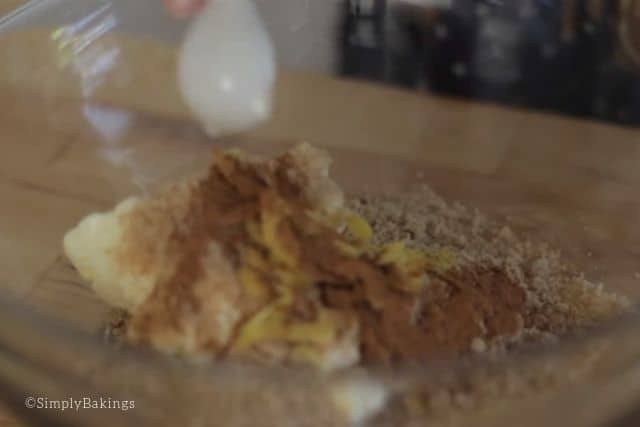
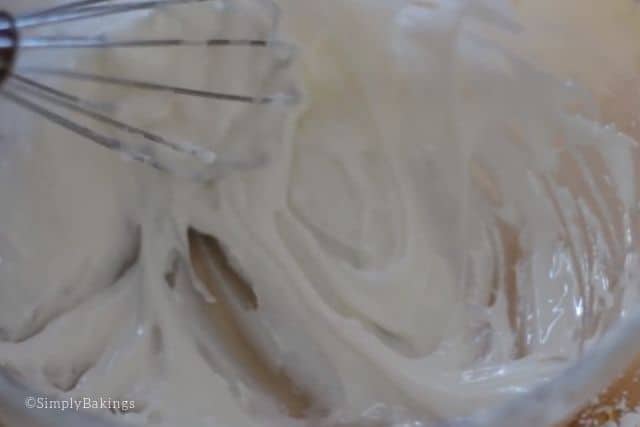
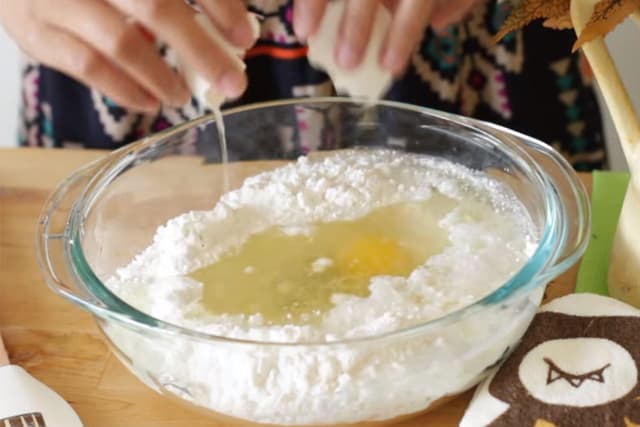
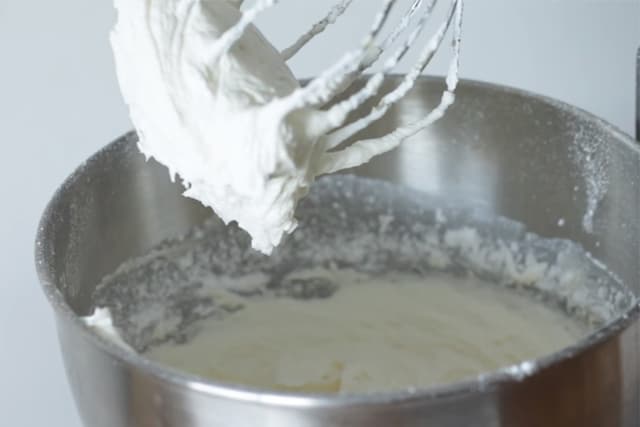
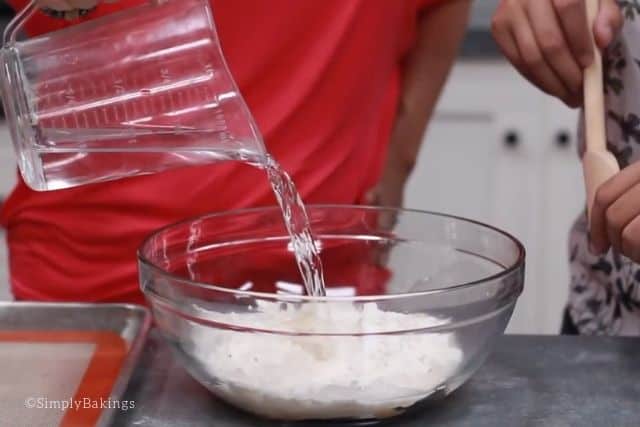
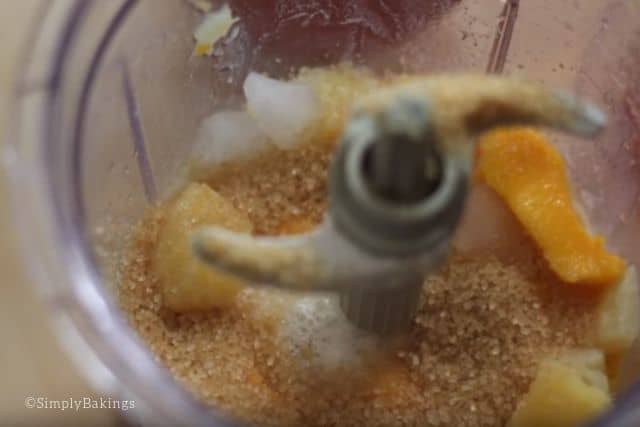
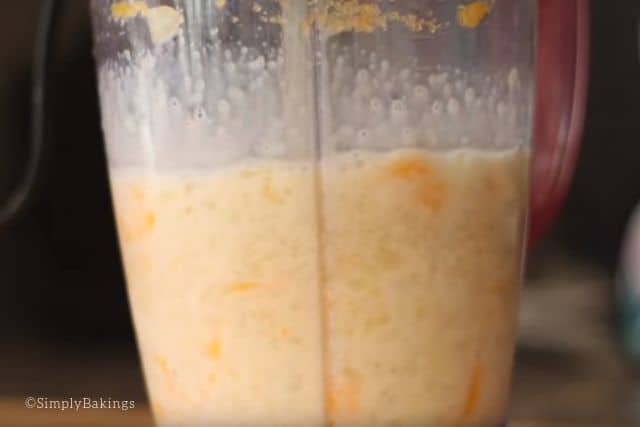
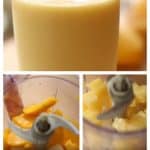
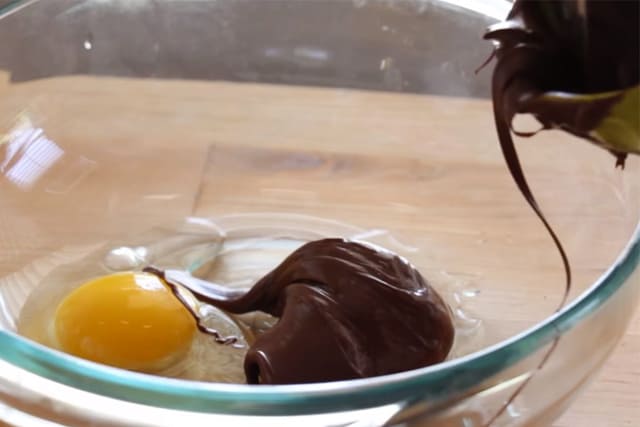
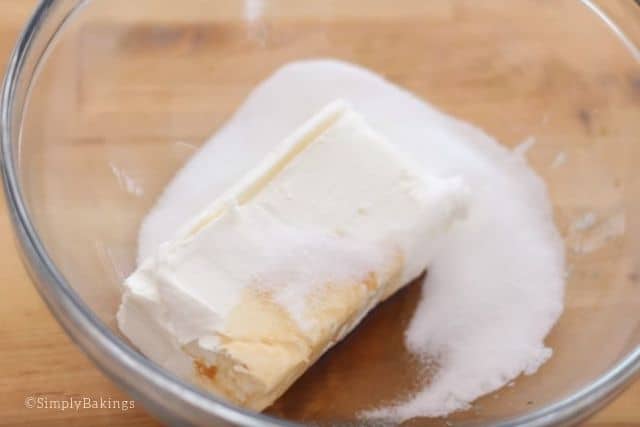
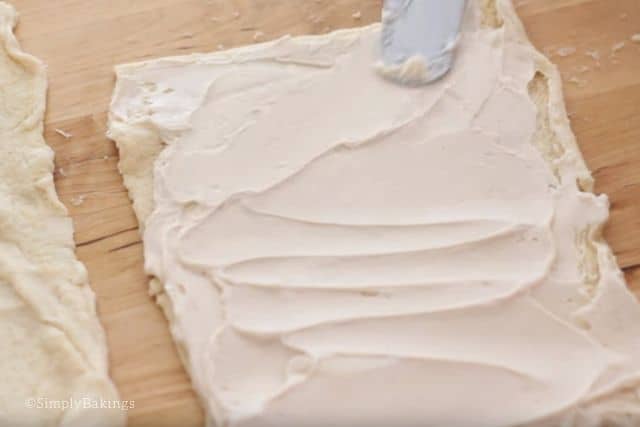
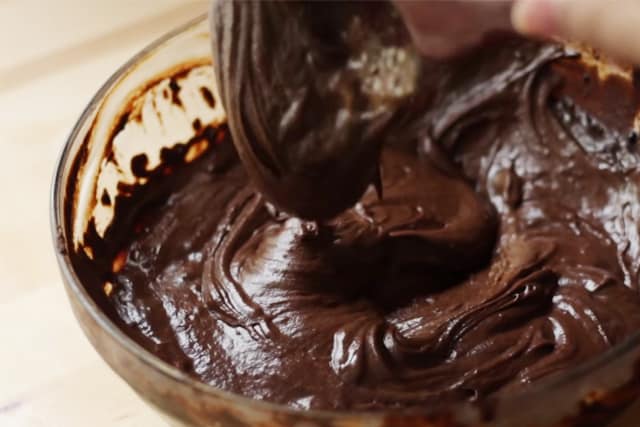
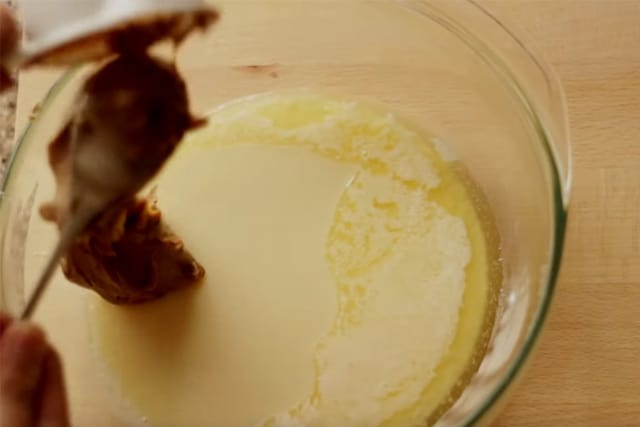
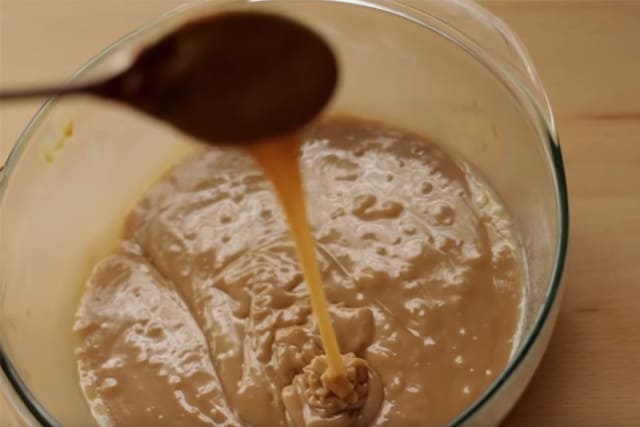
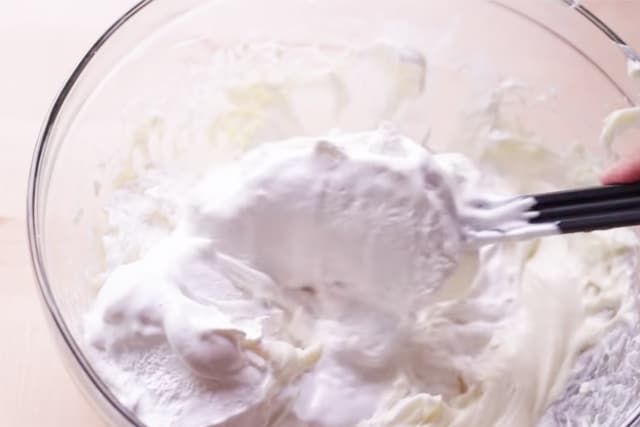
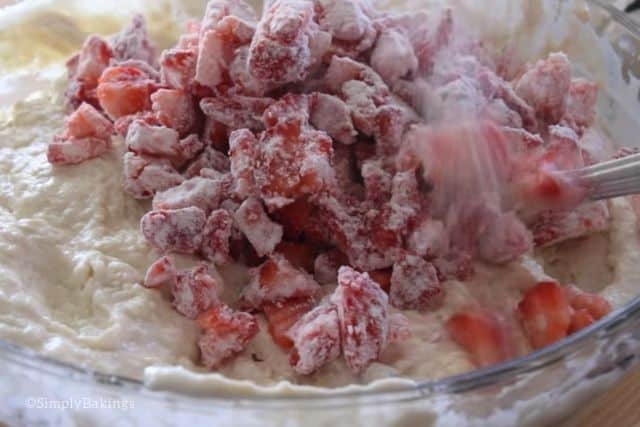
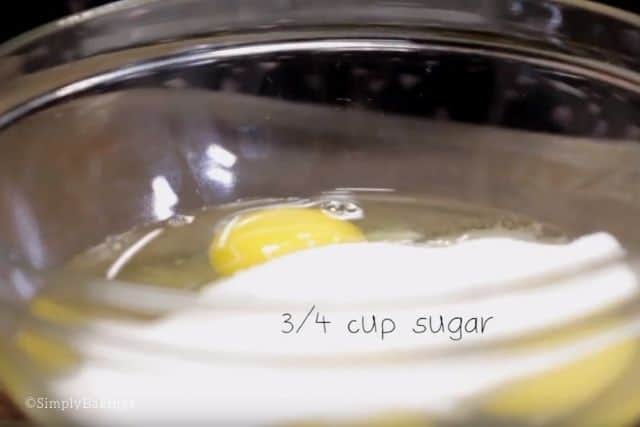
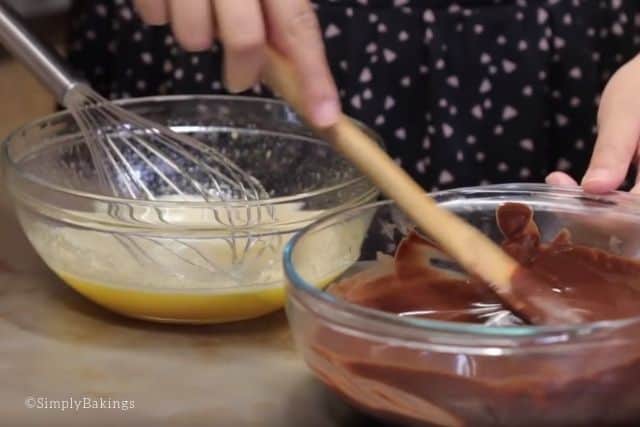
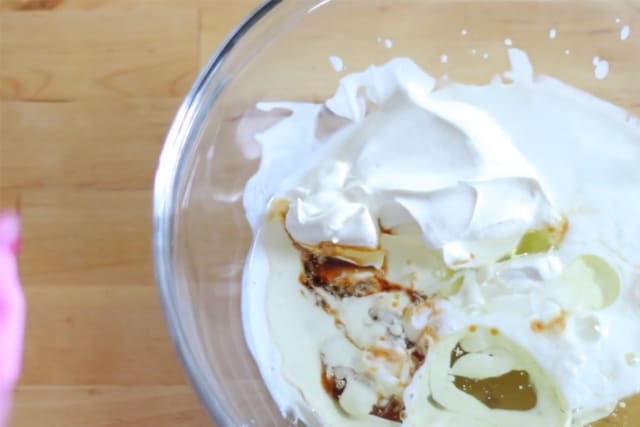
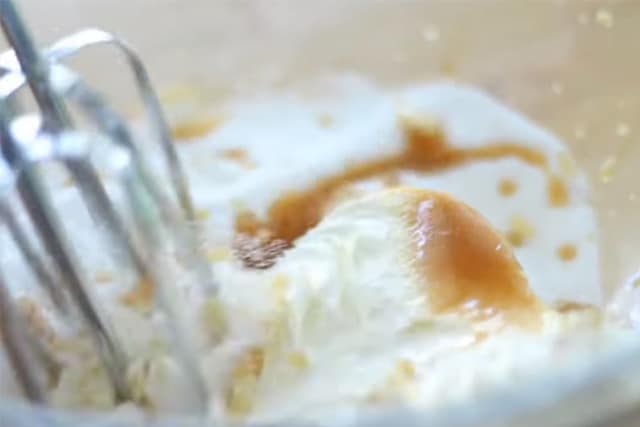
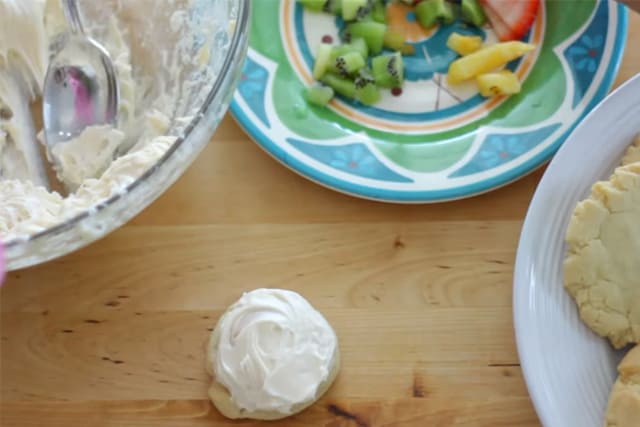
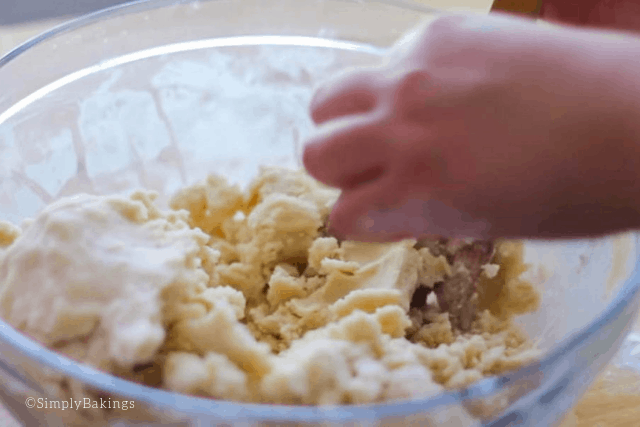
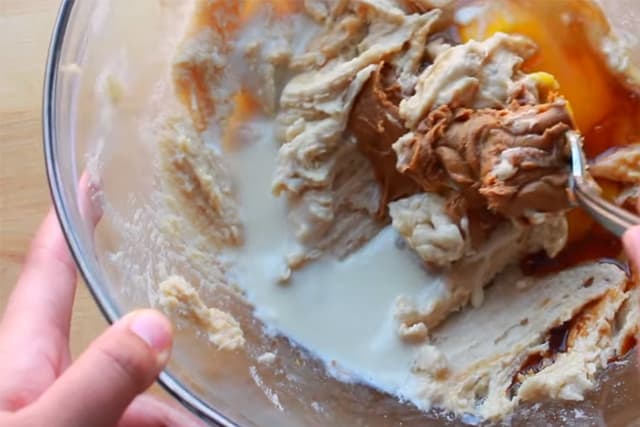
Then in a large bowl add butter, brown and white sugars, and cream until fluffy. Add egg, creamy peanut butter, milk, vanilla extract, and mix:
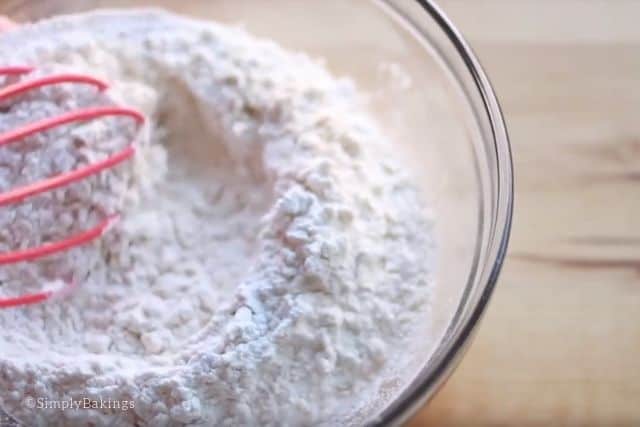
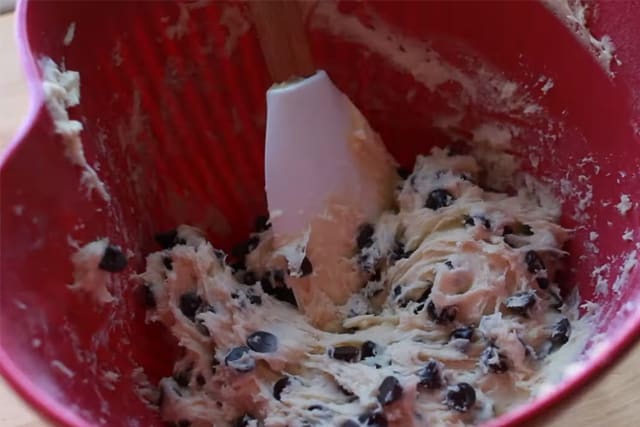
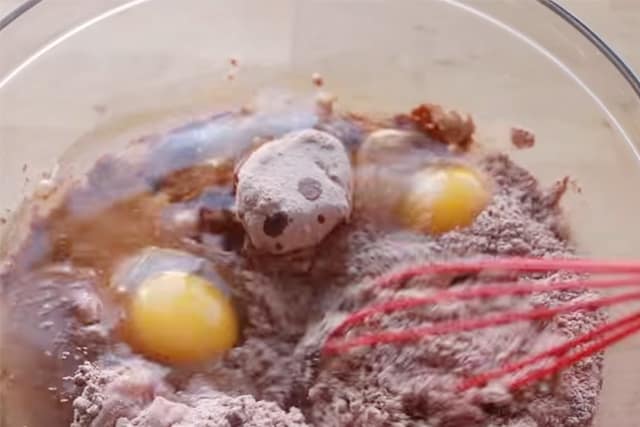
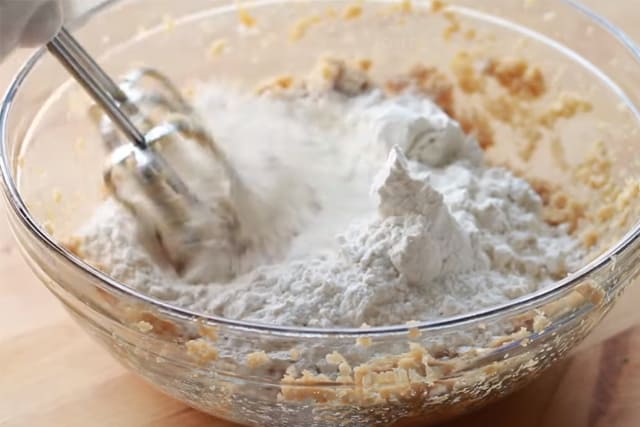
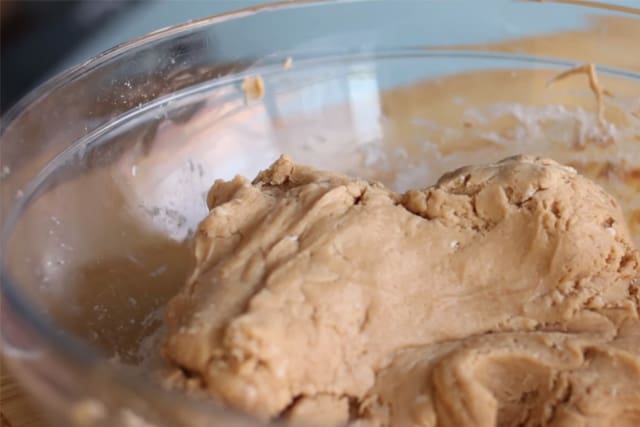
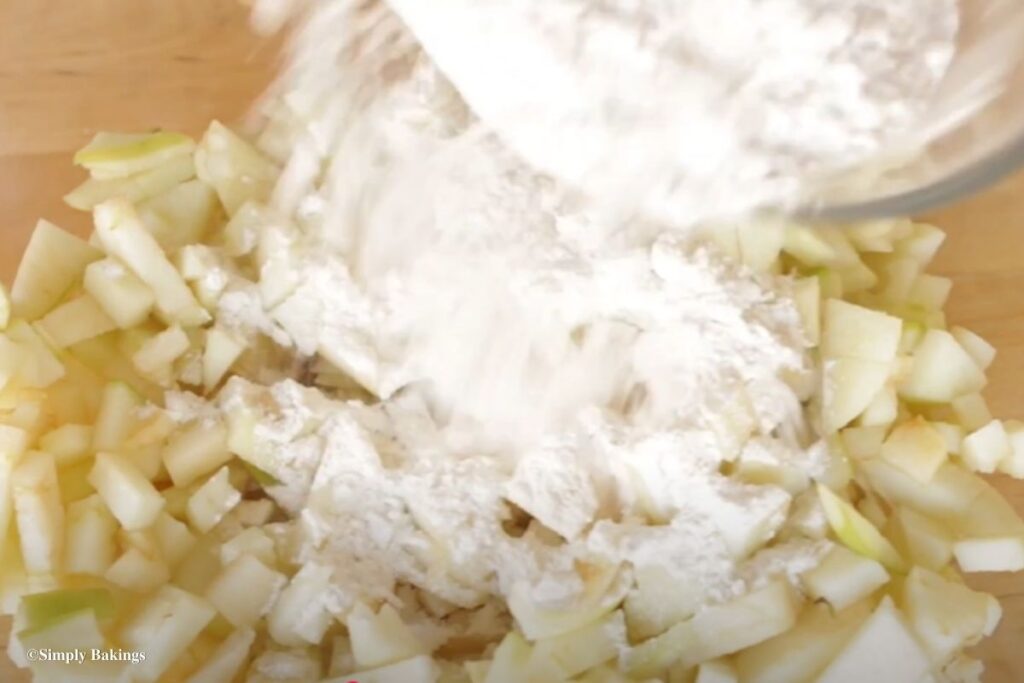
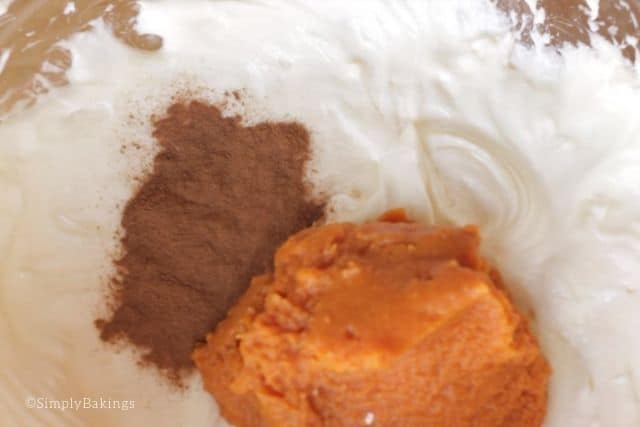
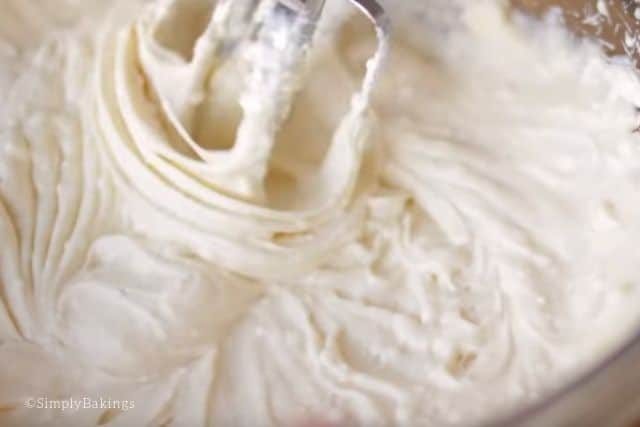
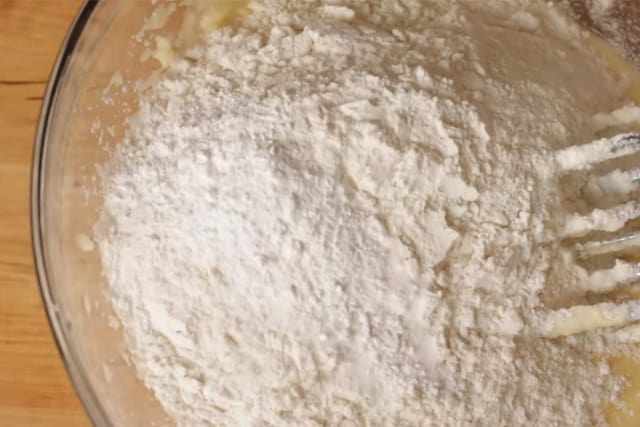
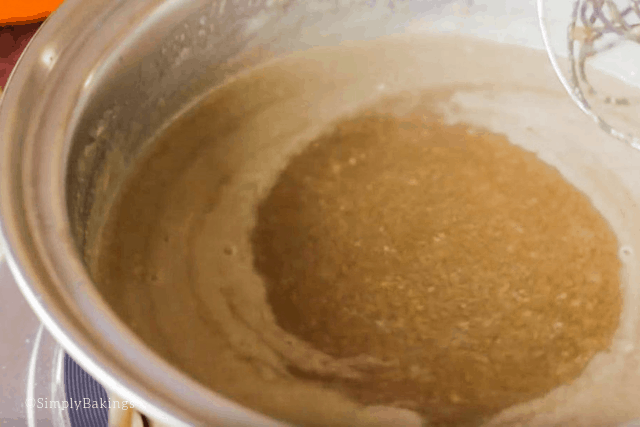
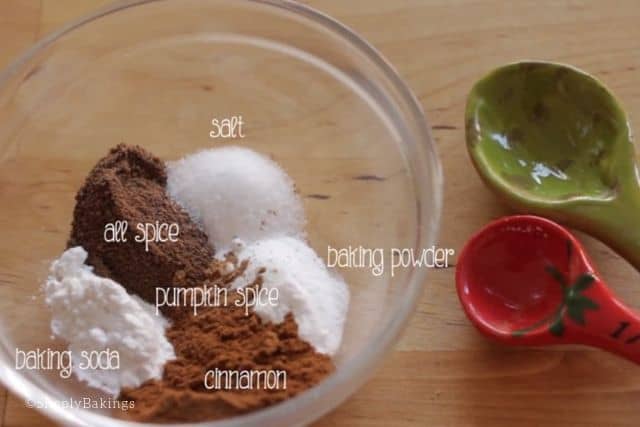
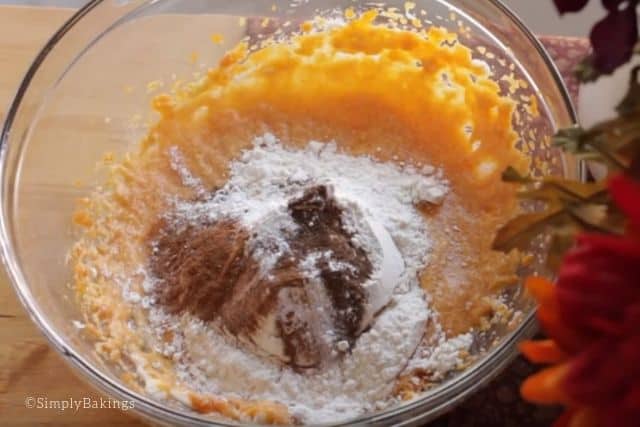
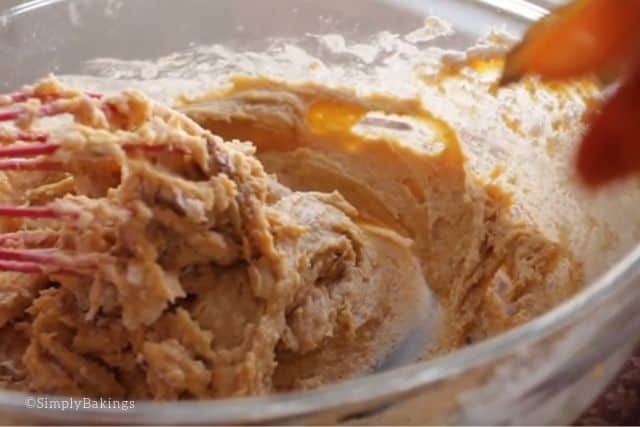
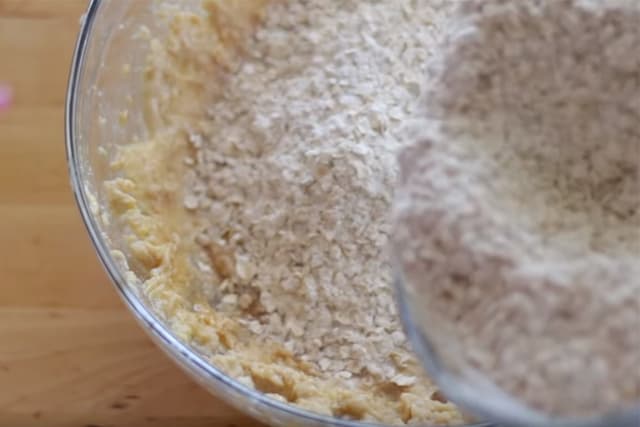
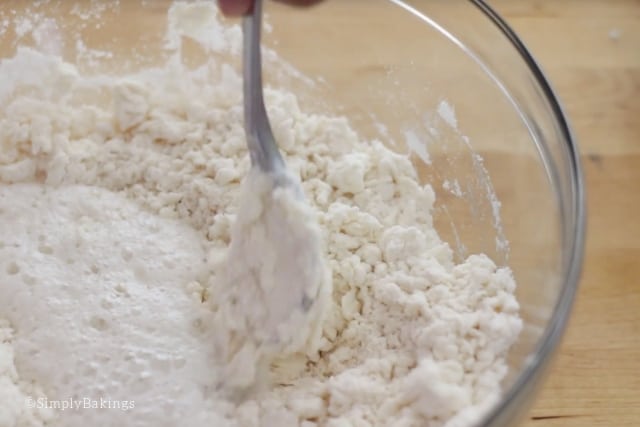
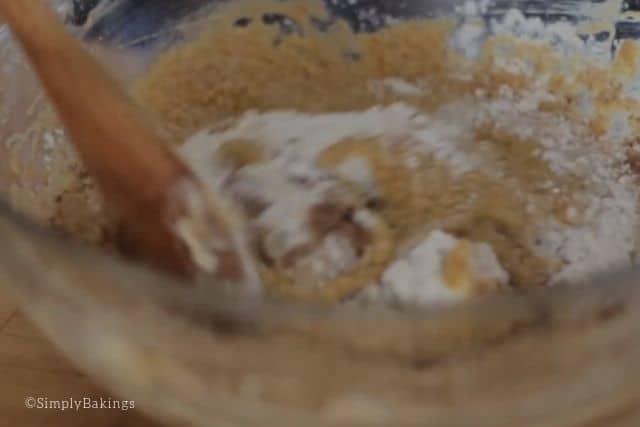
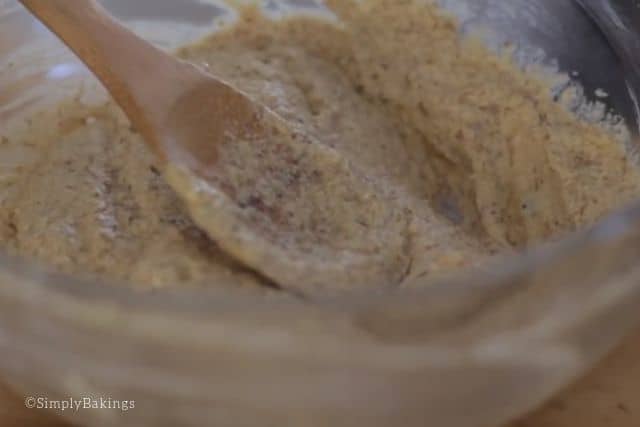
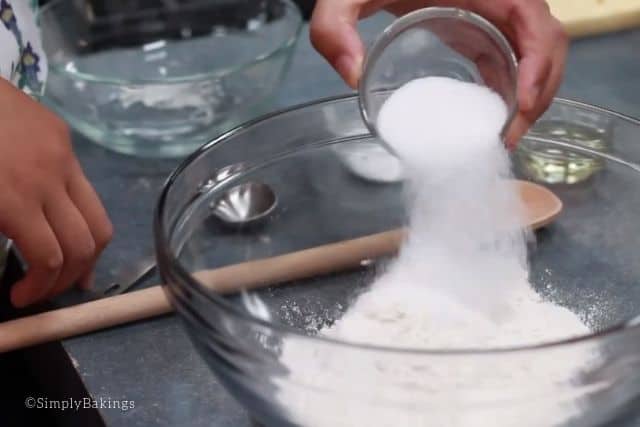
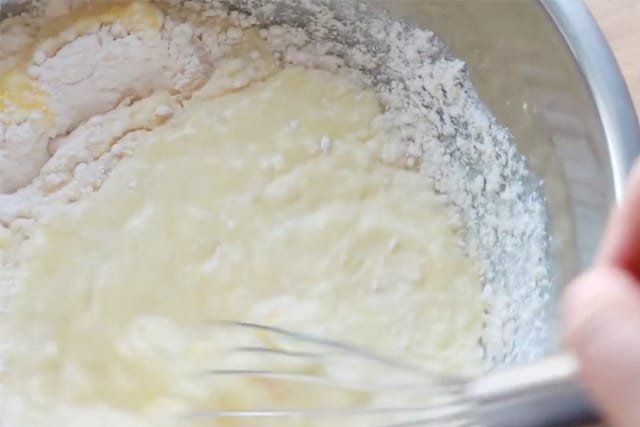
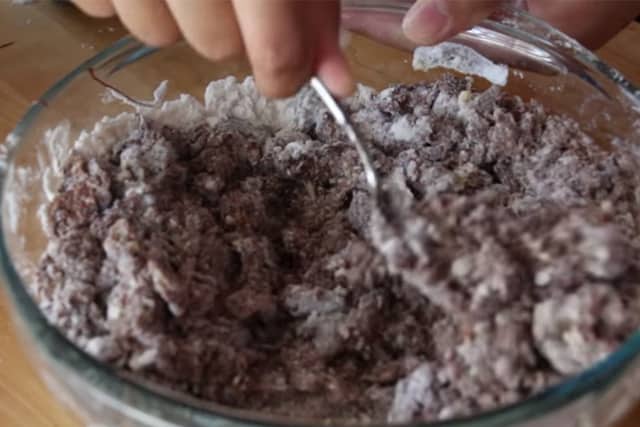
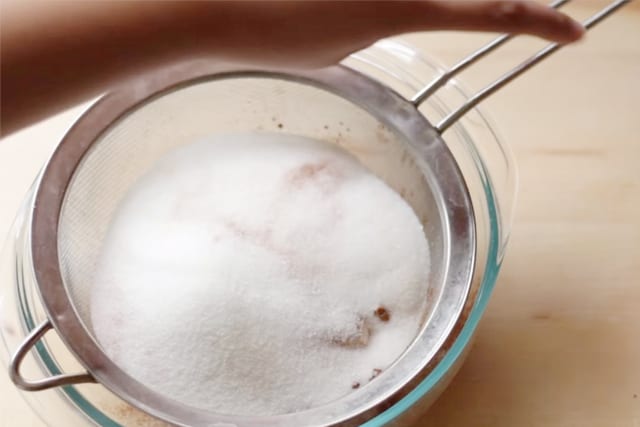
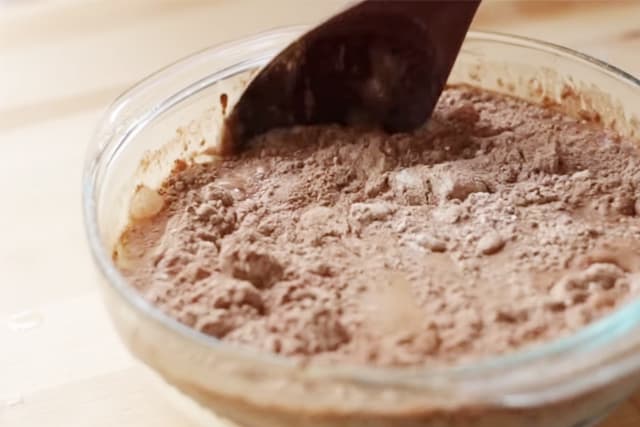
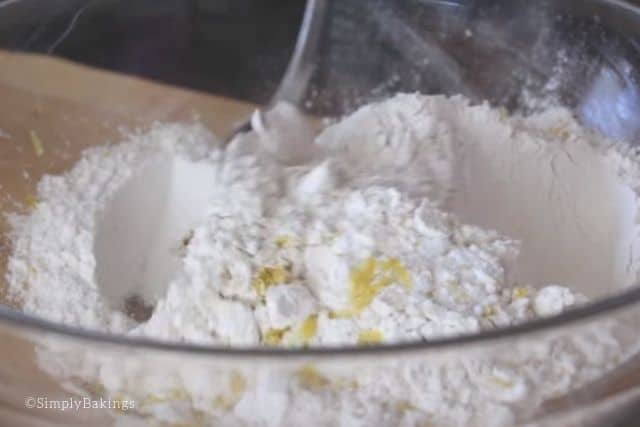
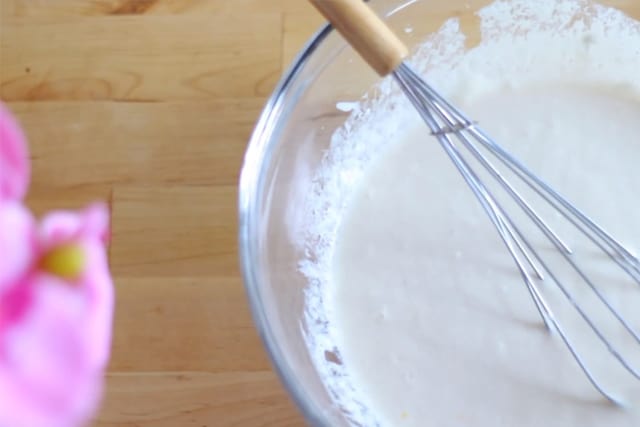
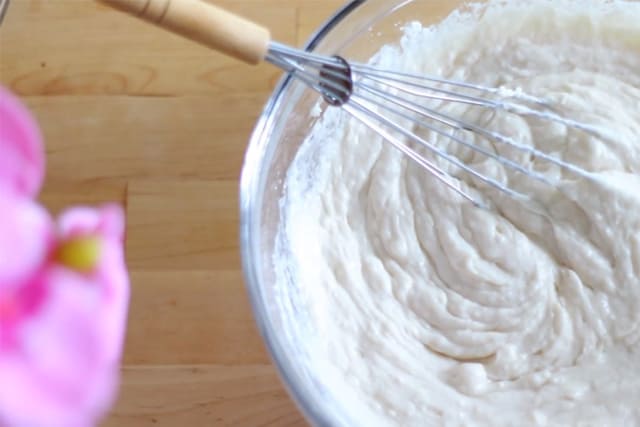
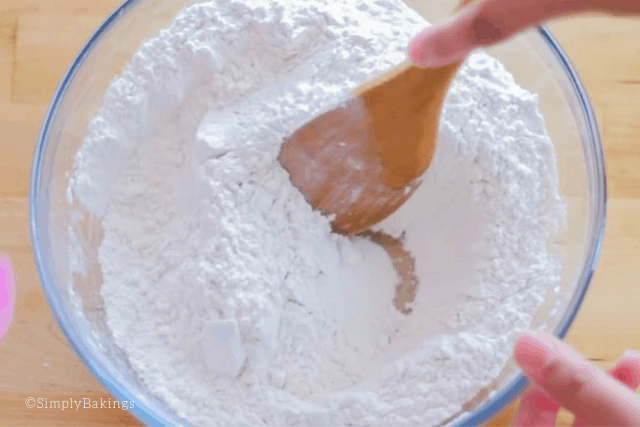
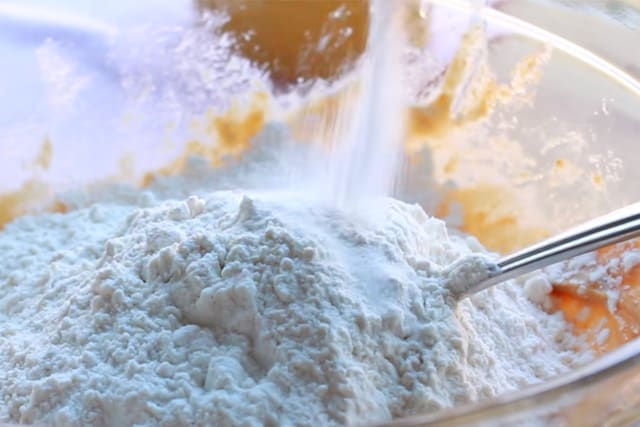
Then add the other dry ingredients: baking soda, salt, all-purpose flour, and whisk using a standing mixer:
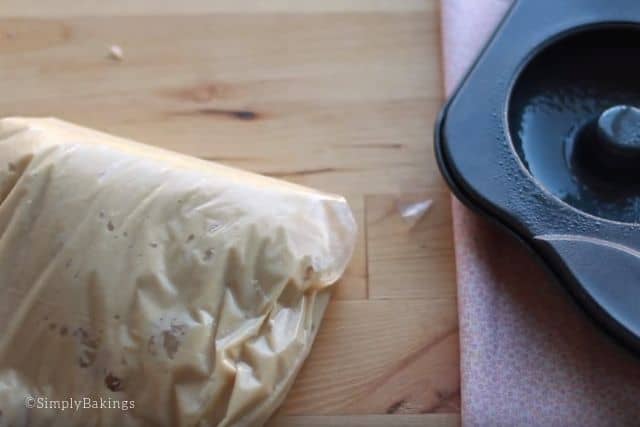
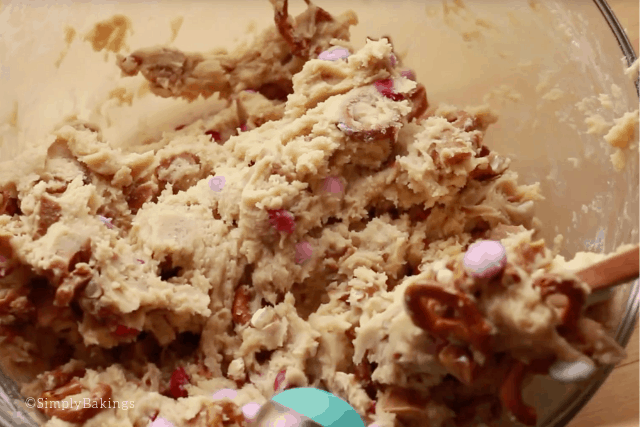
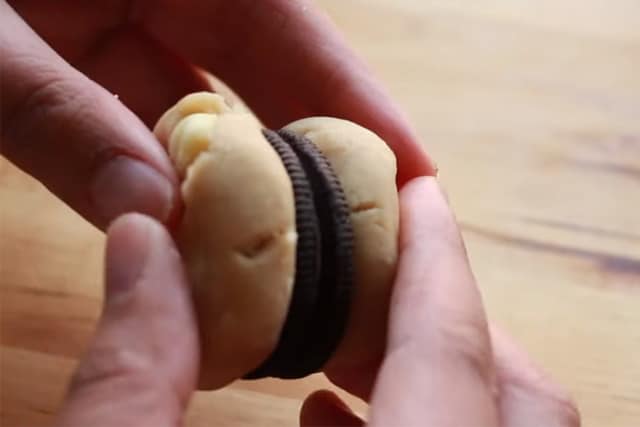
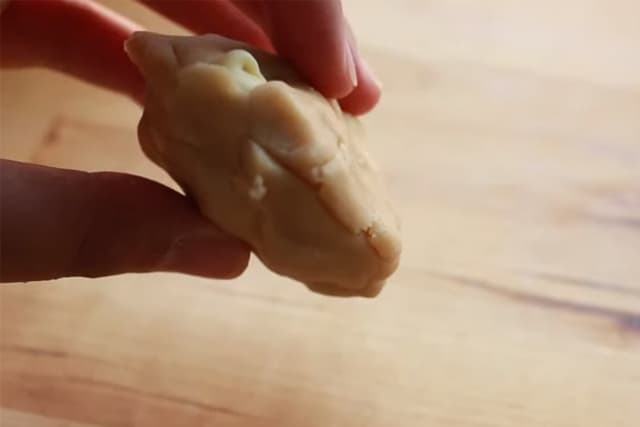
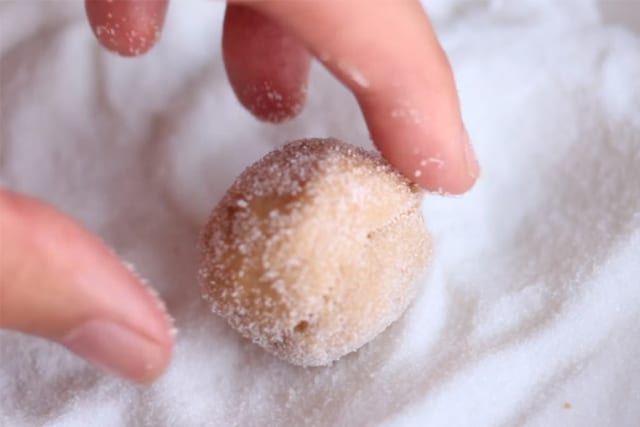
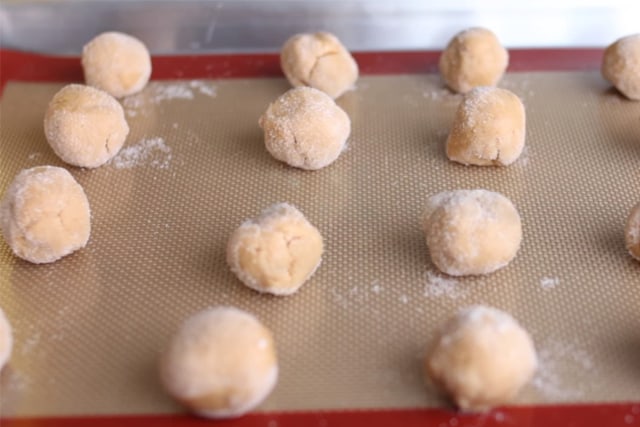
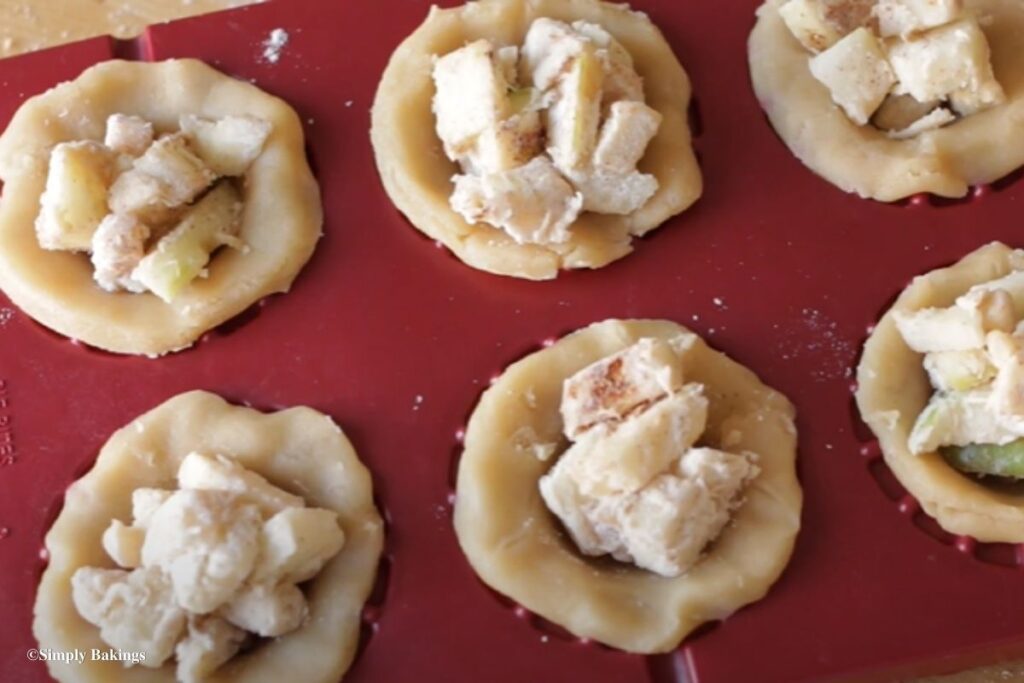
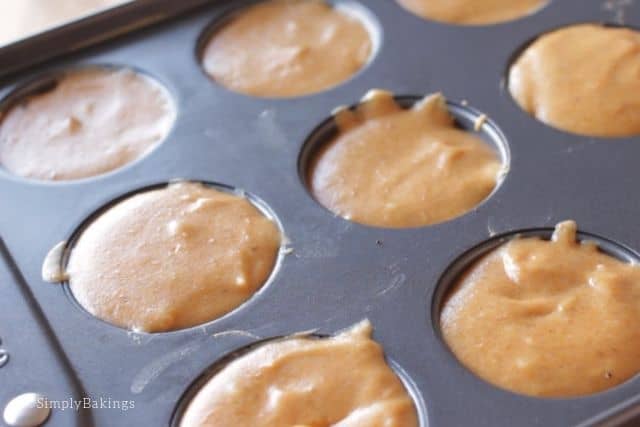
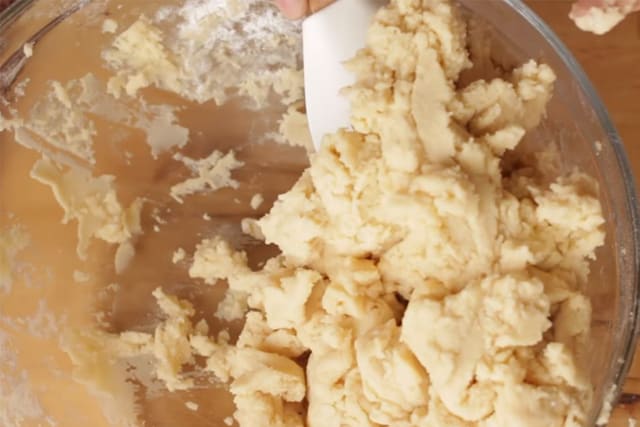
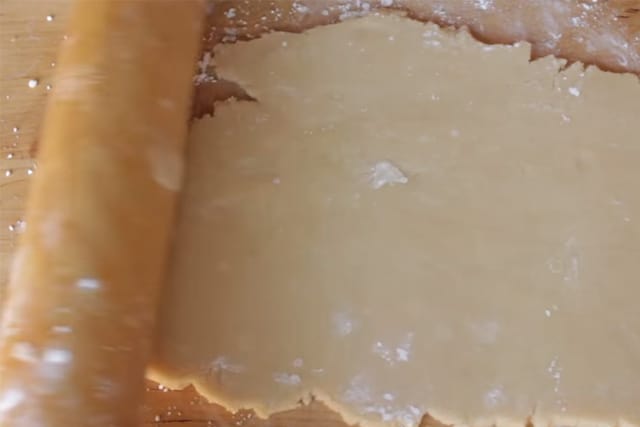
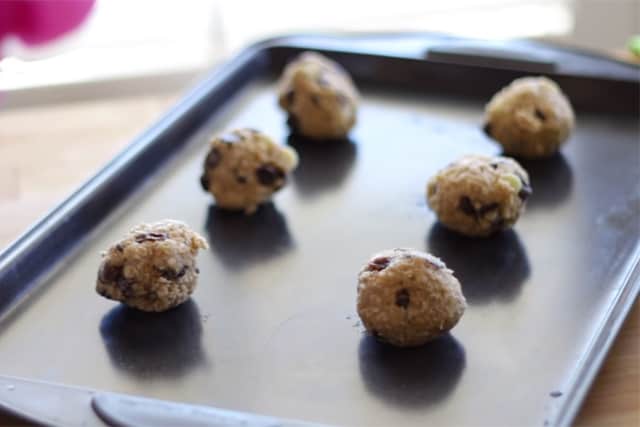
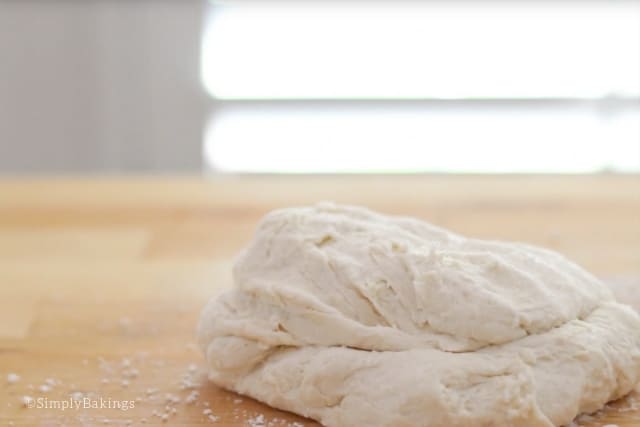
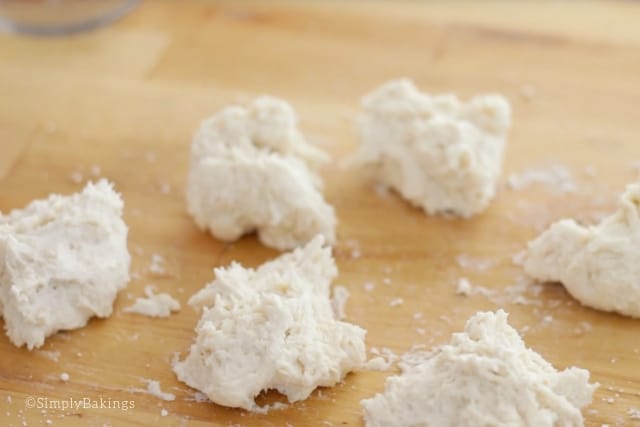
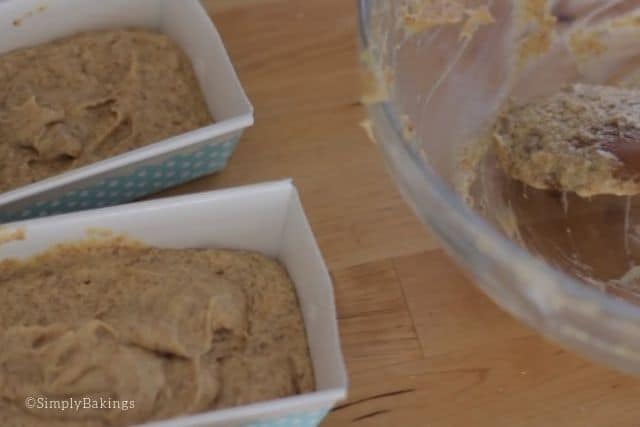
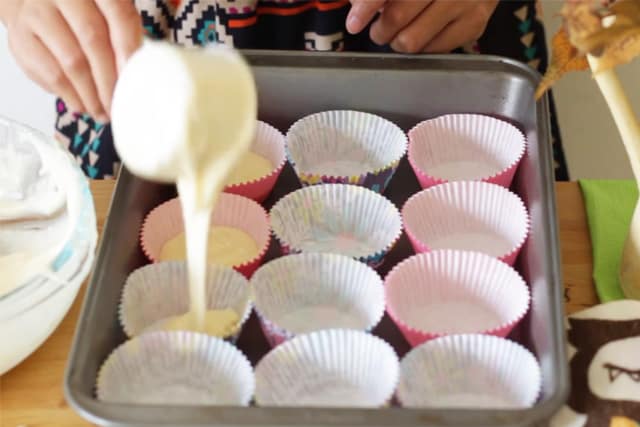
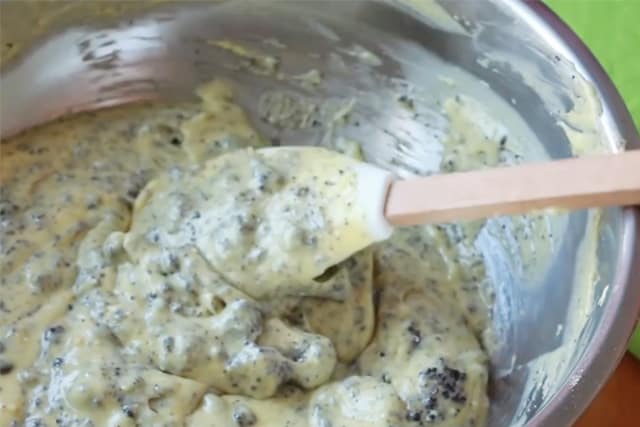
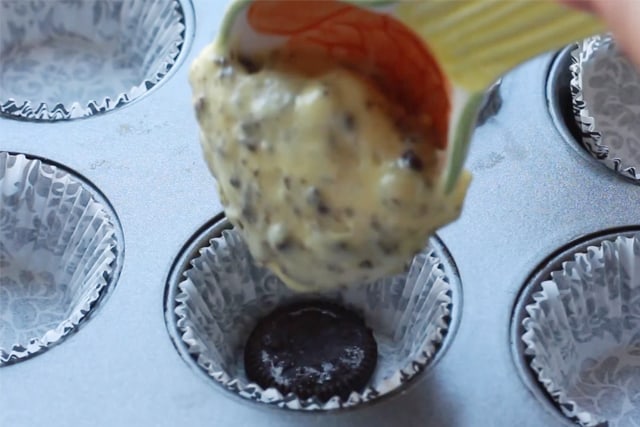
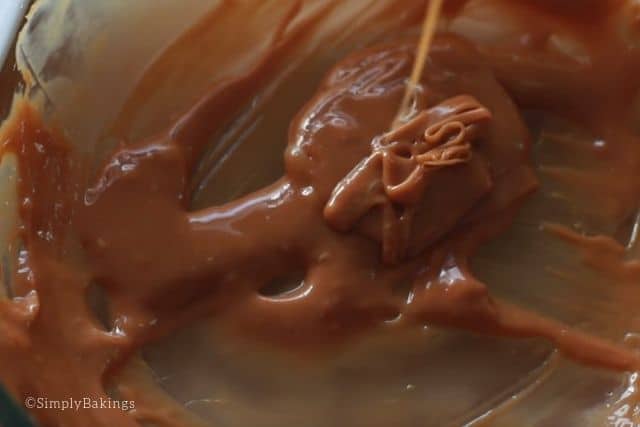
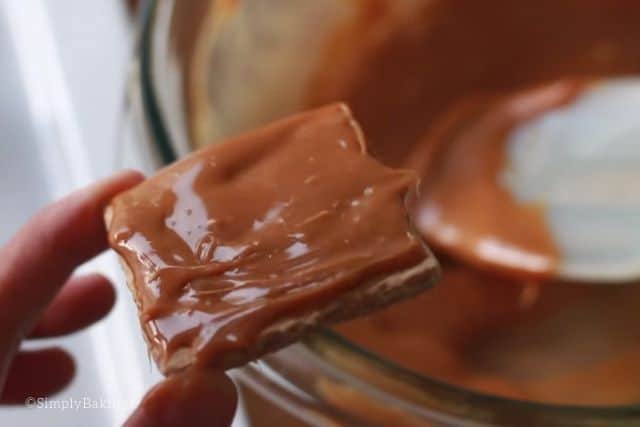
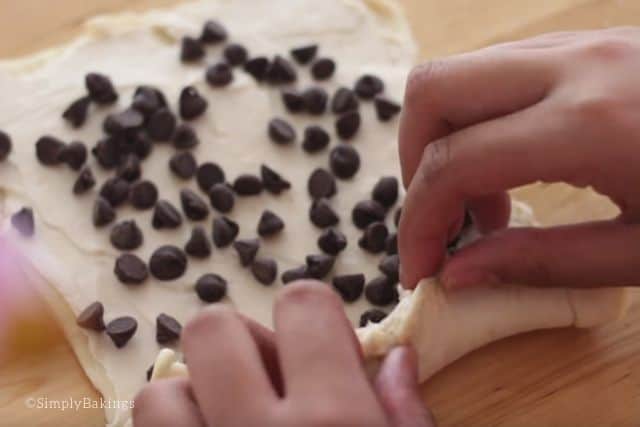
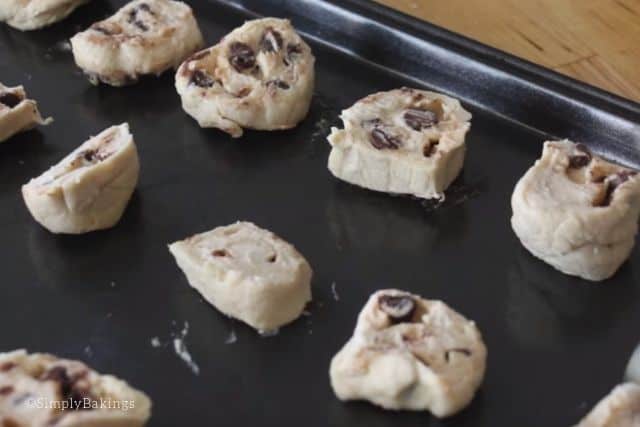
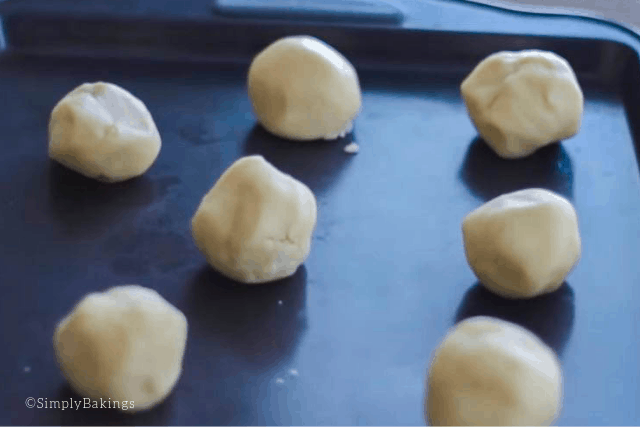
Roll into large cookie dough balls about 2 inches or use large cookie scoops and press in the center of the cookie Ghirardelli dark salted caramel bar:
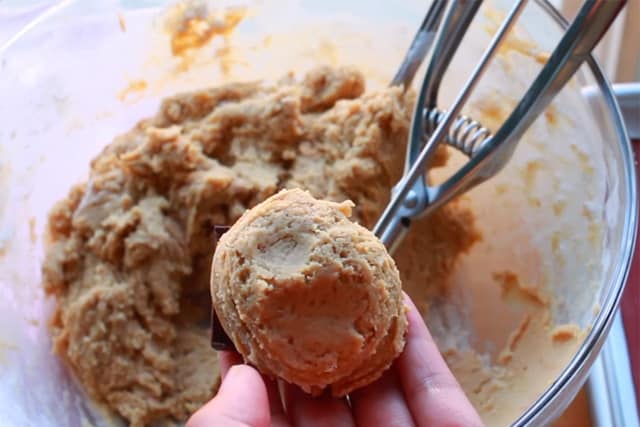
I used this chocolate brand specifically because I love the rich taste of both dark and salted caramel that it gives to the cookie 🙂
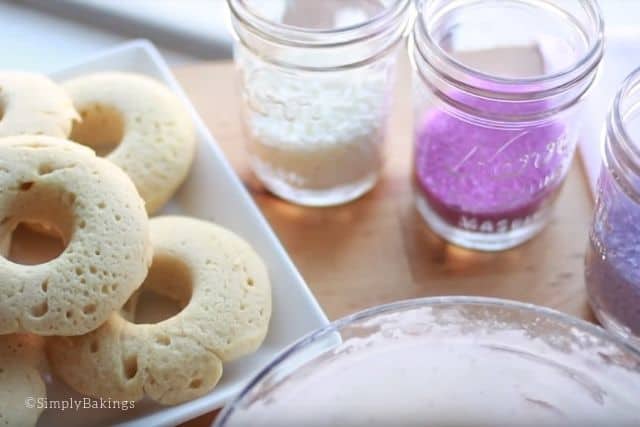
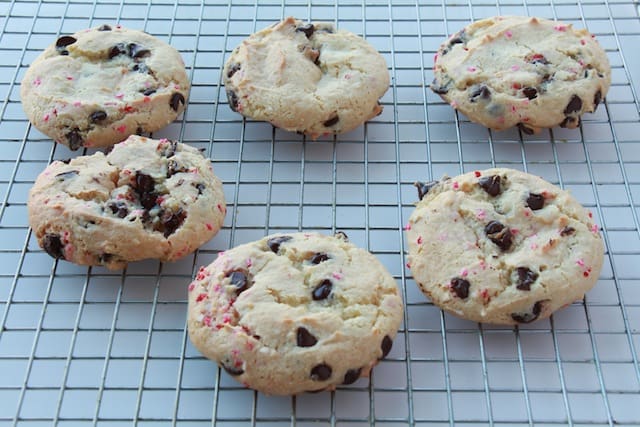
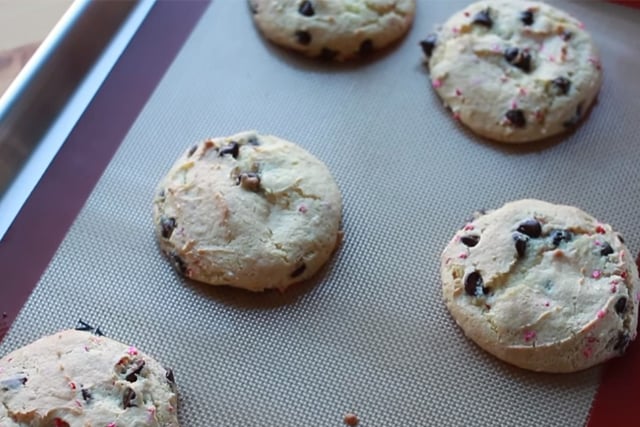
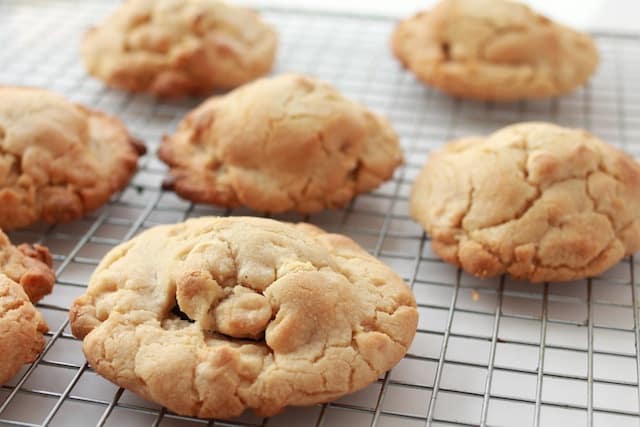
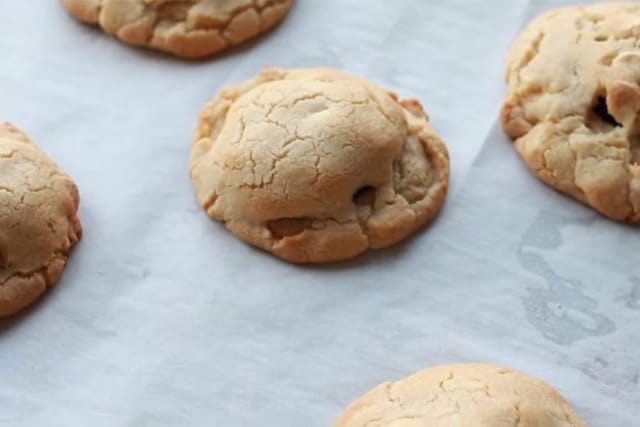
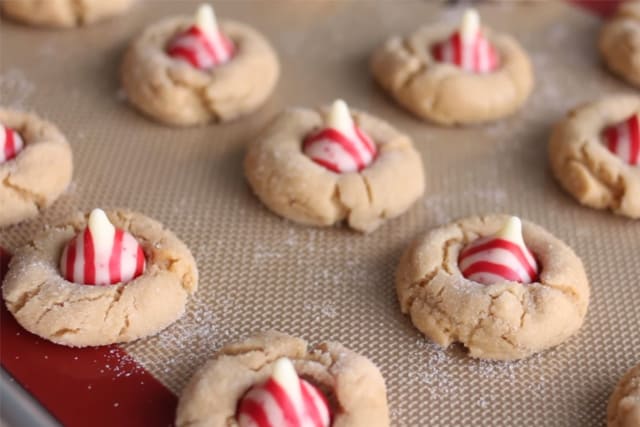
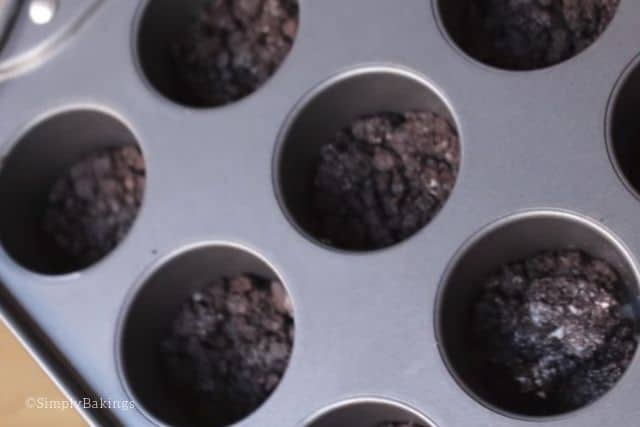
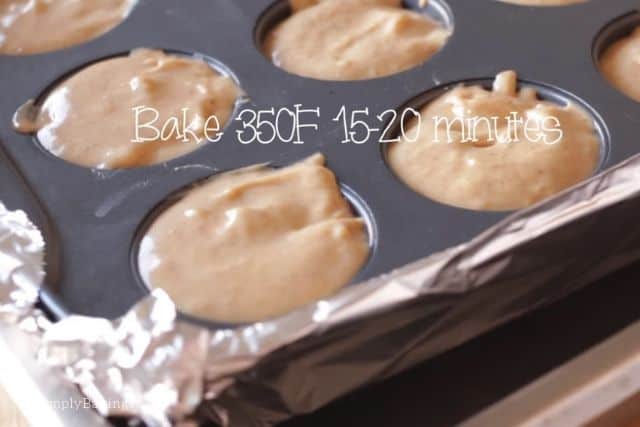
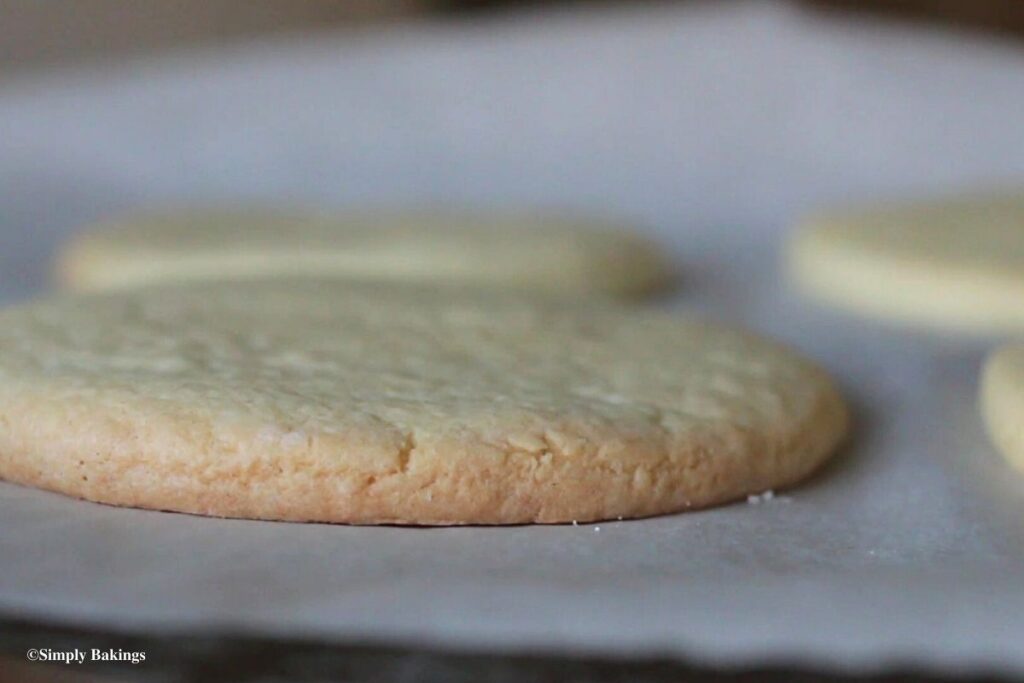
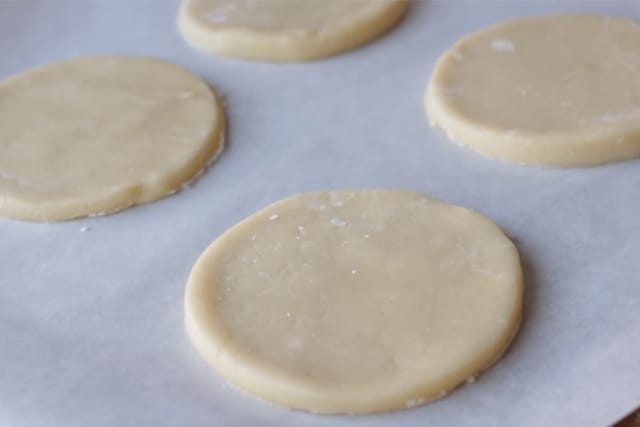
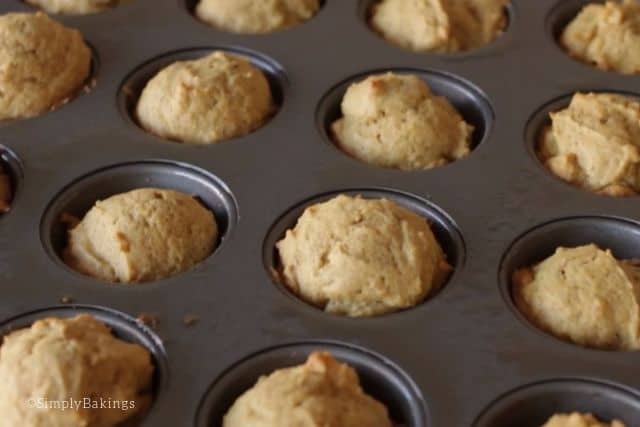
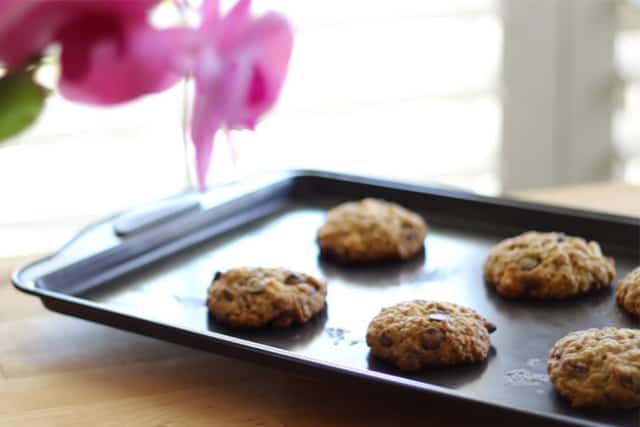
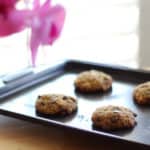
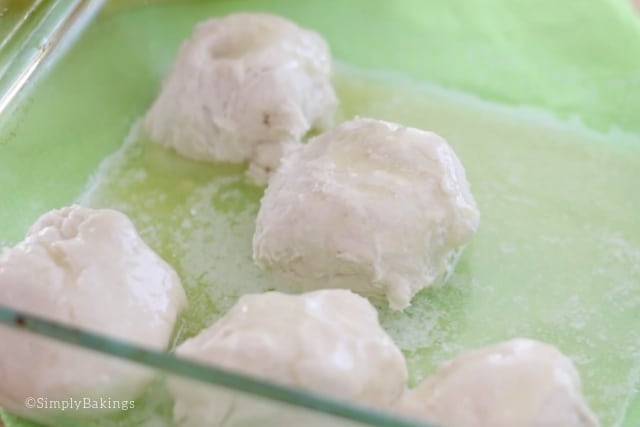
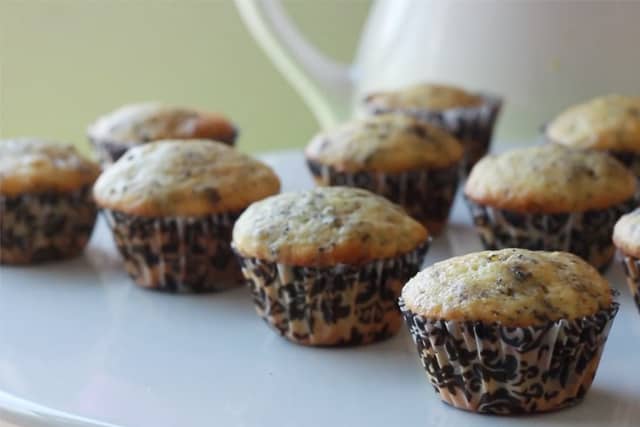
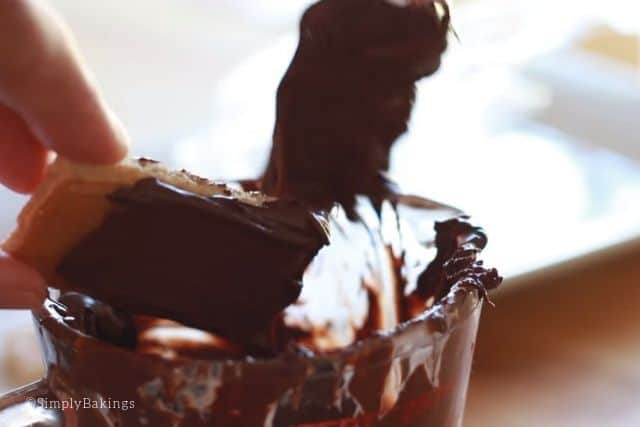
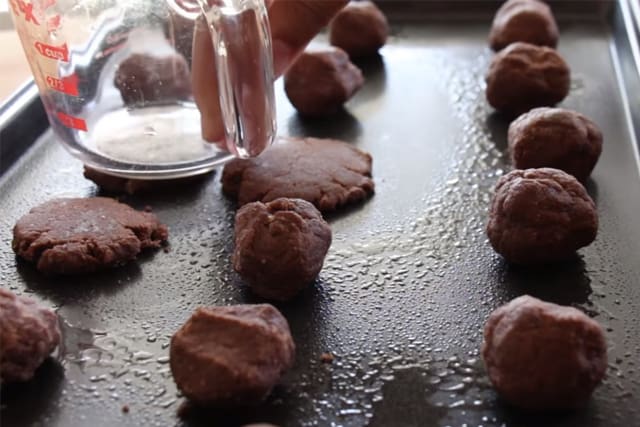
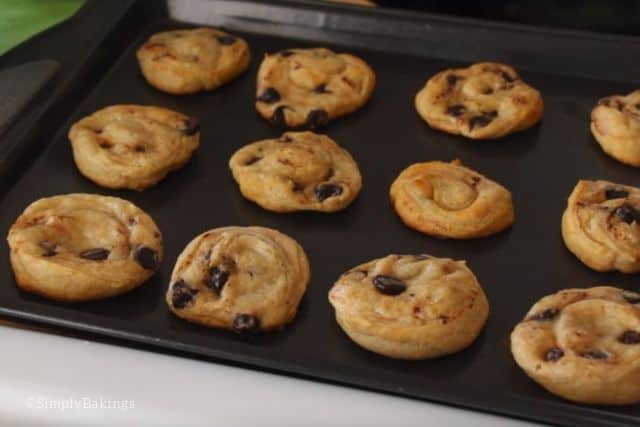
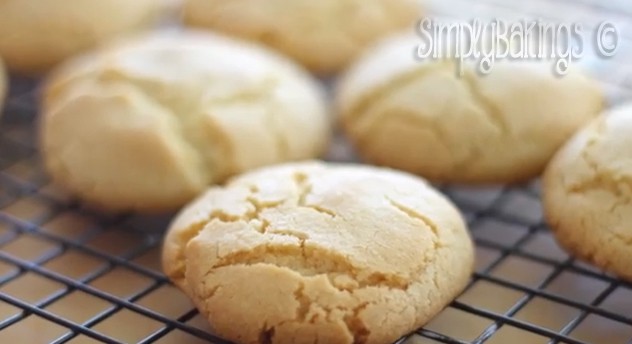
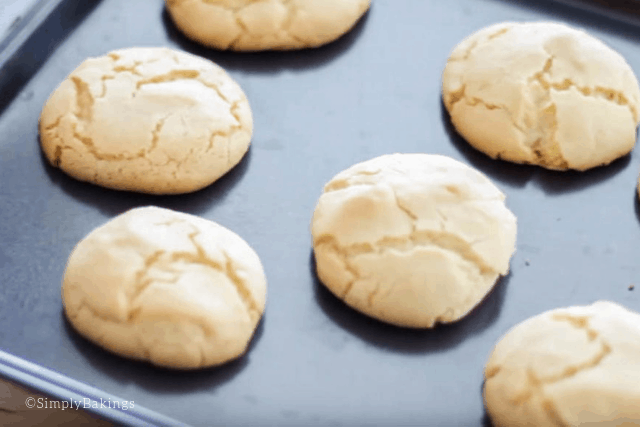
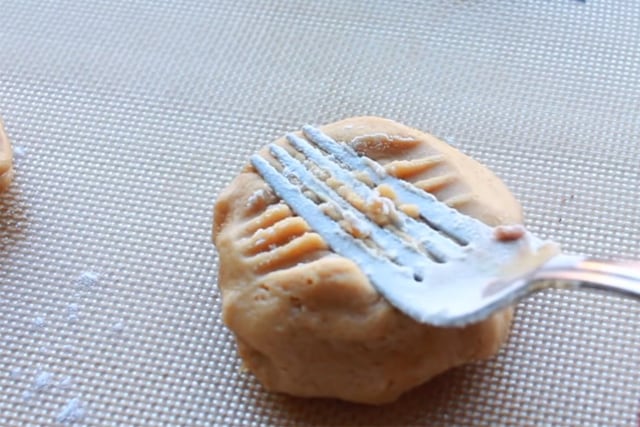
Place cookie dough balls on a baking sheet. Press with a fork to flatten the cookie and bake for 14-16 minutes or until golden brown:
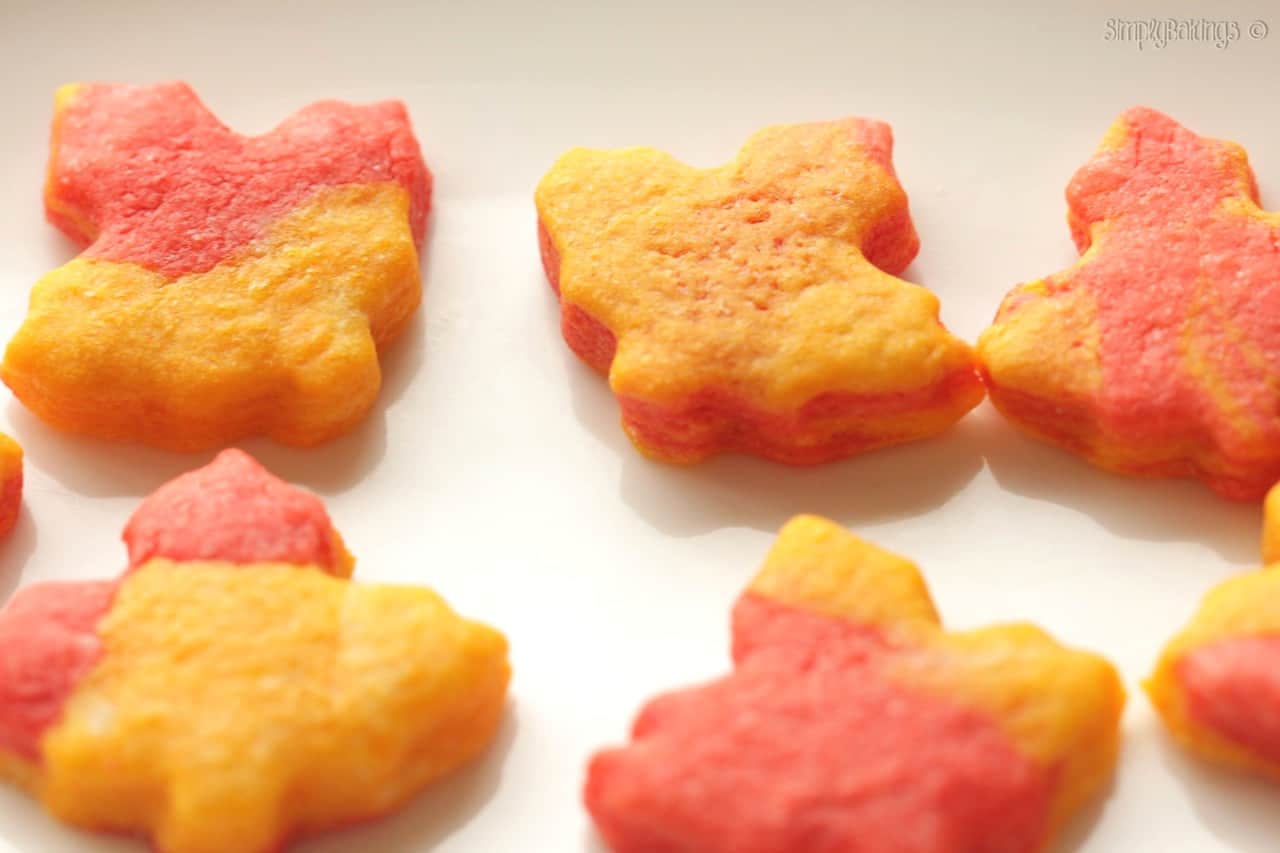
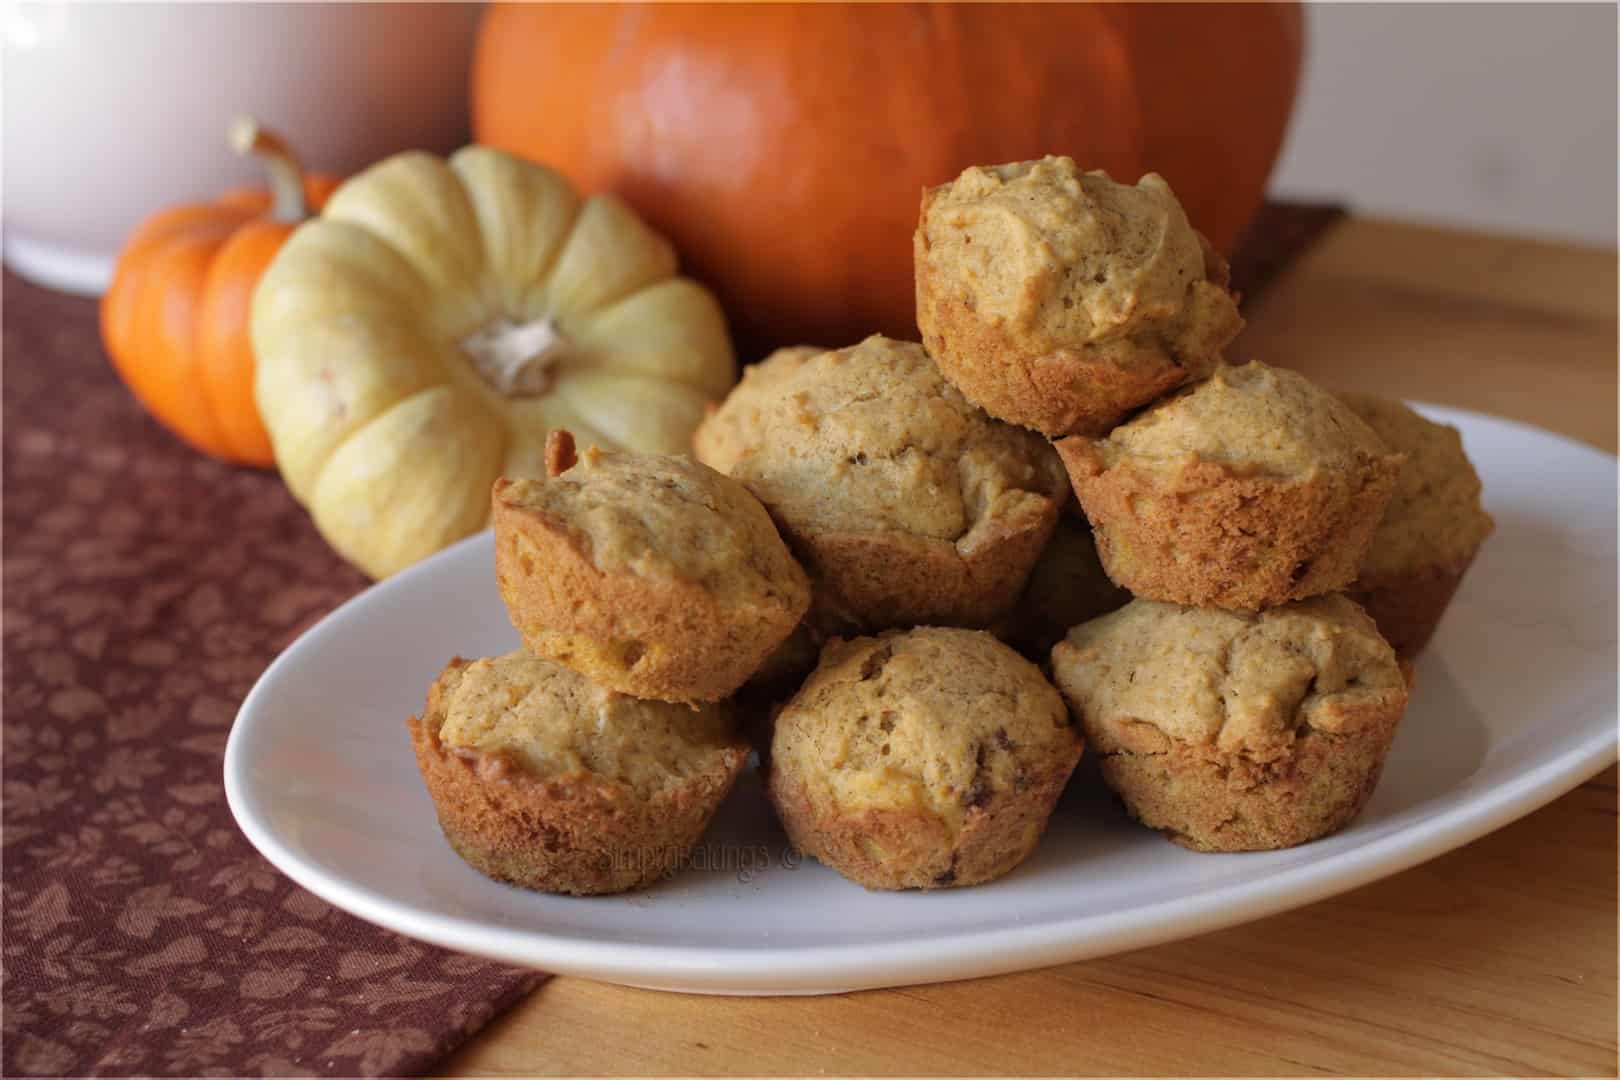
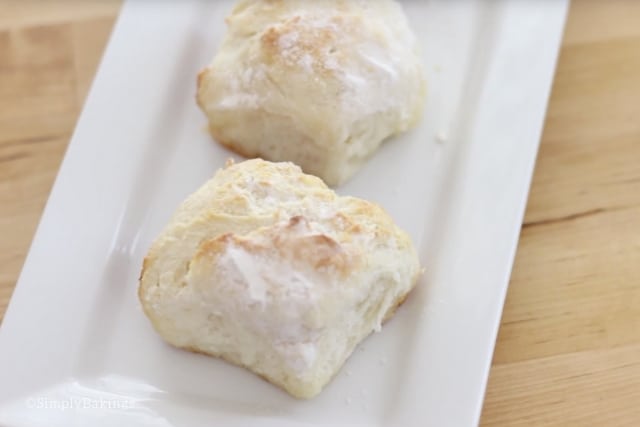
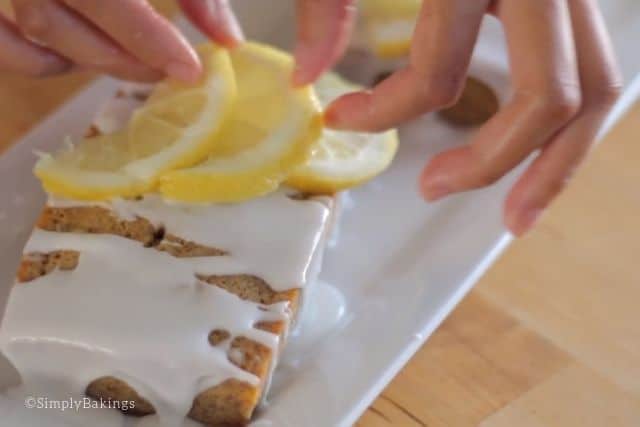
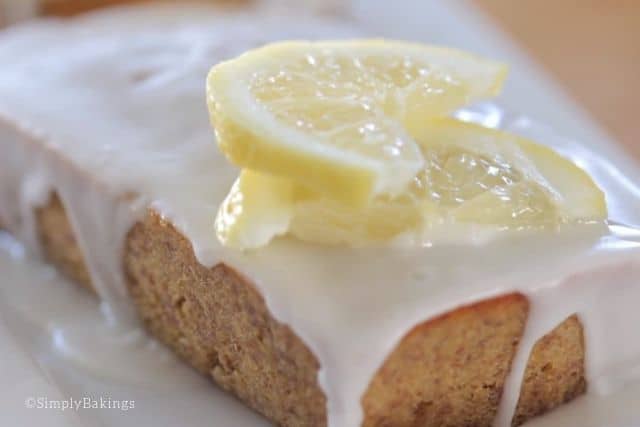
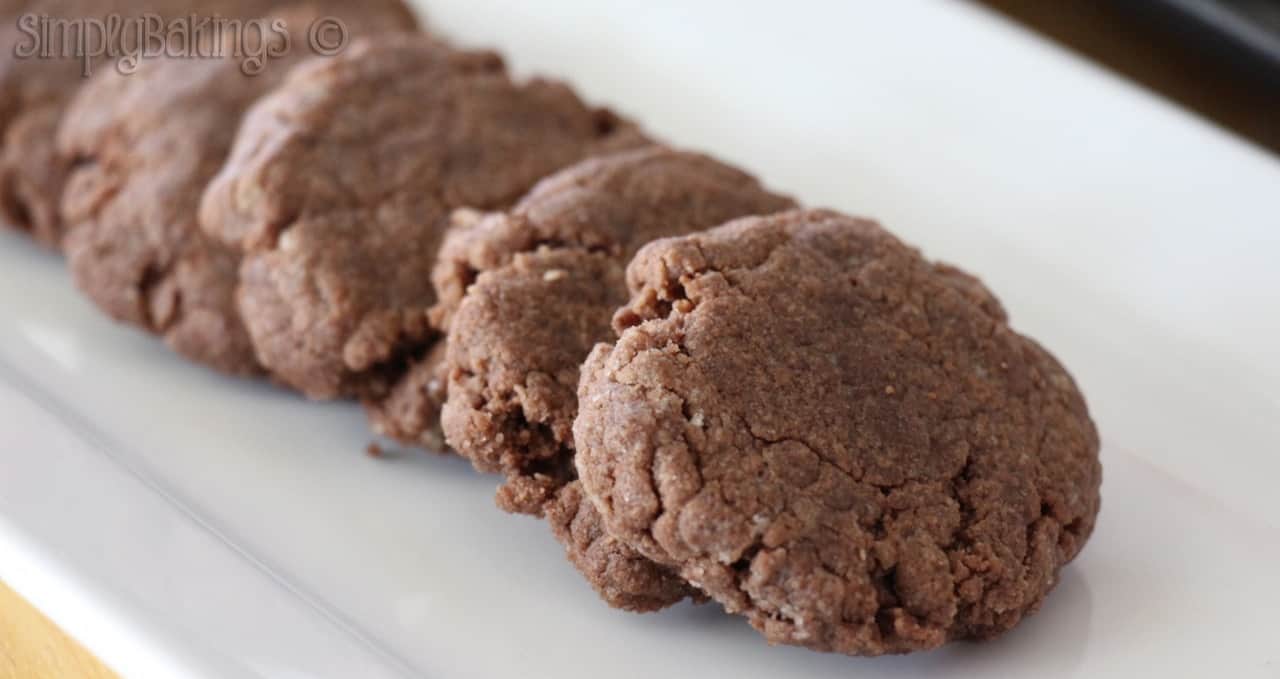
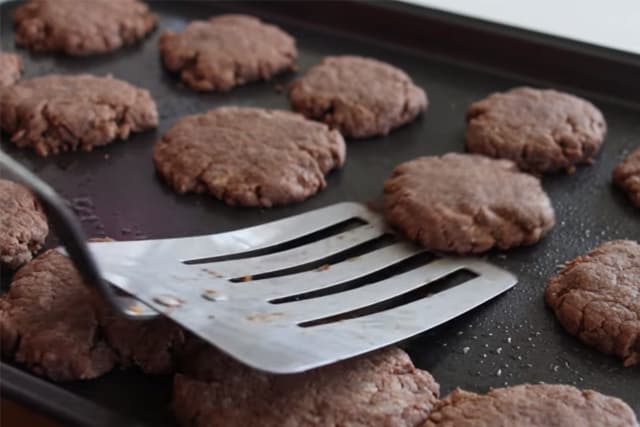
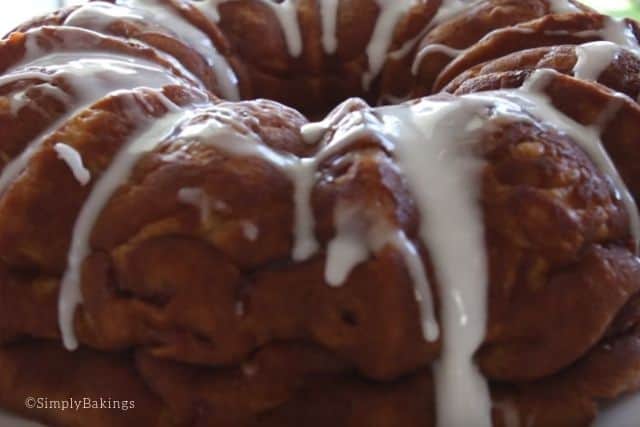
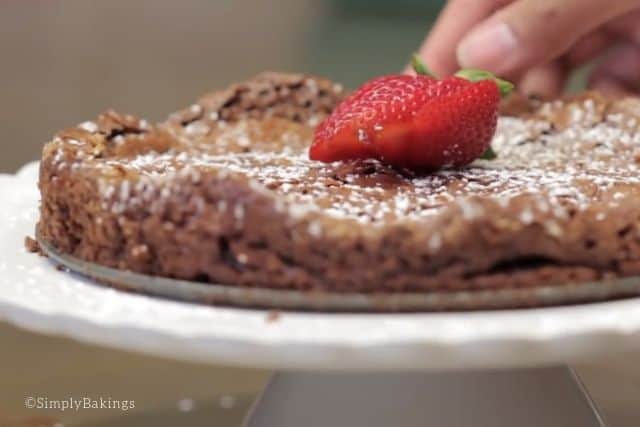
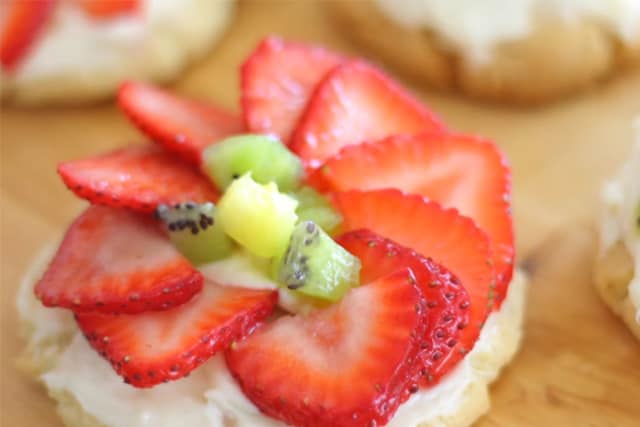
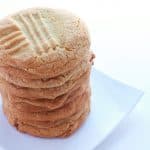
Then let them rest on a wire rack. There you go! Your delicious peanut butter stuffed cookies are done! Those are just a few easy steps, right?

Top Tips
- VERY IMPORTANT TIP: Make sure to allow the cookies to sit on the pan for about 10 minutes for the caramel to harden, or else caramel will be everywhere!
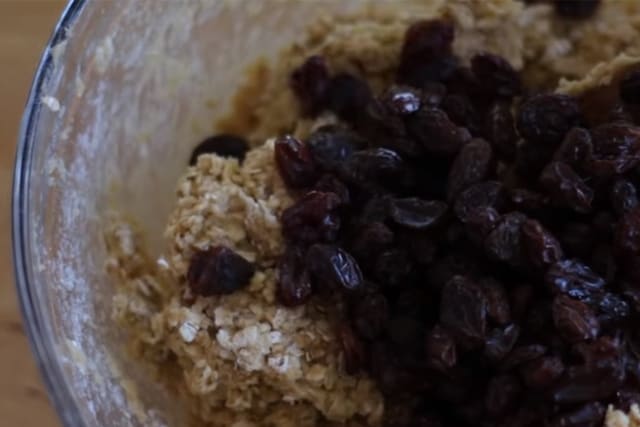
- If you will be adding some more nuts or maybe chocolate chips, just make sure you do not add too much of everything since it will break your cookies and won't form nicely.
- Keep your peanut butter stuffed cookies fresh for days. Store them in an airtight container and grab some delicious treat anytime!
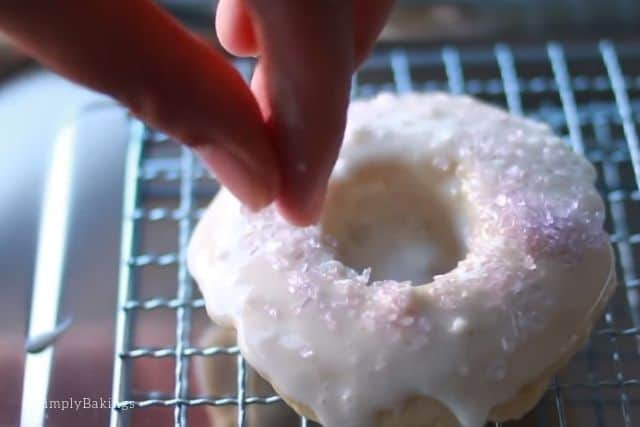
- Wrap these delicious cookies and give them a pretty and edible holiday gift.
FAQ
More delicious and easy cookie recipes:
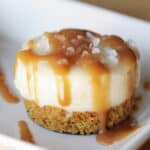
- 3 Ingredient No-Bake Cheesecake
- Best Chocolate Chip Cookies
- Brownie Cookies
- Oreo Peanut Butter Bark
- Assorted Candy Mix Cookies
- Cookie Butter Cookies
Peanut Butter Stuffed Cookies
Ingredients
- ½ cup softened butter
- ½ cup brown sugar
- ¼ cup white sugar
- 1 egg
- ½ cup peanut butter
- 2 tablespoons milk
- 1 teaspoon vanilla extract
- 1 teaspoon baking soda
- ½ teaspoon salt
- 1 ¾ cups all purpose flour
- 2 bars of Ghirardelli dark salted caramel Chocolate
Instructions
- Preheat oven 375 degrees F and grease cookie sheet, use parchment paper or silpat.
- In a large bowl add butter, brown and white sugars and cream until fluffy.
- Add egg, peanut butter, milk, vanilla extract, and mix. Then add baking soda, salt, all purpose flour and mix.
- Roll into large ball about 2 inches and press in the center of the cookie Ghirardelli dark salted caramel bar. Press with a fork to flatten the cookie.
- Bake for 14-16 minutes or until golden brown.
Watch The Recipe Video!

It's COOKIE MONDAY time! A new series that I started on my YouTube Channel! I've made peanut butter cookies many times, but these were my favorite because I not only put Ghirardelli Dark Sea Salt Caramel in the center, but I also tried it with Cookie Butter from Trader Joes.
The texture is chewy even after I left it sitting in the open air for about two hours! I probably could have made the cookies bite-sized, but if you are having a bake sale these cookies would be perfect to sell individually.
There are so many different ways I can make peanut butter cookies, what are some ways you have made them?