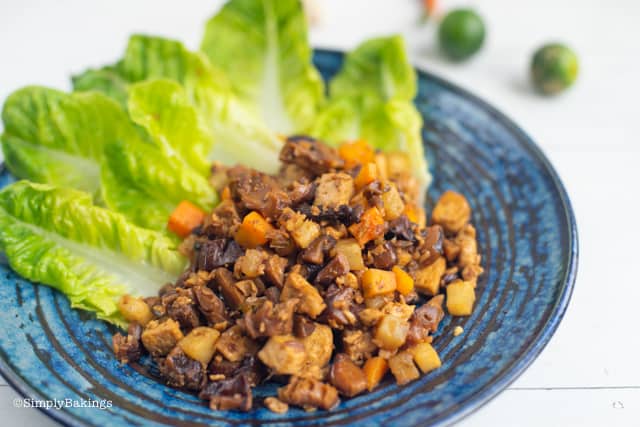
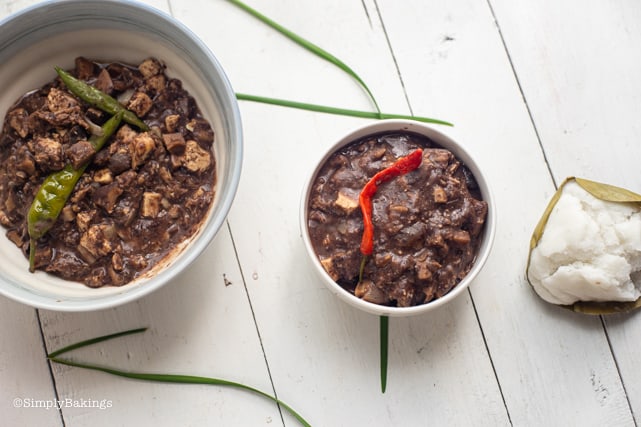
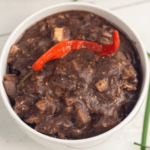
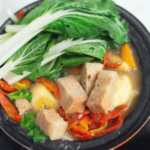
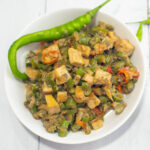
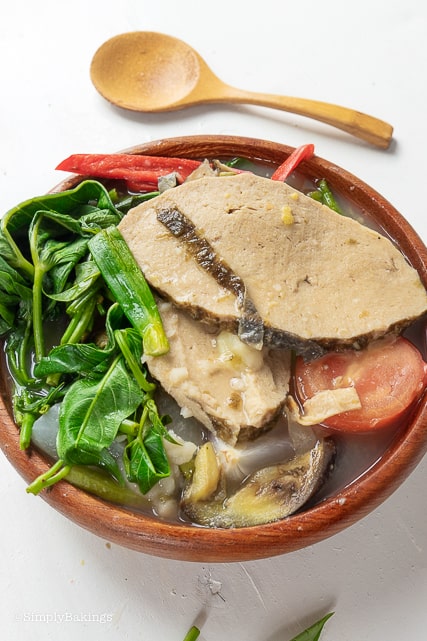
This Vegetarian Ginisang Monggo is the ultimate comfort food and a staple in all Filipino homes. It's hearty, savory, full of nutritional benefits like and great to eat on a nice cold day.
Looking for more Ginisang Dishes? Try my Ginisang Repolyo (Sautéed Cabbage) or my Ginisang Sayote.
What is Ginisang Monggo?
Ginisang monggo is made of softened mung beans, mixed with vegetables, edible leaves like ampalaya leaves, malungay leaves, or petchay leaves. And there are so many different names and spellings for this recipe like:
- Mung Bean
- Monggo Soup
- Monggo Beans
- green mung beans
to name a few. So throughout the recipe, you'll see me write it in different variations.
Health Benefits
- Rich in Nutrients: Mung beans are packed with essential nutrients, including protein, fiber, vitamins (such as folate, vitamin B1, and vitamin B6), and minerals (such as iron, magnesium, potassium, and phosphorus).
- High Protein Content: Mung beans are an excellent plant-based source of protein, making them especially beneficial for vegetarians and vegans. Protein is essential for muscle repair, growth, and overall health.
- Heart Health: Mung beans contain antioxidants like flavonoids, polyphenols, and phenolic acids, which may help reduce the risk of heart disease by preventing oxidative stress and inflammation.
- Regulates Blood Sugar Levels: The low glycemic index of mung beans means they are digested and absorbed slowly, leading to a gradual rise in blood sugar levels. This can help regulate blood sugar levels and reduce the risk of diabetes.
Top Tips
- Pre-soak mung beans overnight so cooking will be faster. Overnight is best or at least 4 hours before cooking.
- To speed up the softening process of monggo beans, use a pressure cooker. In just 10 to 15 minutes, they'll be ready for cooking, saving you hours of waiting time.
Variations
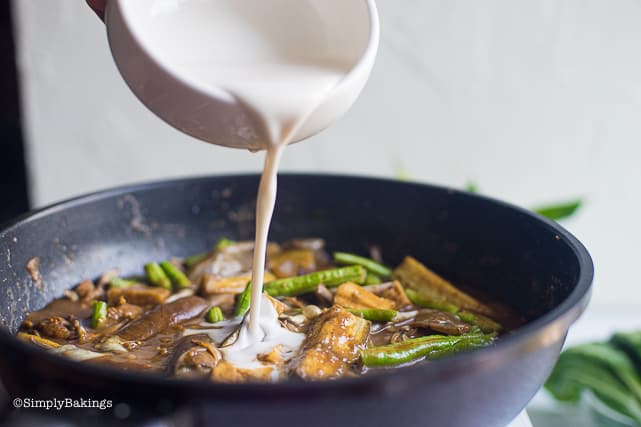
- Coconut Milk Addition: For a creamier texture and a hint of sweetness, add coconut milk to the soup. Simmer the mung beans with coconut milk along with your choice of vegetables and seasonings.
- For an authentic hint of seafood flavor, add vegan fish sauce to your dish.
Substitutions
- Mung Beans: If you don't have mung beans, you can substitute with other legumes like lentils or split peas. Each will provide a slightly different texture and flavor, but they will still work well in the soup.
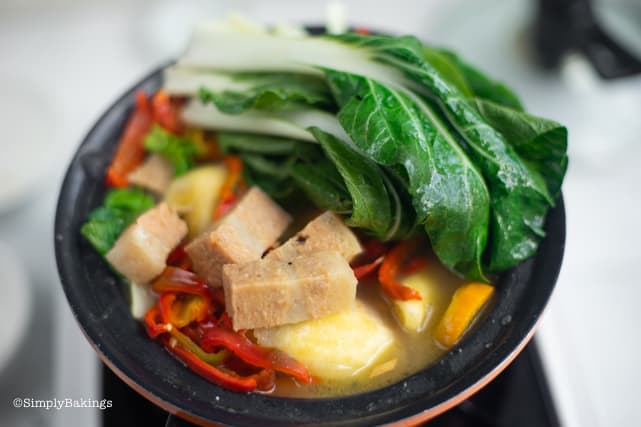
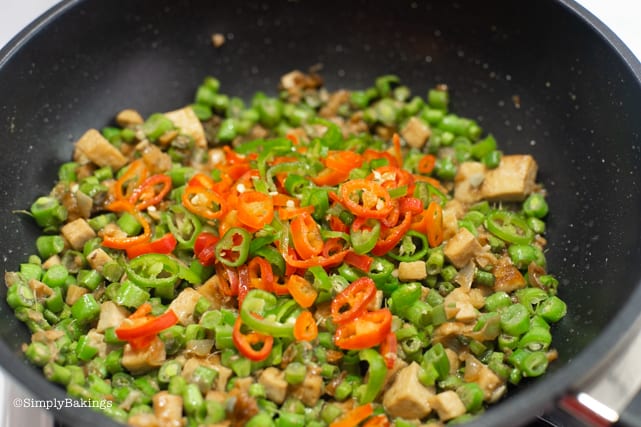
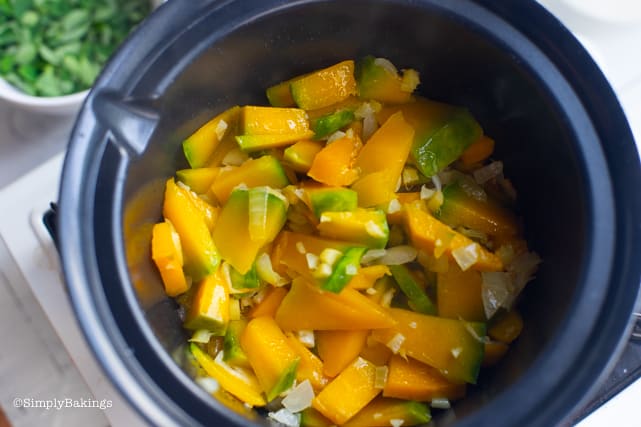
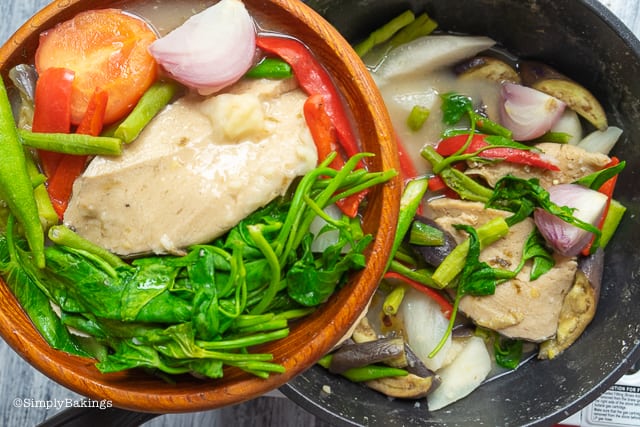
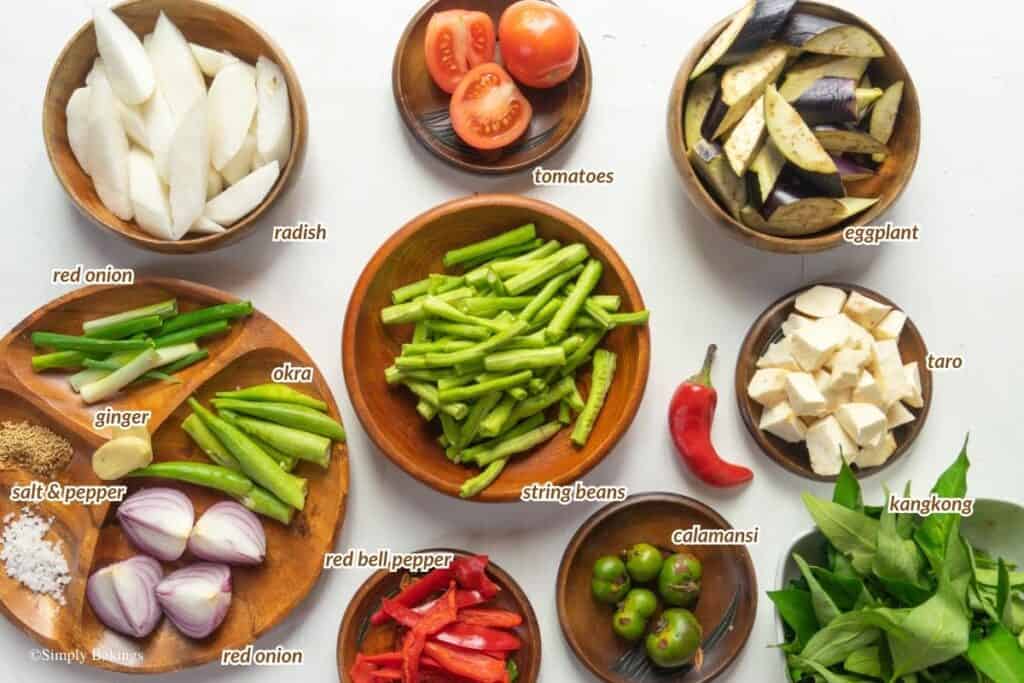
- Vegetables: Feel free to customize the vegetables based on what you have on hand or your personal preferences. Common vegetables used in ginisang monggo include malunggay (moringa) baby spinach leaves, kale, tomatoes, eggplant, squash, bok choy, and green beans.
- Broth: Instead of using water as the base for the soup, you can use vegetable broth or bouillon cubes for added flavor. If you don't have either, water with additional seasoning such as salt, pepper, and herbs can also work.
- Aromatics: While garlic and onions are traditional aromatics used in ginisang monggo, you can also experiment with other aromatics like lemongrass for a different flavor profile.
- Protein: If you want to increase the protein content of the soup, you can add tofu, tempeh, or seitan along with the mung beans. Alternatively, you can serve the soup with a side of protein-rich foods like tofu scramble or grilled tempeh.
Storage
- Refrigeration: If you have leftovers, store the mung bean soup in an airtight container in the refrigerator. It will stay fresh for up to 3-5 days.
- Freezing: For longer storage, you can freeze the mung bean soup. Allow it to cool completely before transferring it to a freezer-safe container or resealable plastic bag. Label the container with the date and freeze for up to 2-3 months. (I suggest removing the vegetables, you can add them after you defrost it.)
- Thawing and Reheating: When ready to enjoy the frozen soup, thaw it overnight in the refrigerator. Reheat it on the stovetop over medium heat, stirring occasionally, until heated through. Alternatively, you can microwave it in a microwave-safe container, stirring occasionally, until thoroughly heated.

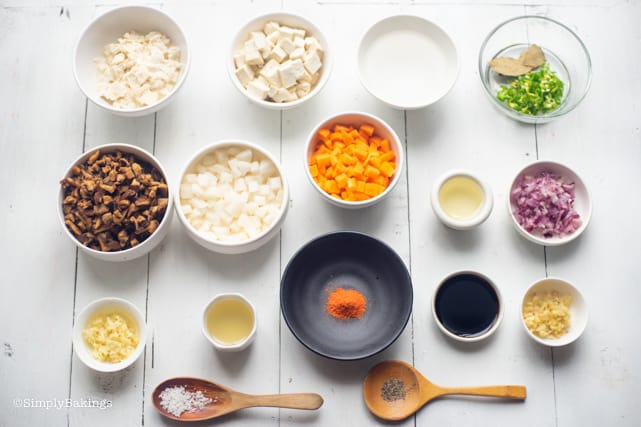
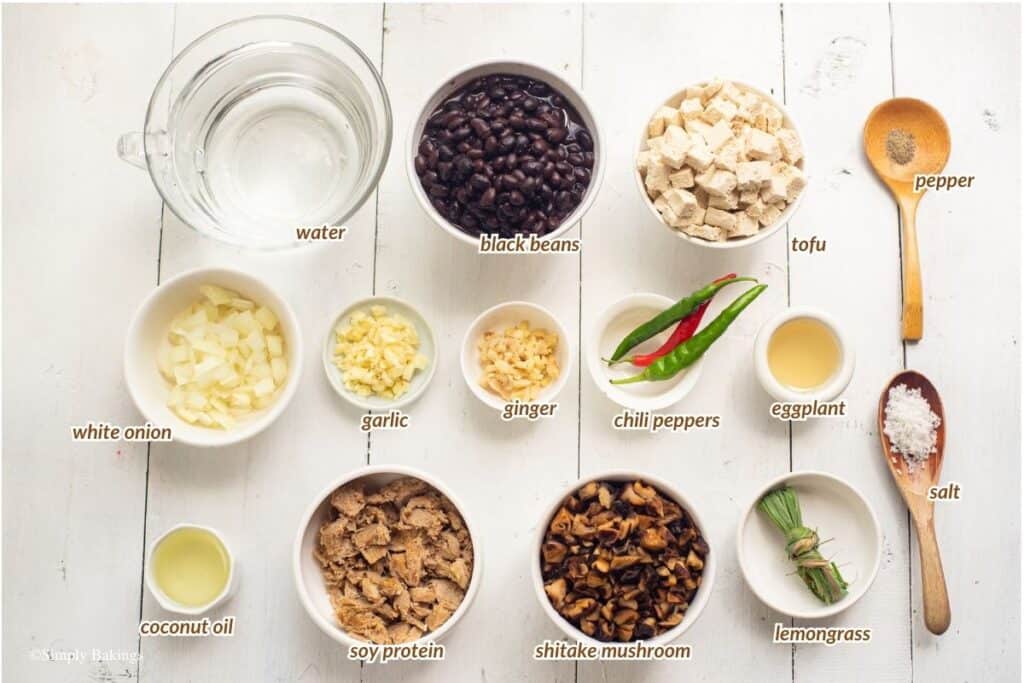
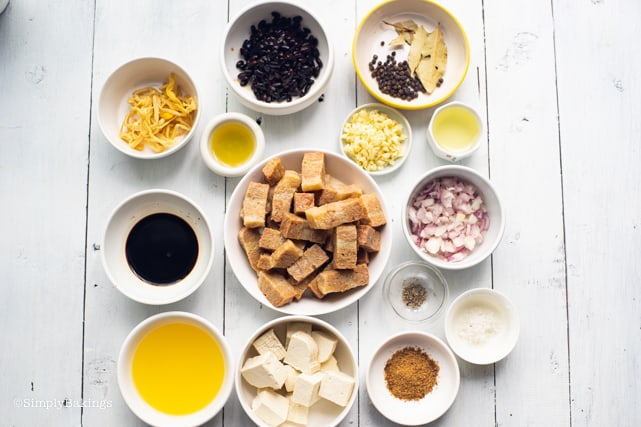
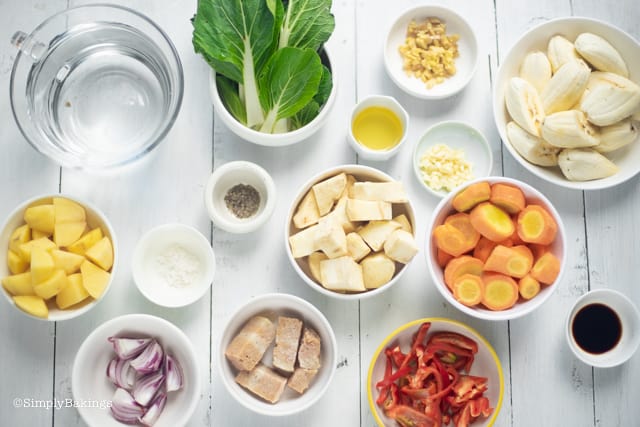
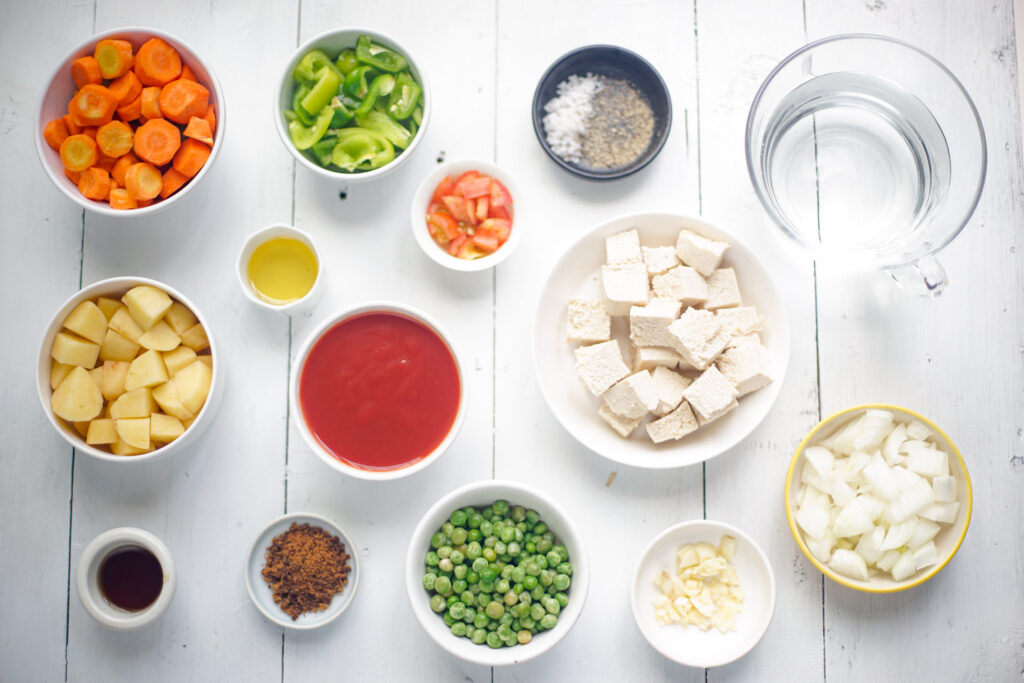
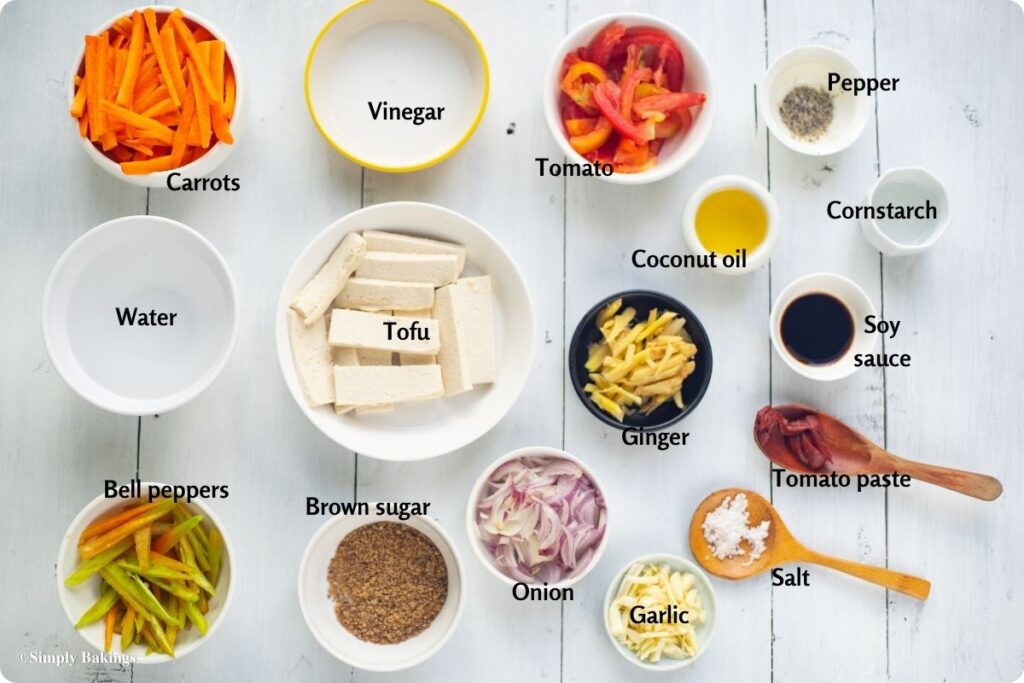
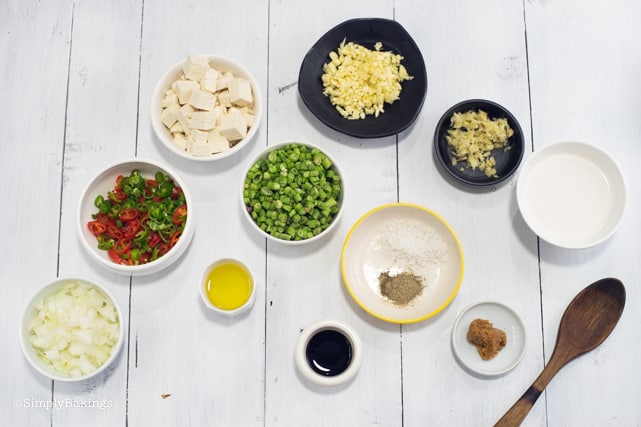
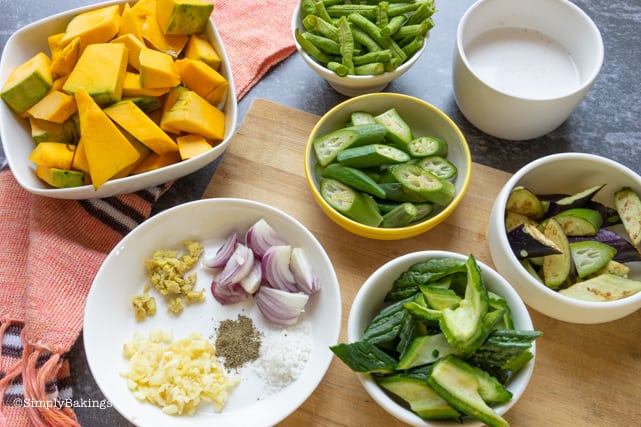
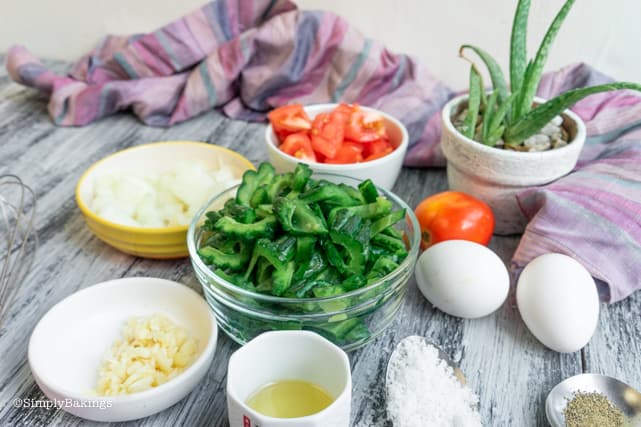
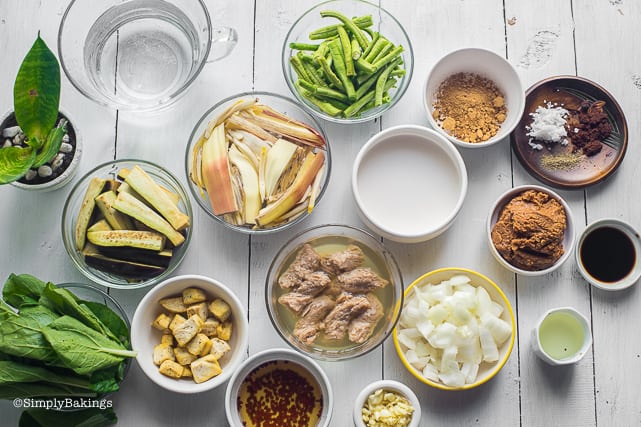
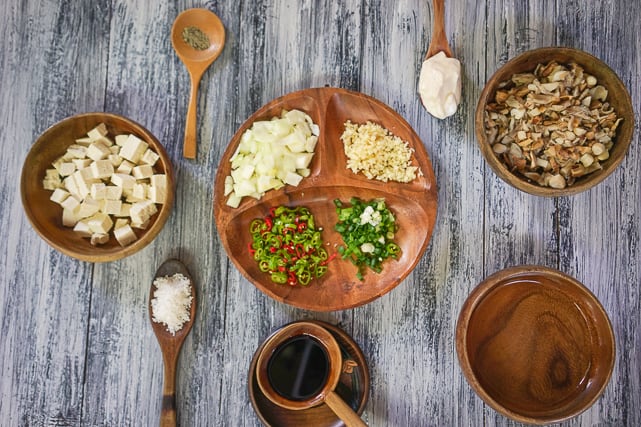
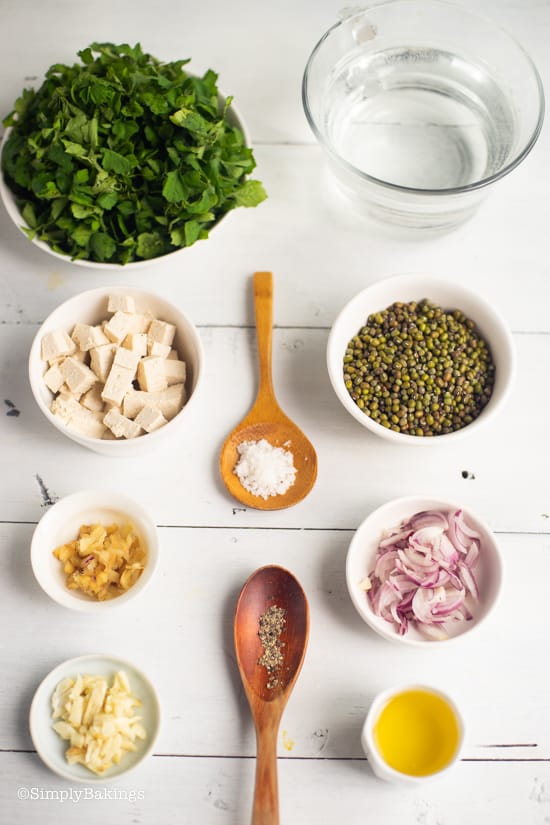
Ingredients
These are the Ginisang Monggo ingredients that you will need:
- mung beans
- water
- coconut oil
- tofu
- garlic
- onion
- ginger
- salt
- pepper
- ampalaya leaves or malunggay leaves
Instructions
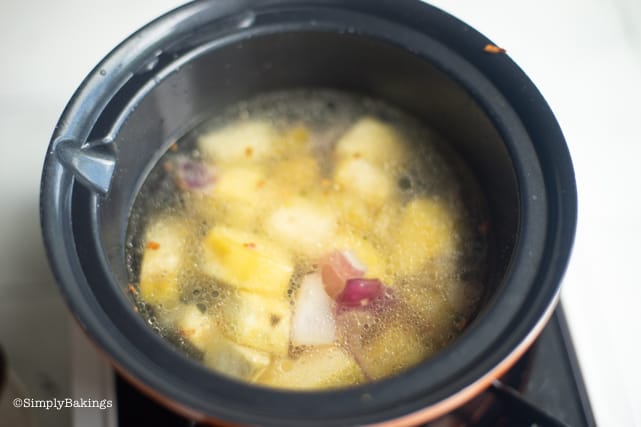
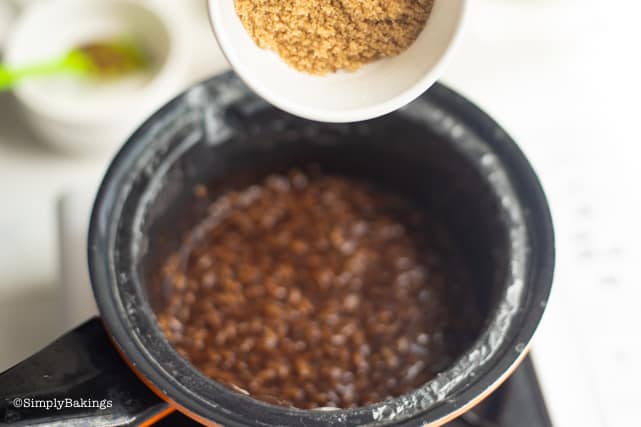
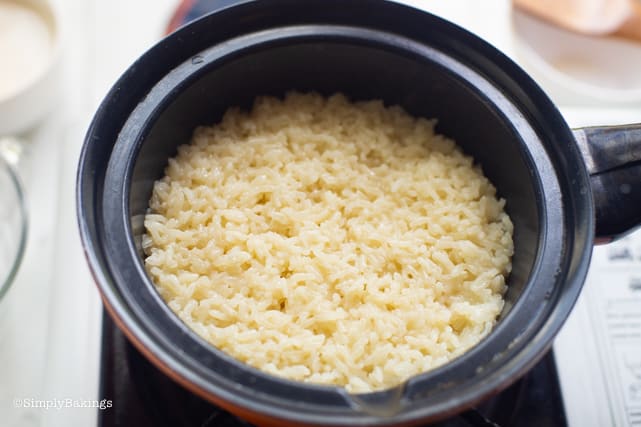
In a saucepan or large pot, over medium heat, add 2 cups of water in the pot. Then add mung beans and cook for about 20-25 minutes or until cooked:
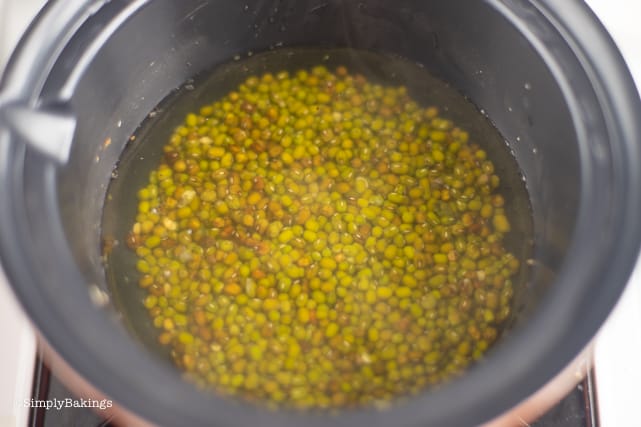
The cooked monggo should be fluffier, skin is opened, and soft, just like what we have here:
When it is cooked, strain the water and set aside:

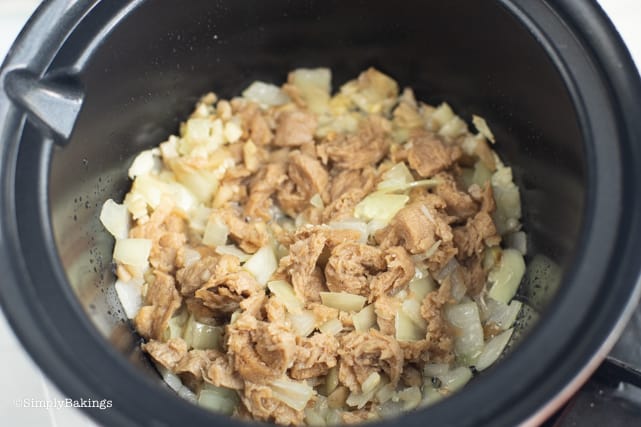
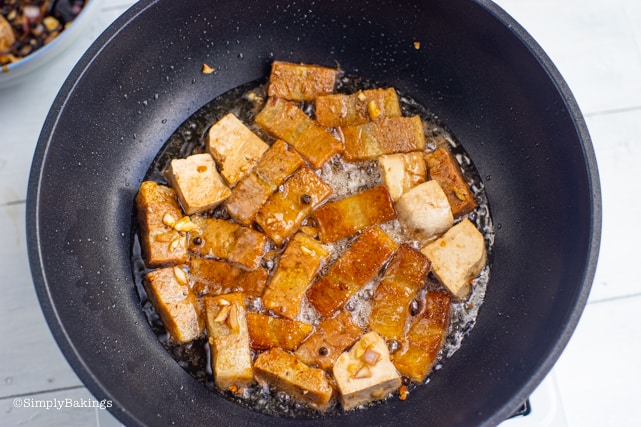
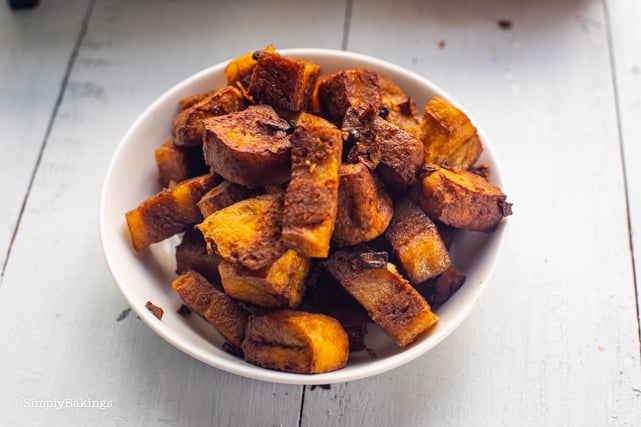
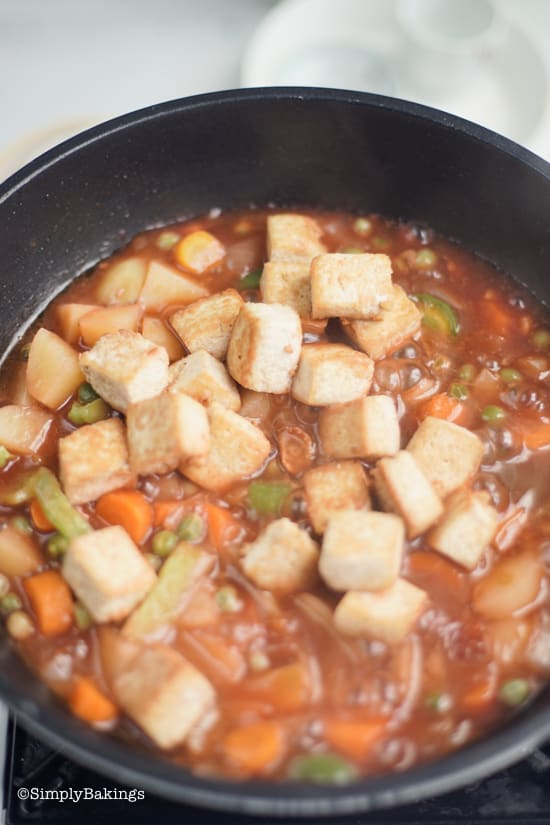
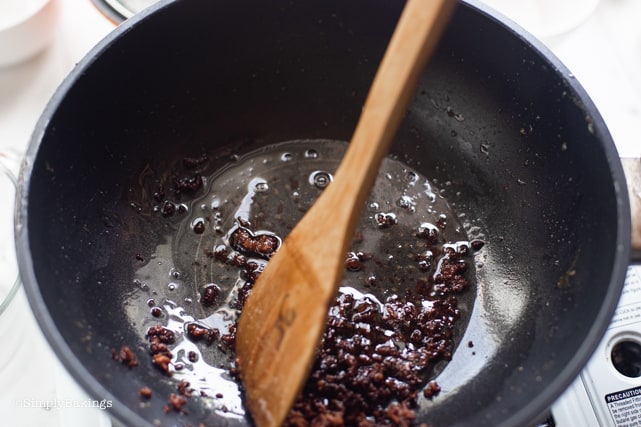
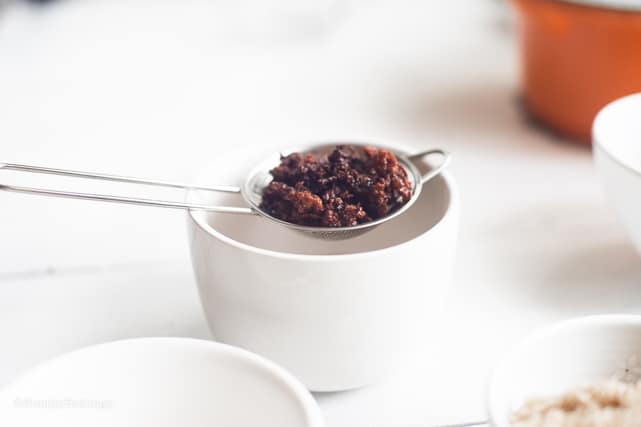
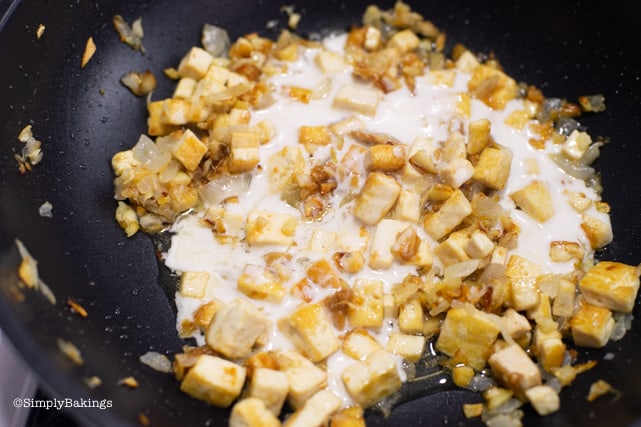
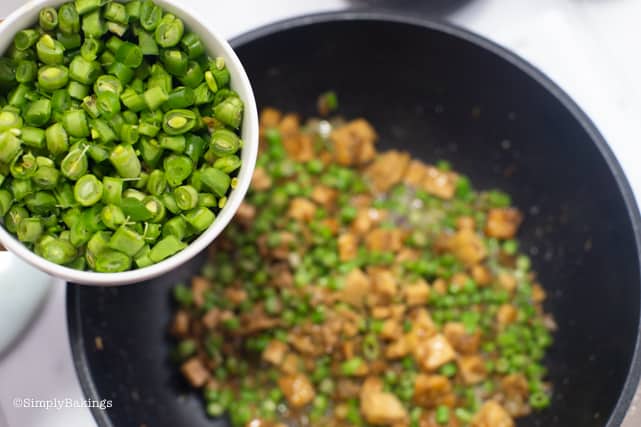
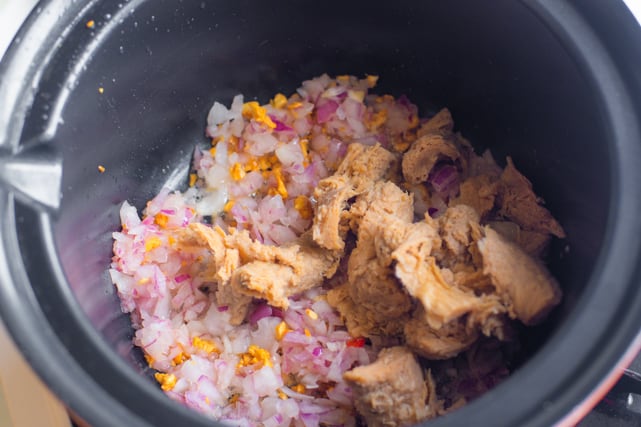
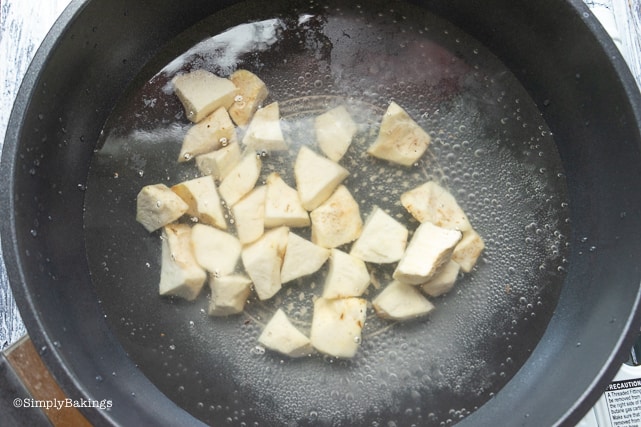
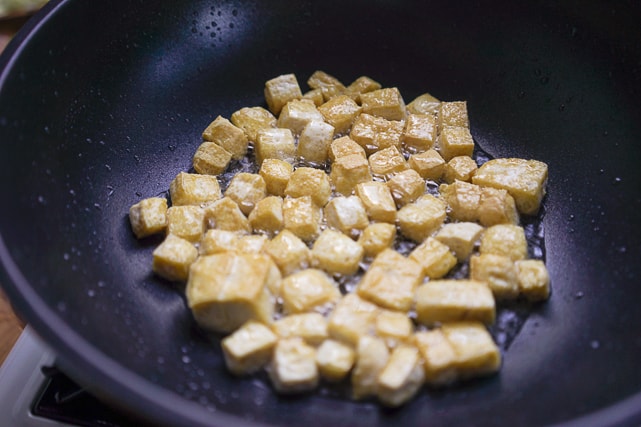
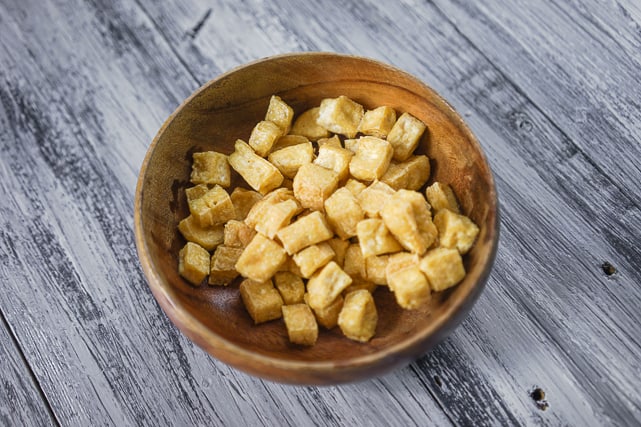
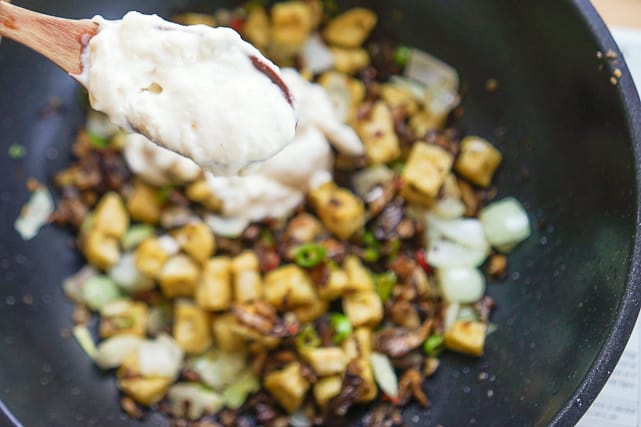
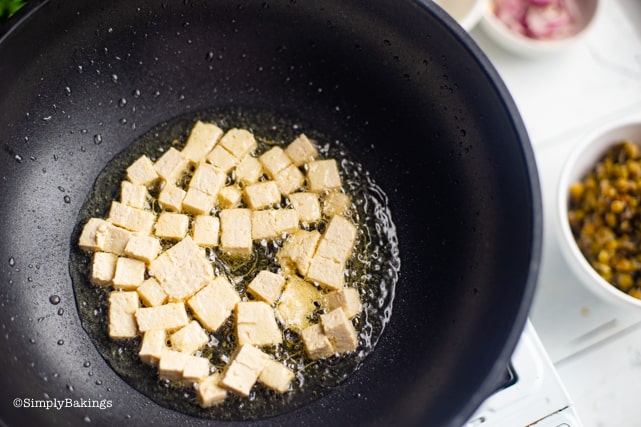
Heat a nonstick pan over medium heat with coconut oil and fry tofu until it’s lightly brown on both sides, then set aside:
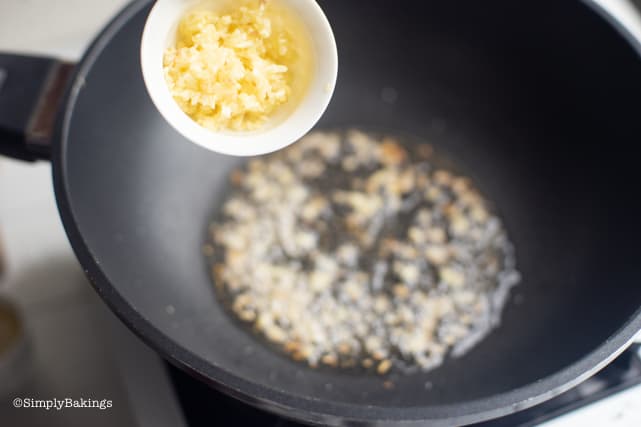
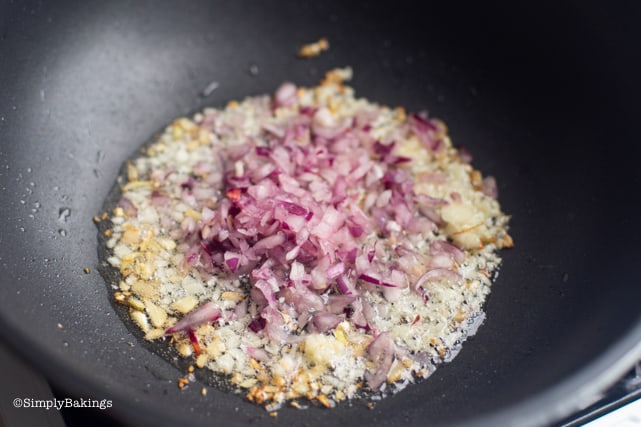
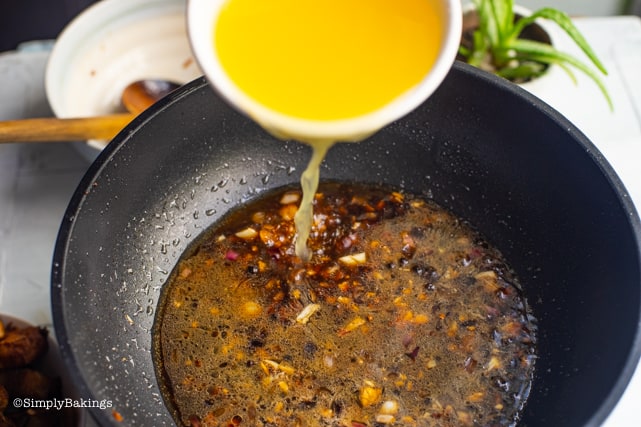
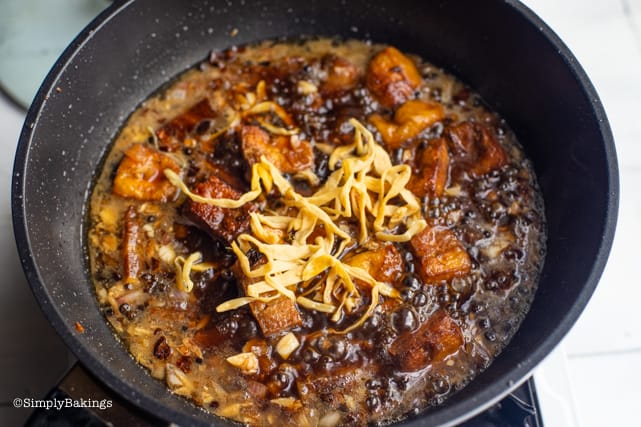
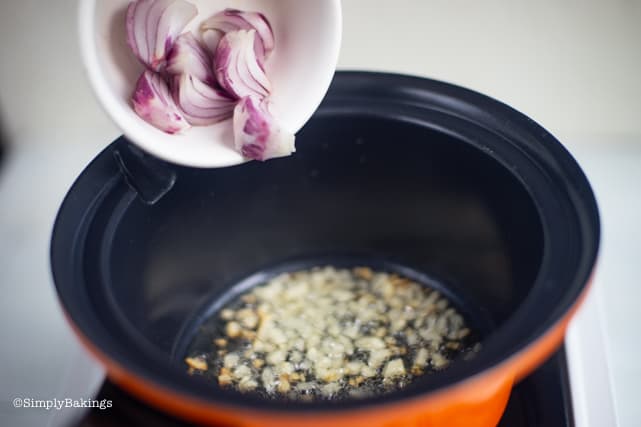
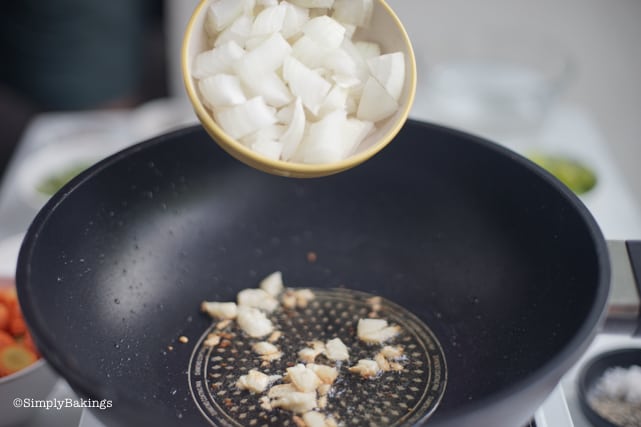
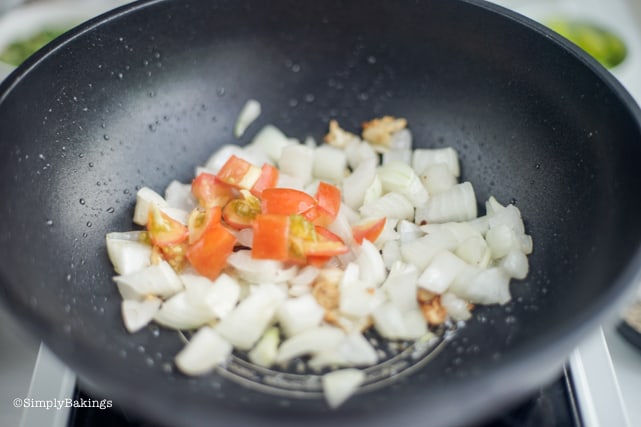
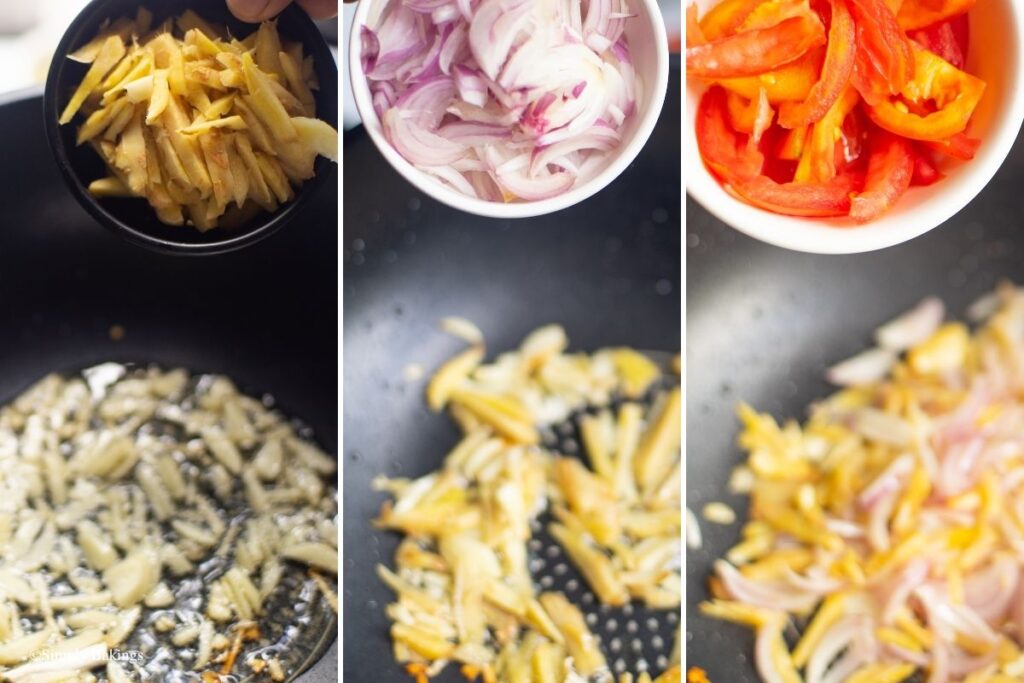
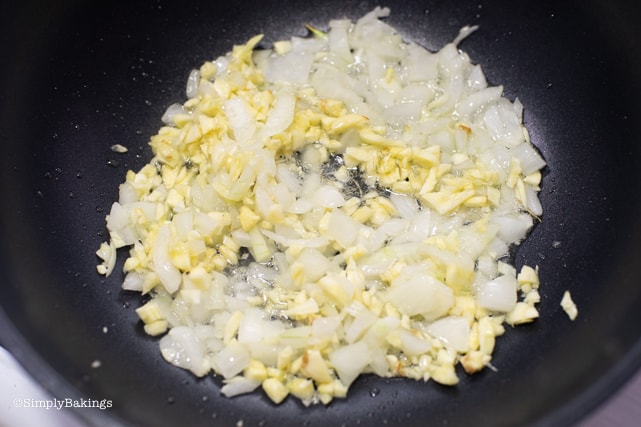
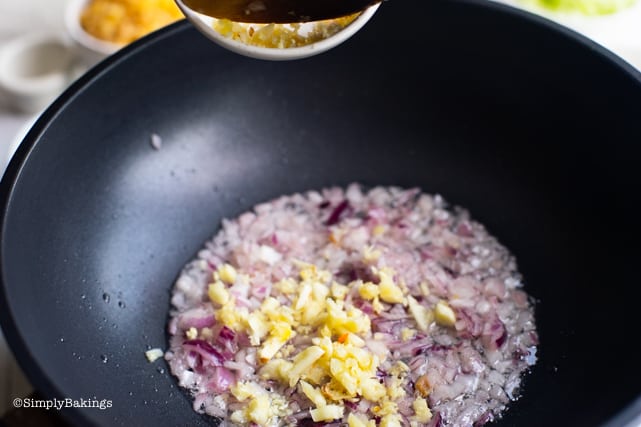
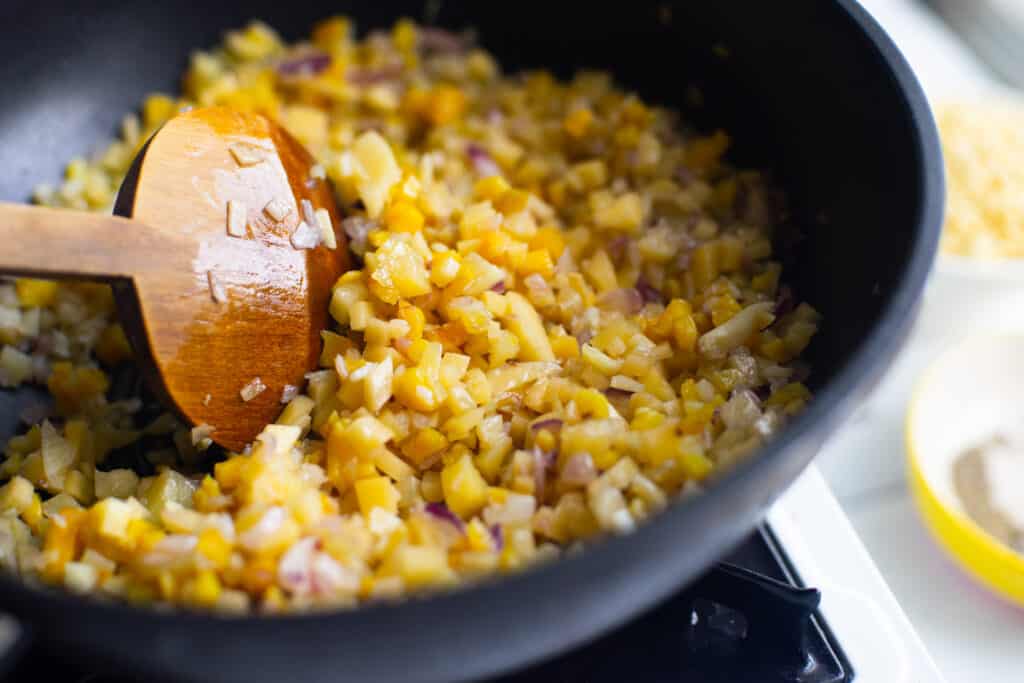
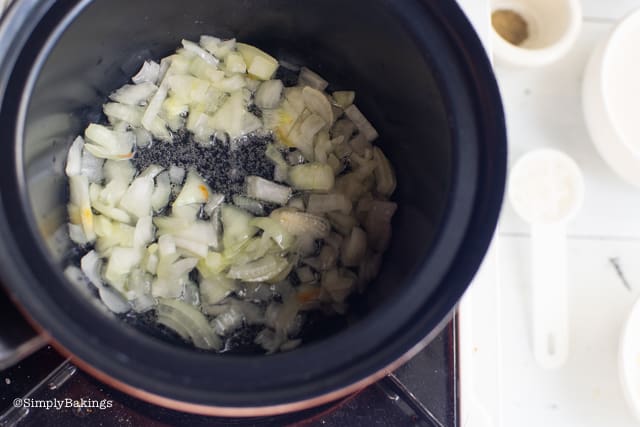
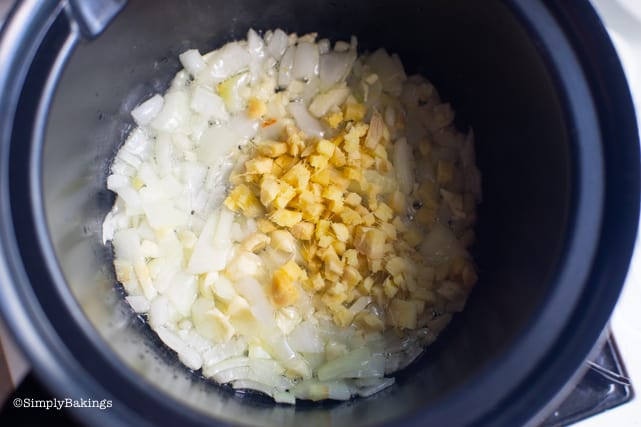
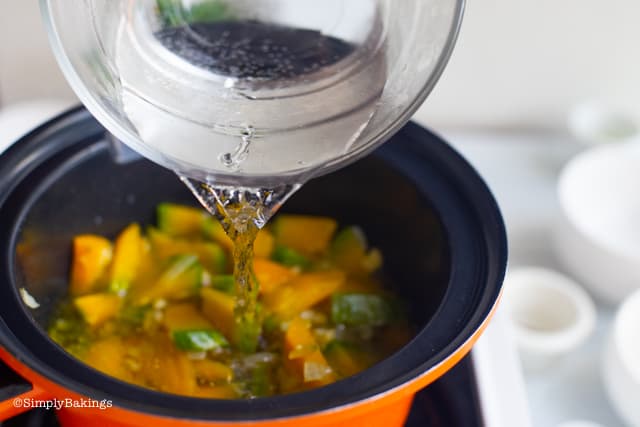
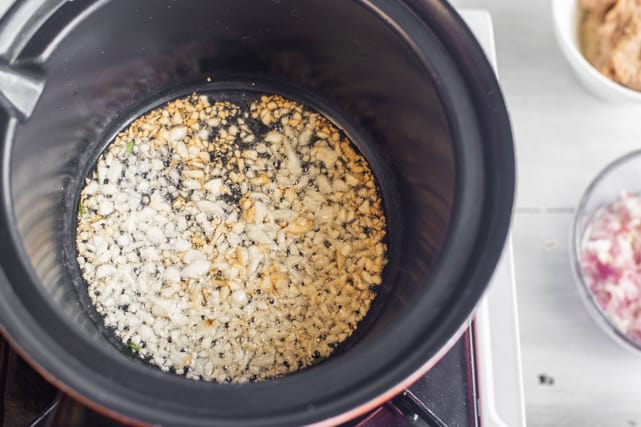
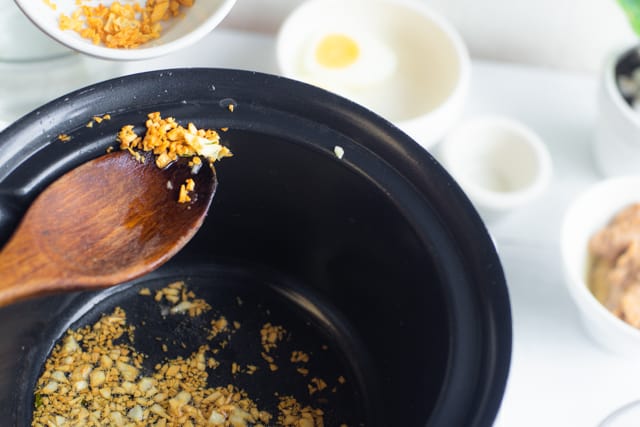
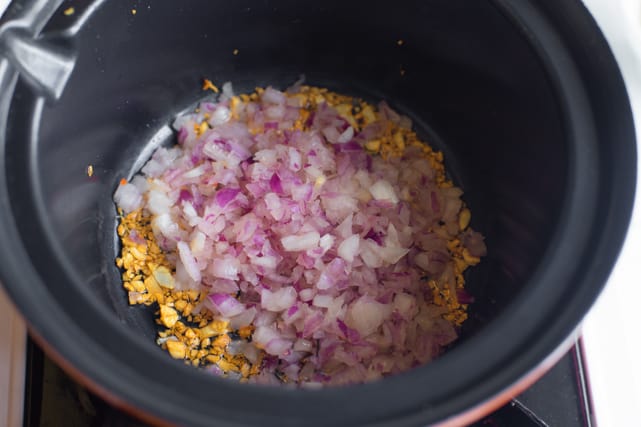
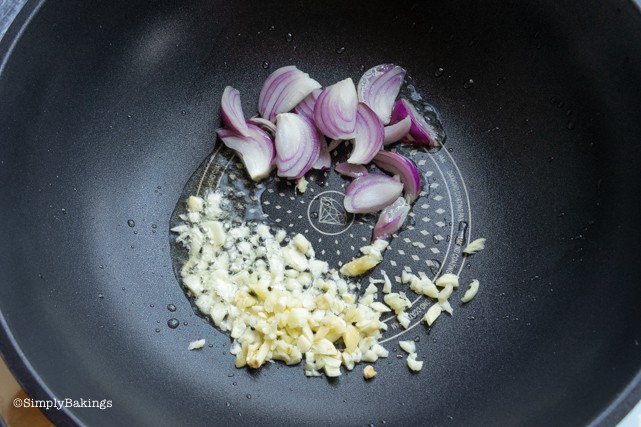
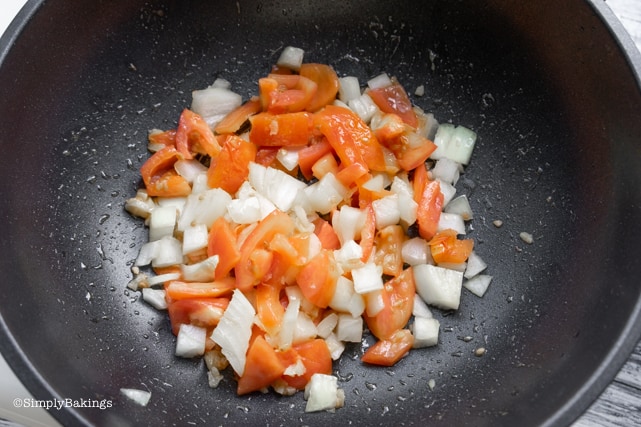
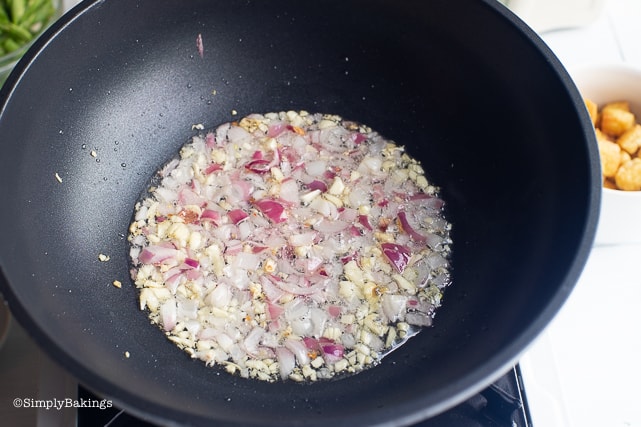
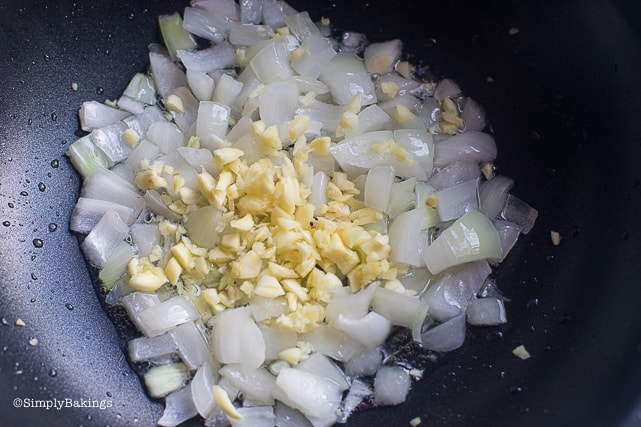
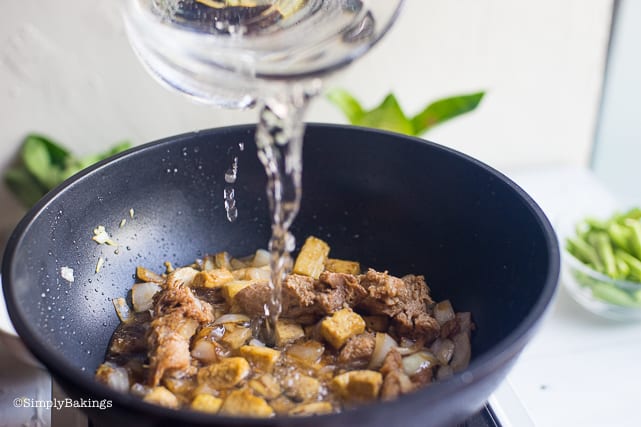
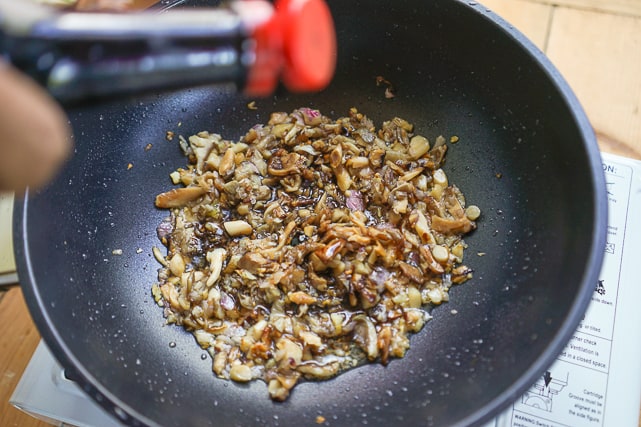
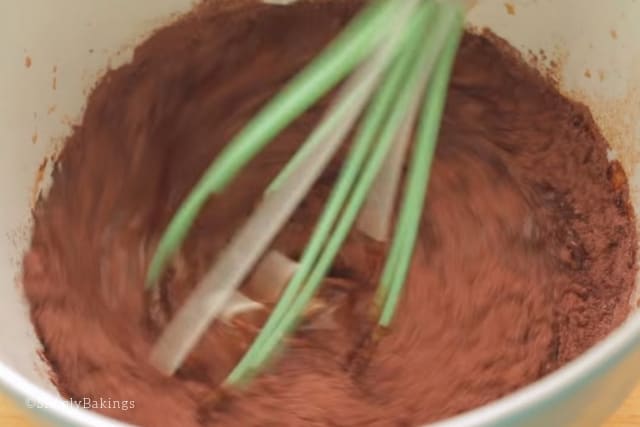
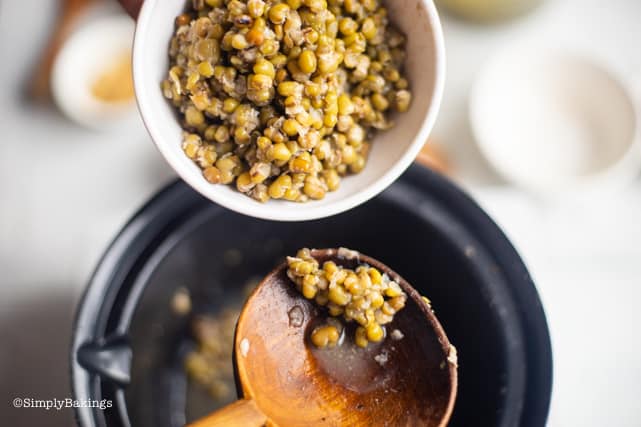
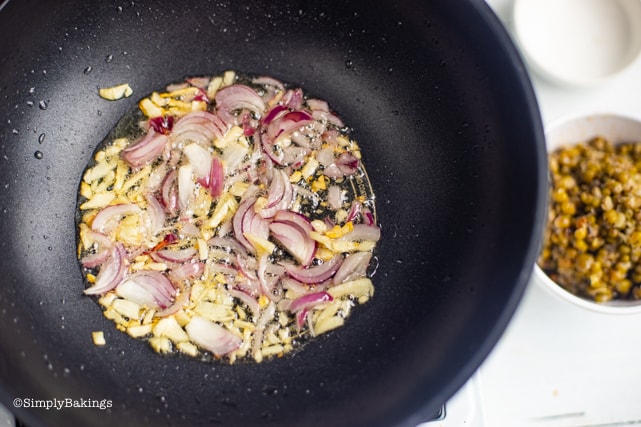
In the same pan, sauté garlic, onion, ginger:
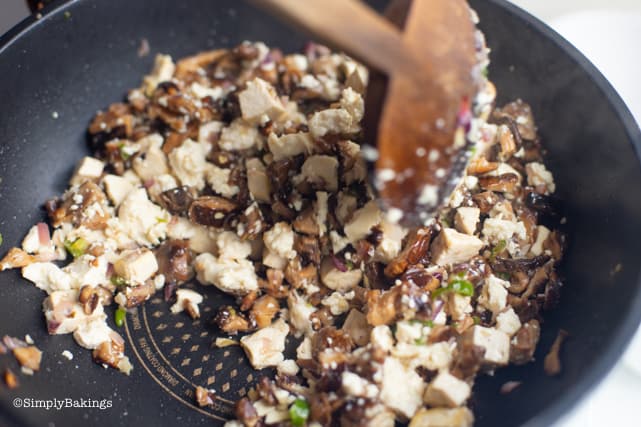
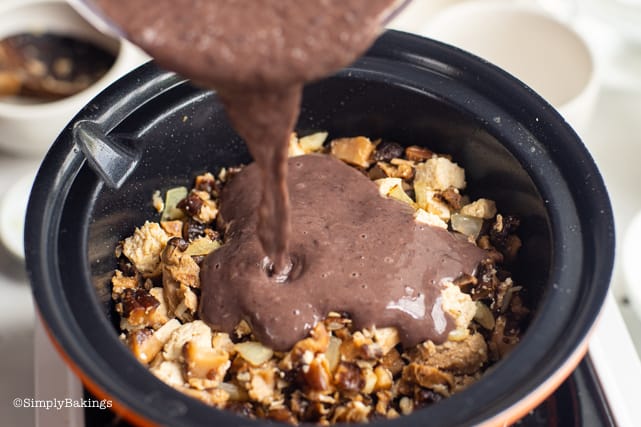
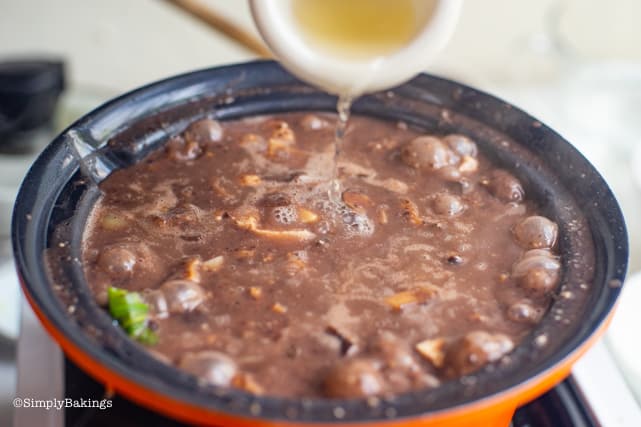
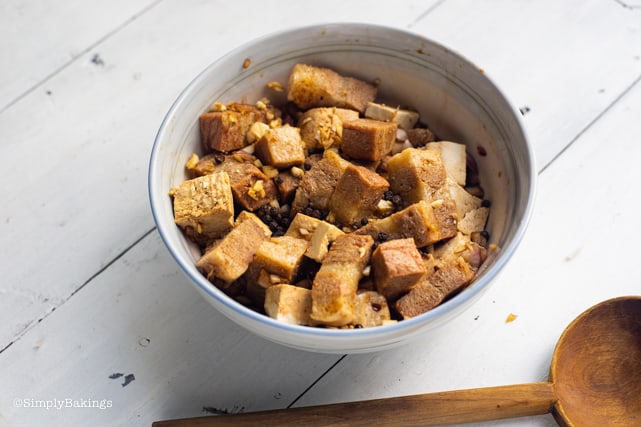
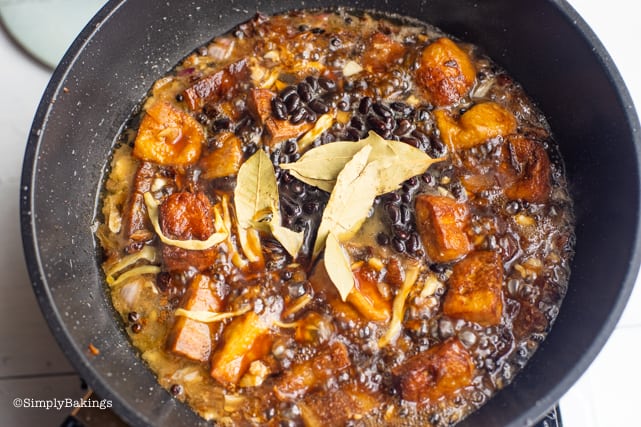
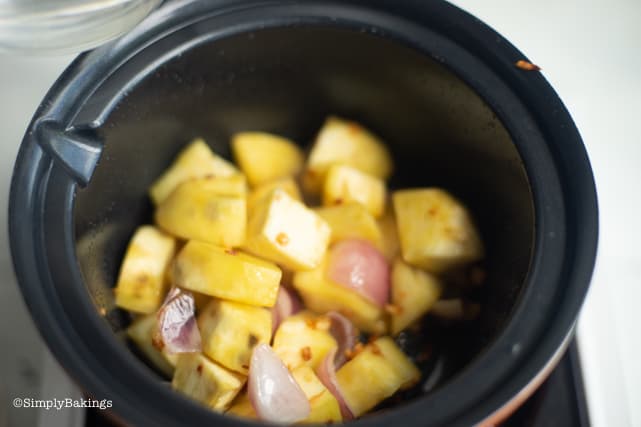
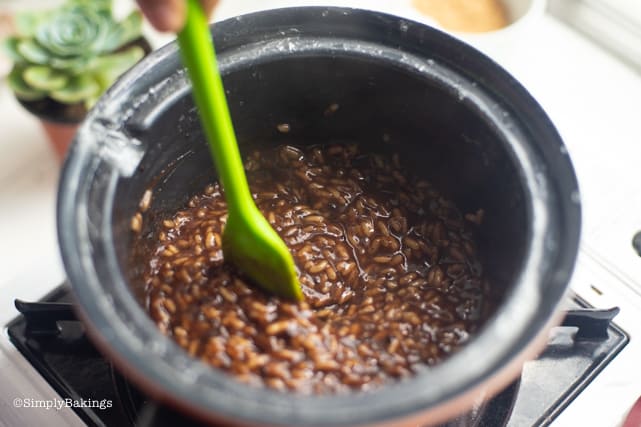
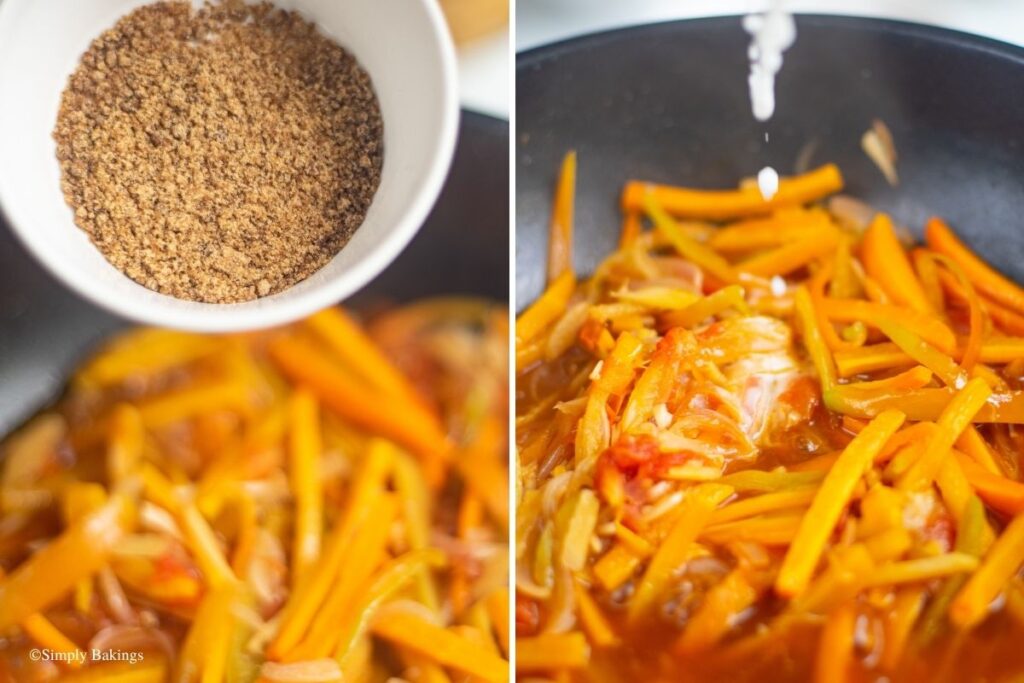
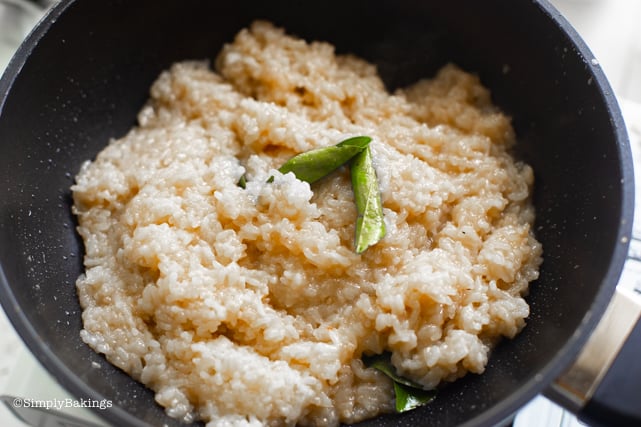
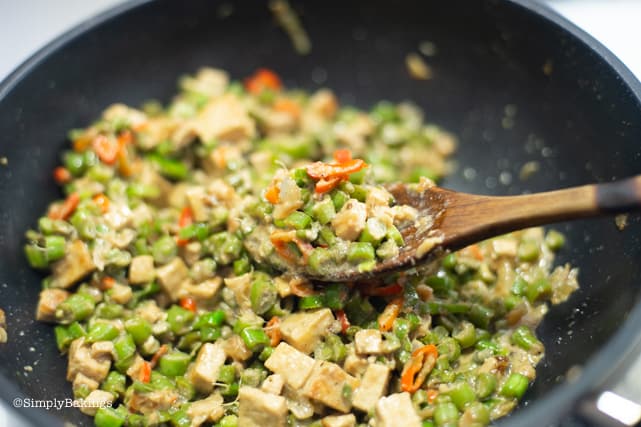
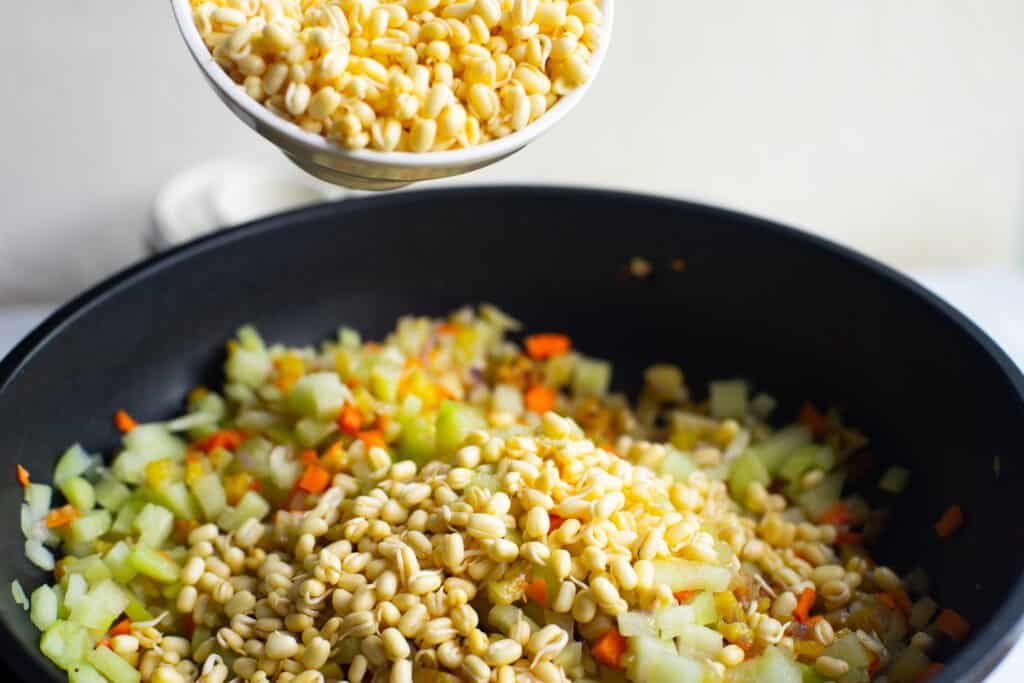
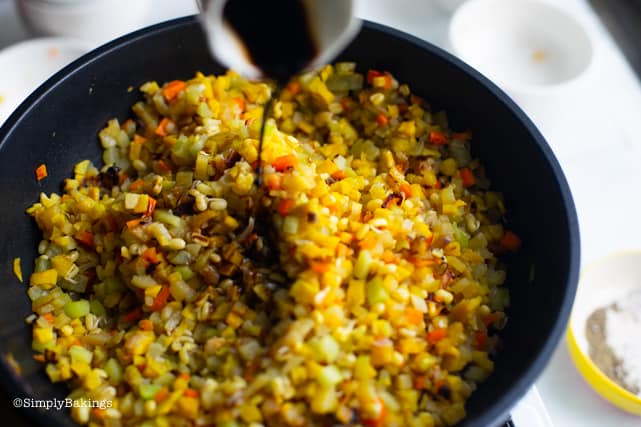
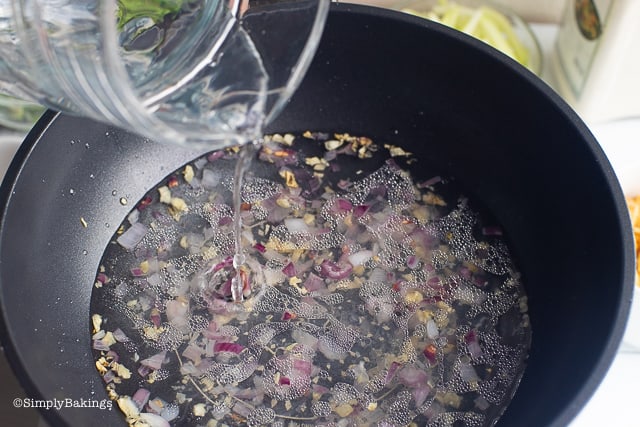
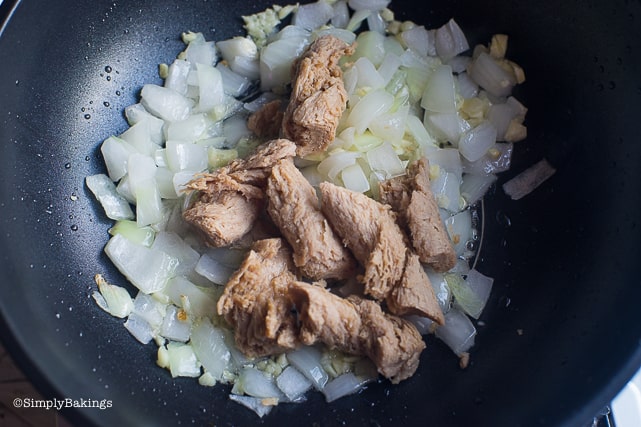
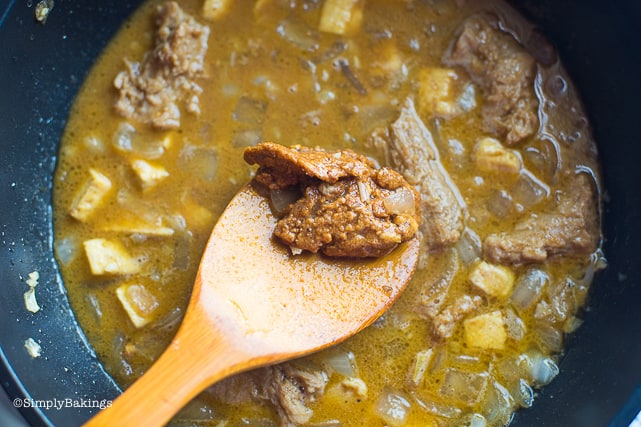
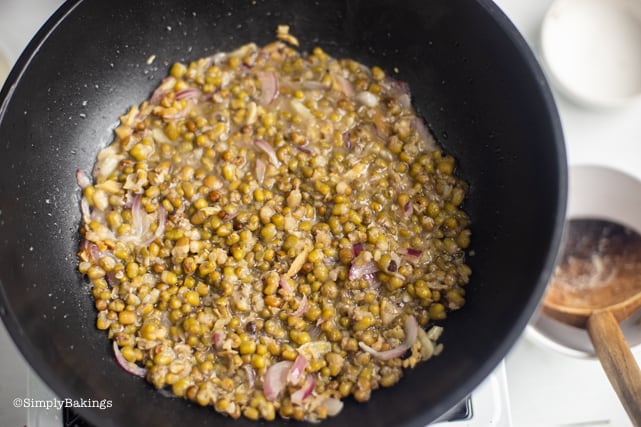
Add the cooked mongo beans, mixed, saute, and add water if you like the Ginisang Monggo soupy:
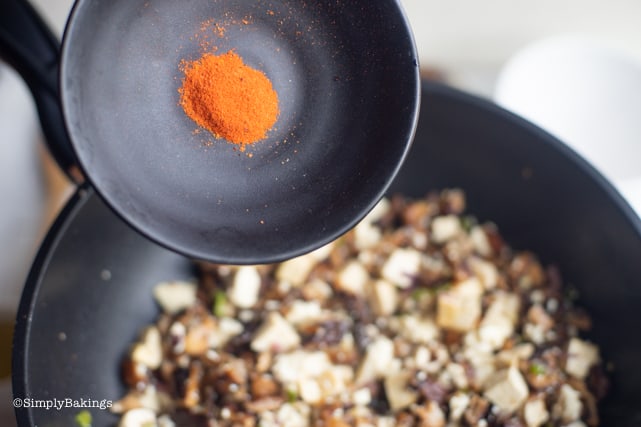
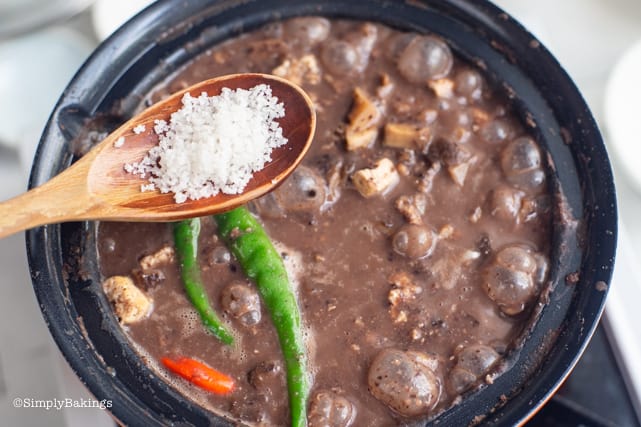
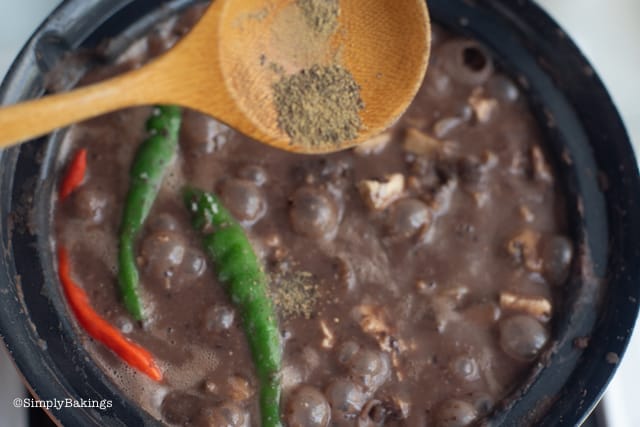
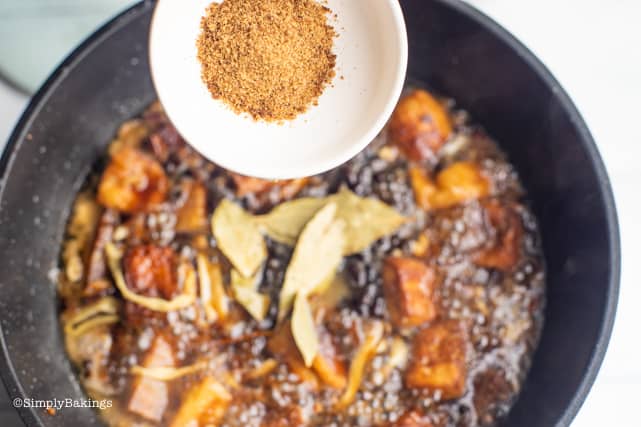
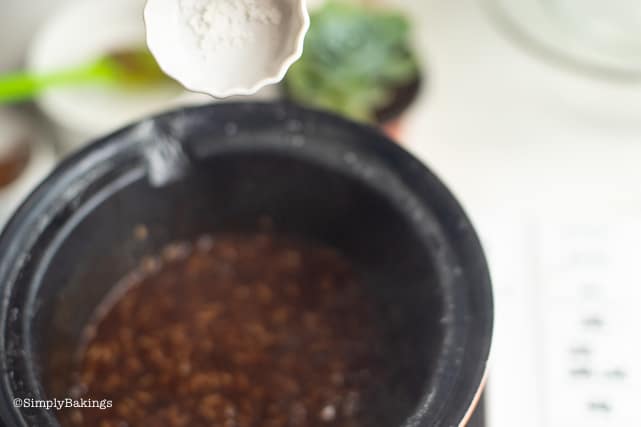
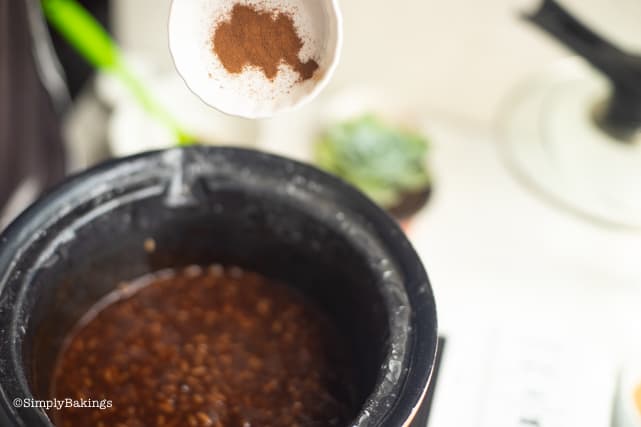
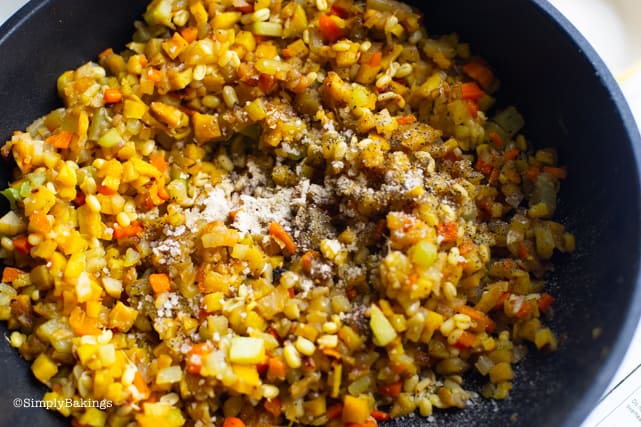
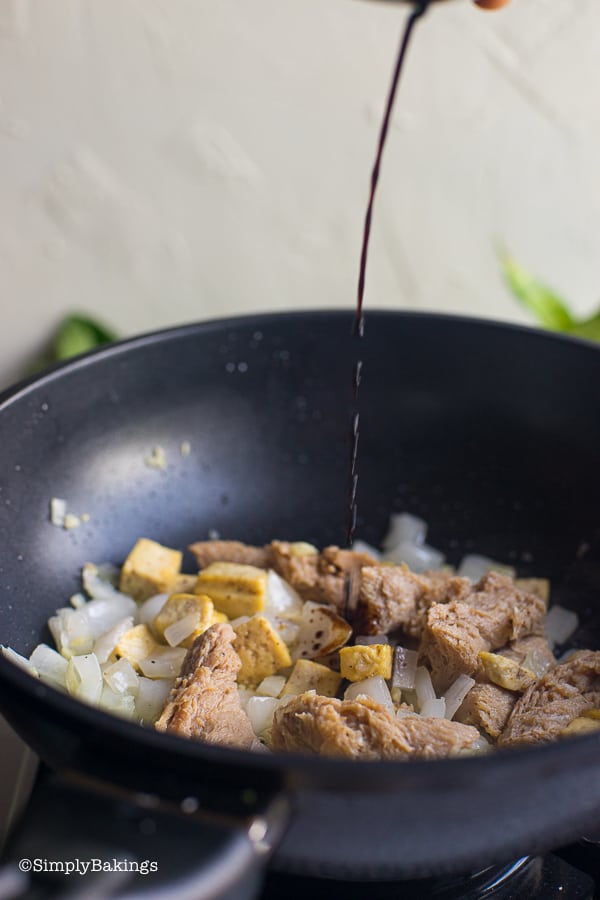
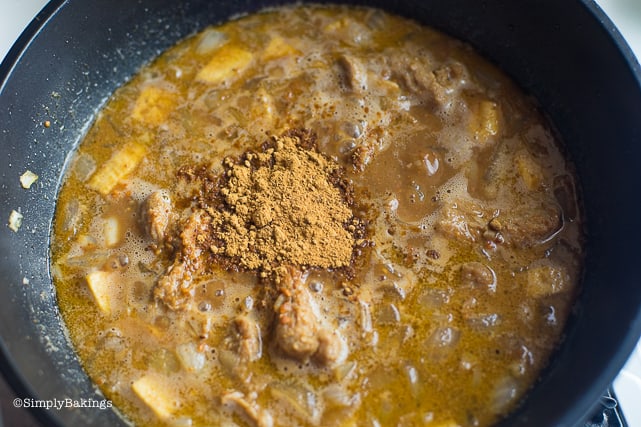
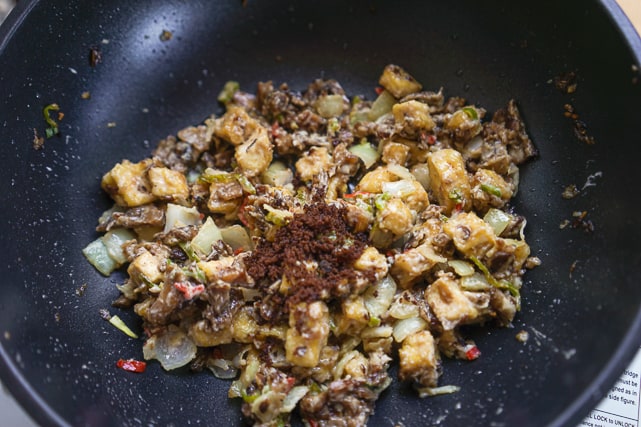
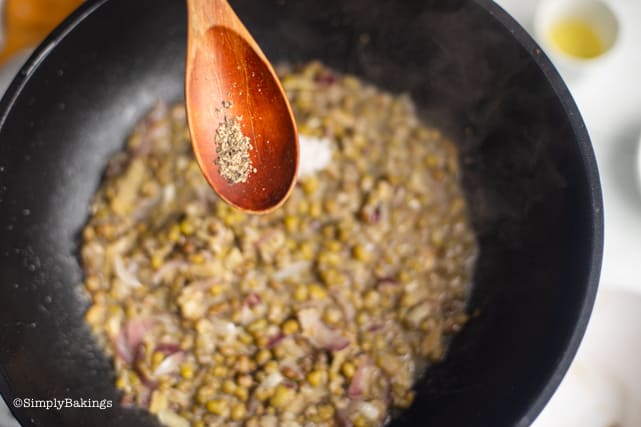
Add salt and pepper until you get your desired taste:
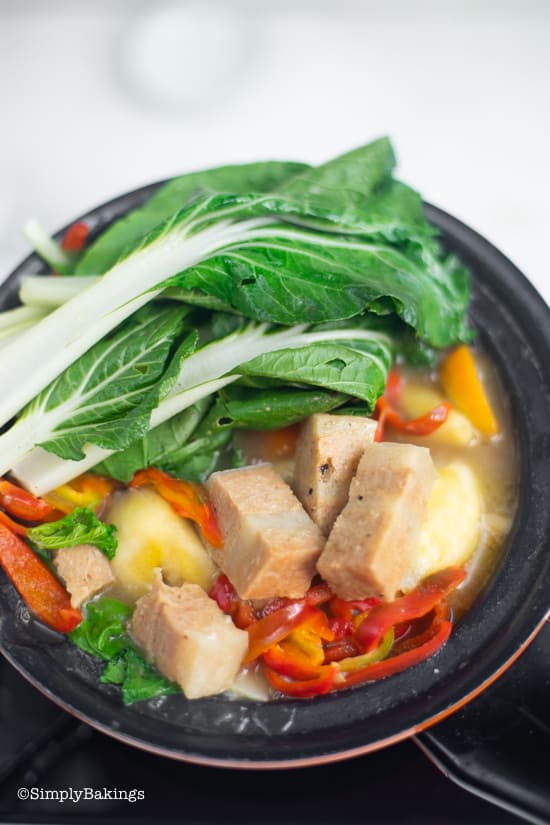
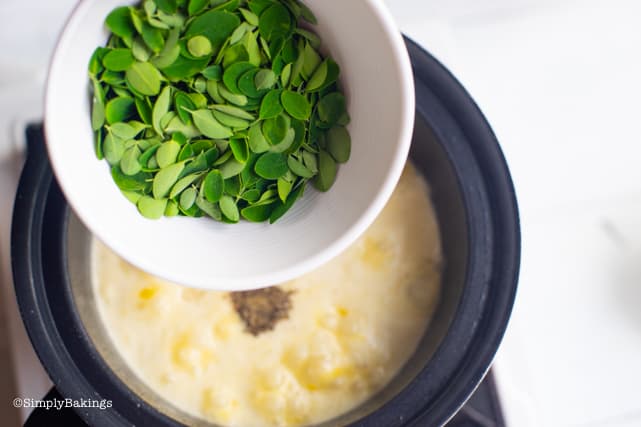
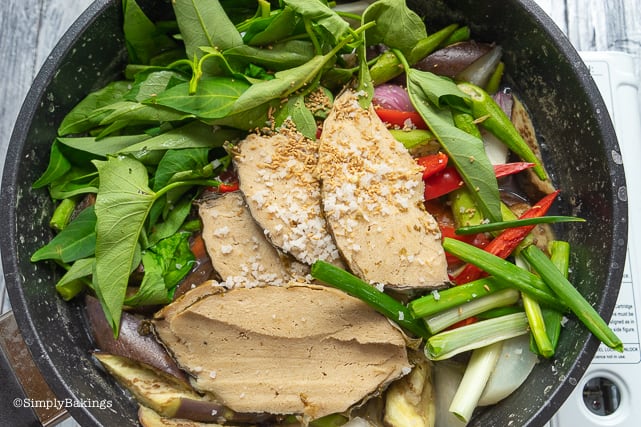
In another bowl, gently smash the ampalaya leaves in salt and remove the green juice to lessen the bitter taste.
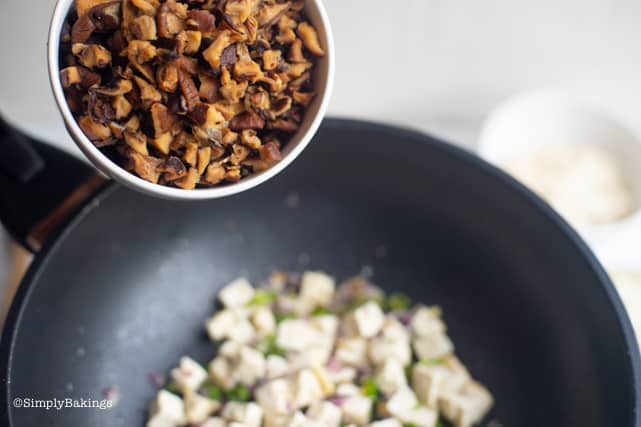
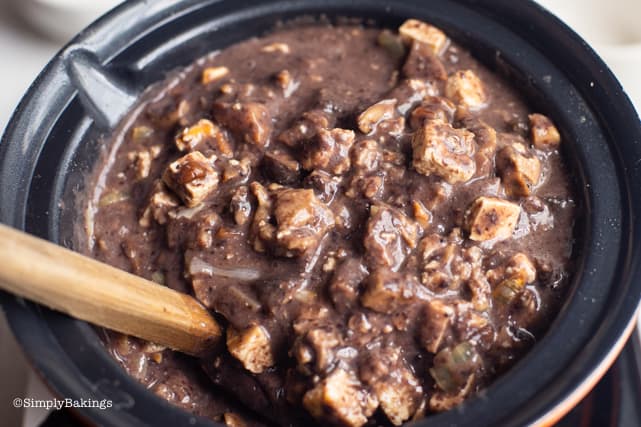
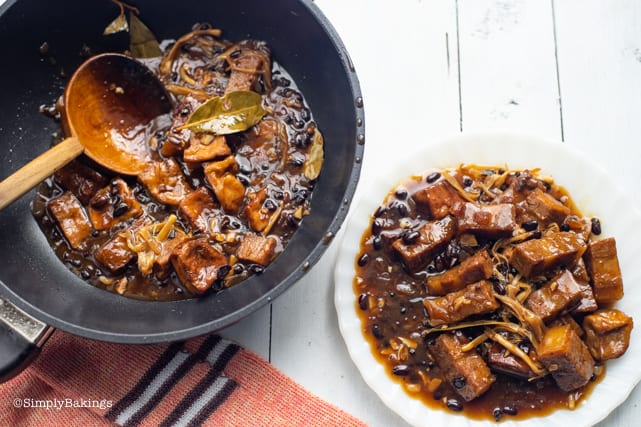
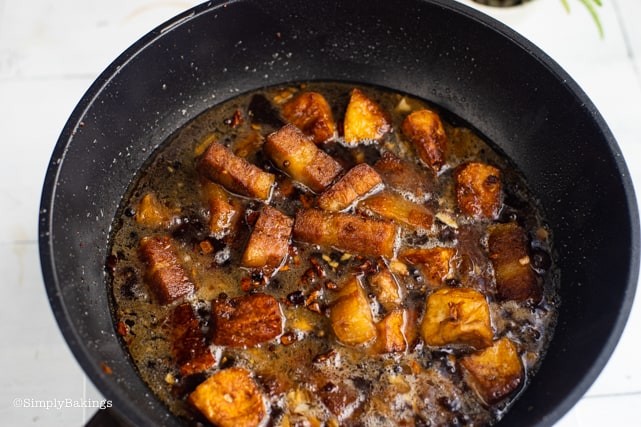
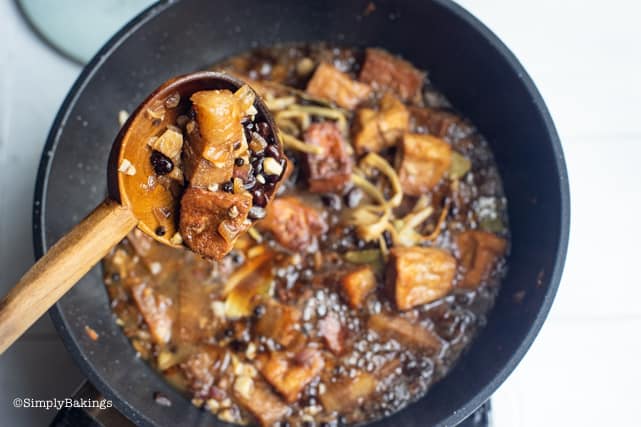
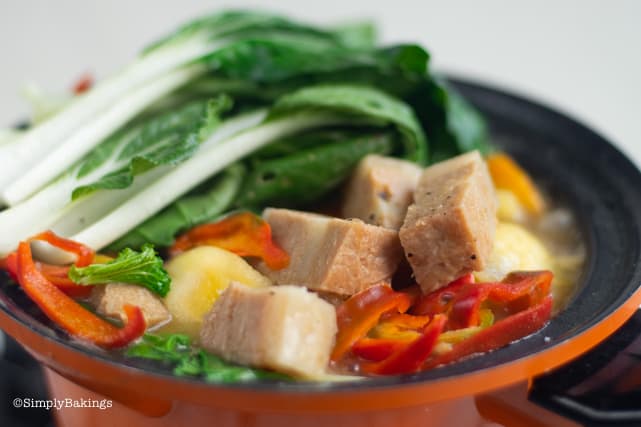
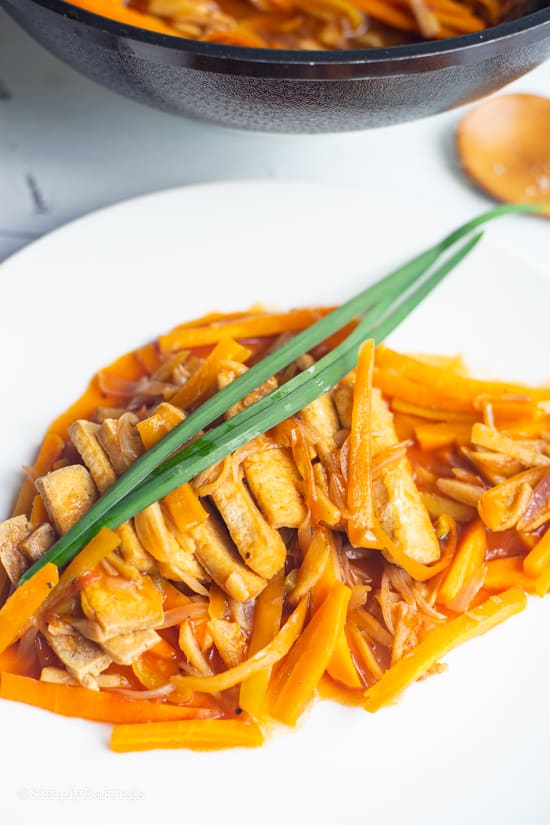
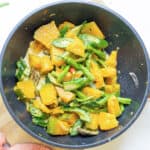
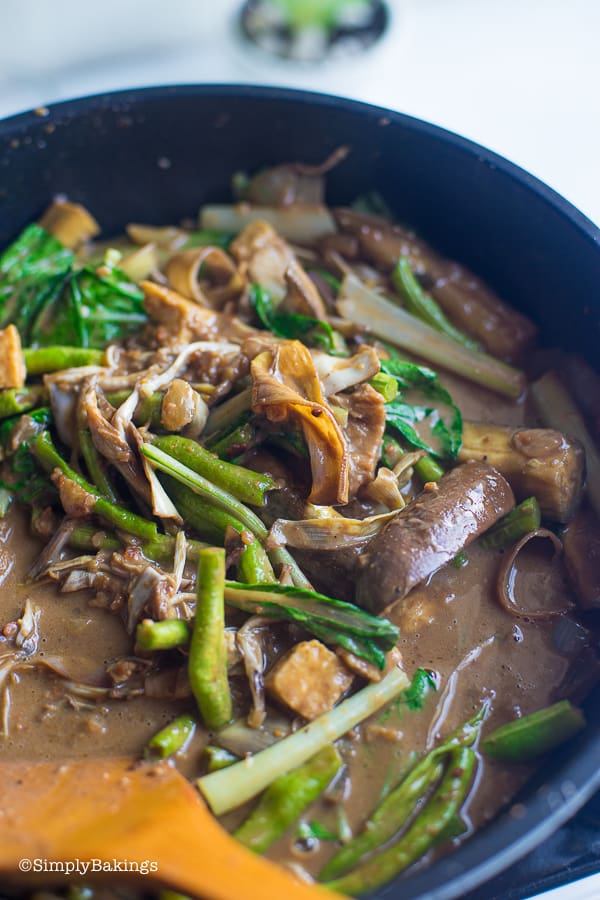
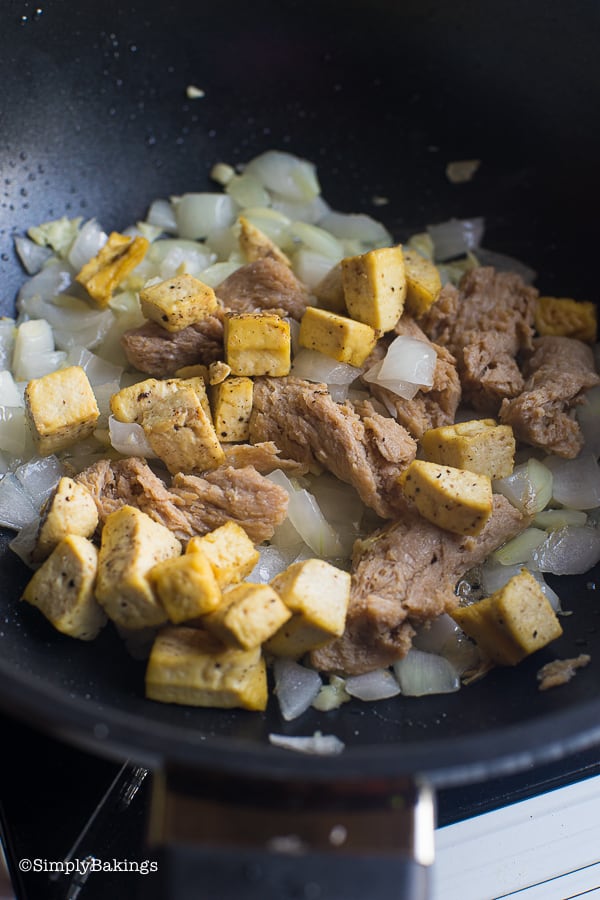
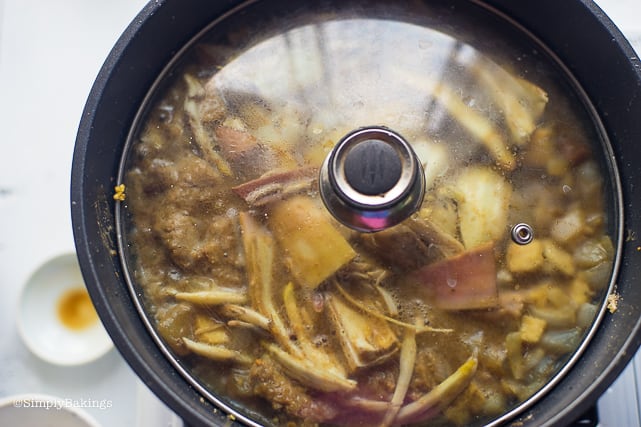
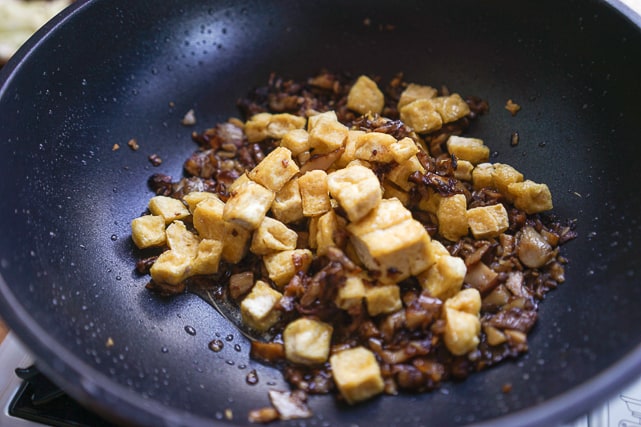
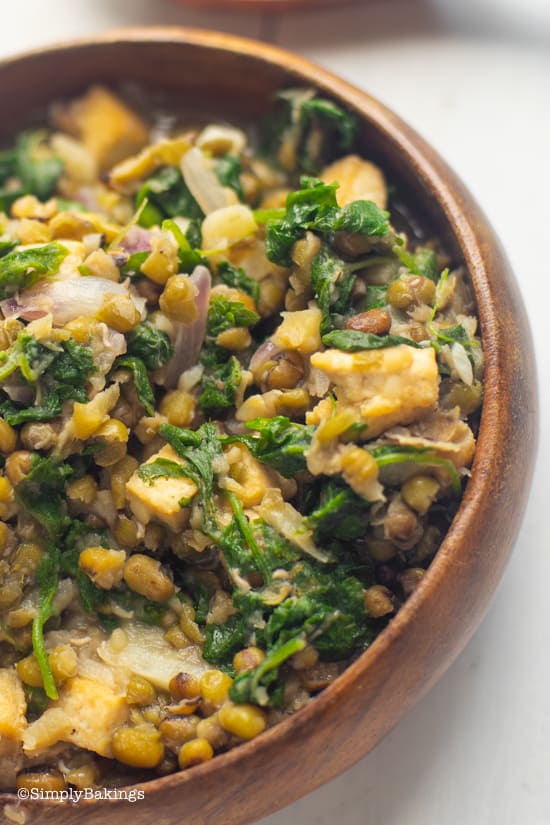
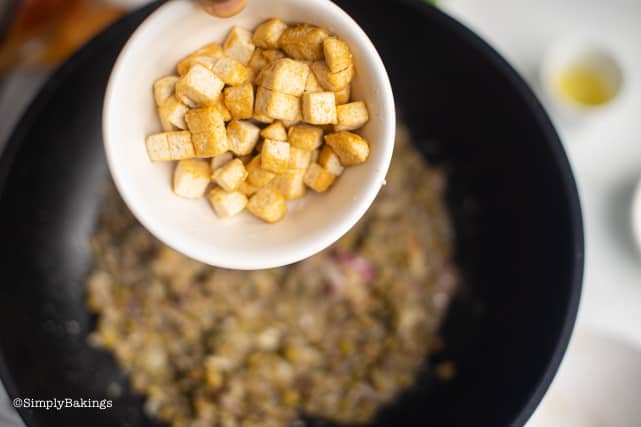
Going back to the pan with the monggo beans, you can now add in the fried tofu:
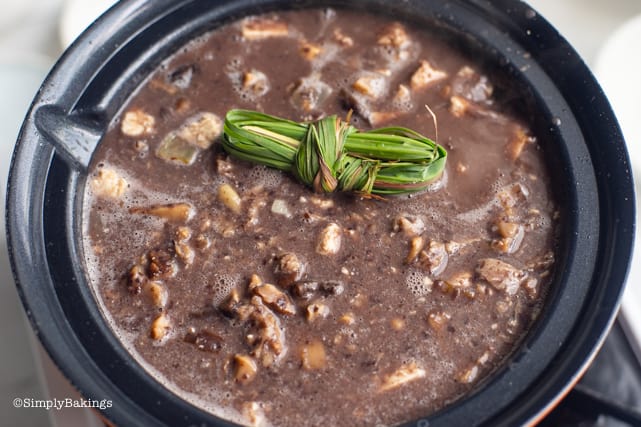
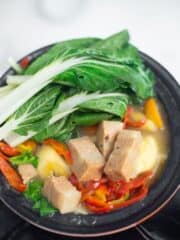
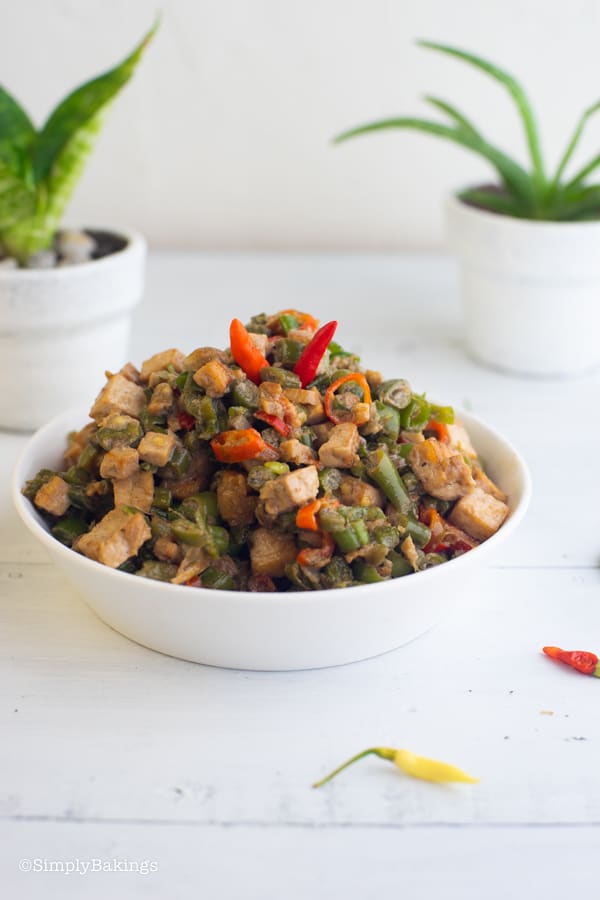
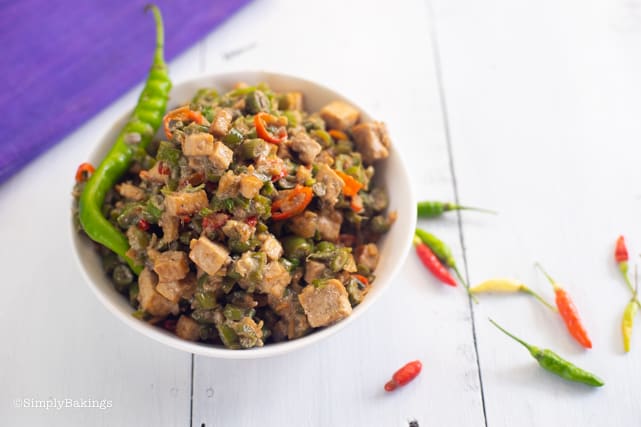
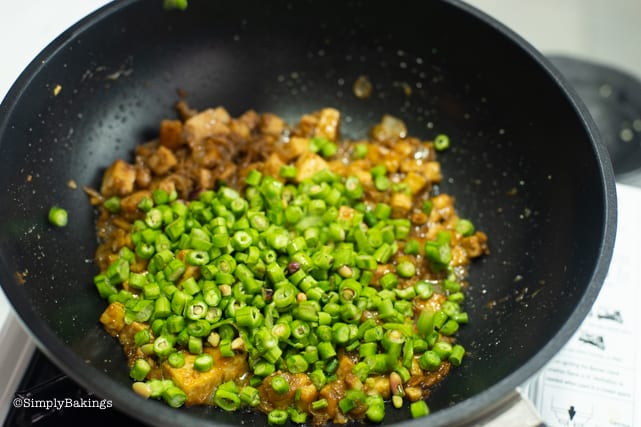
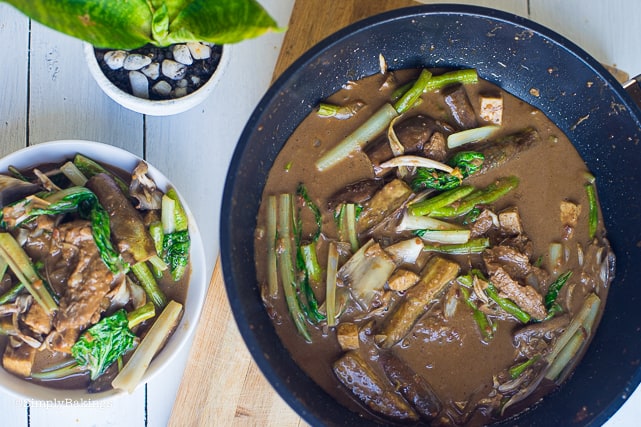
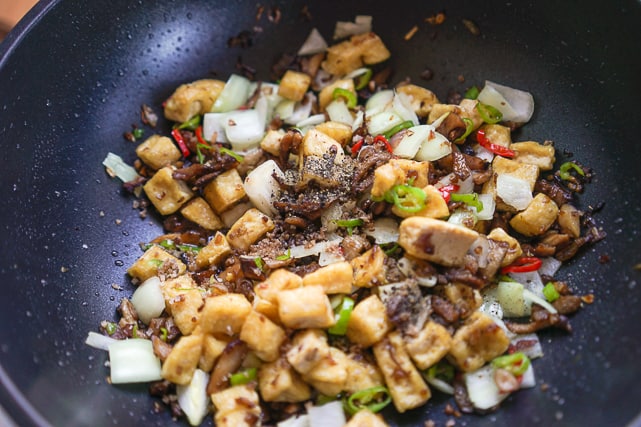
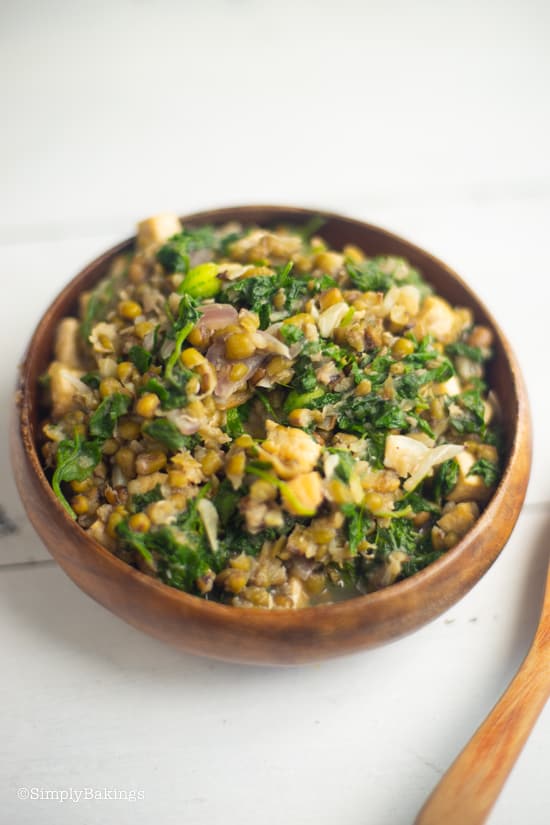
Add the ampalaya leaves on top of the mung beans and mix. You can add water if you love it to be soupy. Simmer again for a few minutes then turn off fire:

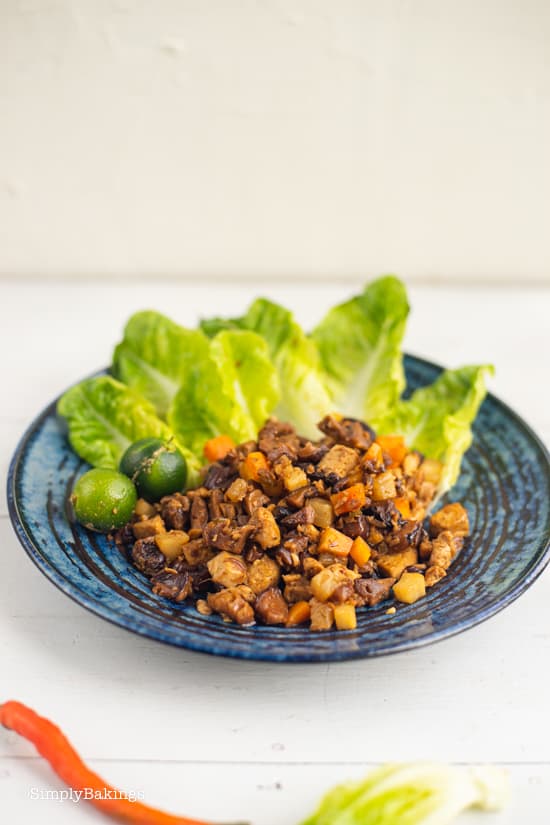
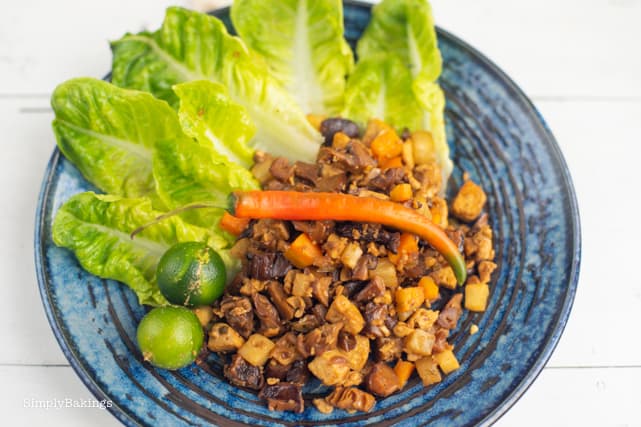
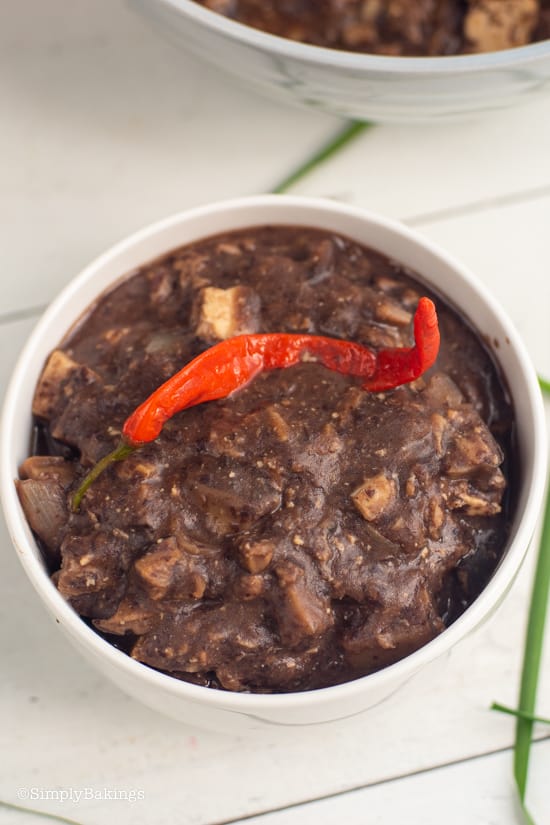
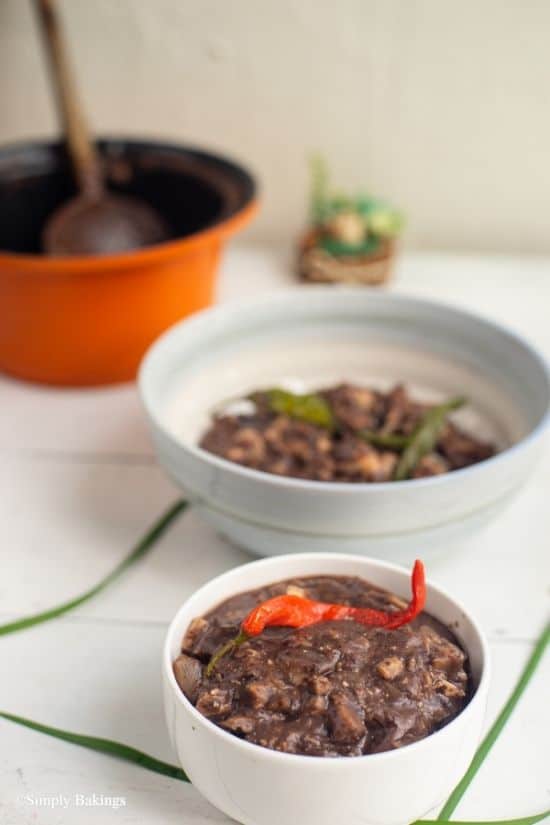
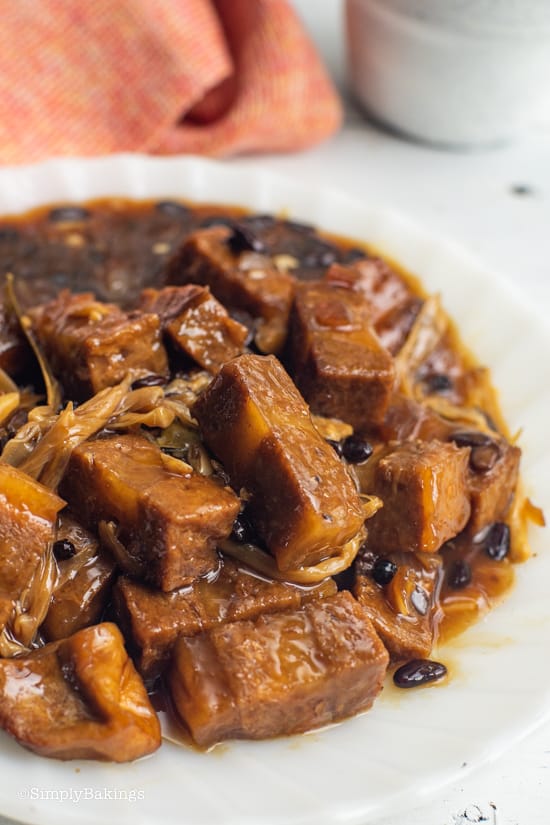
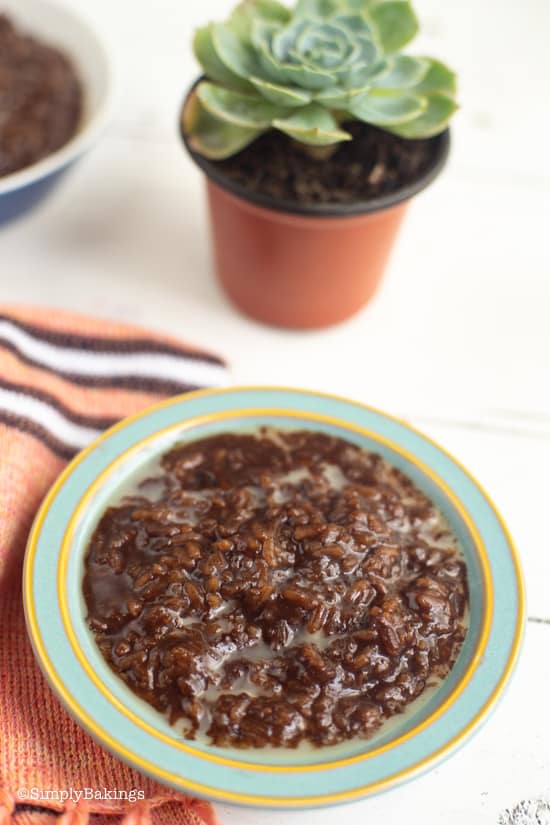
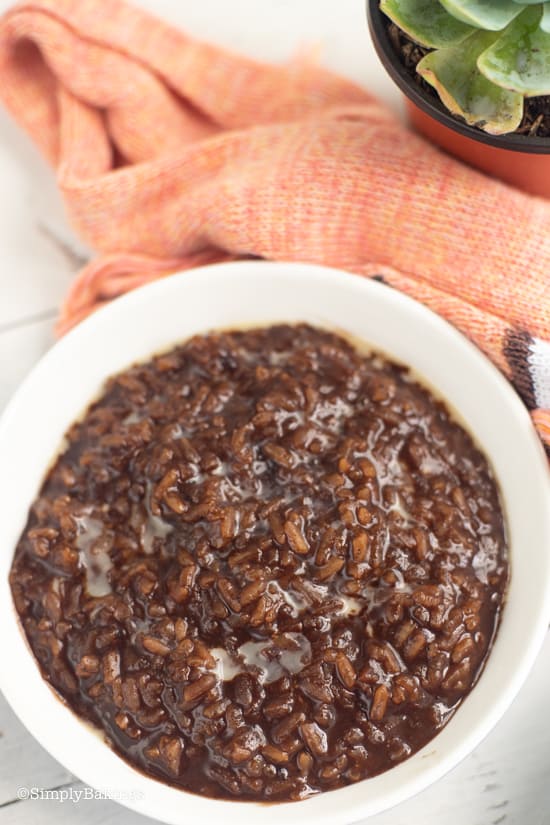
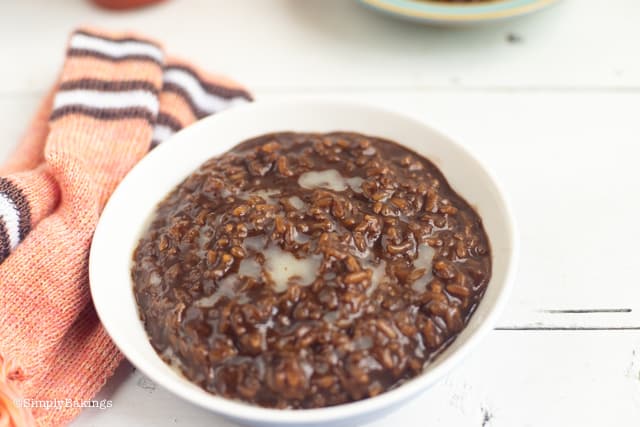
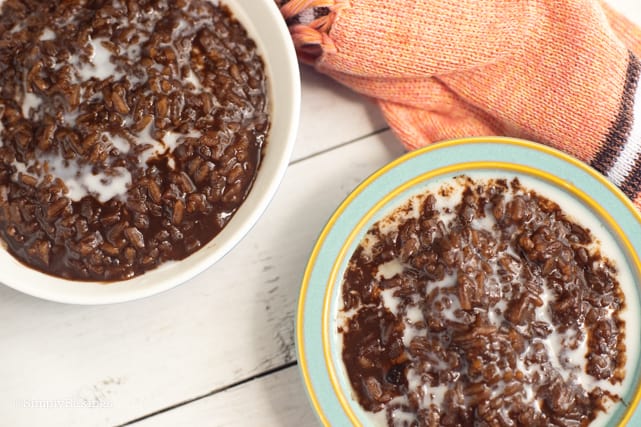
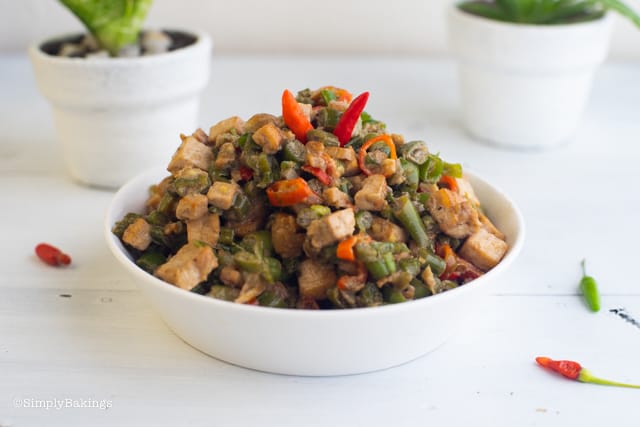
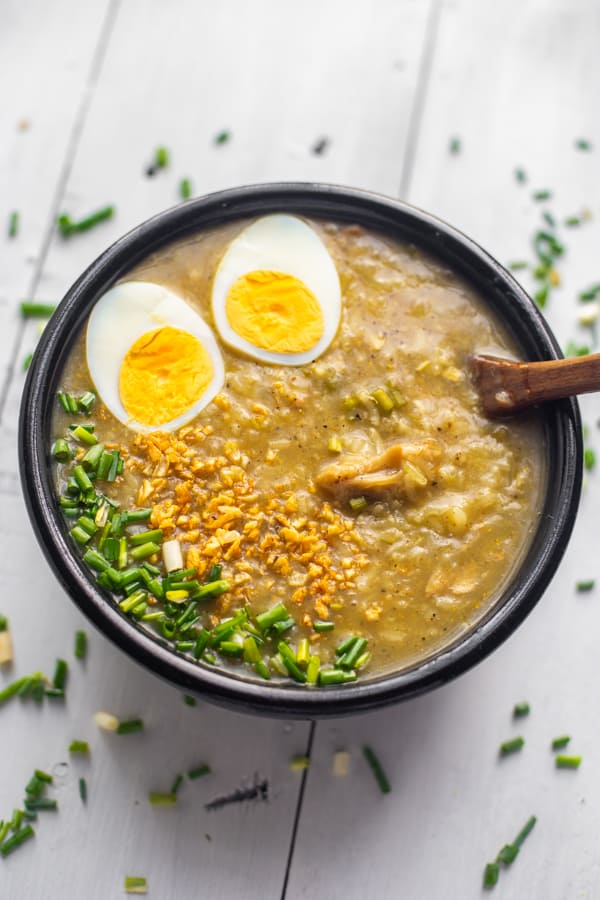
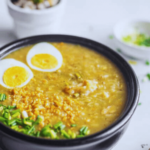
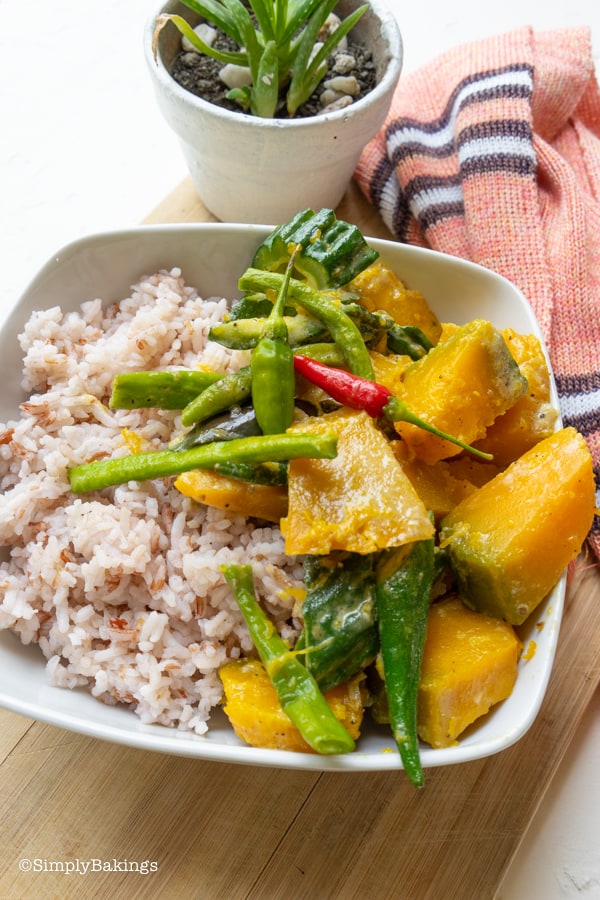
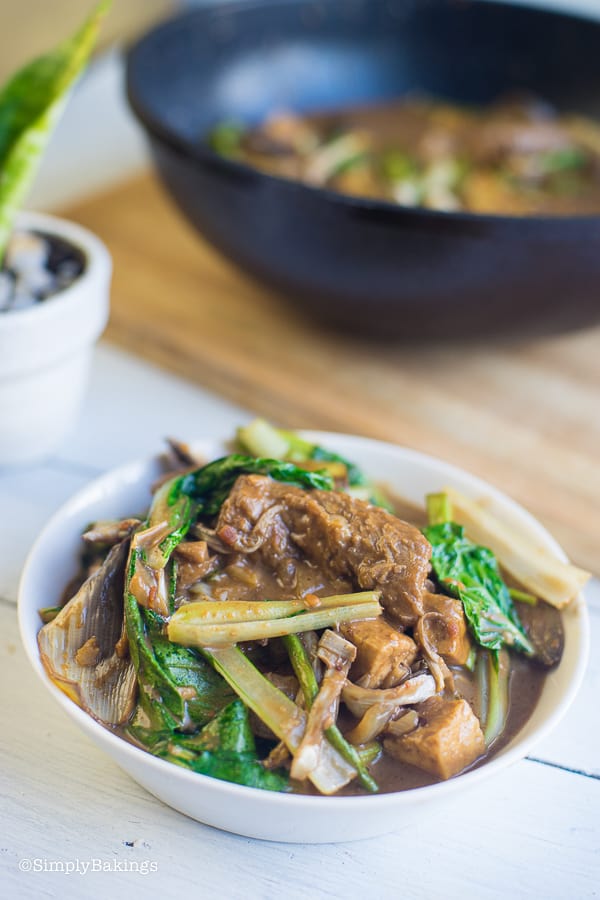
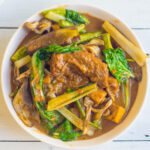
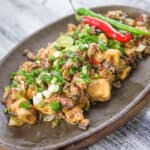
Your Ginisang Monggo is all done! It's best to serve with hot rice or you can eat it as is since monggo is already filling and has enough carbs to make you full.

Frequently Asked Questions
More Delicious Authentic Filipino Food Recipes:
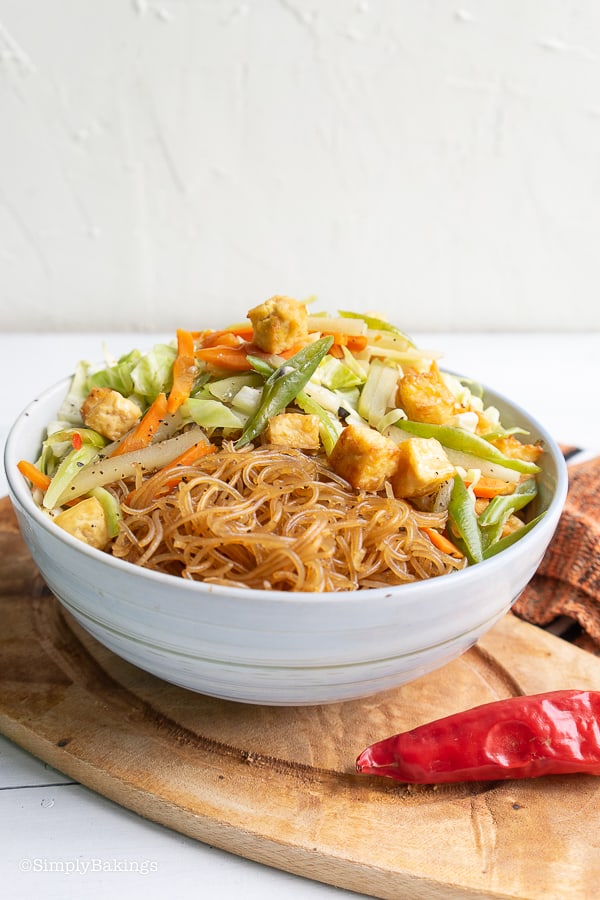
- Pancit Bihon
- Fried Rice
- Arroz Caldo (Congee)
- Filipino Vegan Escabeche – Sweet & Sour Fish
- Mushroom Chicharon
- Binignit
- Vegan Dinuguan

Vegetarian Ginisang Monggo
Ingredients
- 1 cup dried mung beans **
- 2 ½ cups water
- 1 tablespoon coconut oil
- 100 grams tofu diced
- 3-4 cloves garlic minced
- 1 small onion minced
- 1 tablespoon ginger minced
- 1 teaspoon salt
- ½ teaspoon pepper
- 1 bunch ampalaya leaves
Instructions
- In a sauce pan over medium heat, add 2 cups of water in the pot, add mung beans and cook for about 20-25 minutes or until cooked. Strain and set aside. until it is cooked, strained and set aside.
- Heat a nonstick pan over medium heat with coconut oil and fry tofu until it’s lightly brown on both sides, then set aside.
- In the same pan, sauté garlic, onion, ginger. Add the cooked mongo beans, mixed, saute, and add water if you like the Ginisang Mongo soupy. Add salt and pepper.
- In another bowl, gently smash the ampalaya leaves in salt and remove the green juice to lessen the bitter taste.
- Add the ampalaya leaves on top of the mung beans, mix, then turn off stove.
- Season with salt to taste and best serve with hot steamed rice.
Notes

By the way, for those of you who are learning Filipino cooking, this recipe is a great start. This was one of the first Filipino dishes I made and mastered and I'm still learning how to make it even better!
Because Filipinos are creative, this has made this ginisang monggo recipe an ultimate comfort food since it is very versatile, you can change the flavor easily by adding coconut milk or adding your favorite vegetarian meat.
This recipe is so simple, cost-friendly, nutritious, and easy to cook.