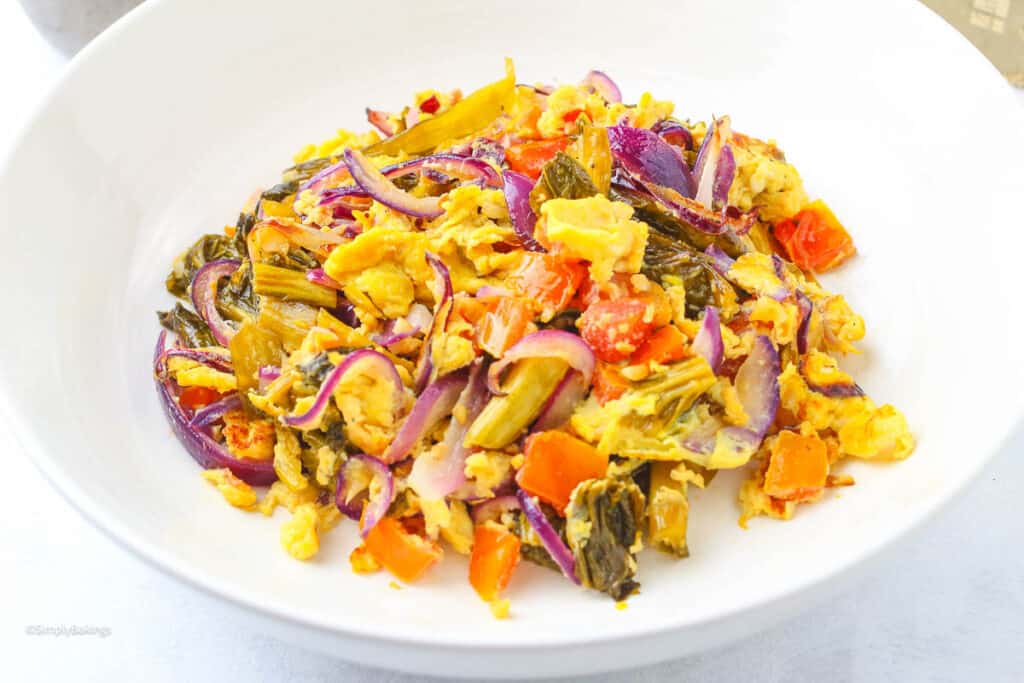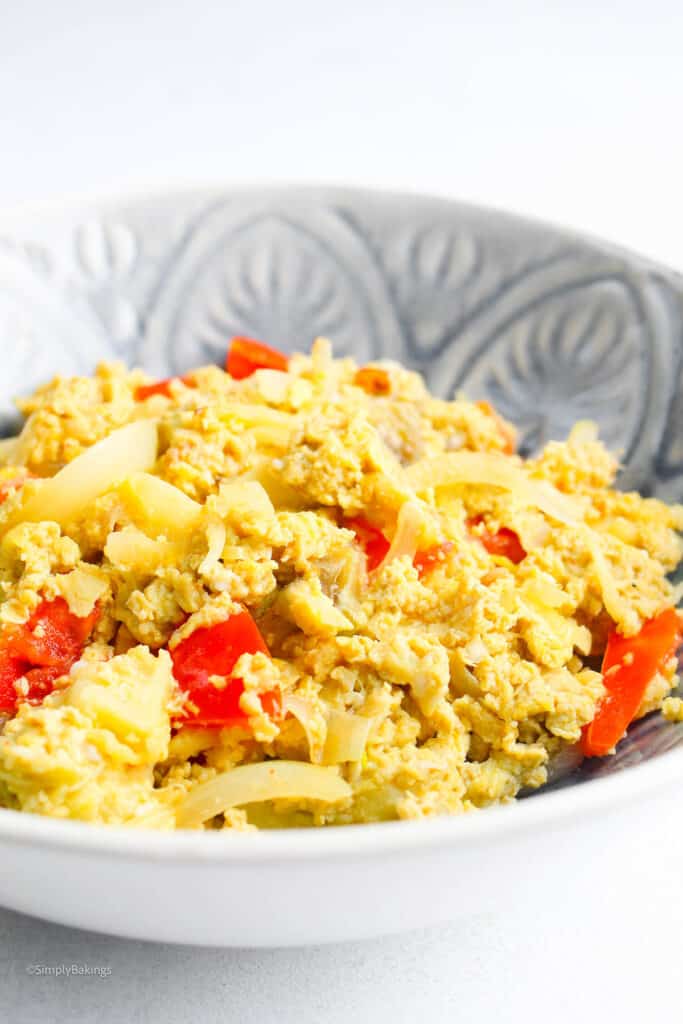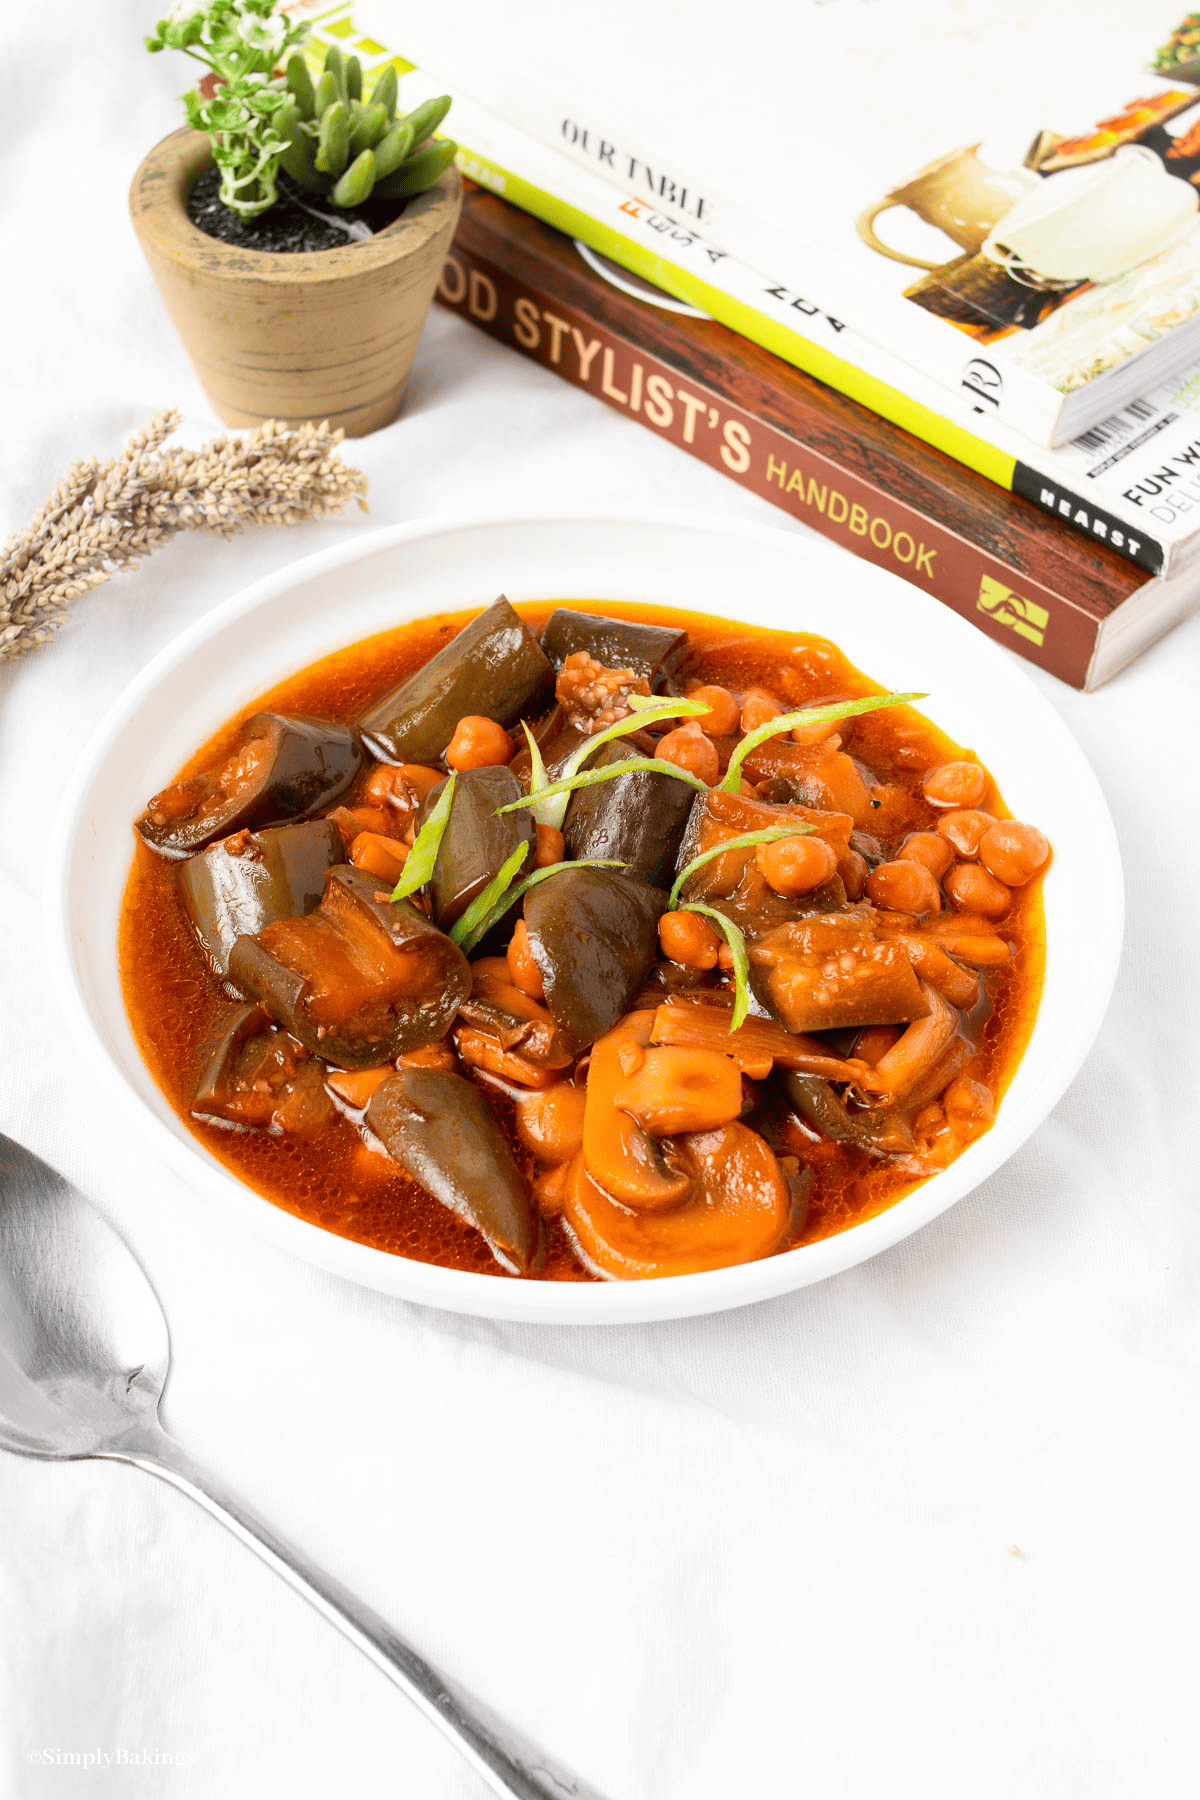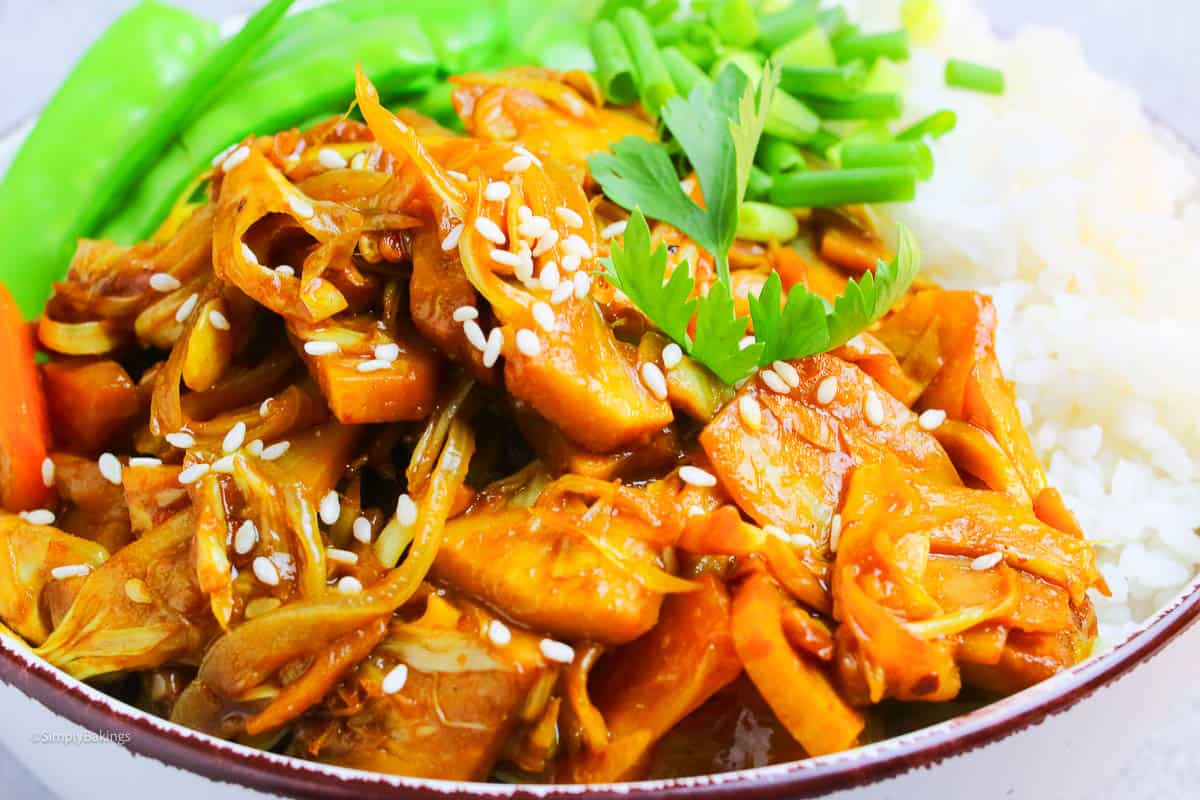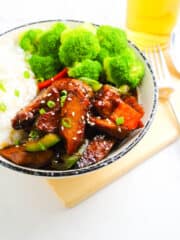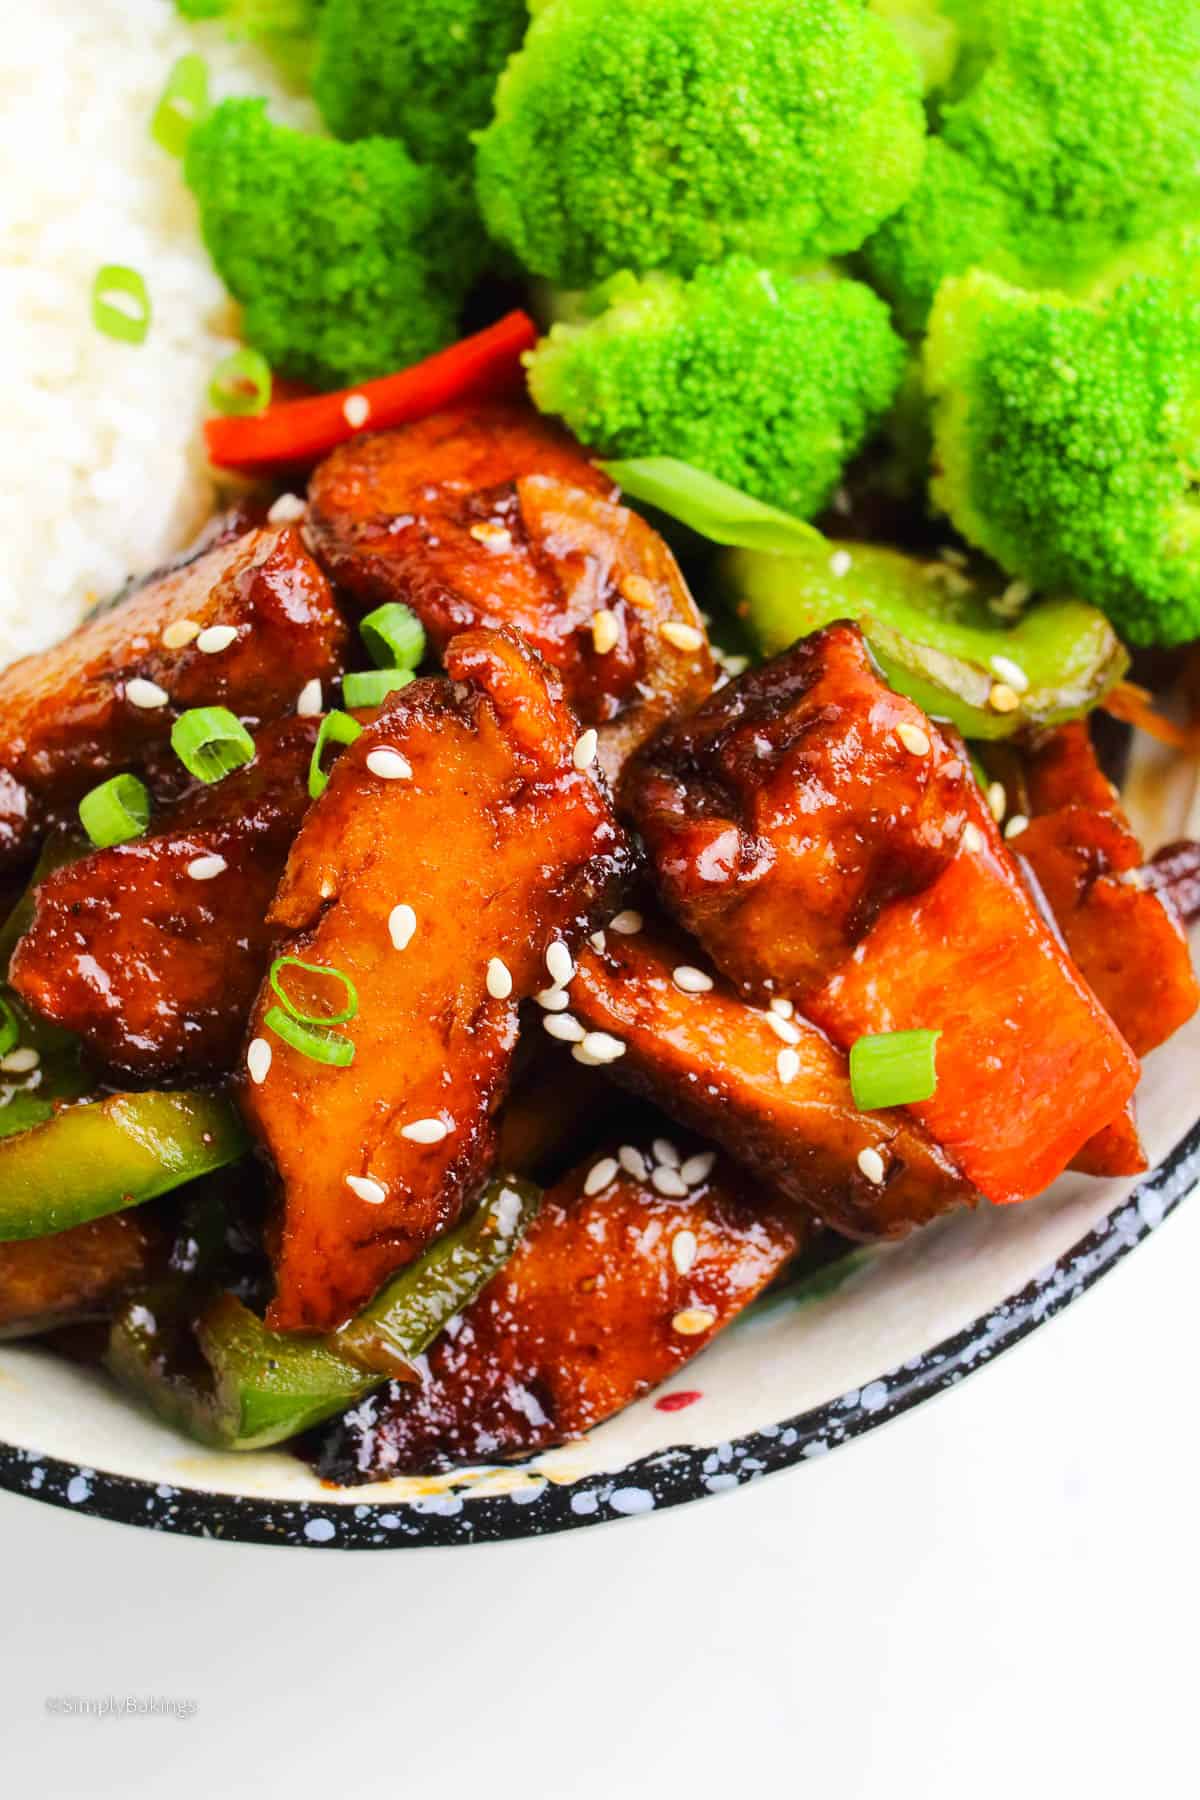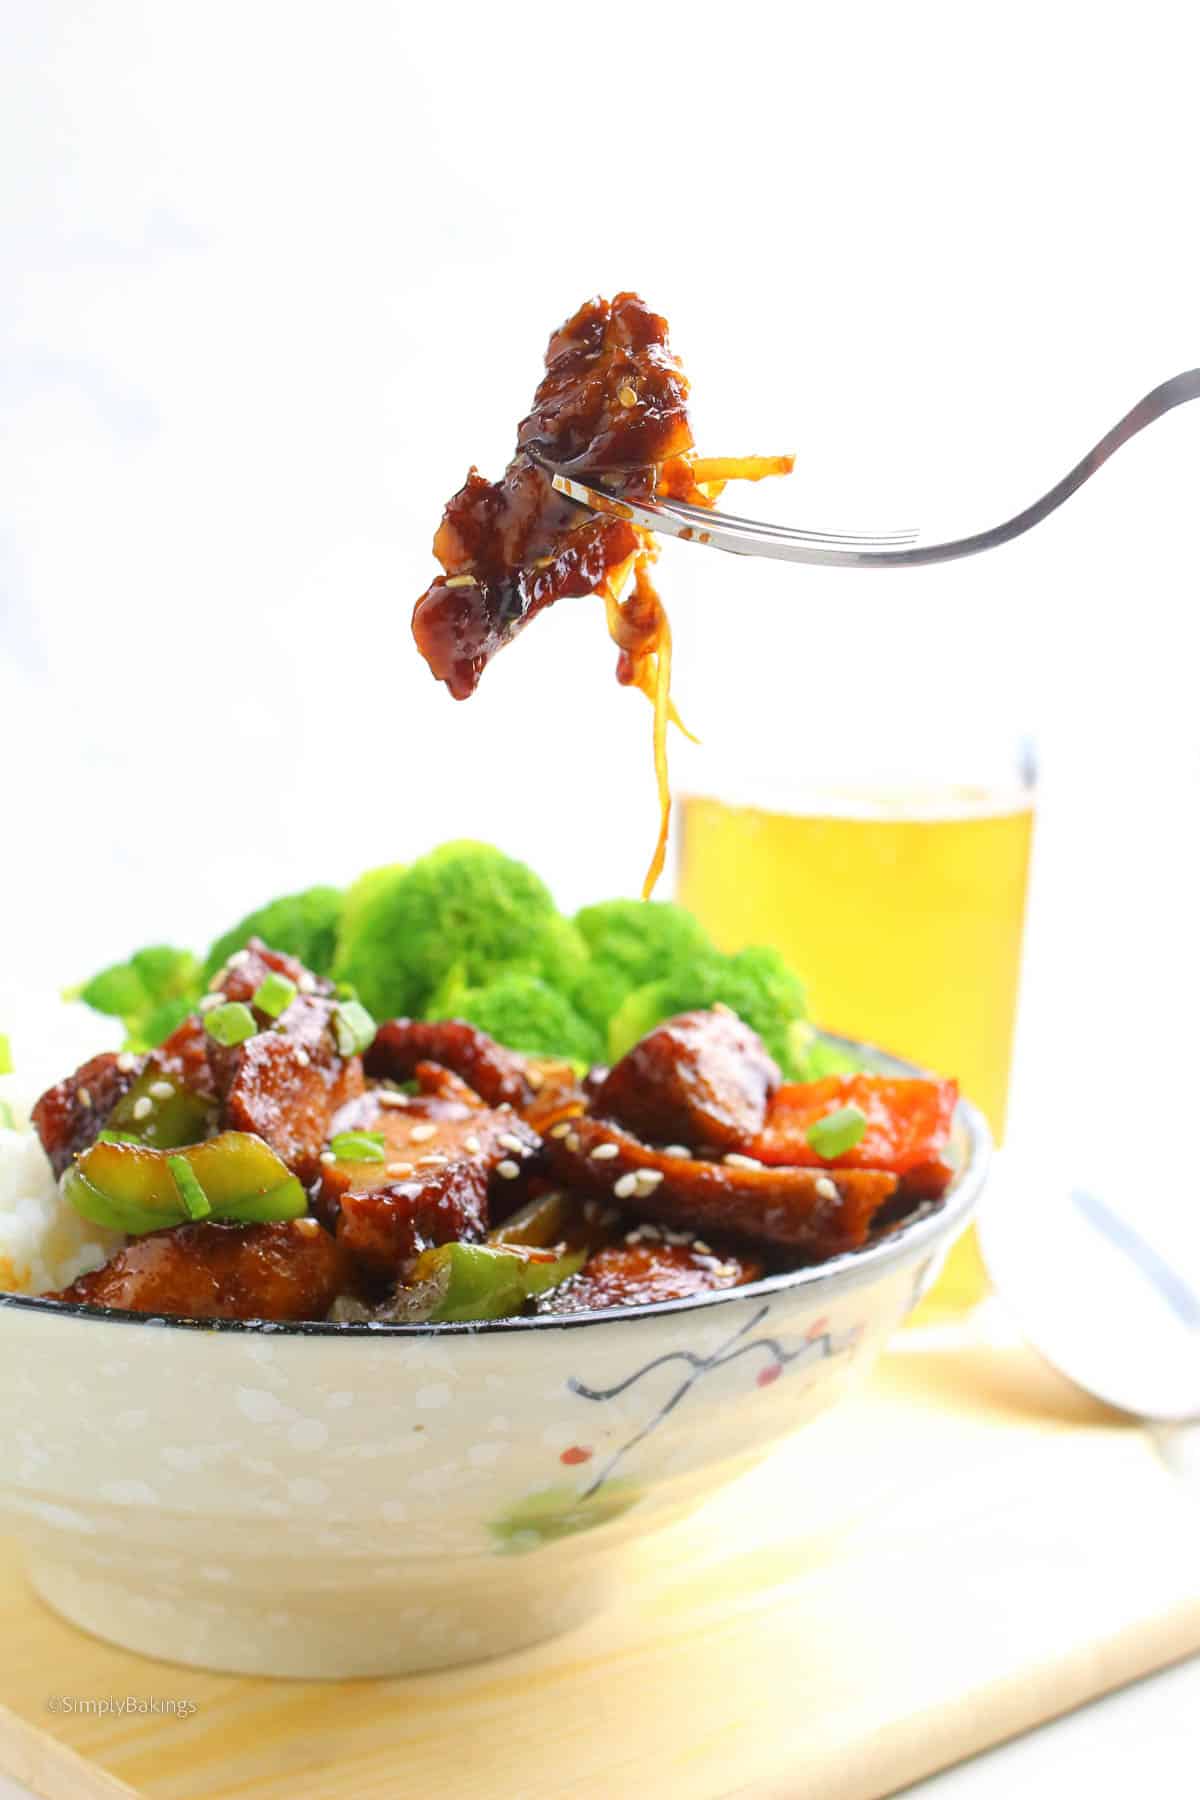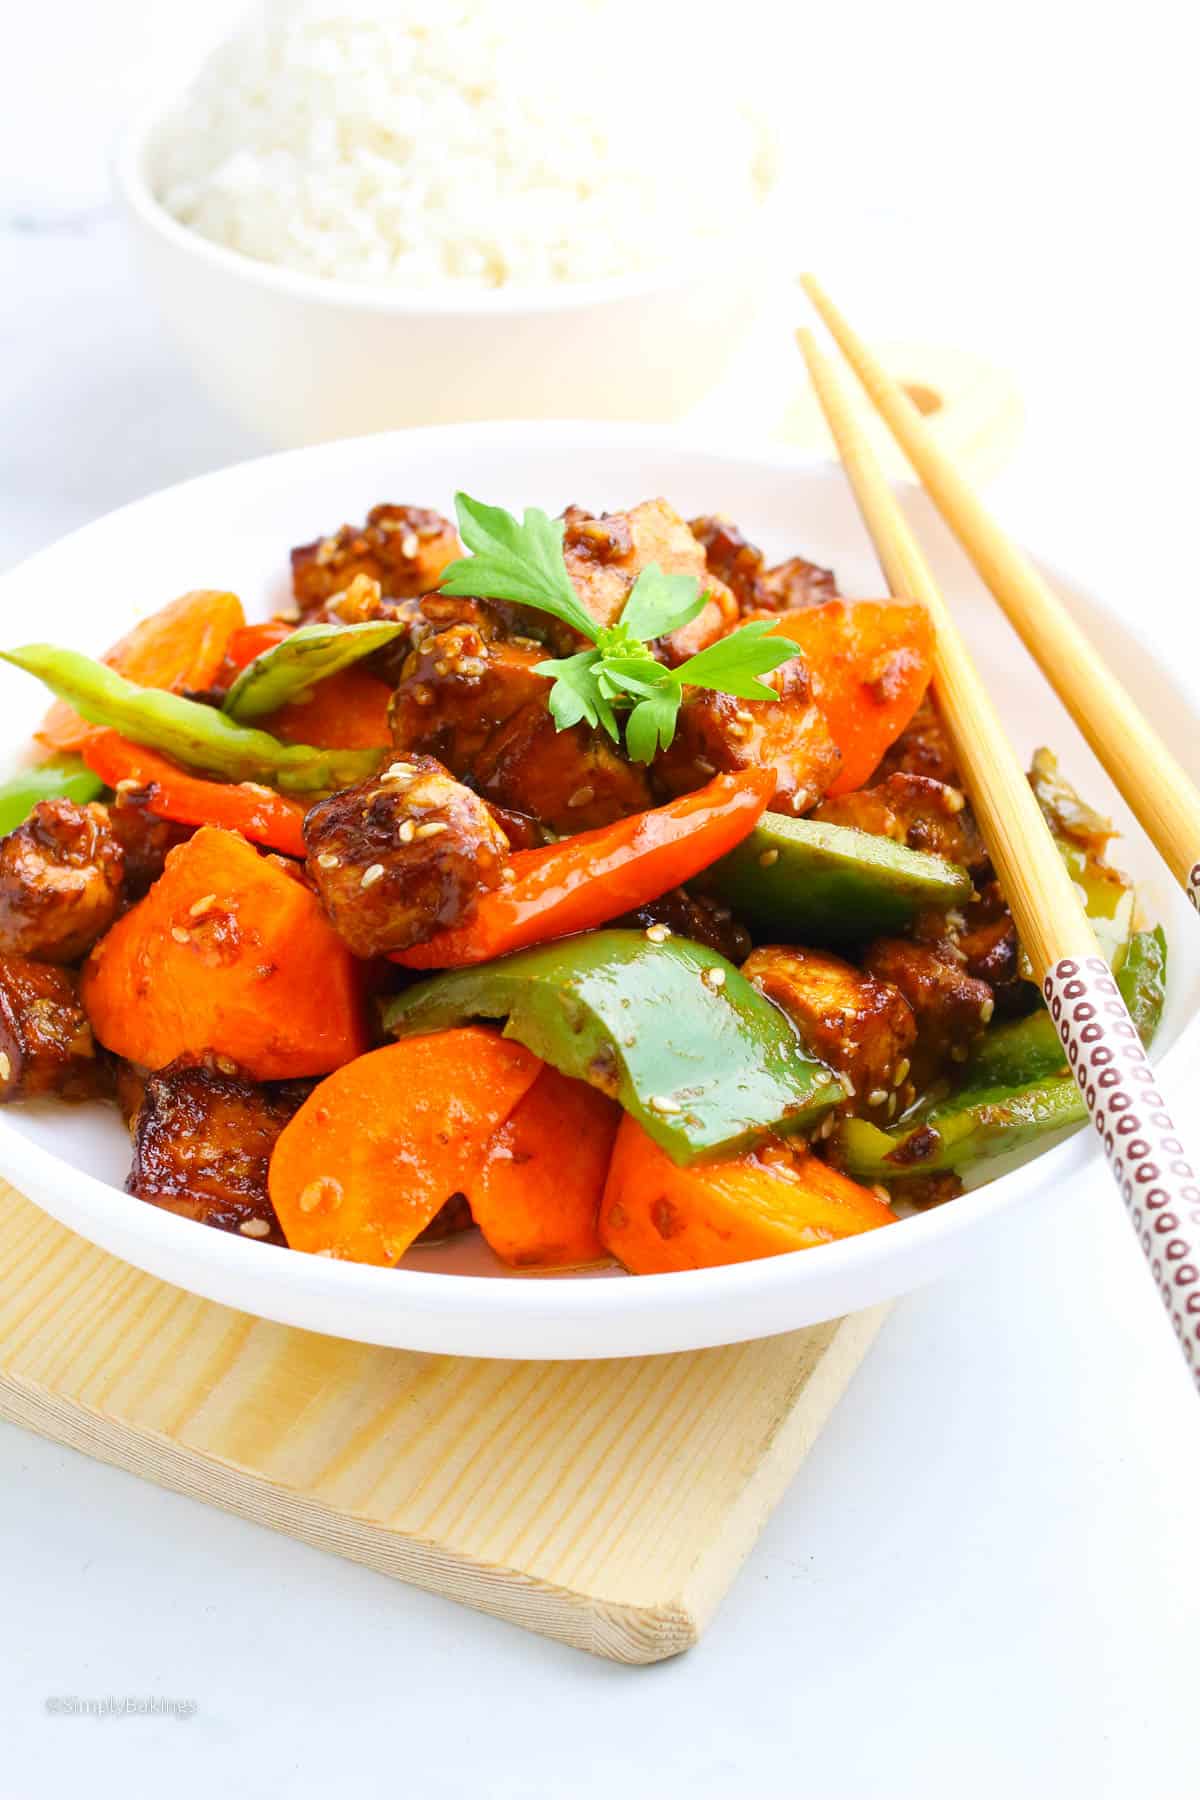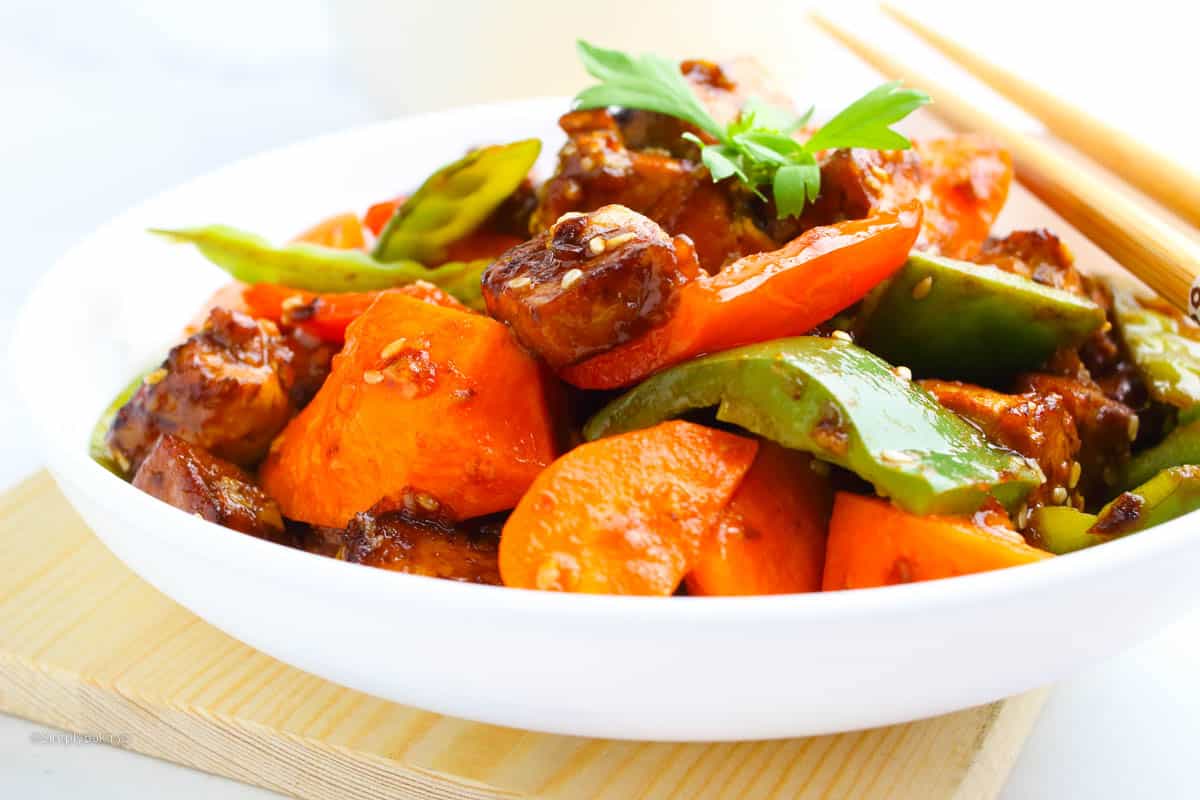
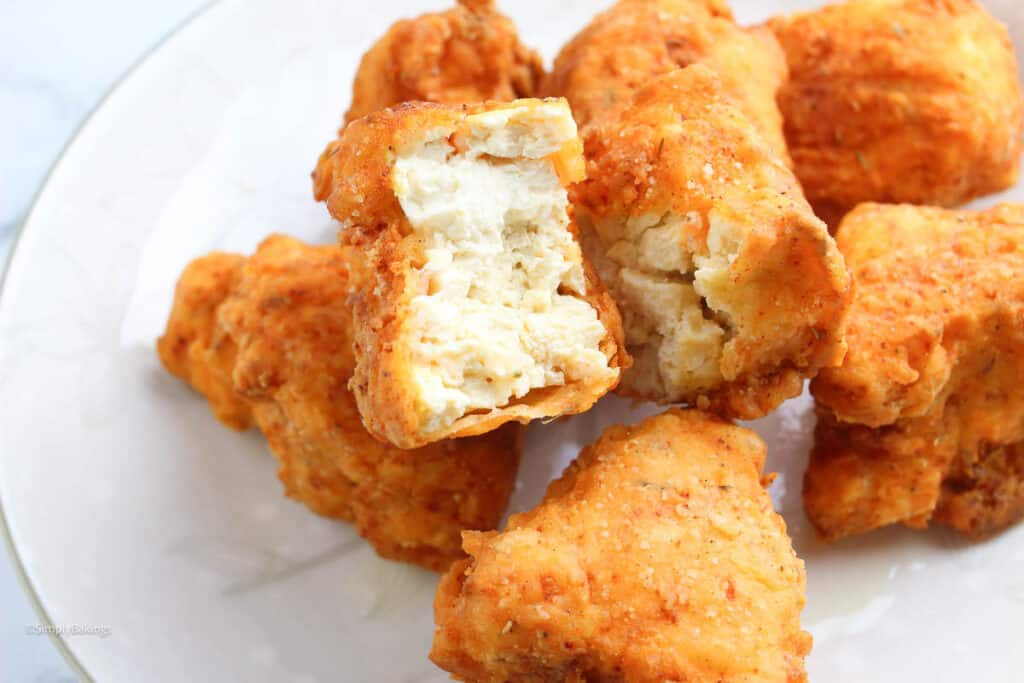
Enjoy the delicious taste of Vegan Fried "Chicken" Tofu, a unique recipe that turns tofu into a crispy delight. It's made with firm tofu soaked in a vegetable broth and coated with garlic, paprika, and thyme, giving you a mouth-watering plant-based meal.
Craving more vegan options? Experiment with my Vegan Bolognese, Easy Vegan Burritos, and Vegan Blondies.
Health Benefits of Tofu
- Rich in protein.
- Improves brain health.
- Boosts the immune system.
- Promotes muscle health.
- Lowers the risk of certain cancers.
- Reduces menopause symptoms.
Substitutions
Firm Tofu:
- Tempeh: For a firmer texture and nutty flavor.
- Seitan: For a chewier, more meat-like texture.
- Chickpea Tofu: For a soy-free alternative with a slightly different texture.
Vegetable Broth:
- Mushroom Broth: For an umami-rich alternative.
- Water with Soy Sauce: For added flavor if vegetable broth is unavailable.
- Miso Broth: For a deep, savory flavor.
Whole Milk:
- Almond Milk: For a nutty, dairy-free option.
- Soy Milk: For a creamy, dairy-free option with a neutral flavor.
- Coconut Milk: For a richer, slightly sweet flavor (use light coconut milk for less richness).
Hot Sauce:
- Sriracha: For a similar heat with a bit of sweetness.
- Cayenne Pepper: For a dry spice alternative.
- Chili Flakes: For a different texture and spiciness.
Apple Cider Vinegar:
- White Vinegar: For a similar tangy flavor.
- Lemon Juice: For a citrusy acidity.
- Rice Vinegar: For a milder, slightly sweet flavor.
All-Purpose Flour:
- Whole Wheat Flour: For a healthier, fiber-rich option.
- Gluten-Free Flour Blend: For a gluten-free alternative.
- Chickpea Flour: For a protein-rich, gluten-free option.
Cornstarch:
- Arrowroot Powder: For a similar thickening and crisping effect.
- Potato Starch: For a thicker, more substantial coating.
- Tapioca Starch: For a slightly chewier texture.
Garlic Powder:
- Fresh Garlic: Minced for a stronger, more pungent flavor.
- Onion Powder: For a different but complementary flavor.
- Shallot Powder: For a milder, sweeter garlic-like flavor.
Salt:
- Sea Salt: For a different mineral content and flavor.
- Kosher Salt: For a coarser texture.
- Soy Sauce: For added umami and saltiness in the batter.
Smoked Paprika:
- Regular Paprika: For a milder flavor without the smoky element.
- Chipotle Powder: For a smoky and slightly spicy alternative.
- Chili Powder: For a spicier, non-smoky flavor.
Dried Thyme:
- Fresh Thyme: Use a smaller amount, as fresh herbs are more potent.
- Dried Rosemary: For a similar earthy flavor.
- Italian Seasoning: For a mix of herbs including thyme.
Dried Oregano:
- Fresh Oregano: Use a smaller amount of fresh oregano as it's more potent.
- Basil: For a slightly different but complementary herb flavor.
- Marjoram: For a milder, sweet flavor.
Ground Black Pepper:
- White Pepper: For a milder, less pungent flavor.
- Cayenne Pepper: For added heat.
- Smoked Paprika: For a smoky twist with mild spice.
Vegetable Oil:
- Canola Oil: For a neutral flavor with a high smoke point.
- Sunflower Oil: For a similar neutral flavor with a high smoke point.
- Avocado Oil: For a healthier option with a high smoke point.
Storage
- In the Fridge: Store any leftovers in an airtight container in the refrigerator for up to two days. For optimal reheating, use the oven.
- In the Freezer: To freeze, separate the tofu pieces with parchment paper to prevent sticking. Store it in a freezer-safe container for up to one month. Thaw in the refrigerator before reheating.
- On the Counter: Enjoy your crispy creation immediately after frying for the best texture and flavor. If storing for later, follow the fridge or freezer guidelines for lasting freshness.
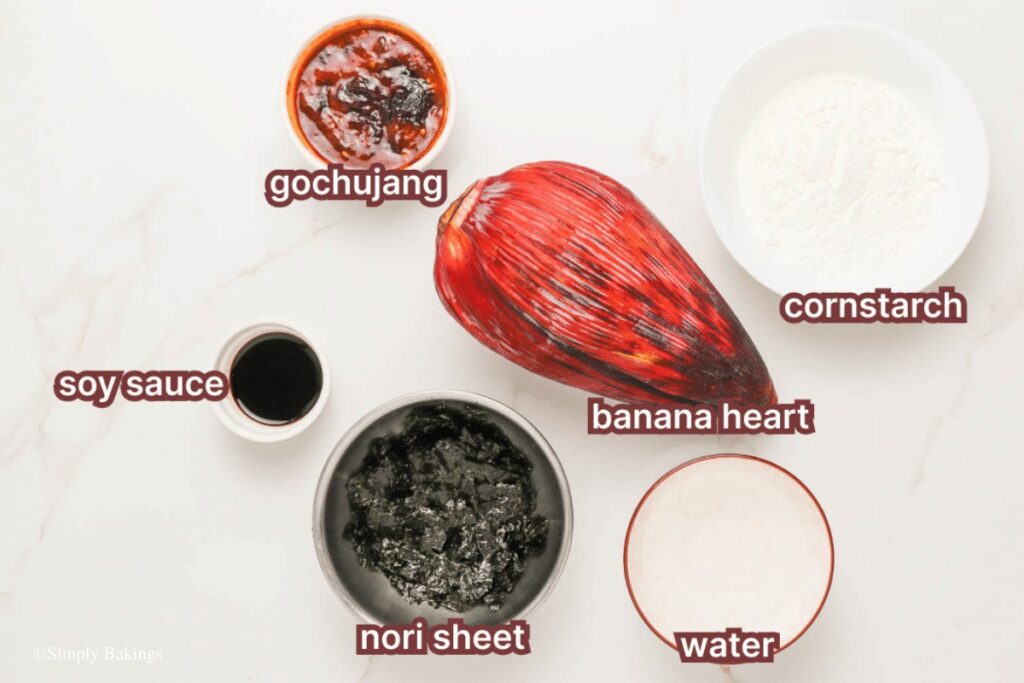
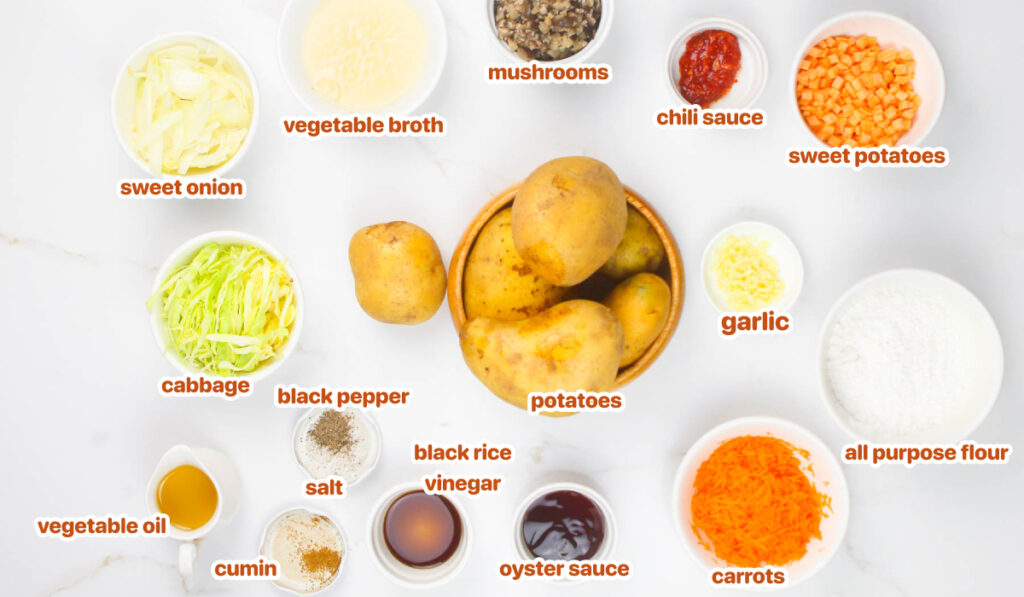
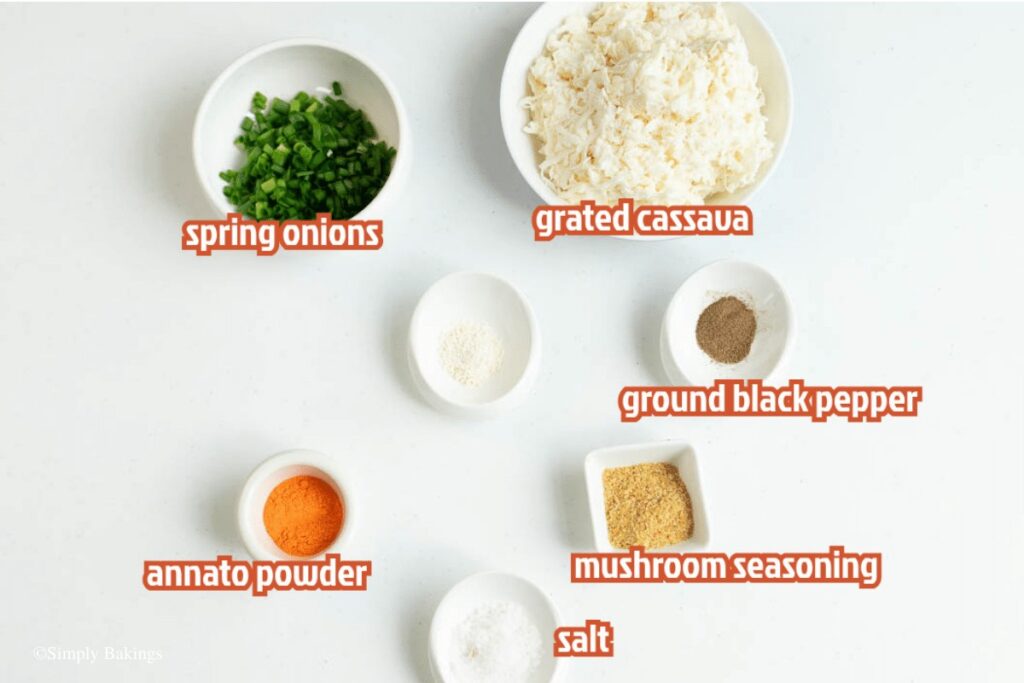
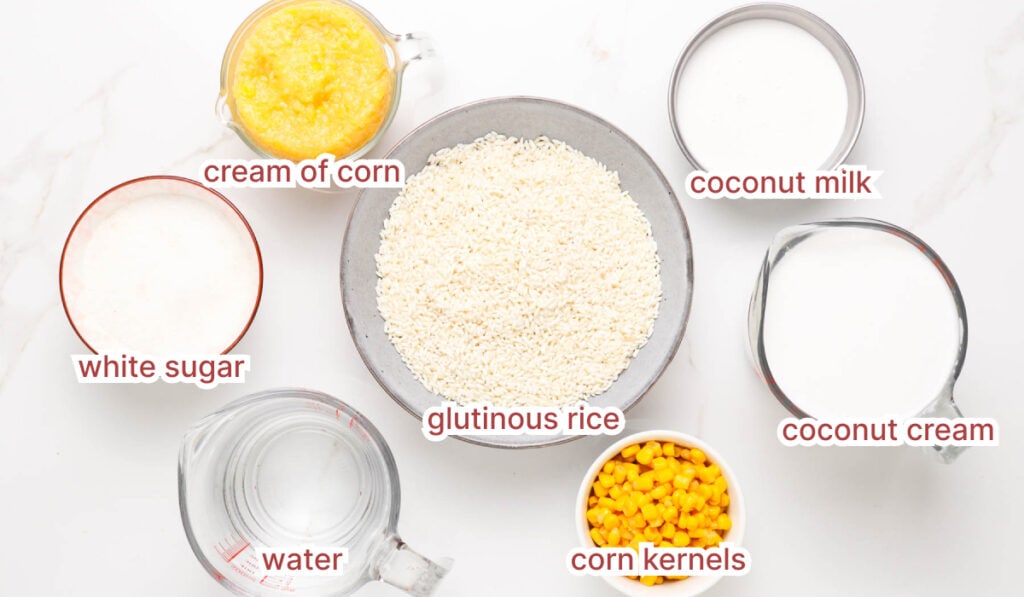
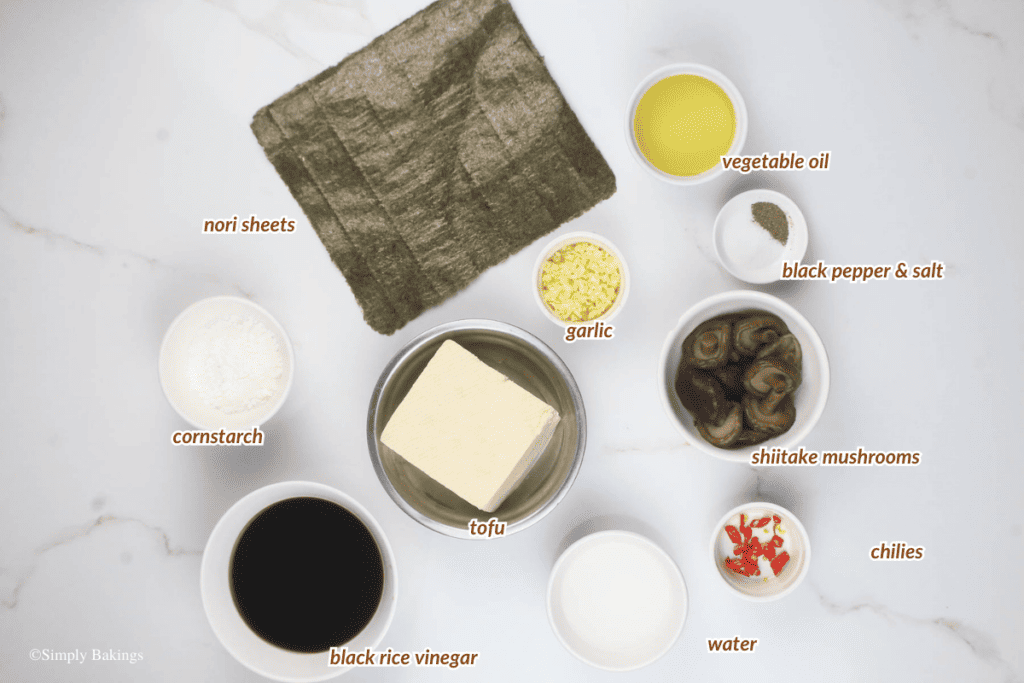
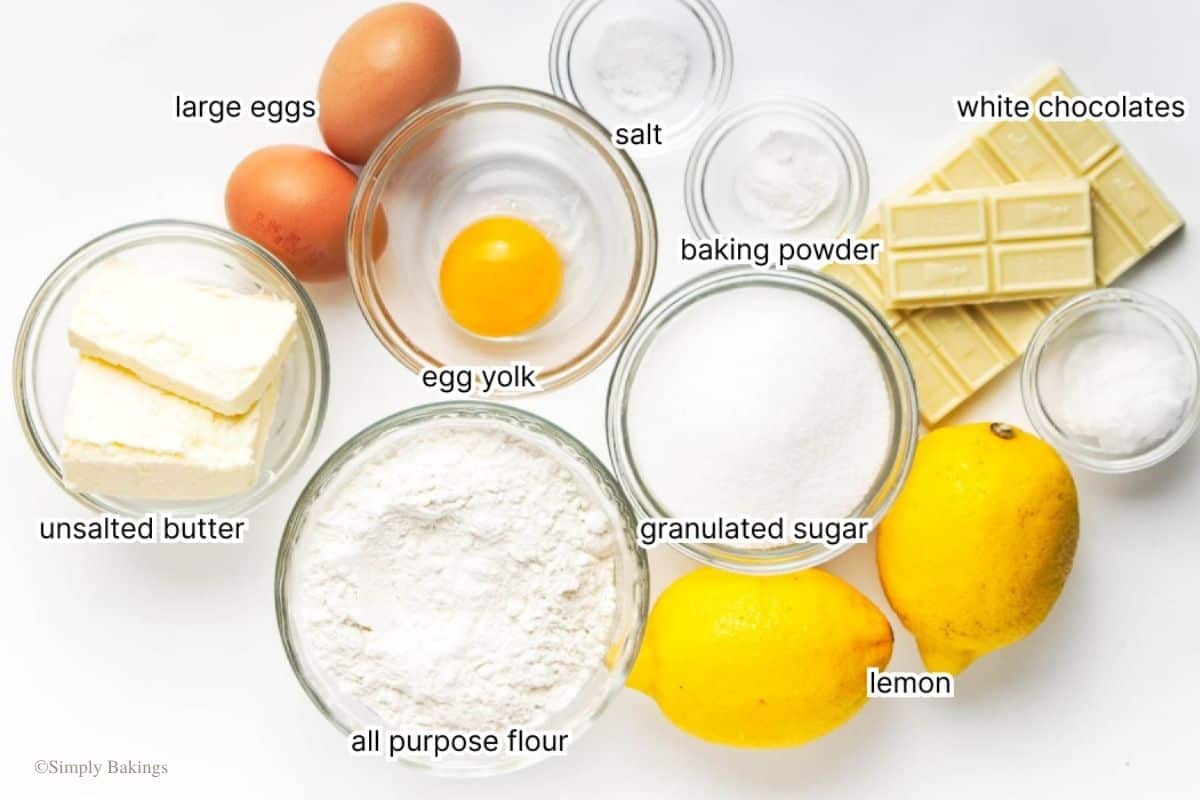
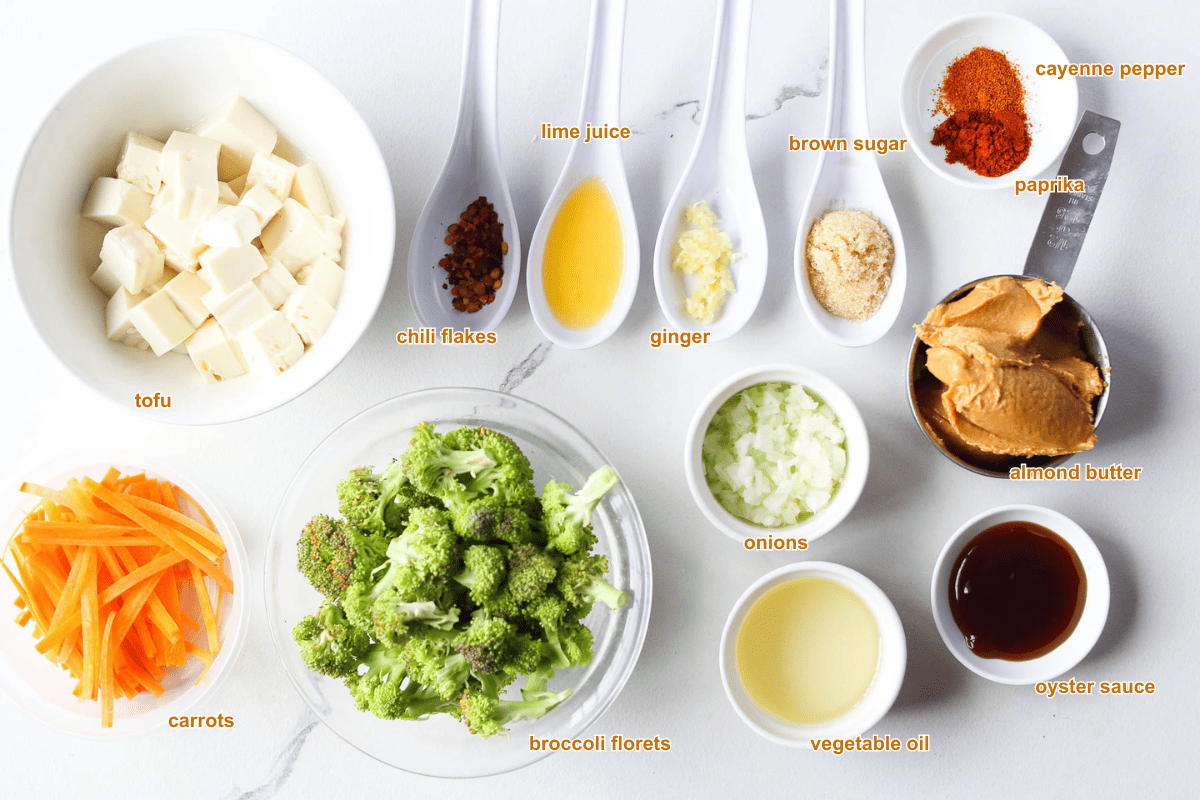
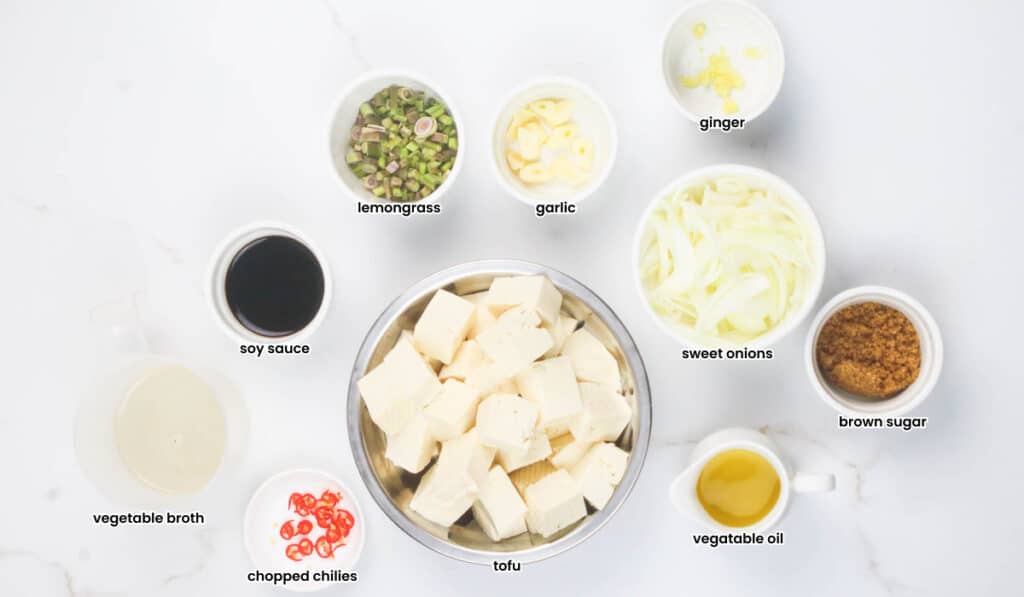
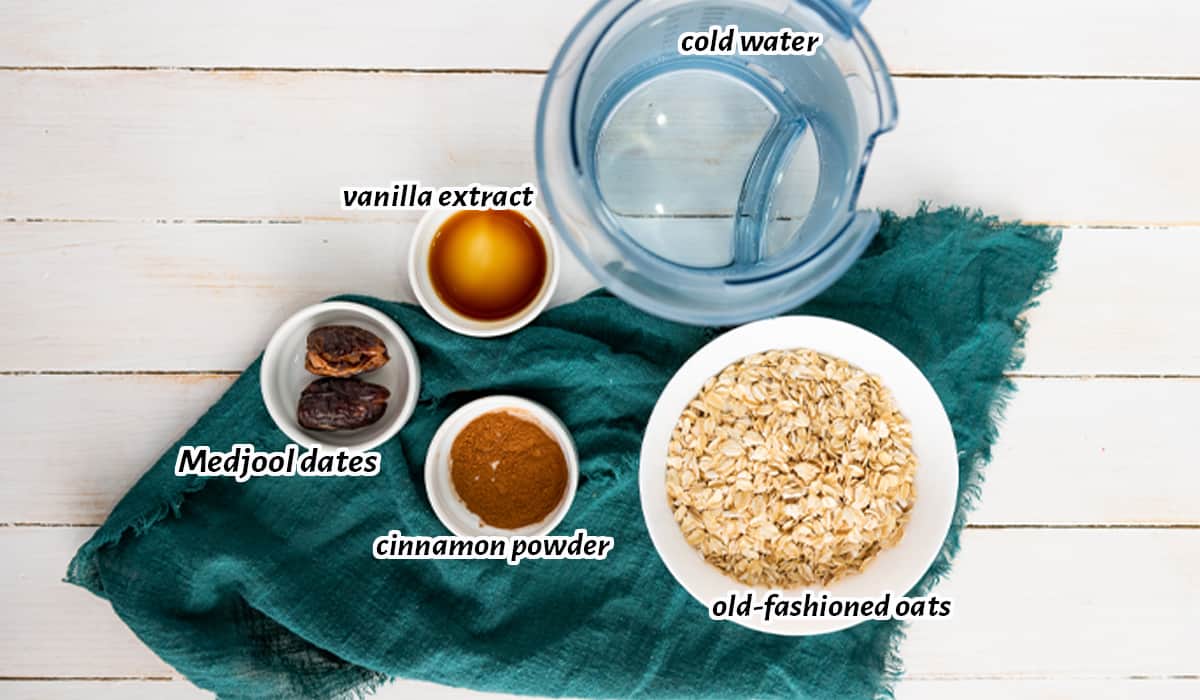
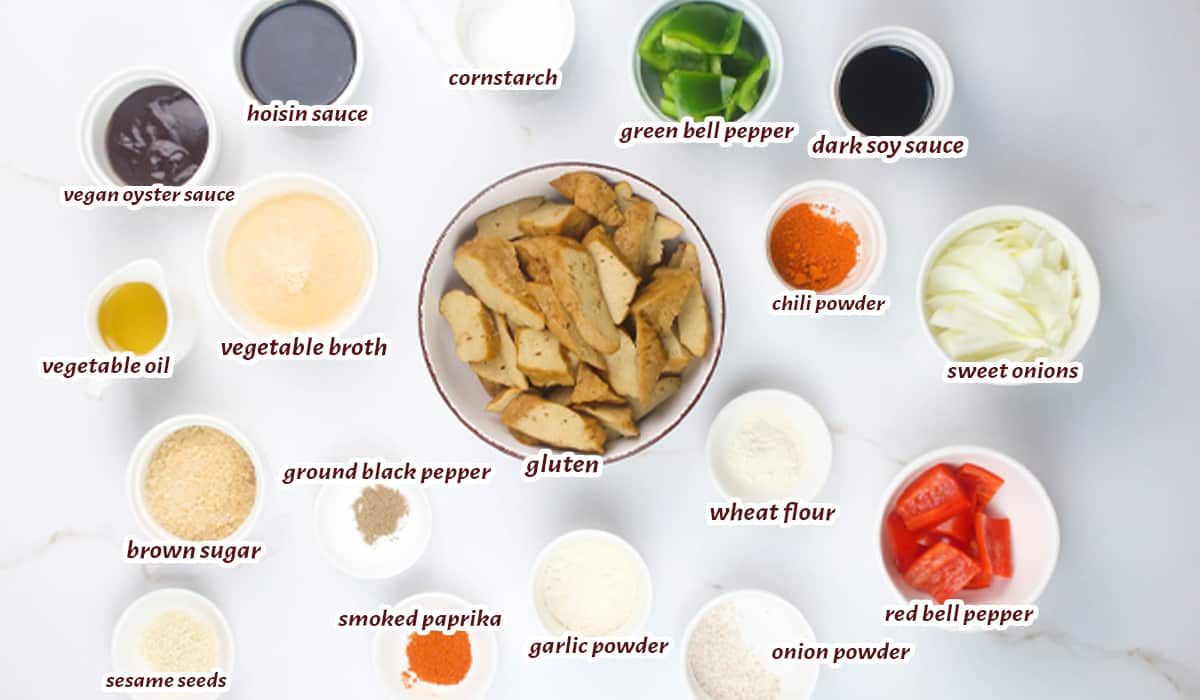
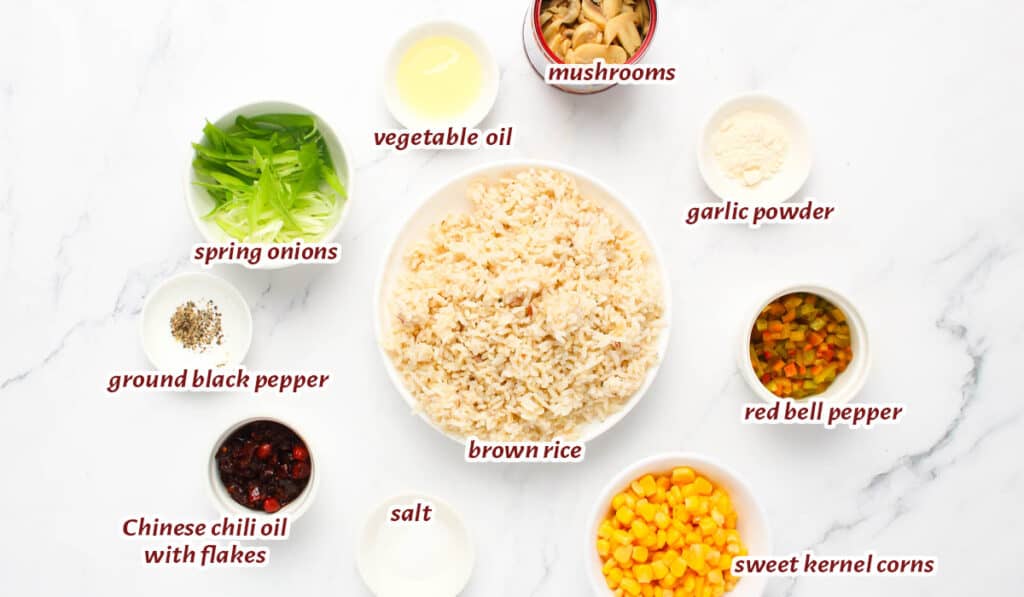
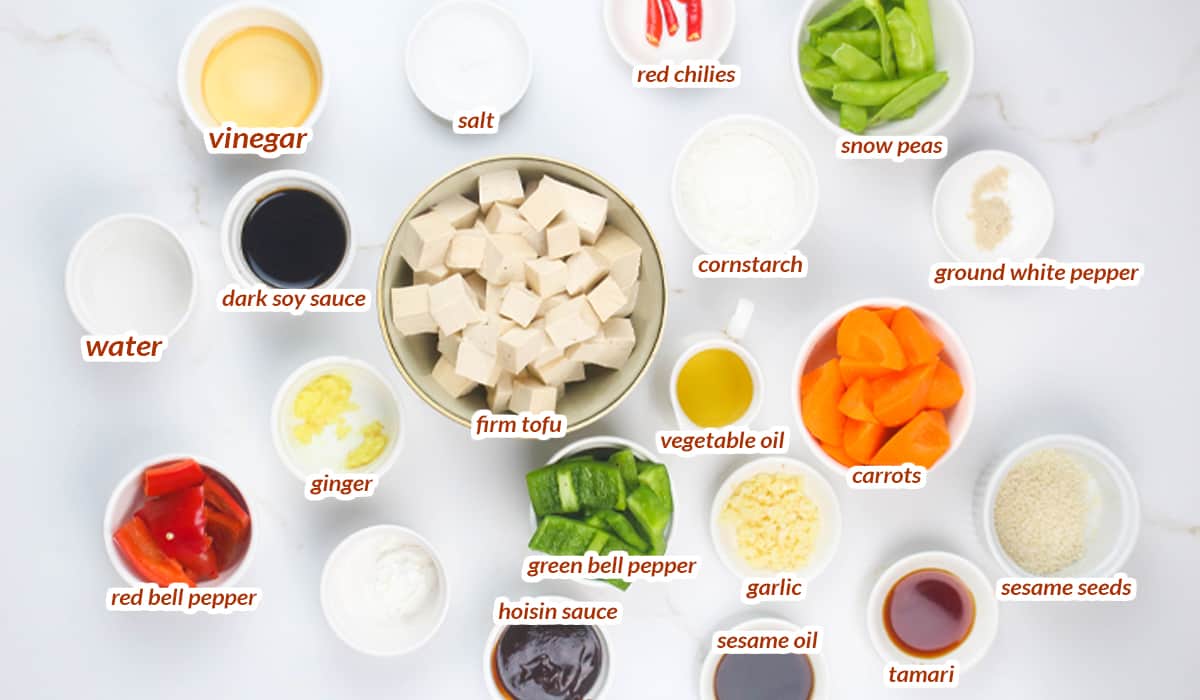
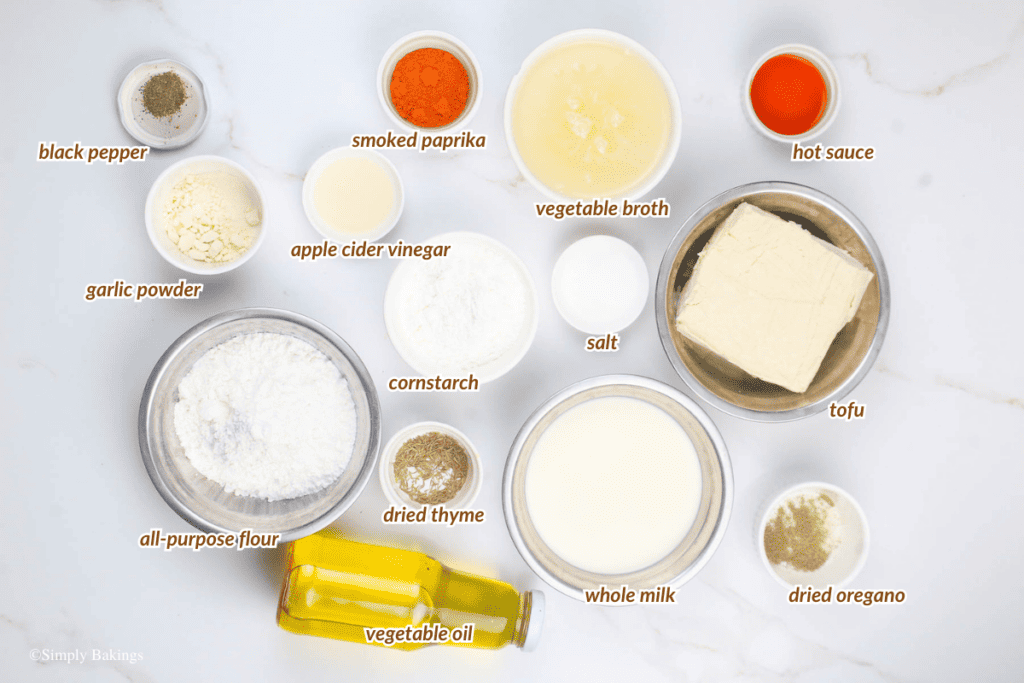
Ingredients
Listed below are all the ingredients you will need:
- firm tofu
- vegetable broth
- whole milk
- hot sauce
- apple cider vinegar
- all-purpose flour
- cornstarch
- garlic powder
- salt
- smoked paprika
- dried thyme
- dried oregano
- ground black pepper
- vegetable oil
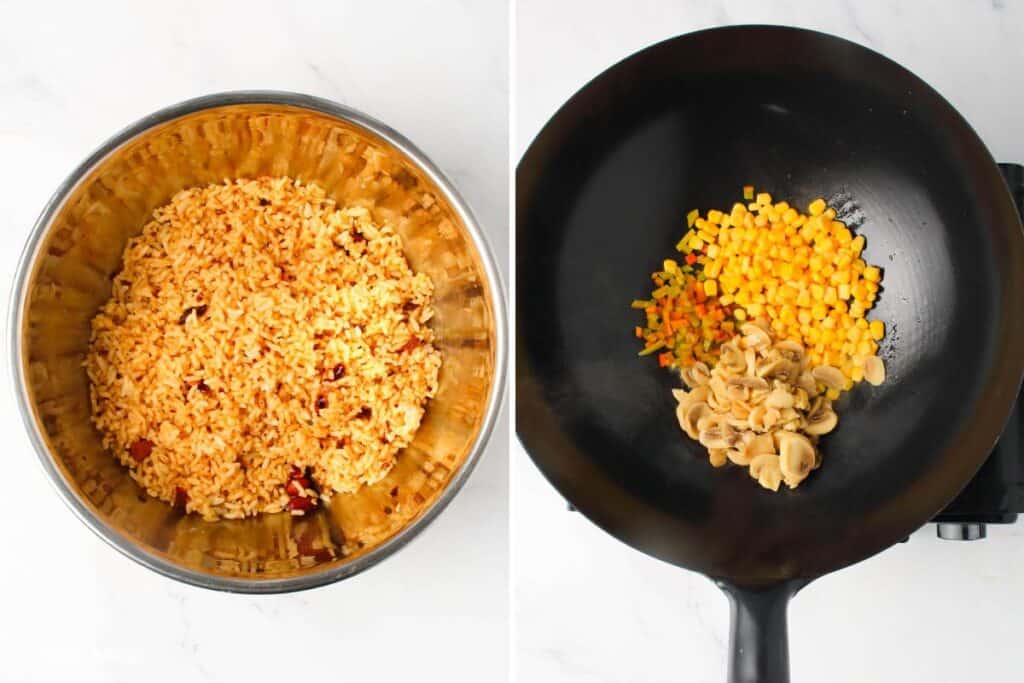
Instructions
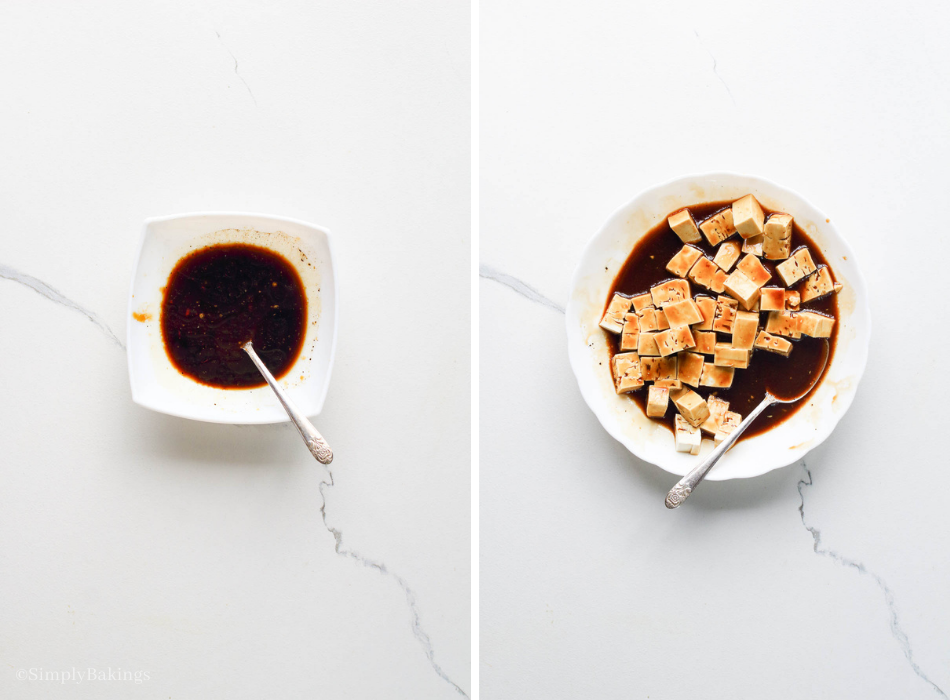
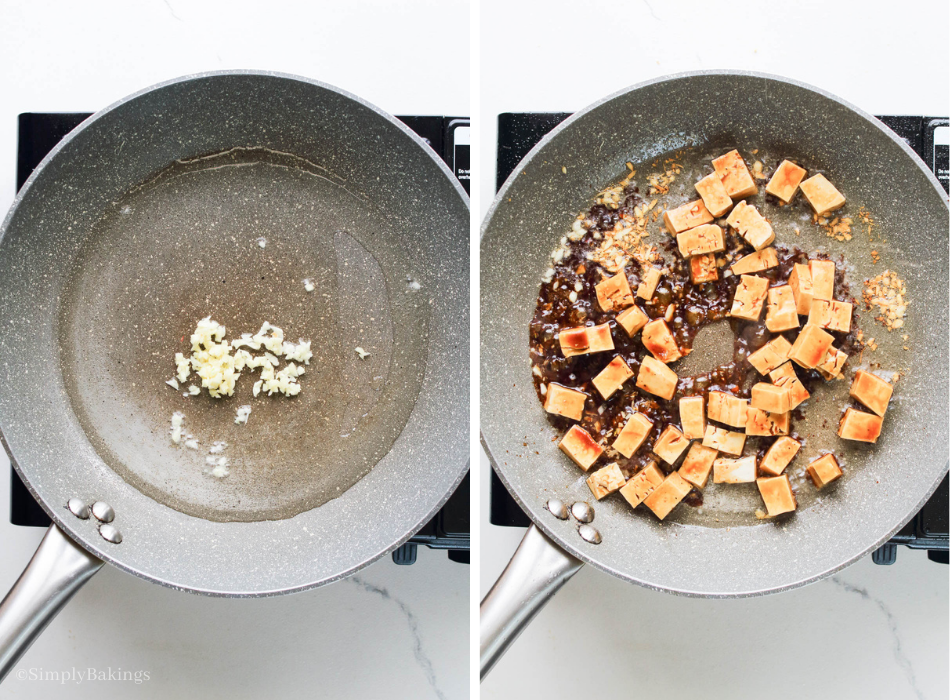
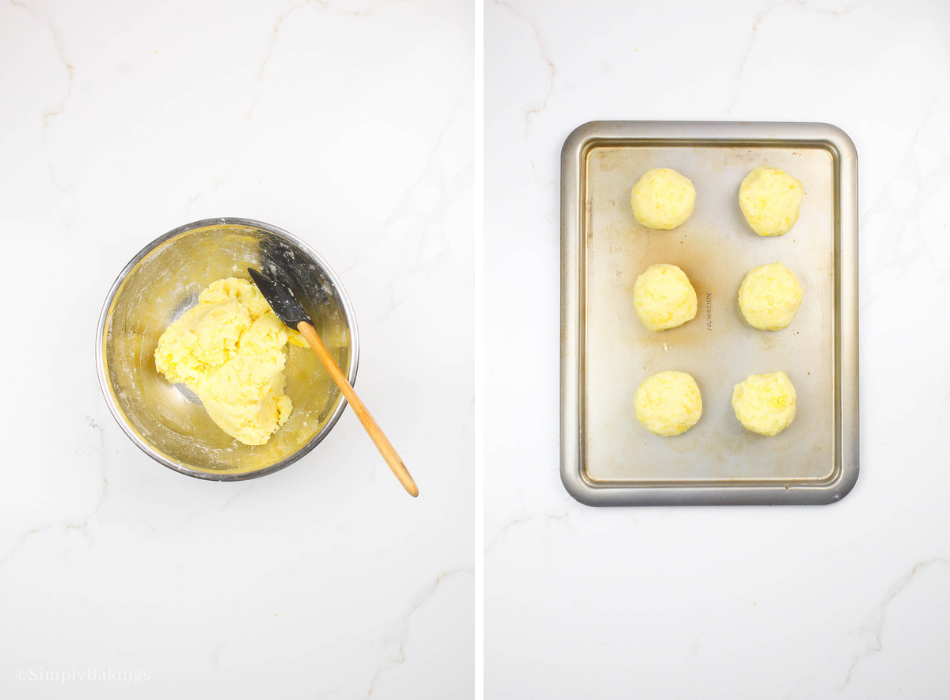
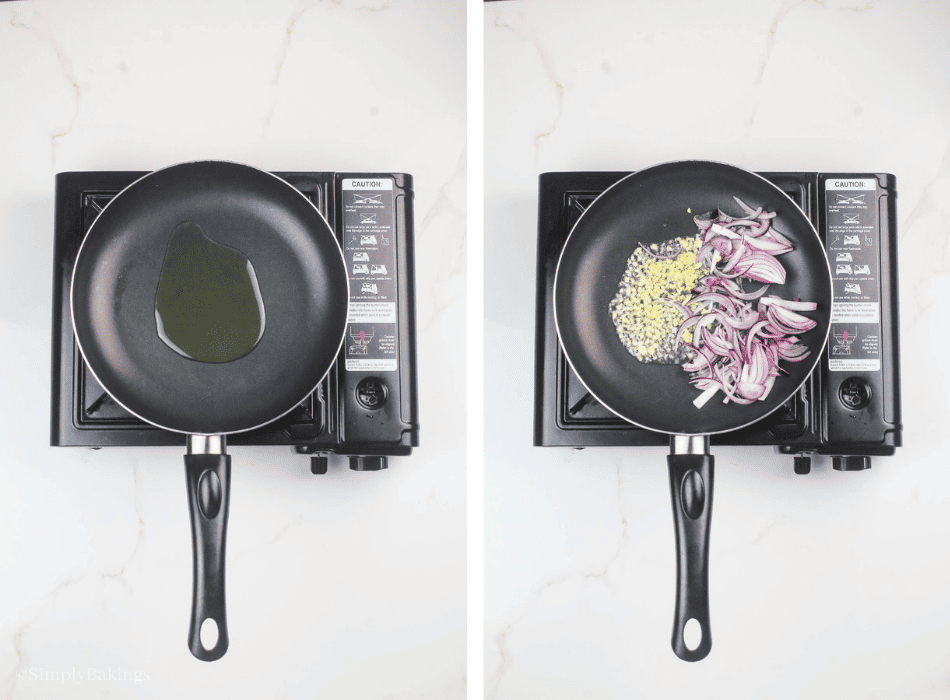
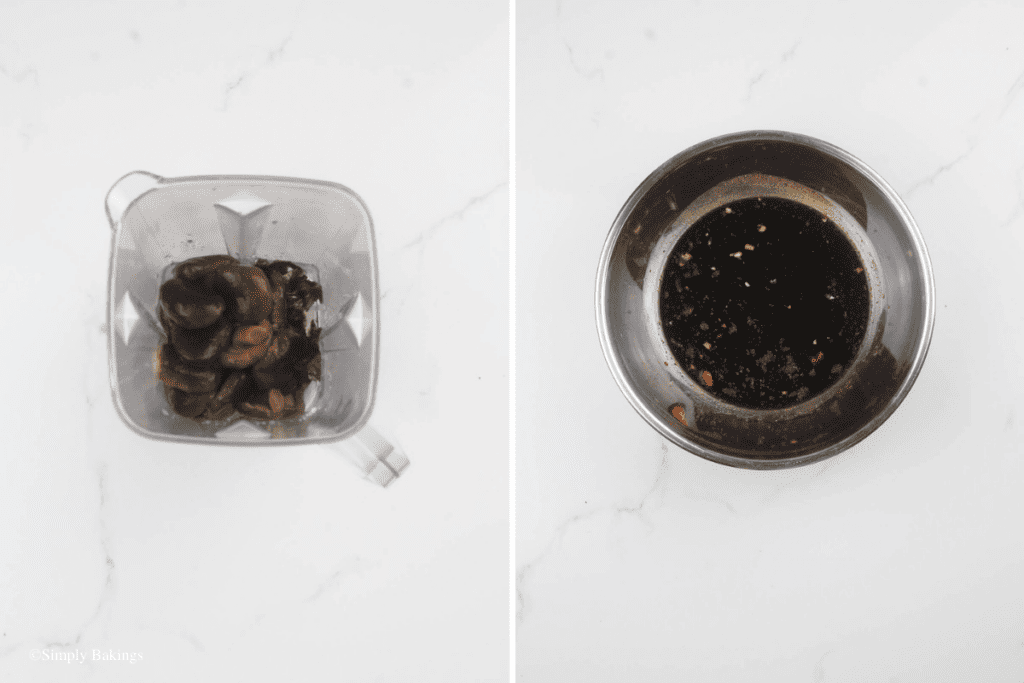
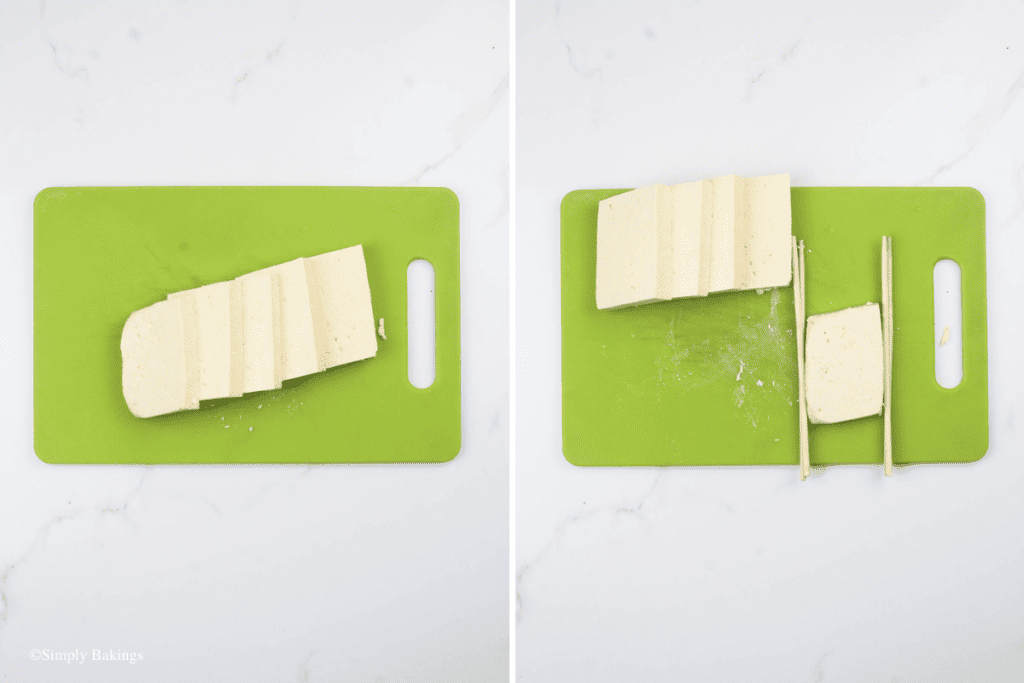
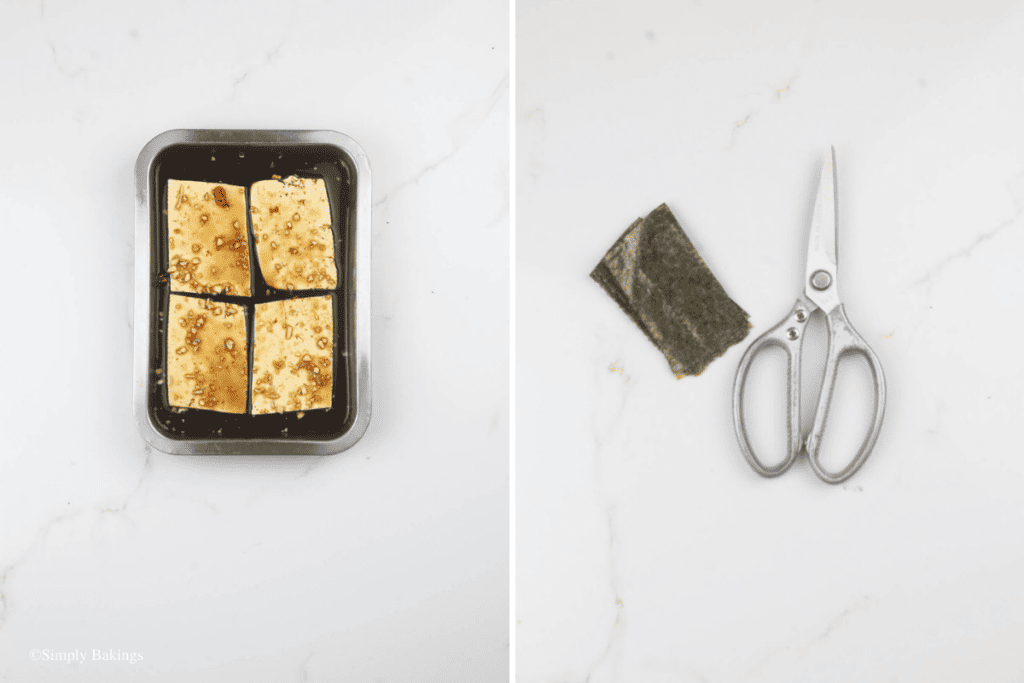
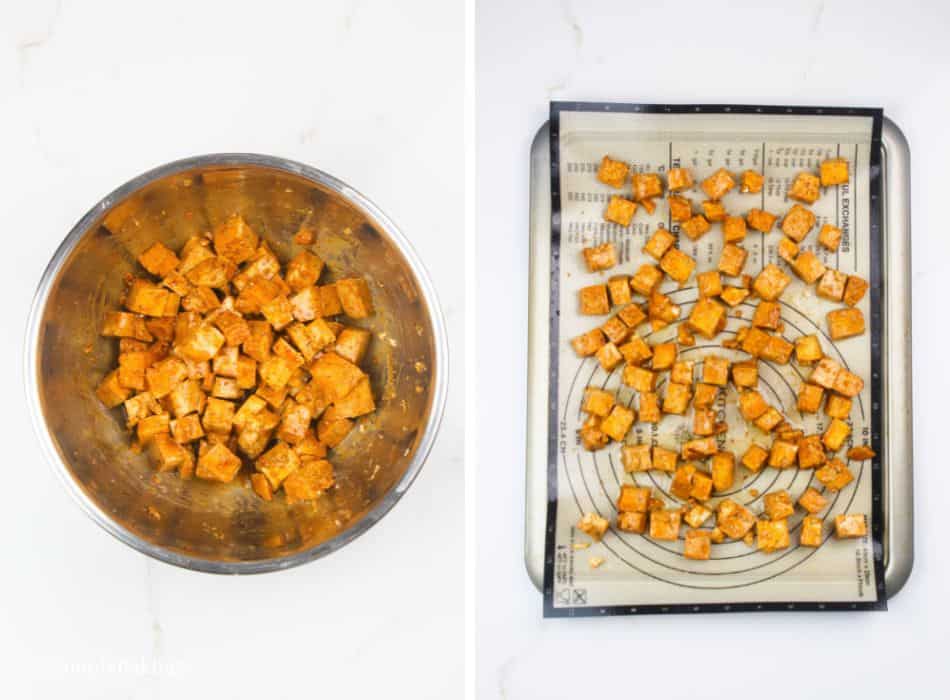
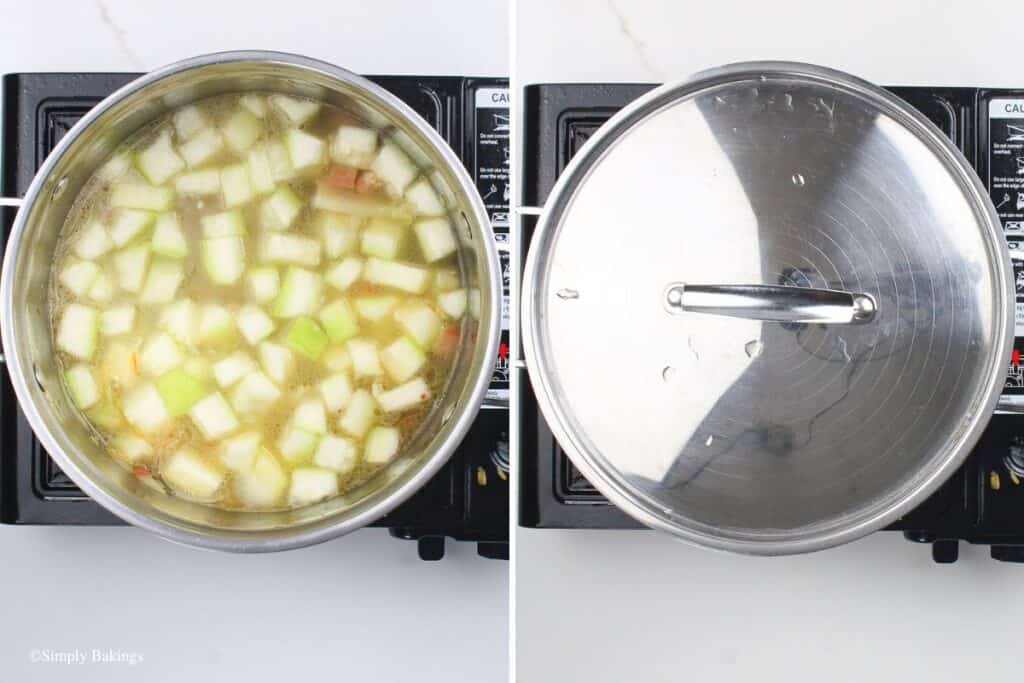
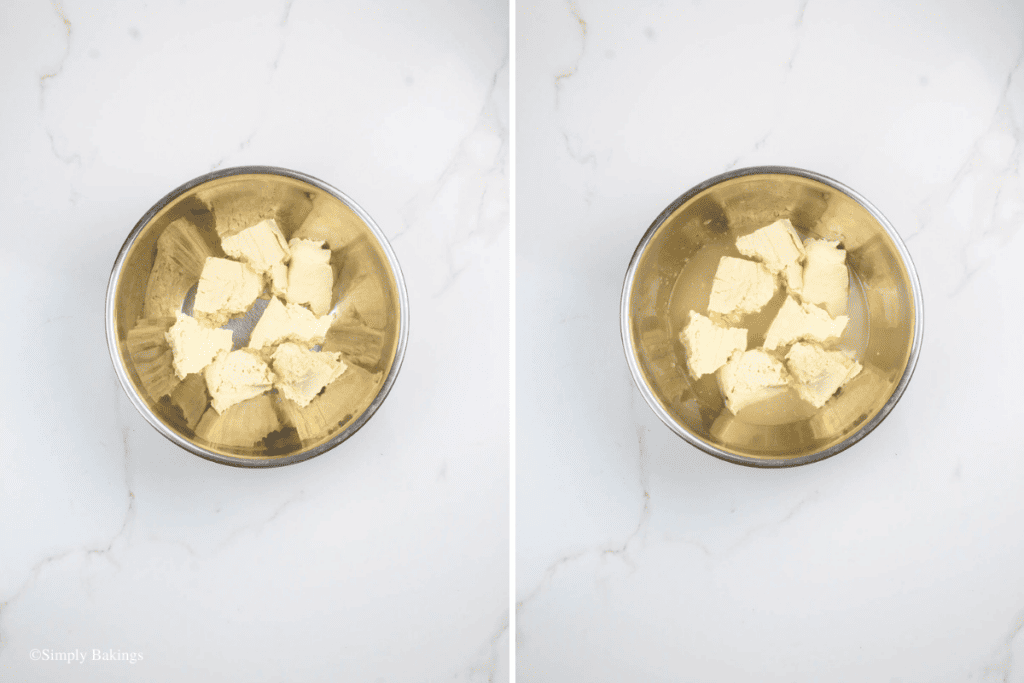
To begin with, slice the thawed tofu (you can use either medium or extra firm tofu) into bite-sized chunks. Subsequently, place the tofu in a large bowl along with the vegetable broth, allowing it to brine for a flavorful ten minutes:
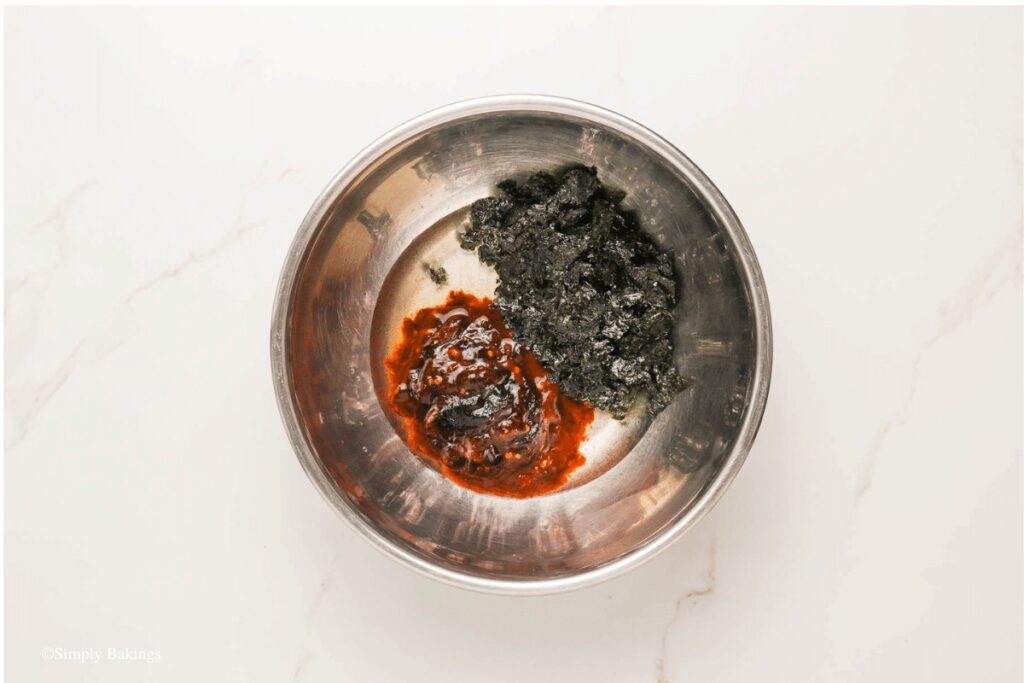
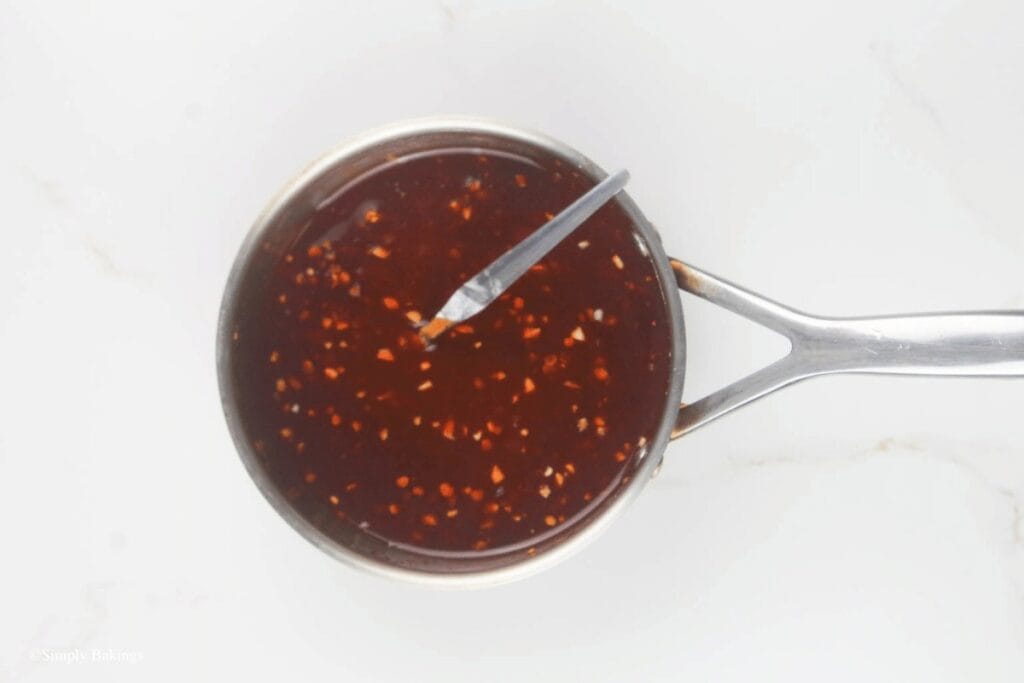
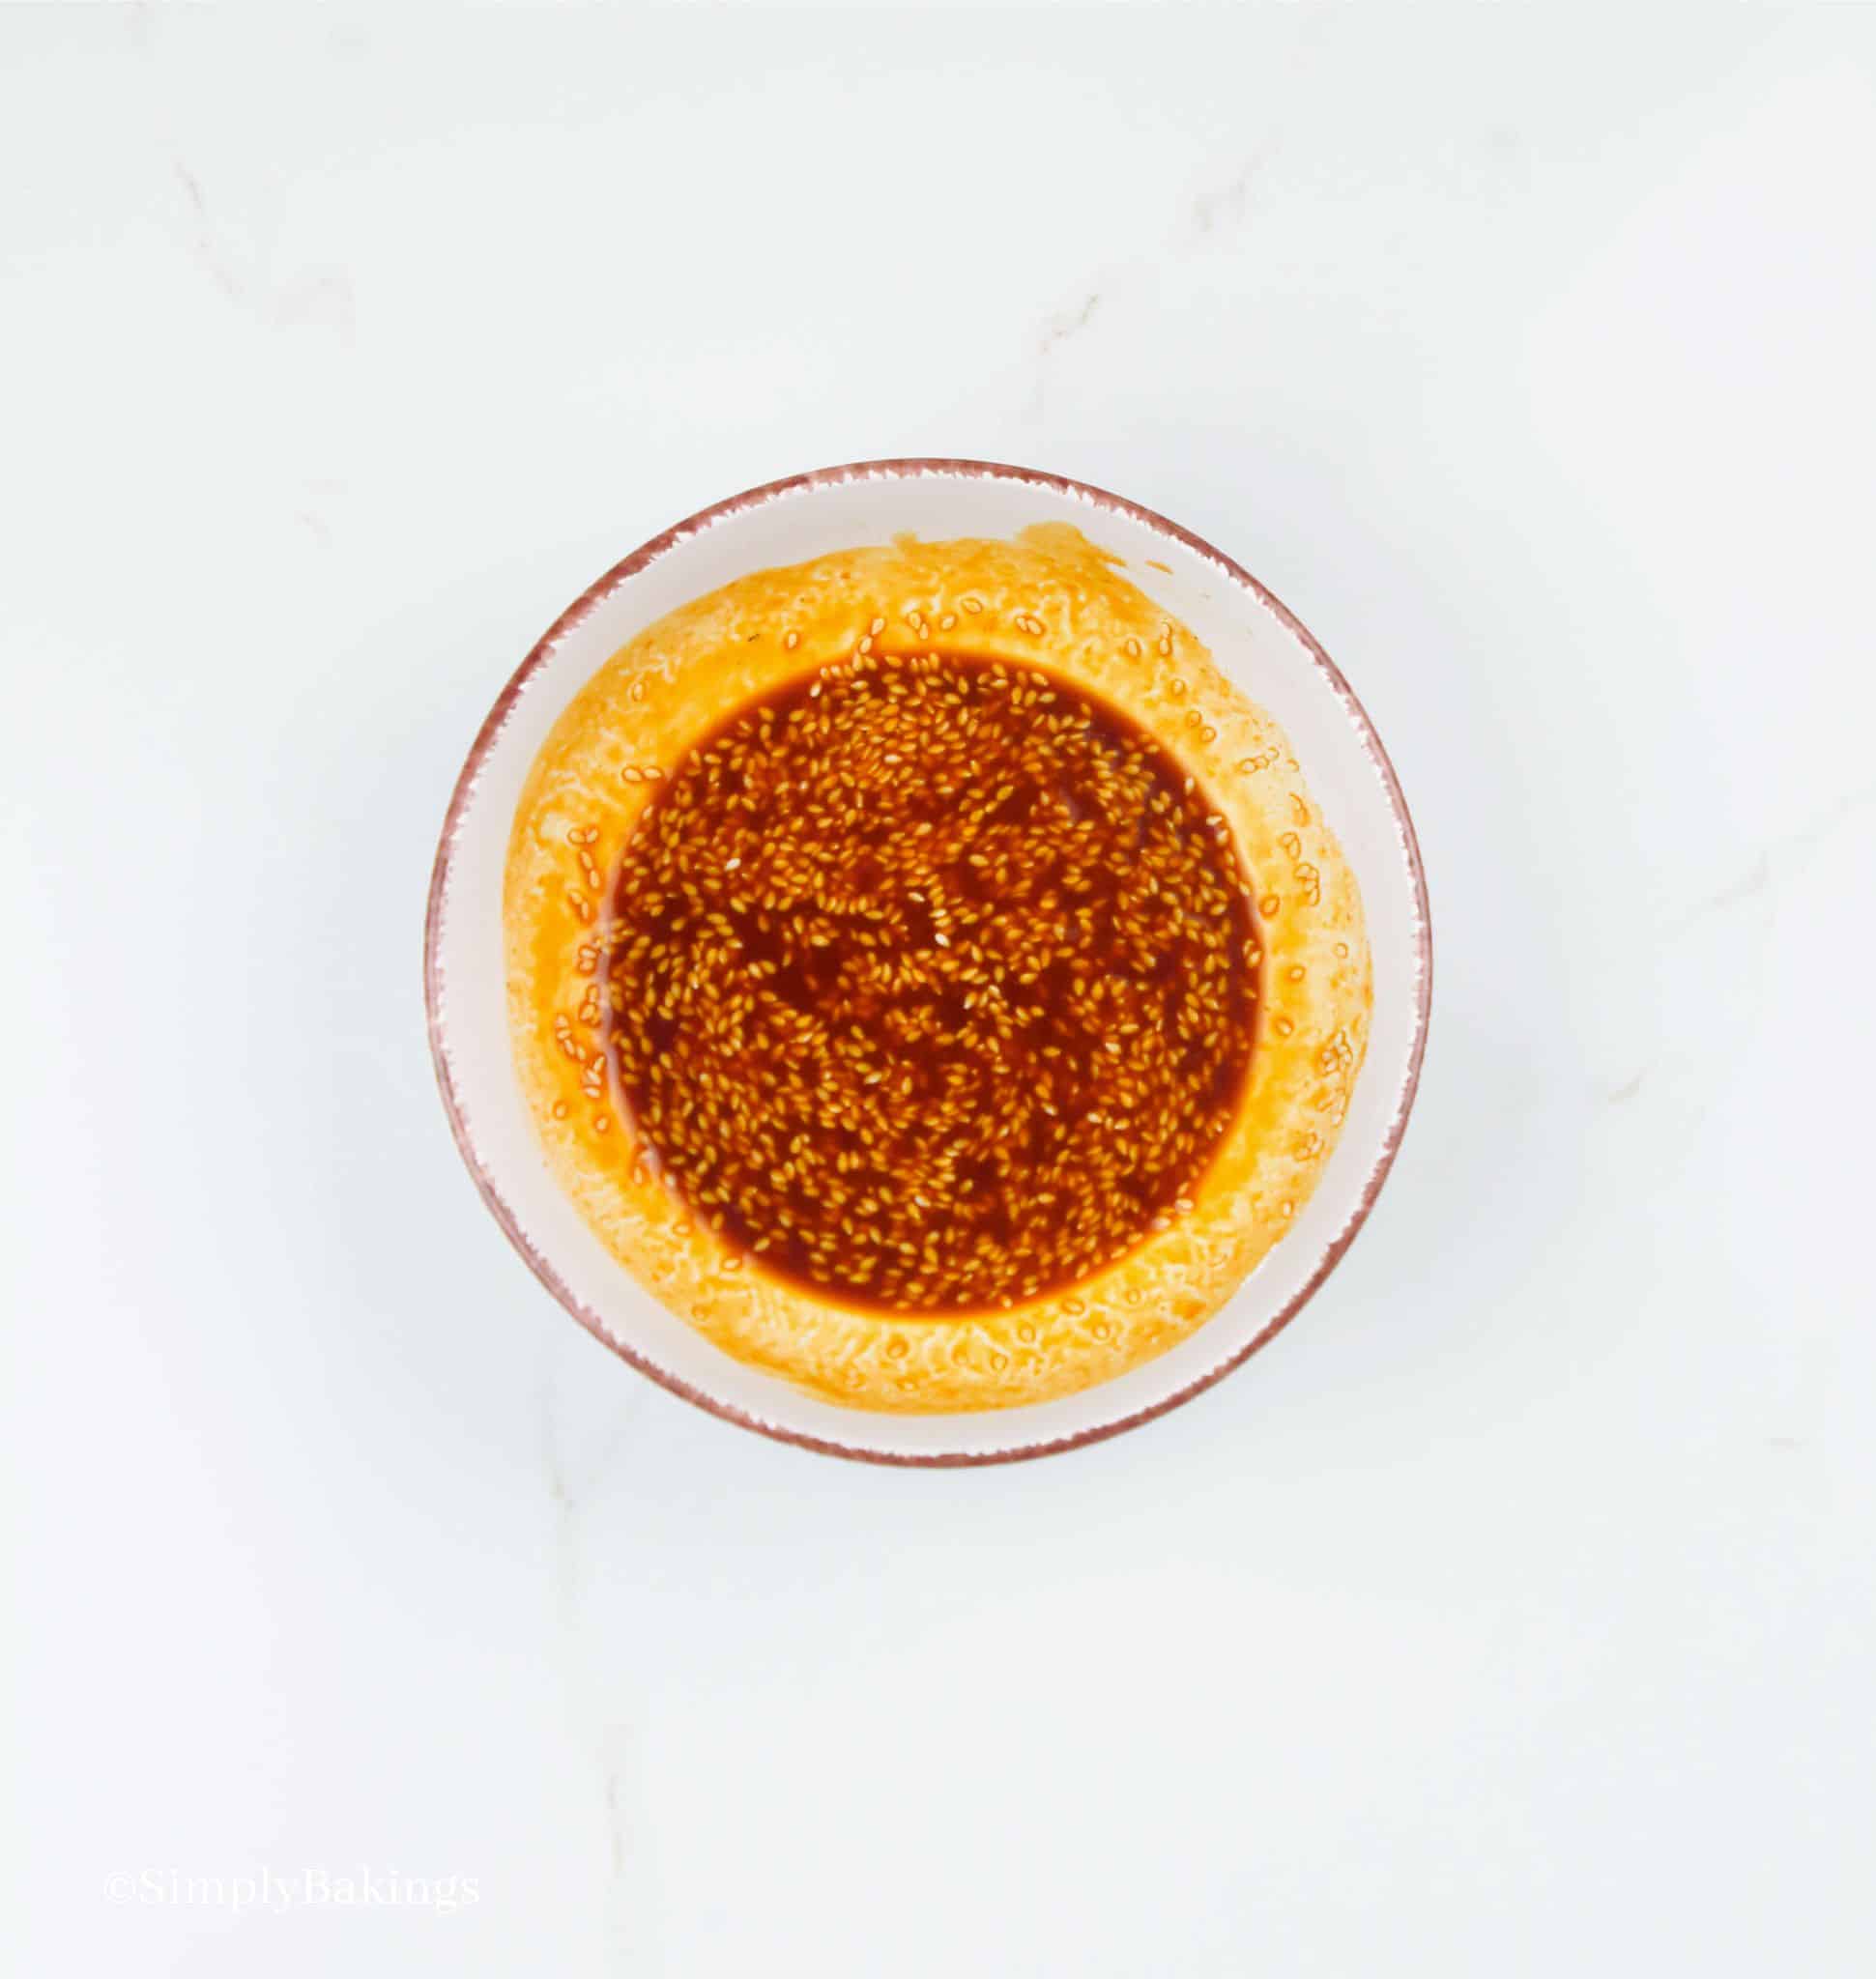
Meanwhile, in a separate bowl, combine the whole milk, hot sauce, and apple cider vinegar; set aside for the next step.
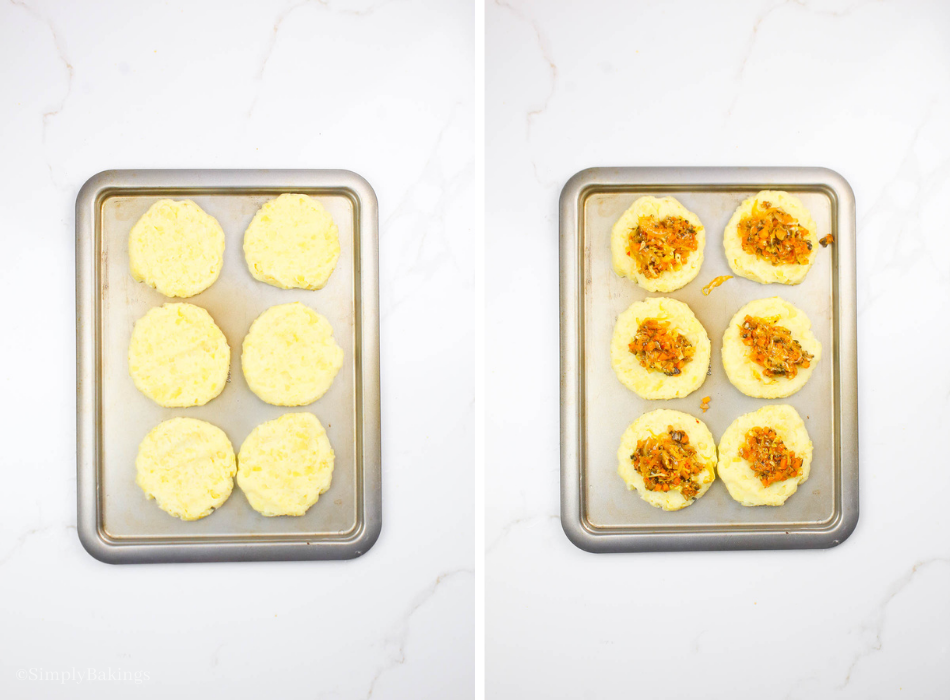
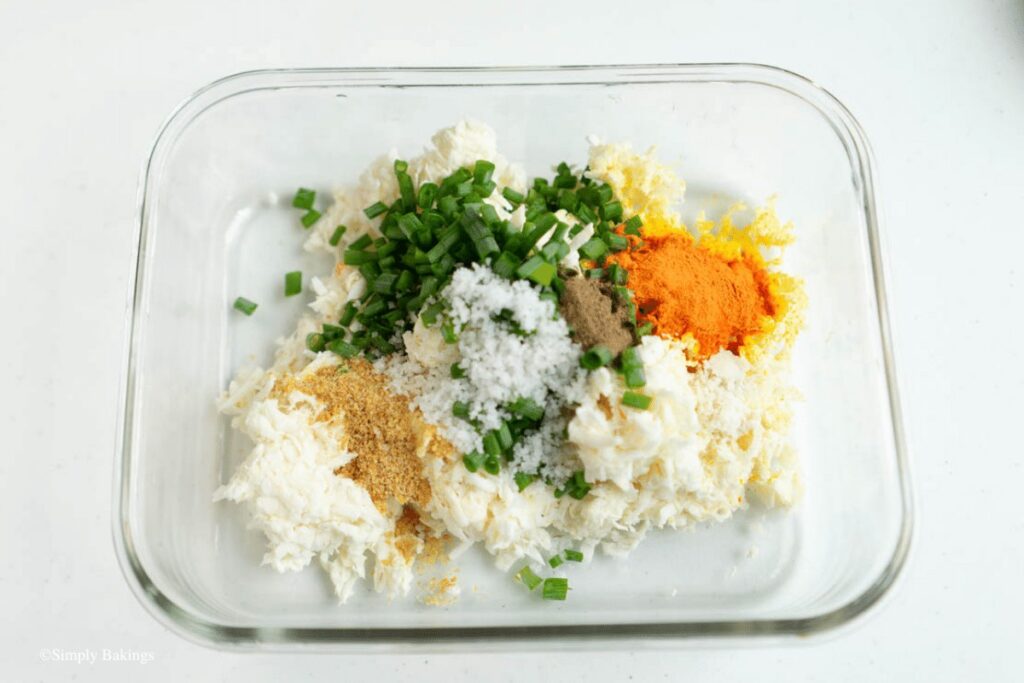
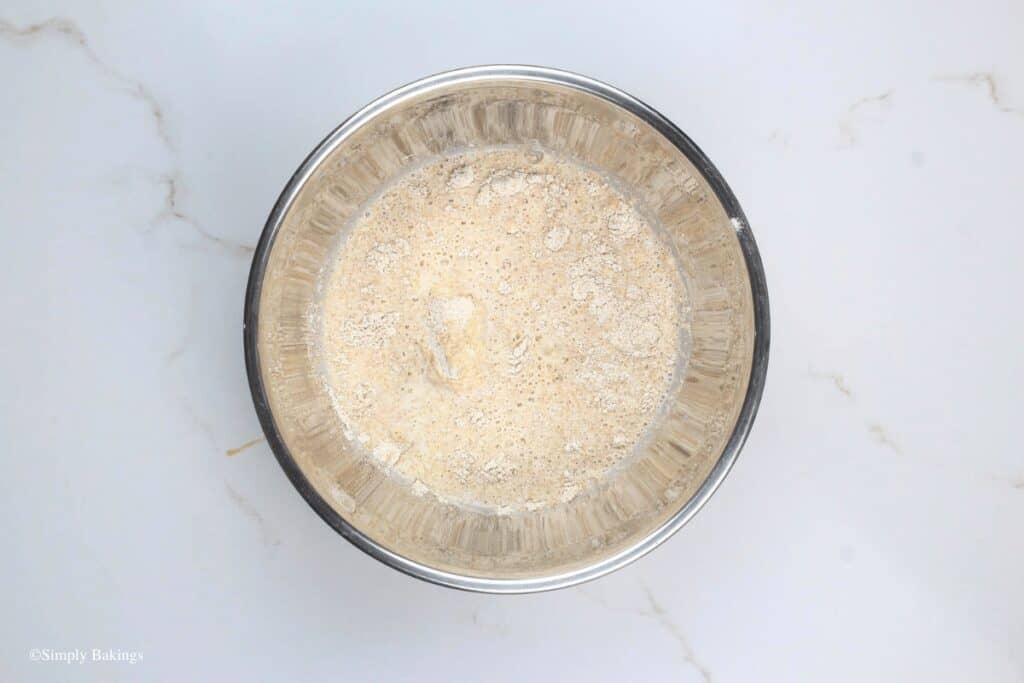
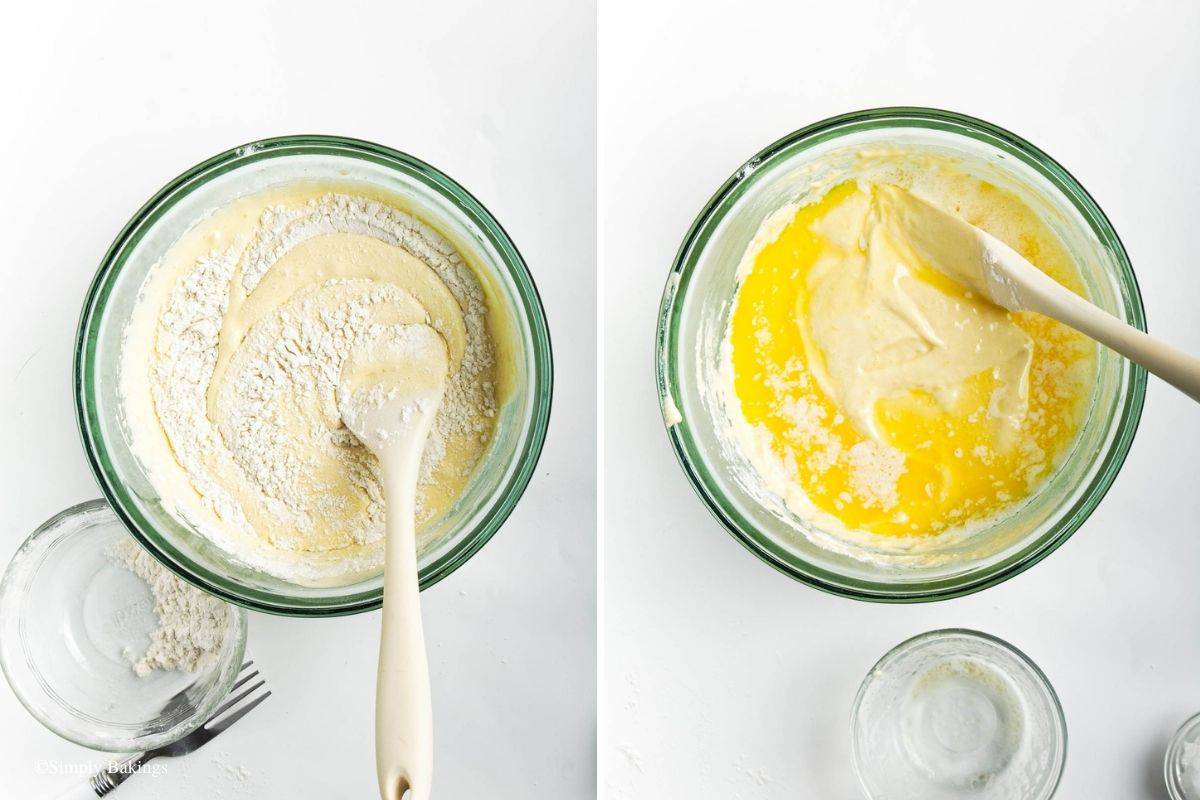
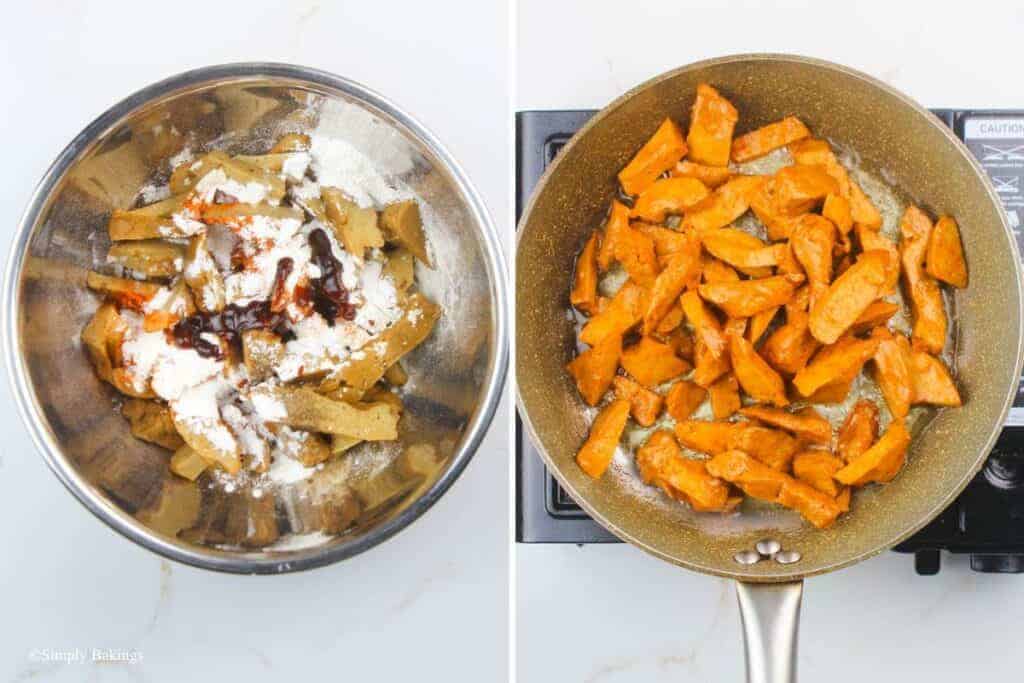
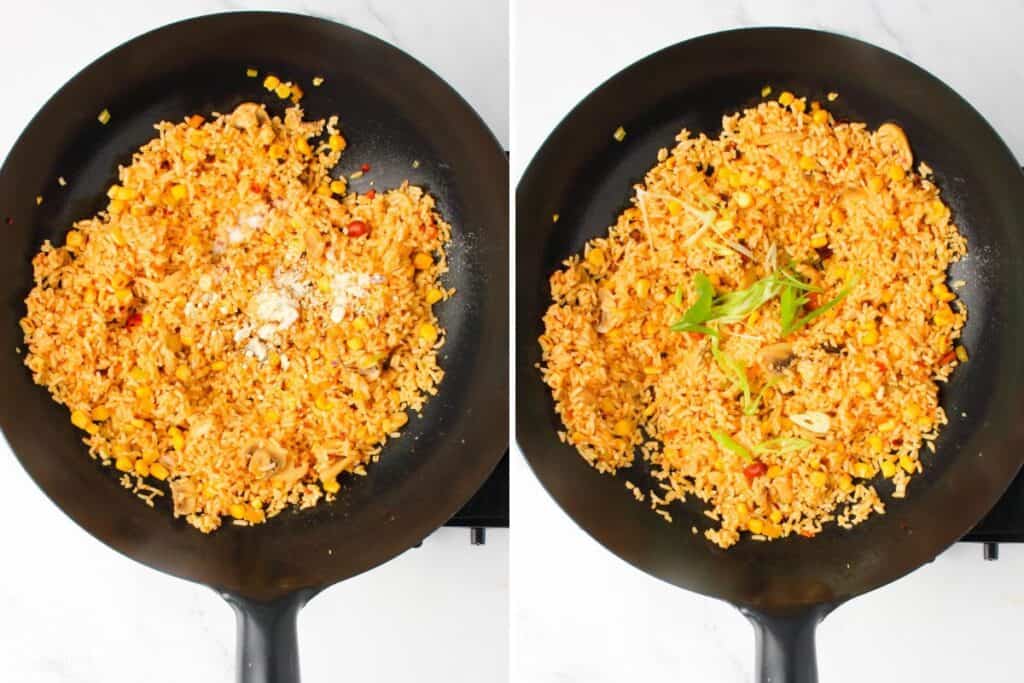
Moving on, whisk together all-purpose flour, cornstarch, garlic powder, salt, smoked paprika, dried thyme, dried oregano, and ground black pepper in a bowl; set aside:

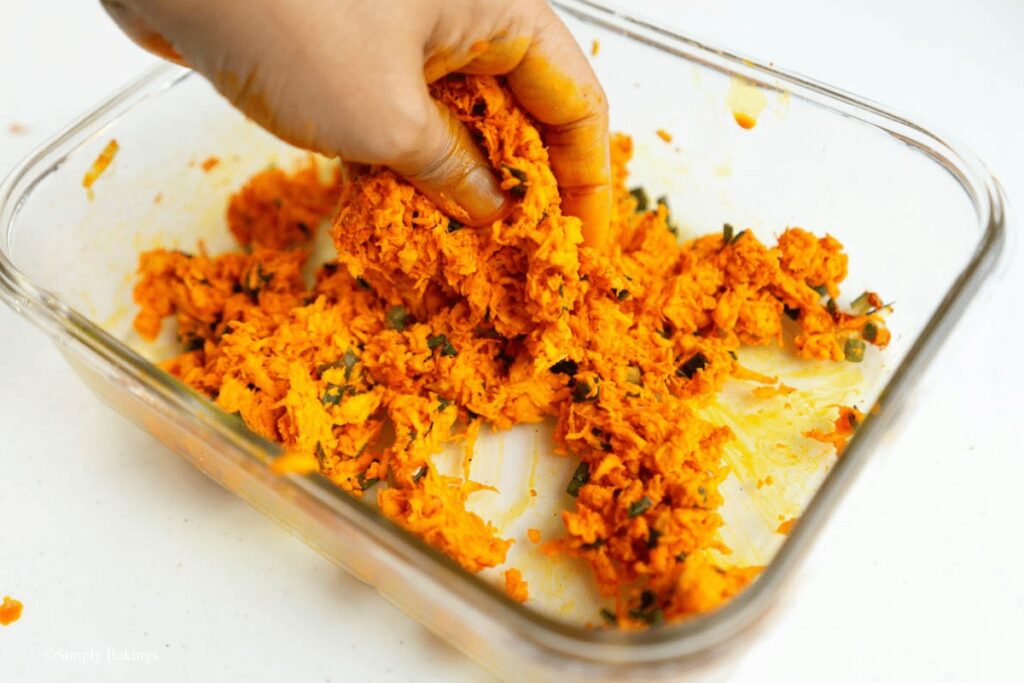
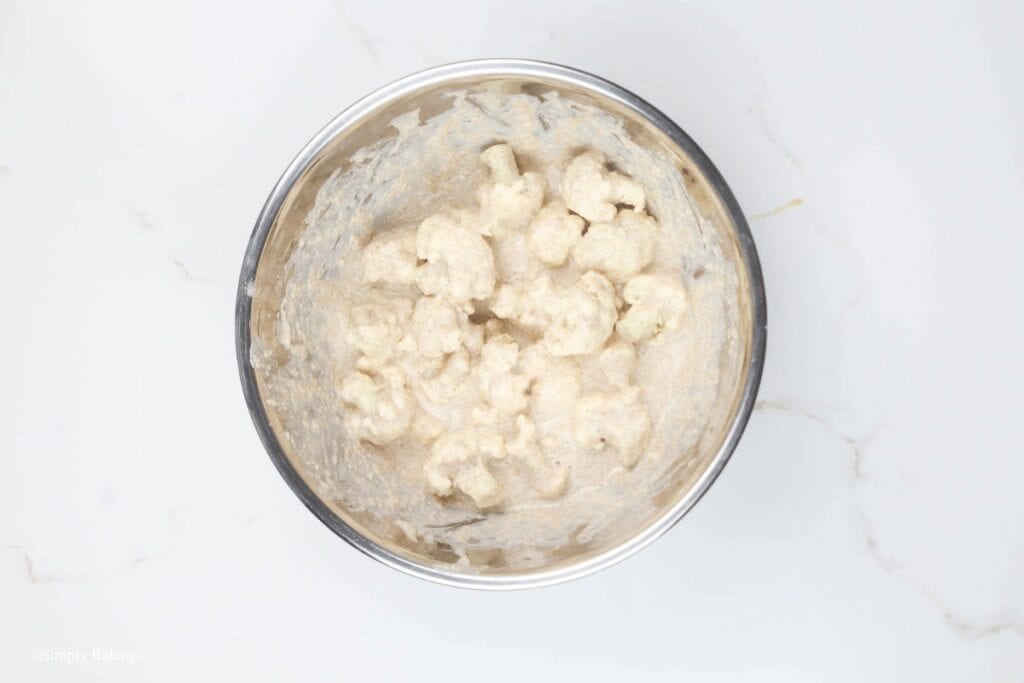
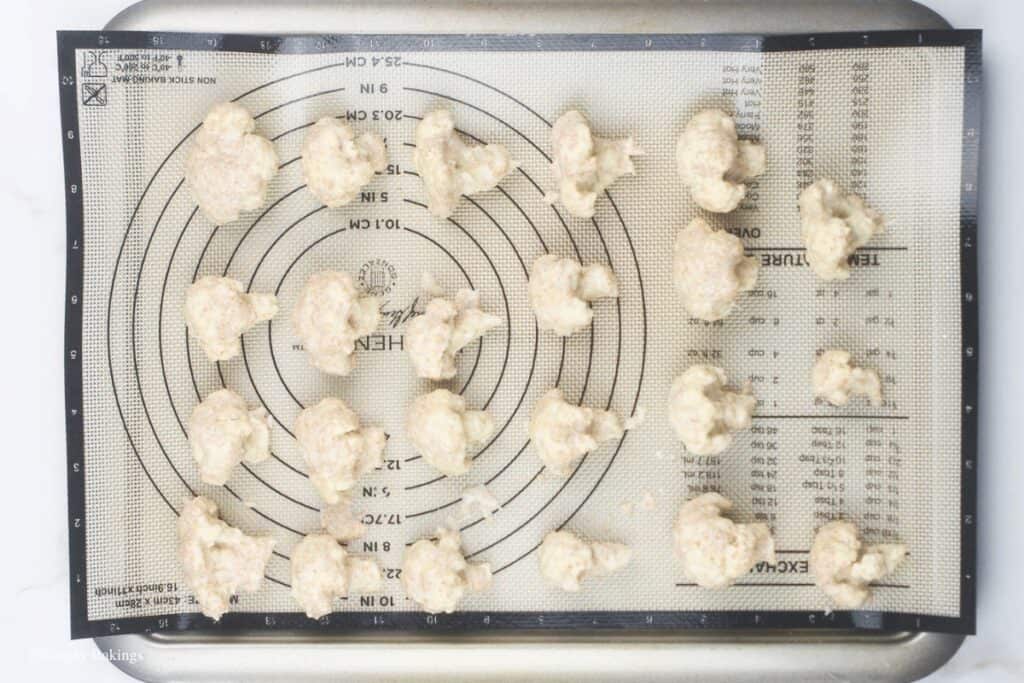
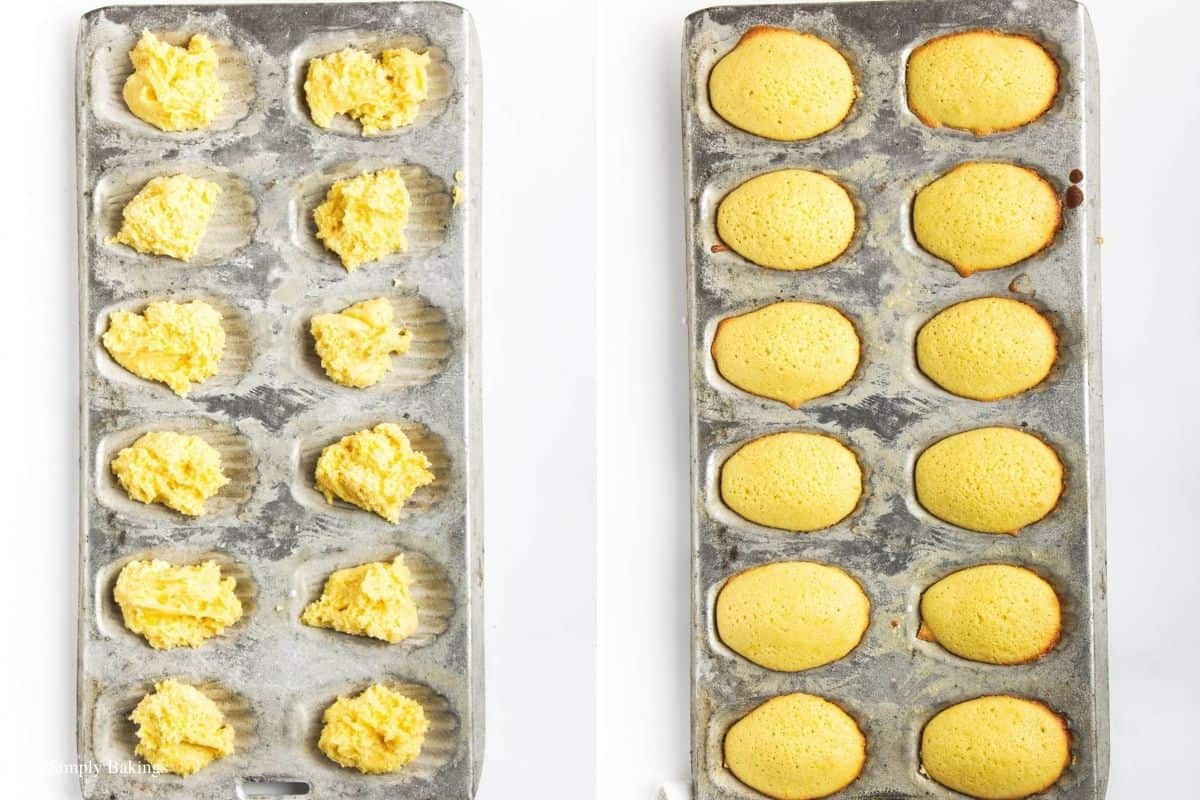
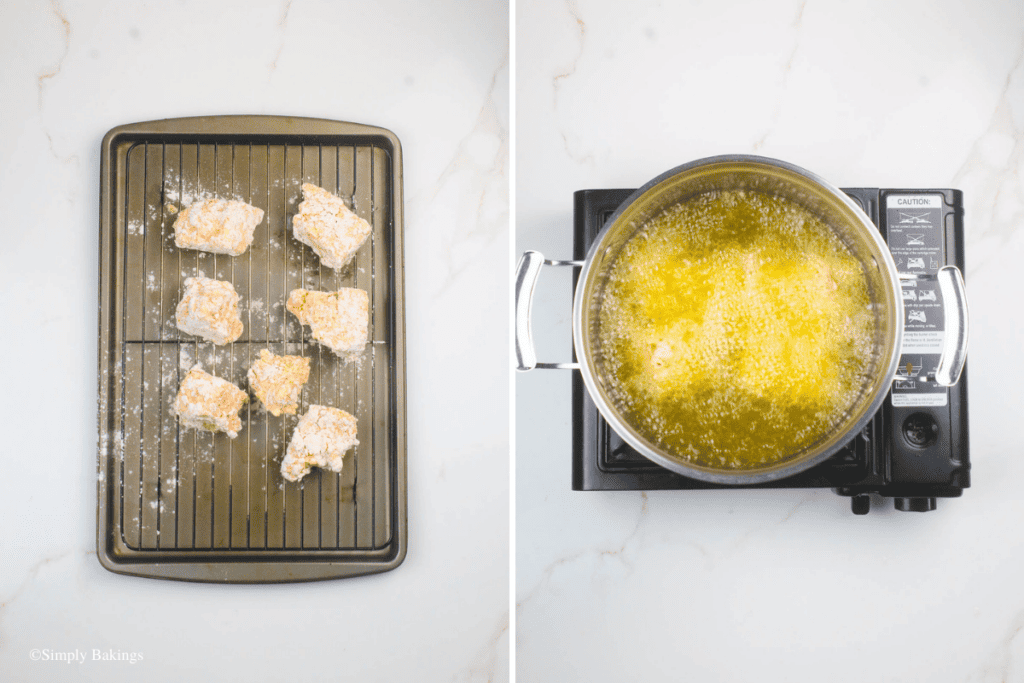
Then, dip each tofu piece in the milk mixture first, followed by the seasoned flour mixture. For an extra layer of crispiness, repeat the dipping process twice, ensuring each piece is evenly coated before placing them on a wire rack.
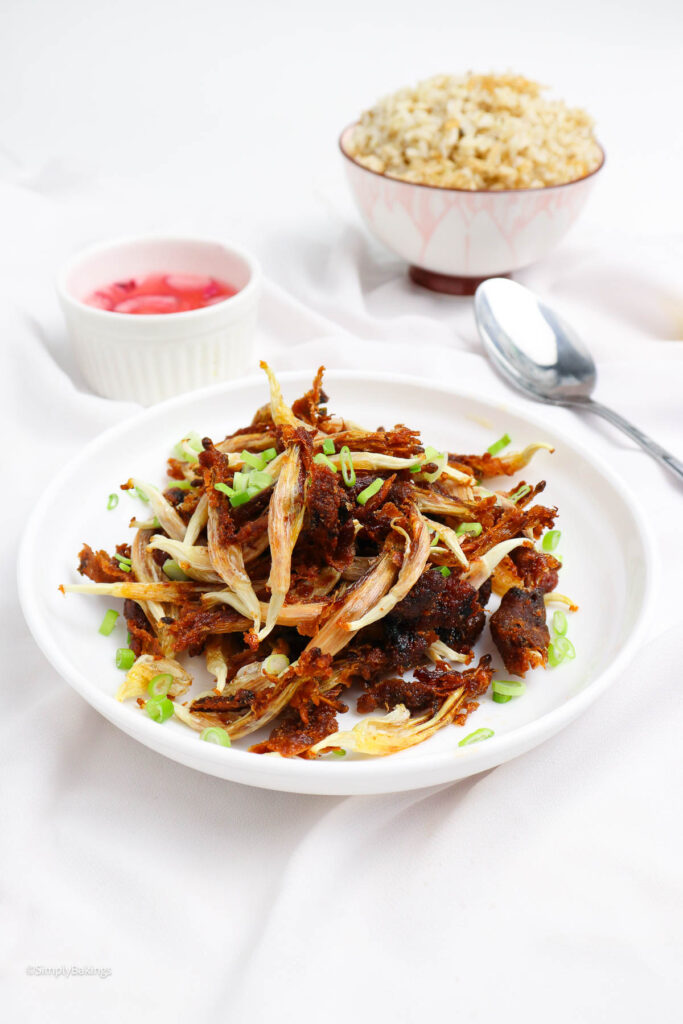
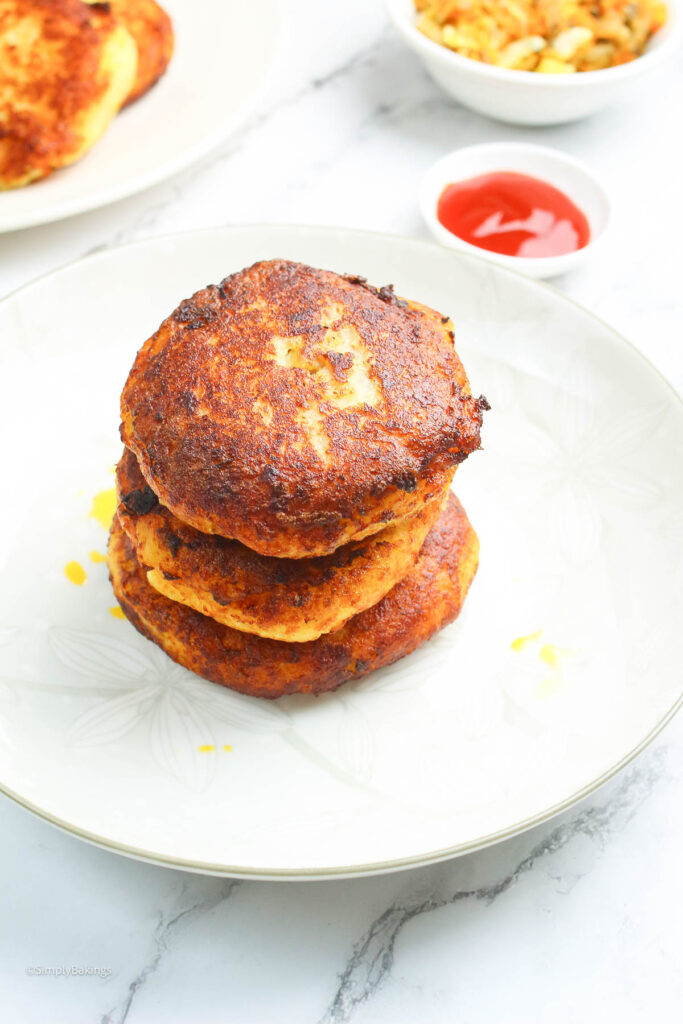
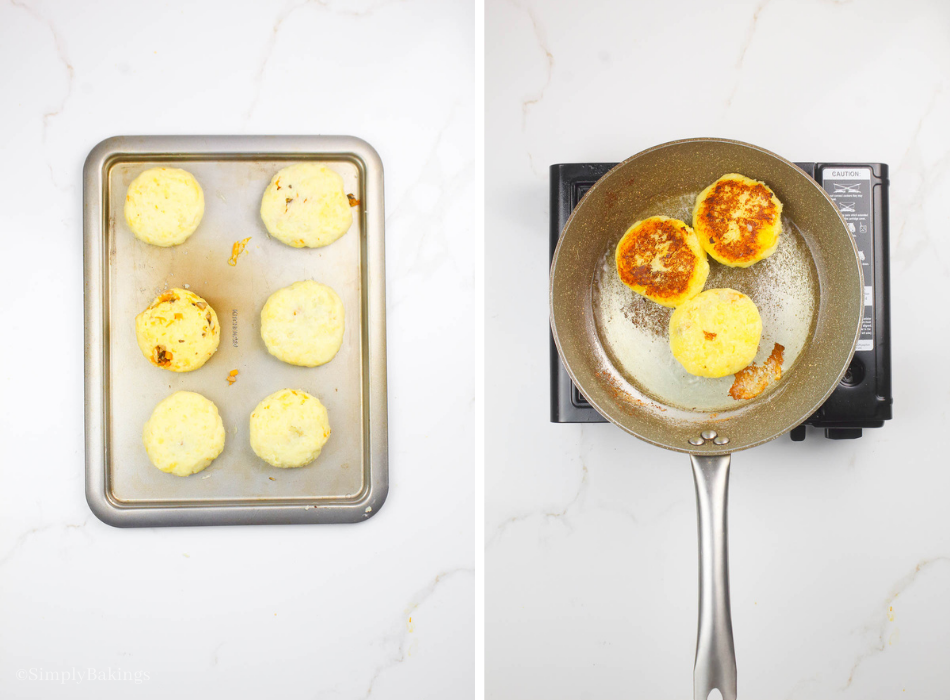
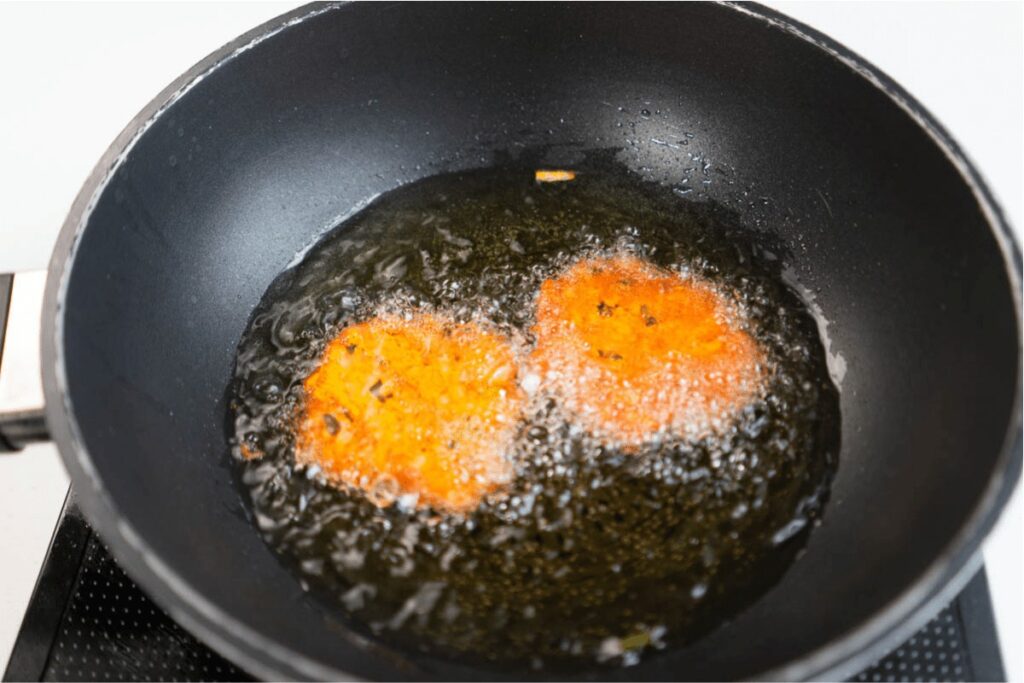
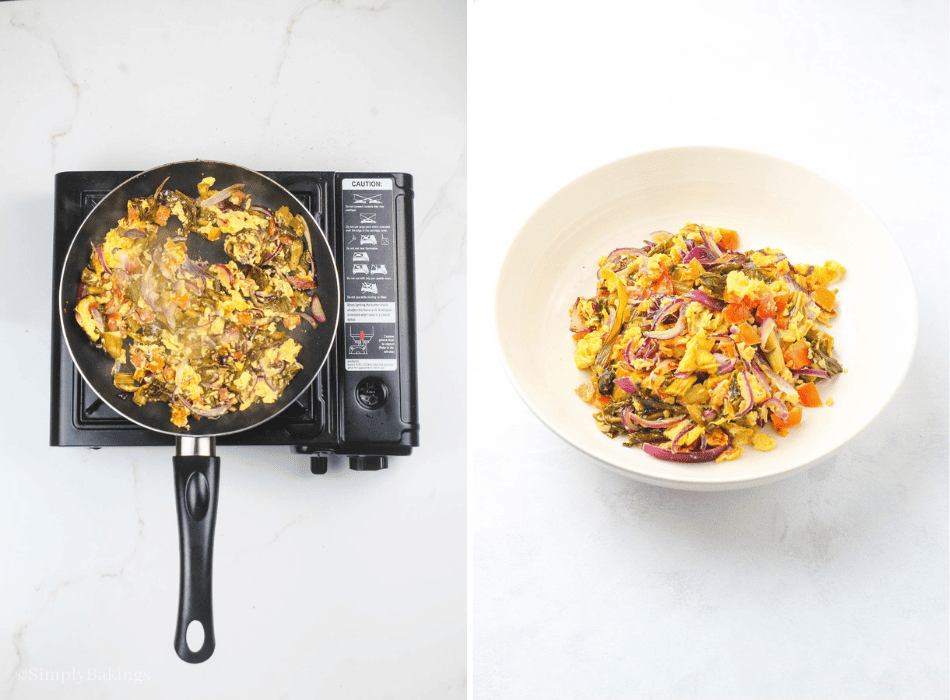
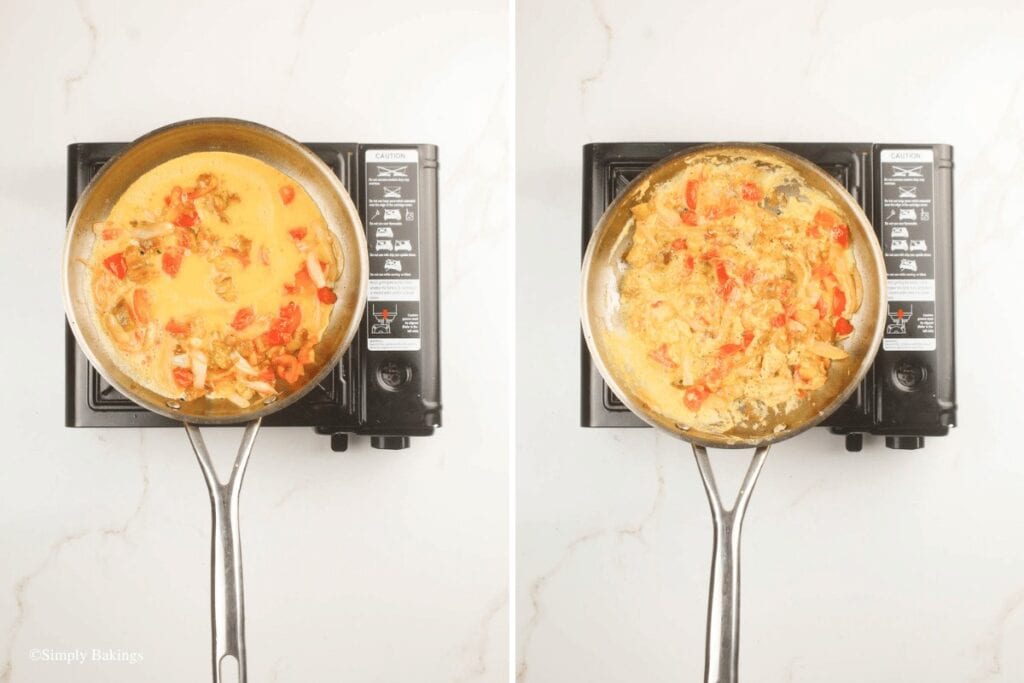
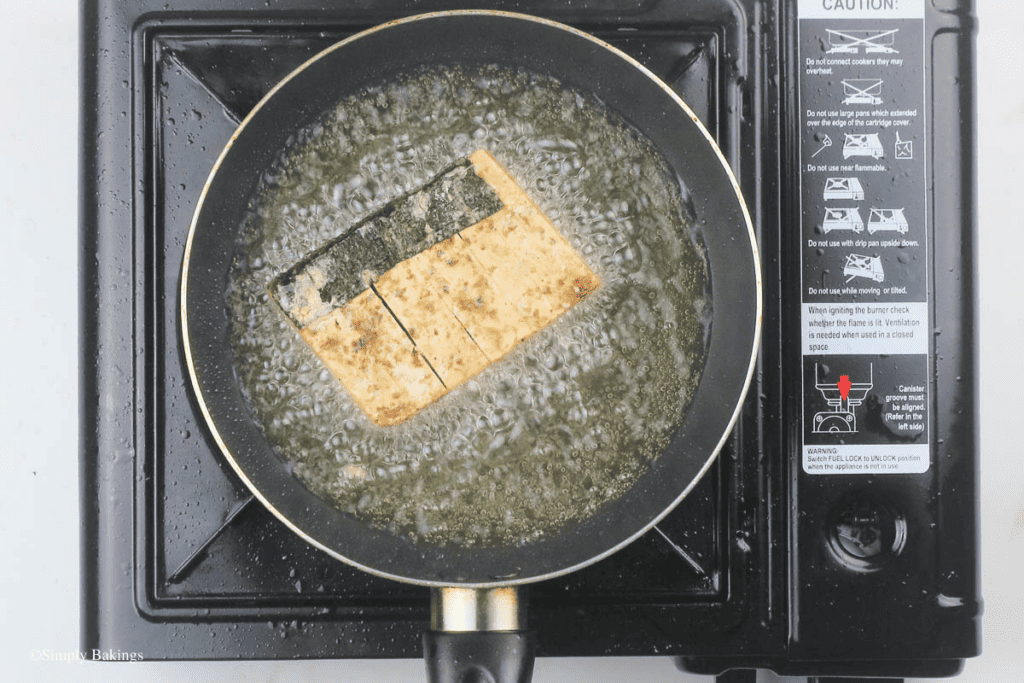
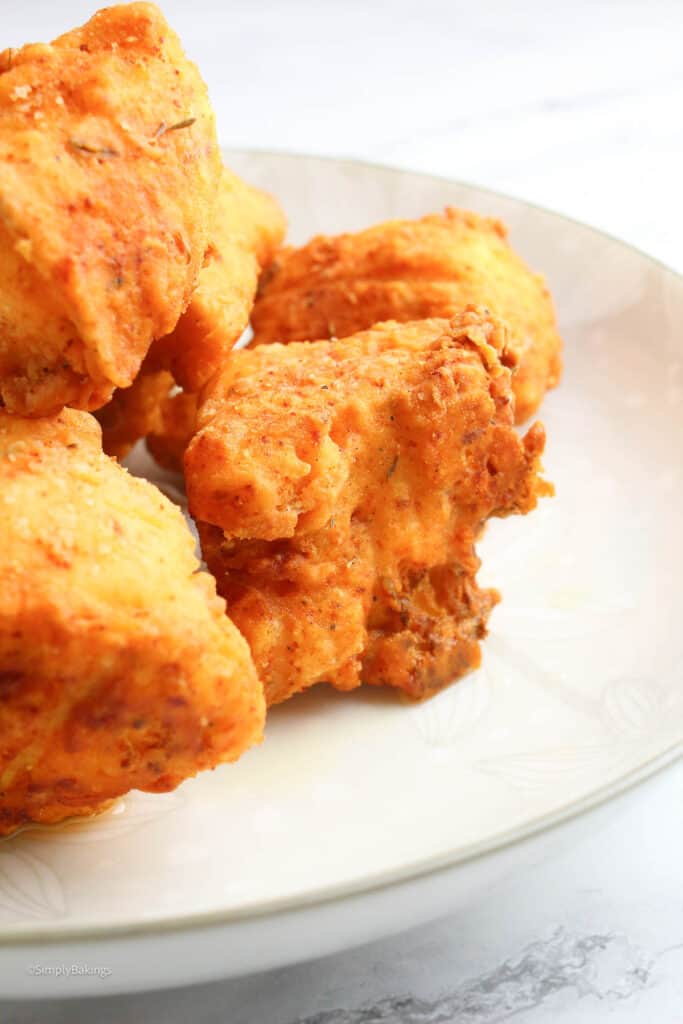
Deep-fry the tofu until golden brown:
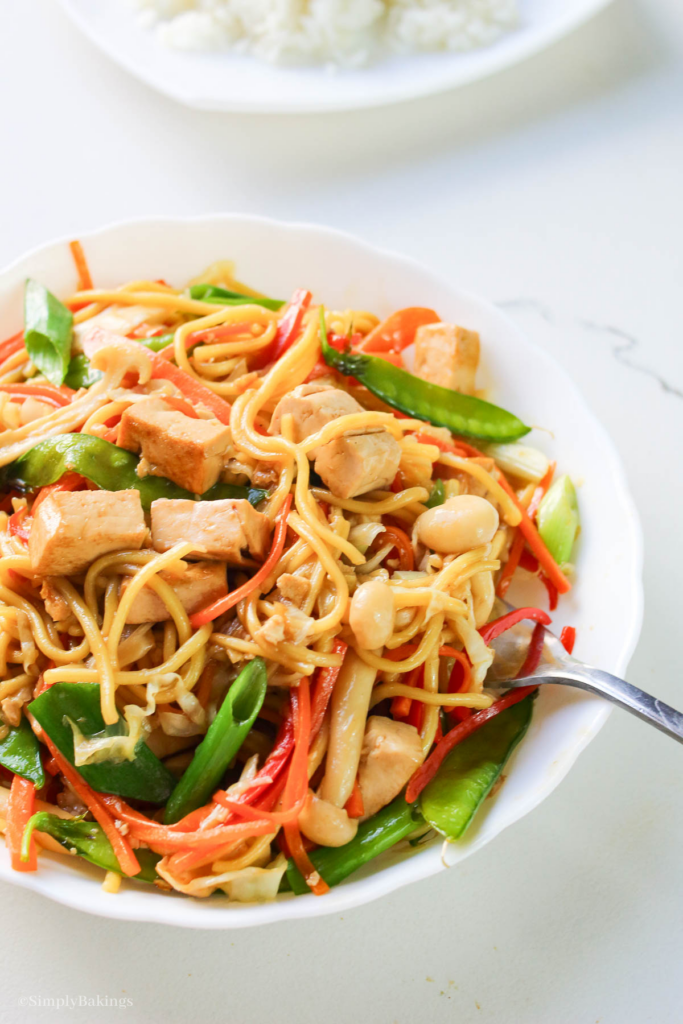
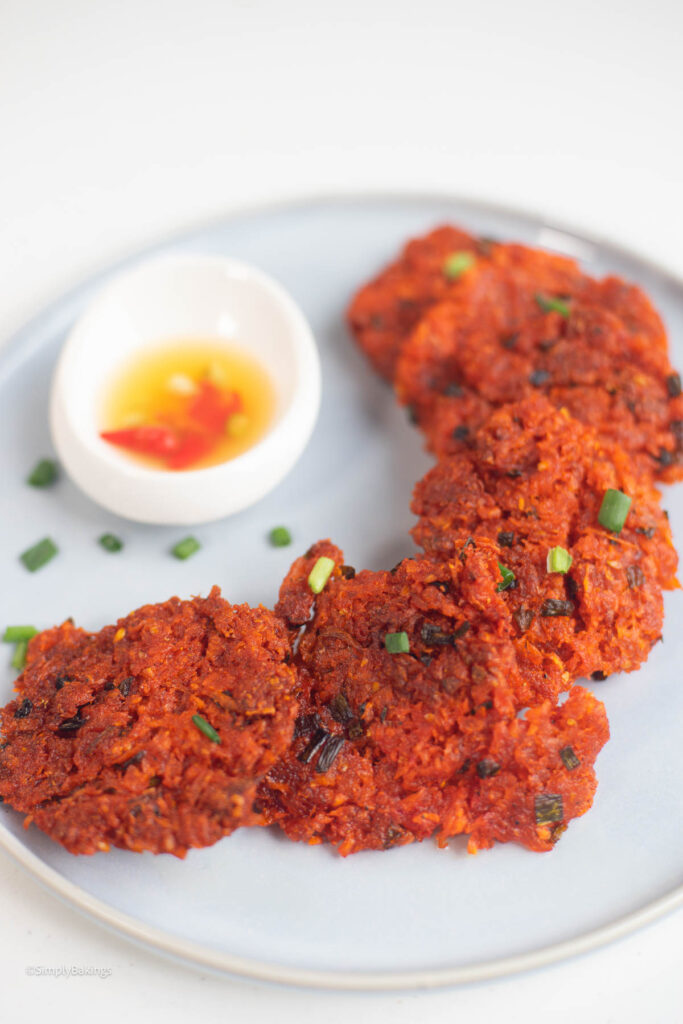
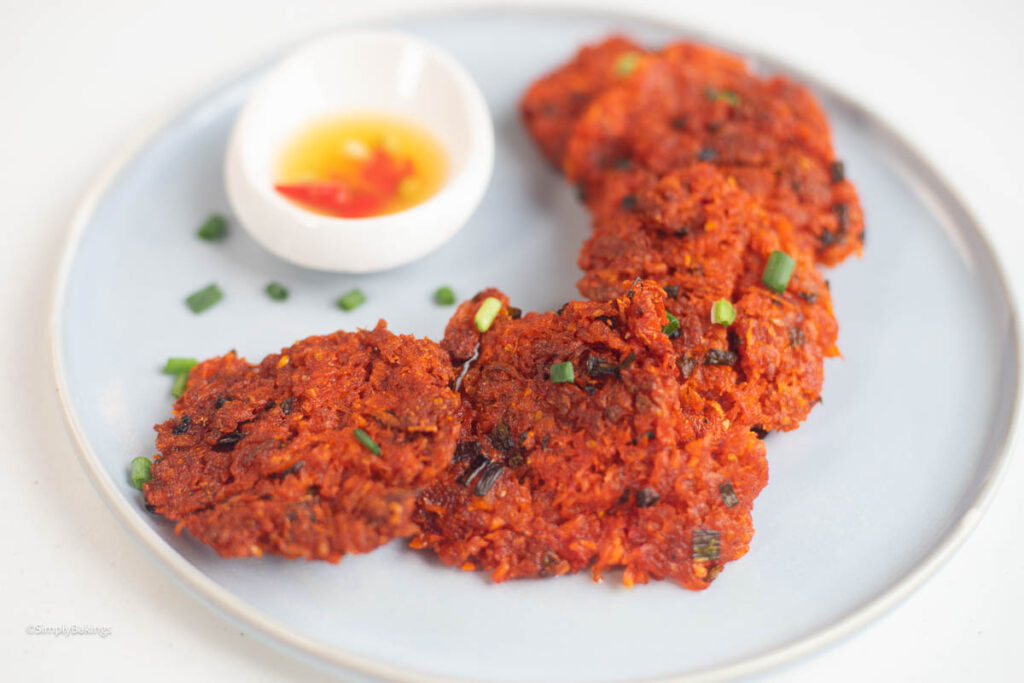
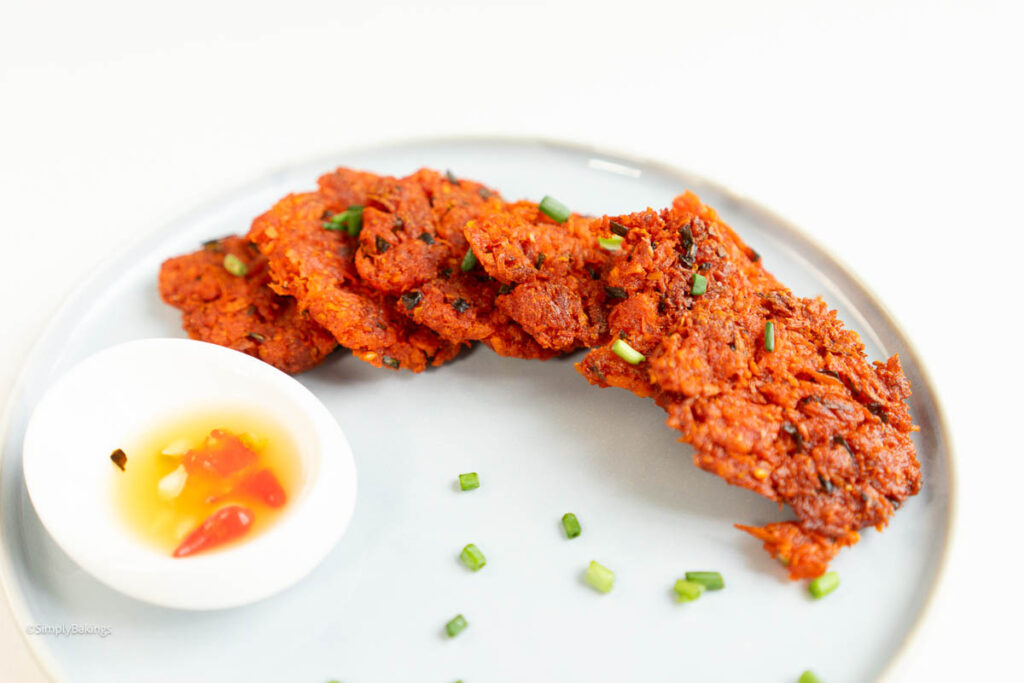
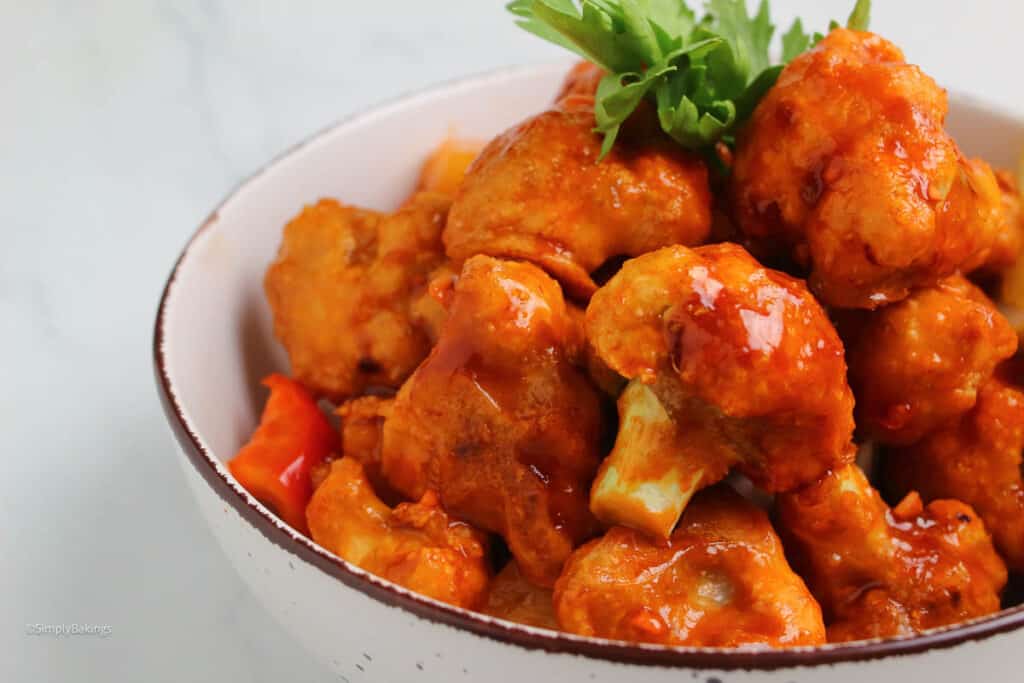
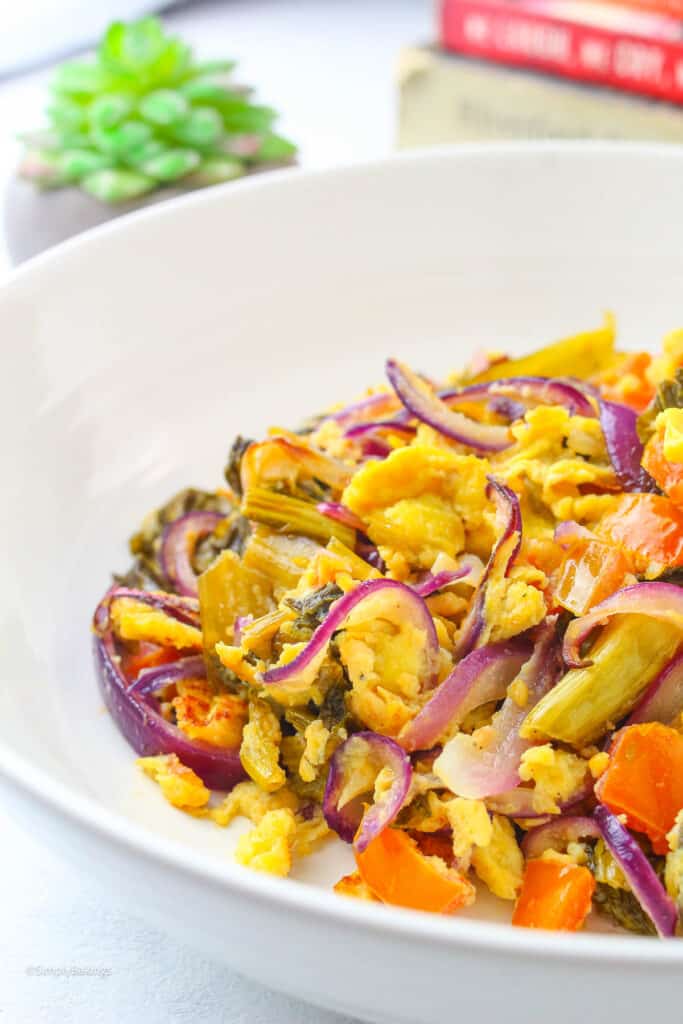
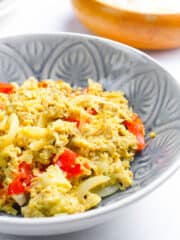
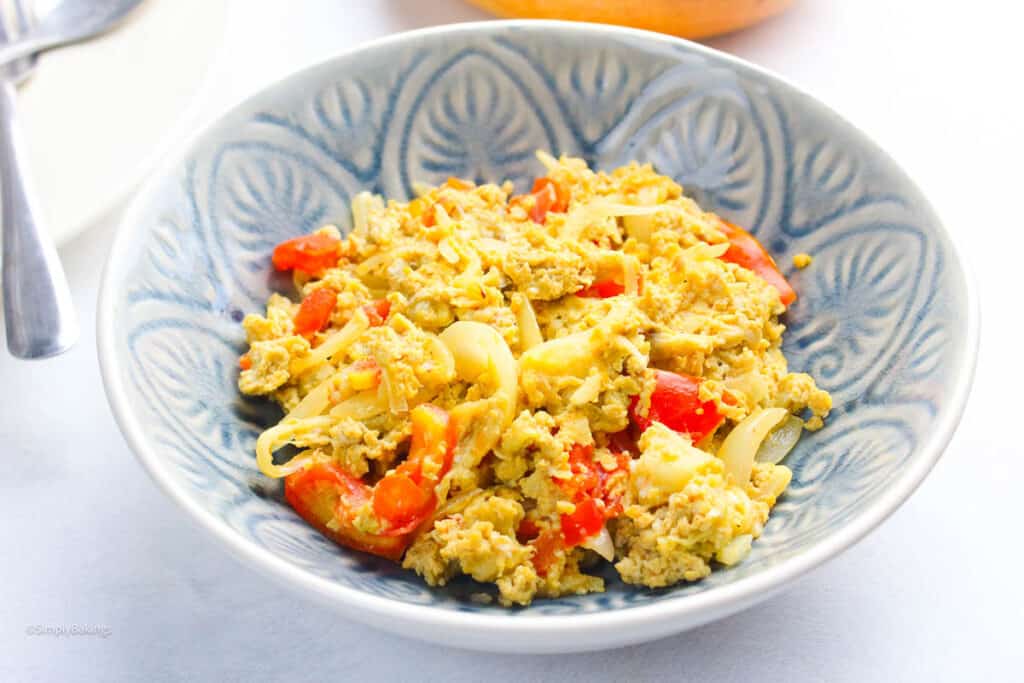
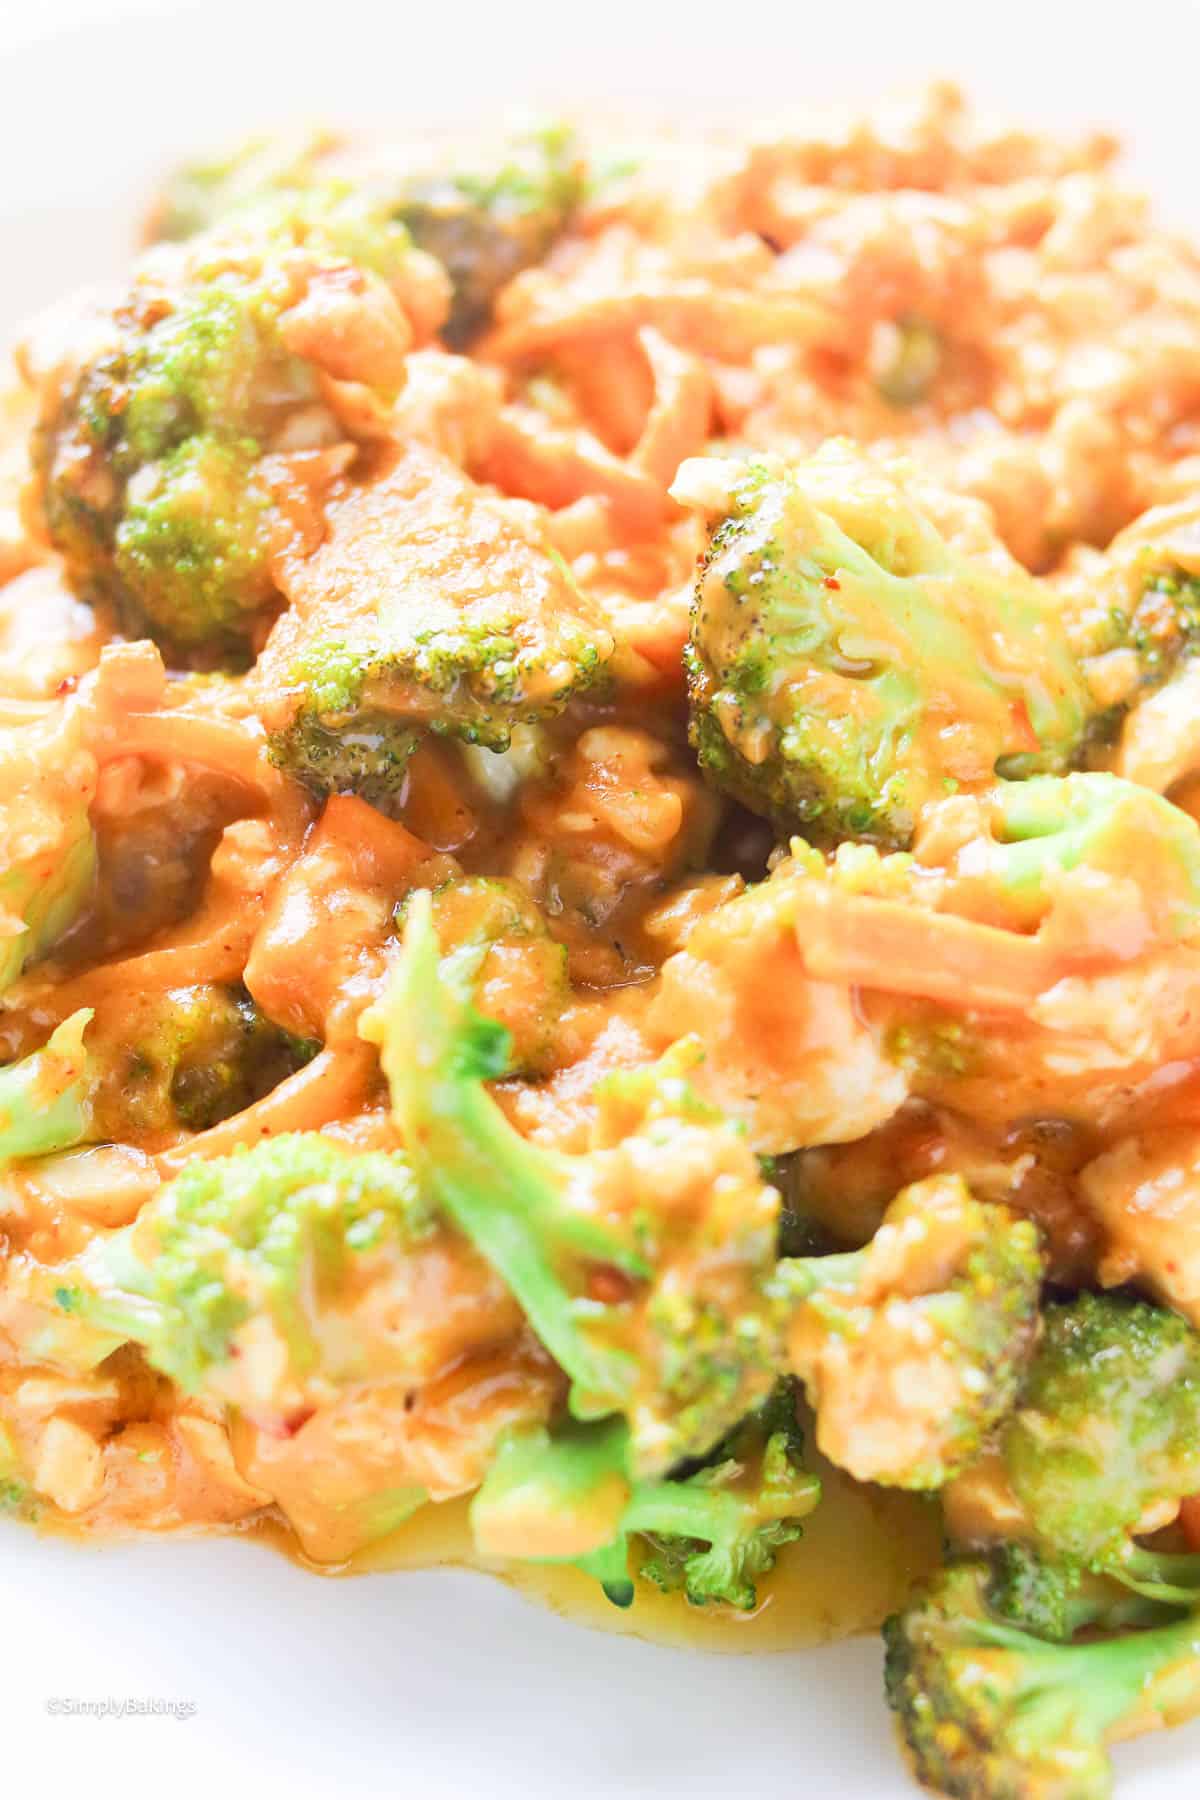
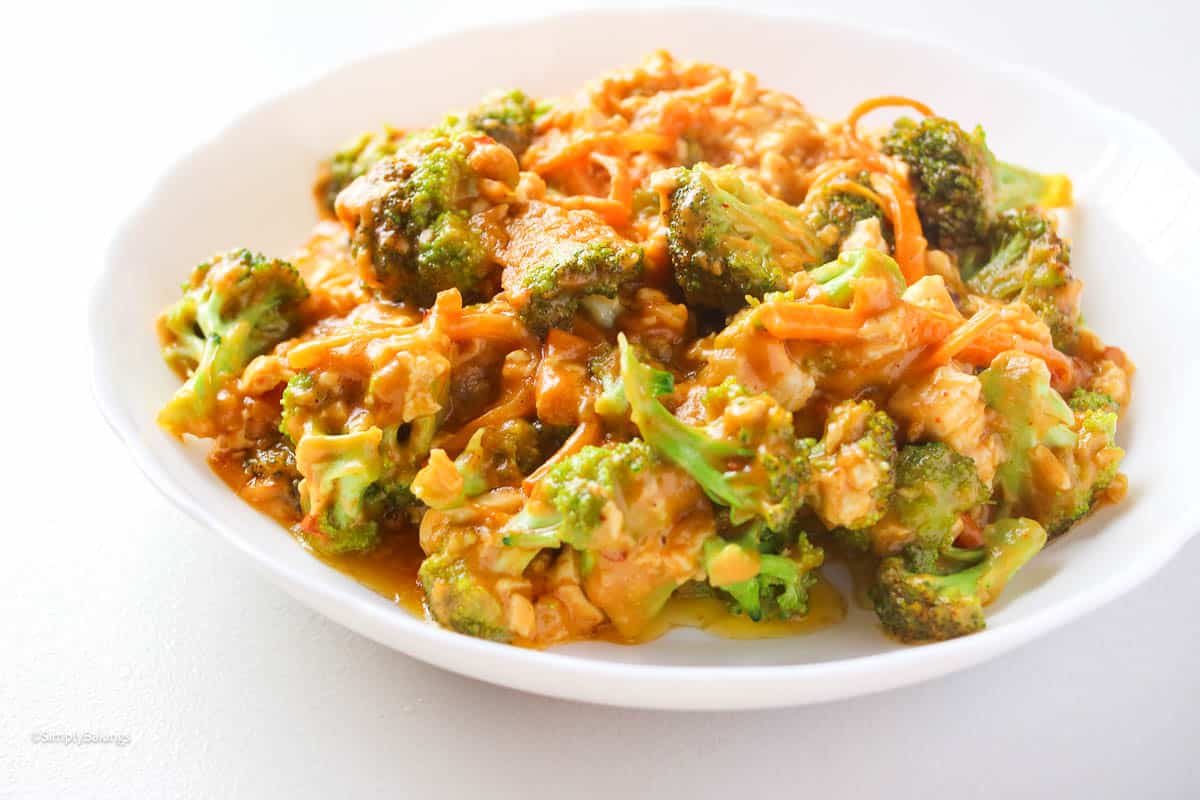
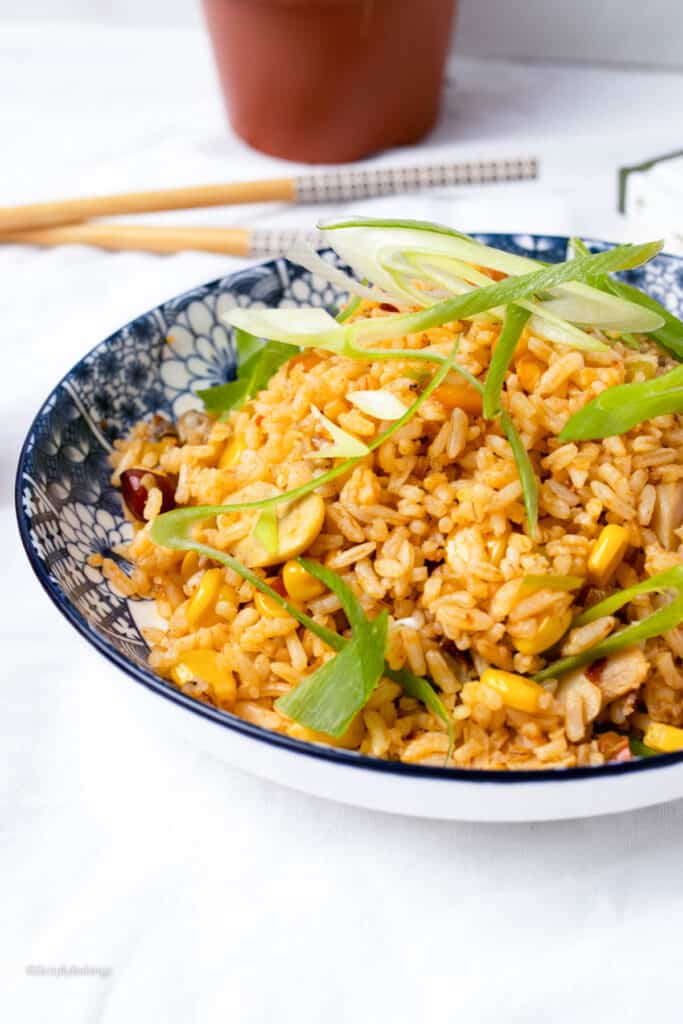
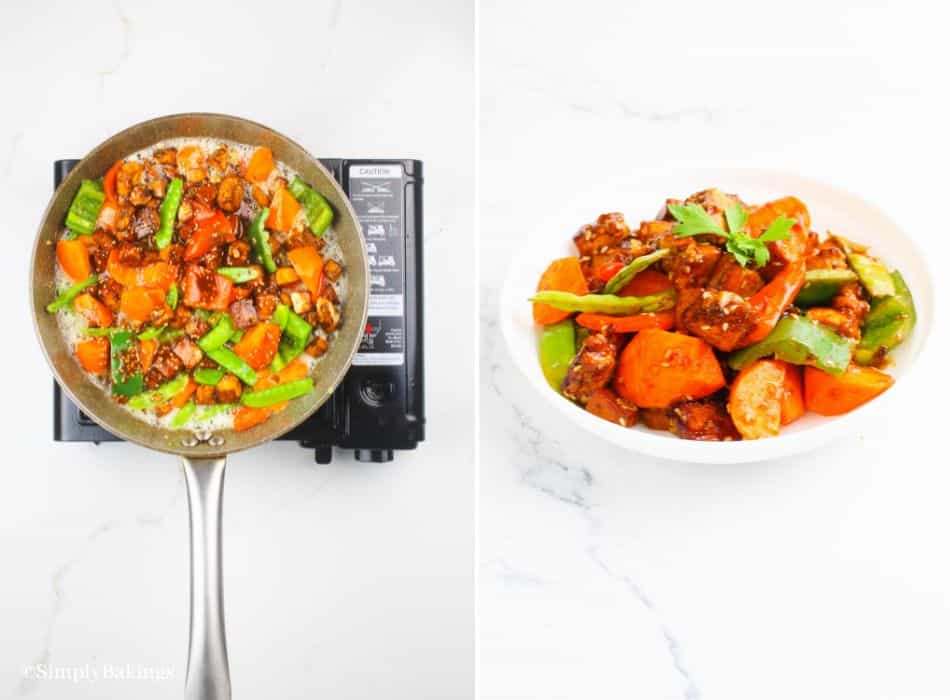
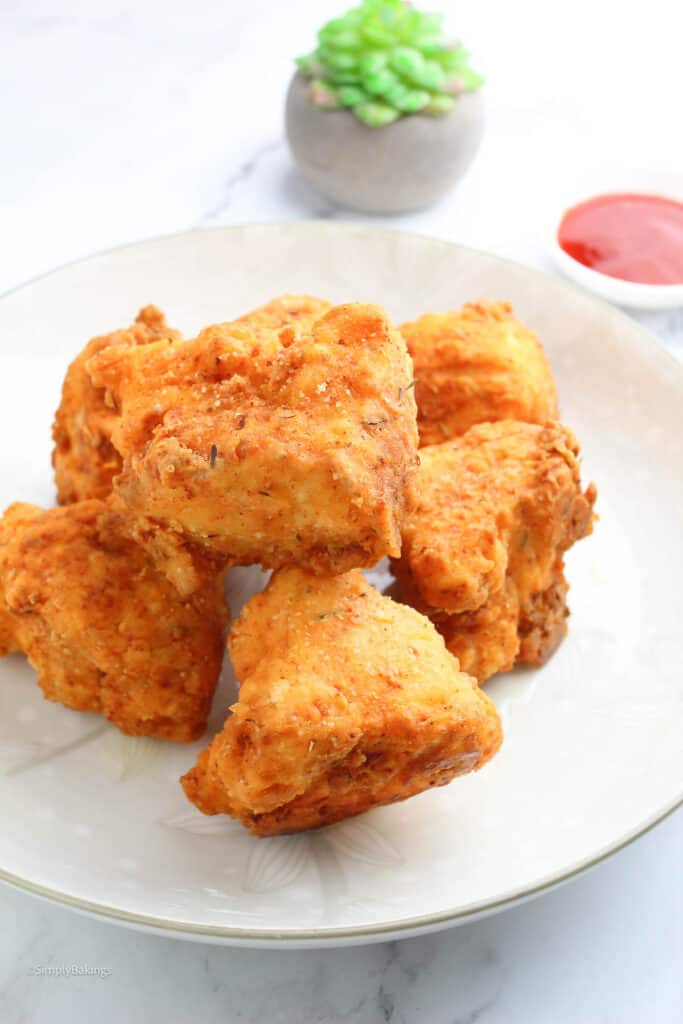
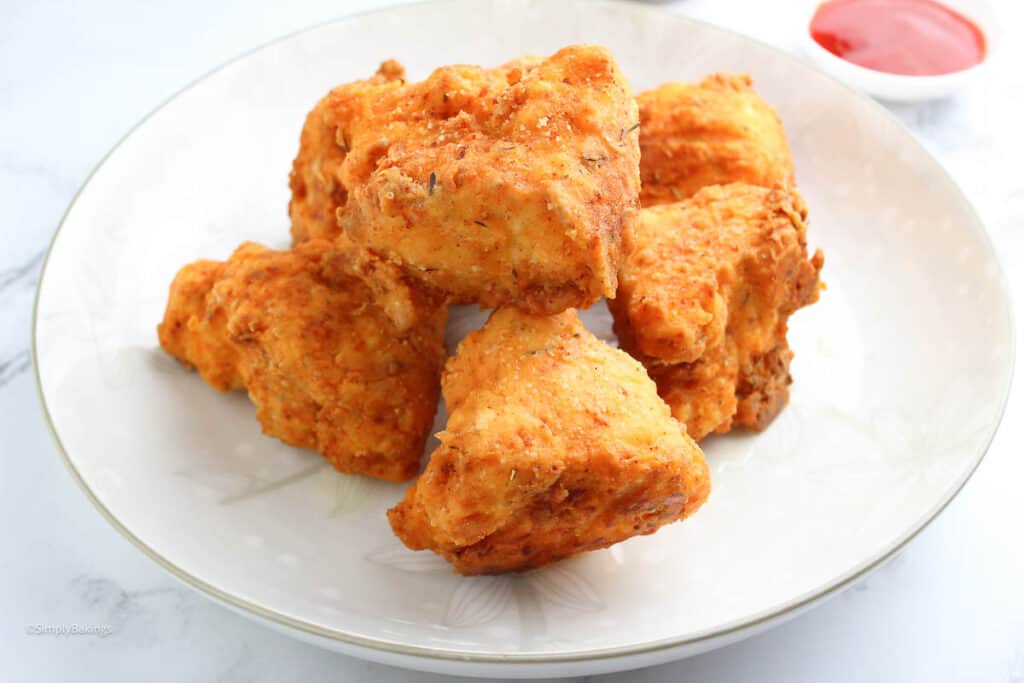
You can remove the excess oil from the vegan chicken nuggets by dabbing them with paper towels. After that, transfer them to a serving bowl or plate and serve them right away. Enjoy your meal!
Frequently Asked Questions

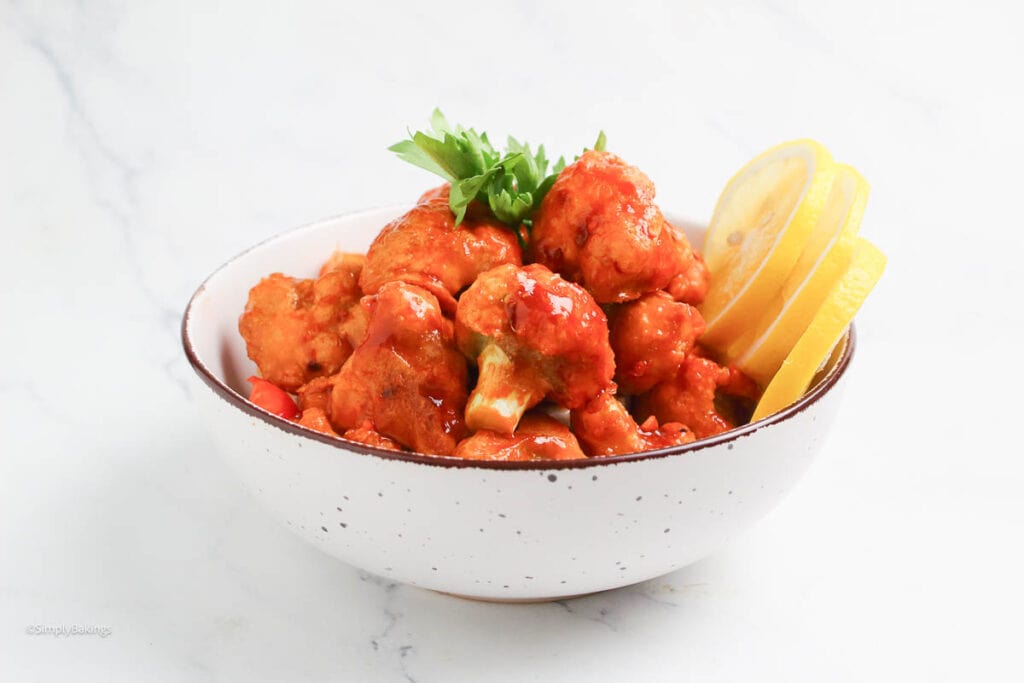
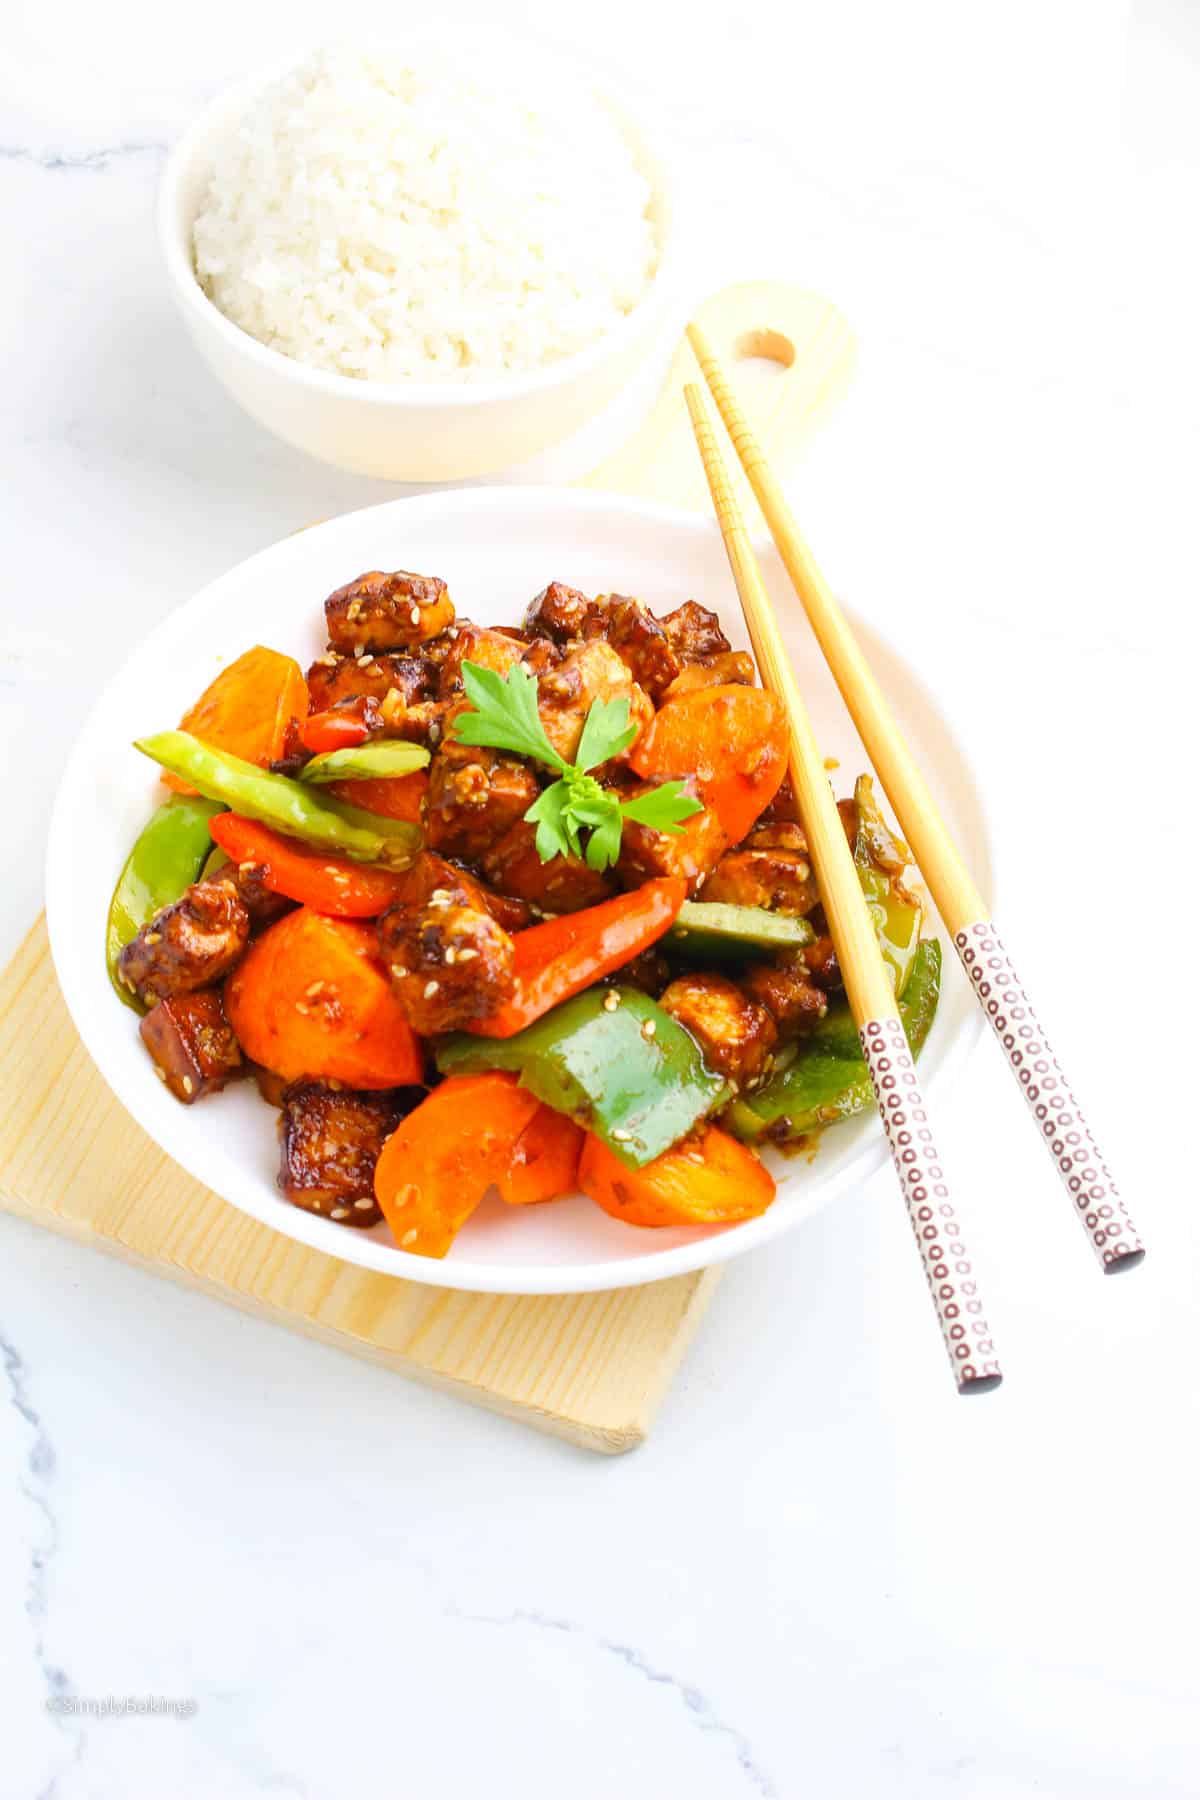
Vegan Fried “Chicken” Tofu
Ingredients
- 16 ounces firm tofu frozen & thawed
- 1 cup vegetable broth
- 1 cup whole milk
- 1 tablespoon hot sauce
- 1 tablespoon apple cider vinegar
- 1 cup all-purpose flour
- ½ cup cornstarch
- 2 tablespoons garlic powder
- 2 teaspoons salt
- ½ tablespoon smoked paprika
- ½ teaspoon dried thyme
- ½ teaspoon dried oregano
- ½ teaspoon ground black pepper
- 3 cups vegetable oil for frying
Instructions
- Slice the thawed tofu into chunks.
- Place the tofu in a large bowl with the vegetable broth and let it brine for 10 minutes.
- Meanwhile, combine milk, hot sauce, and apple cider vinegar in a bowl’ set aside.
- Whisk together all-purpose flour, cornstarch, garlic powder, salt, smoked paprika, dried thyme, dried oregano, and ground black pepper in a bowl; set aside.
- Dip the tofu in the milk mixture, followed by the flour mixture.
- Repeat the dipping process twice and place it in a wire rack.
- Fry the tofu until golden brown.
- Transfer to a serving bowl or plate, and serve immediately.
Notes
- You can substitute all-purpose flour with rice flour or nut flour.
Watch The Recipe Video!