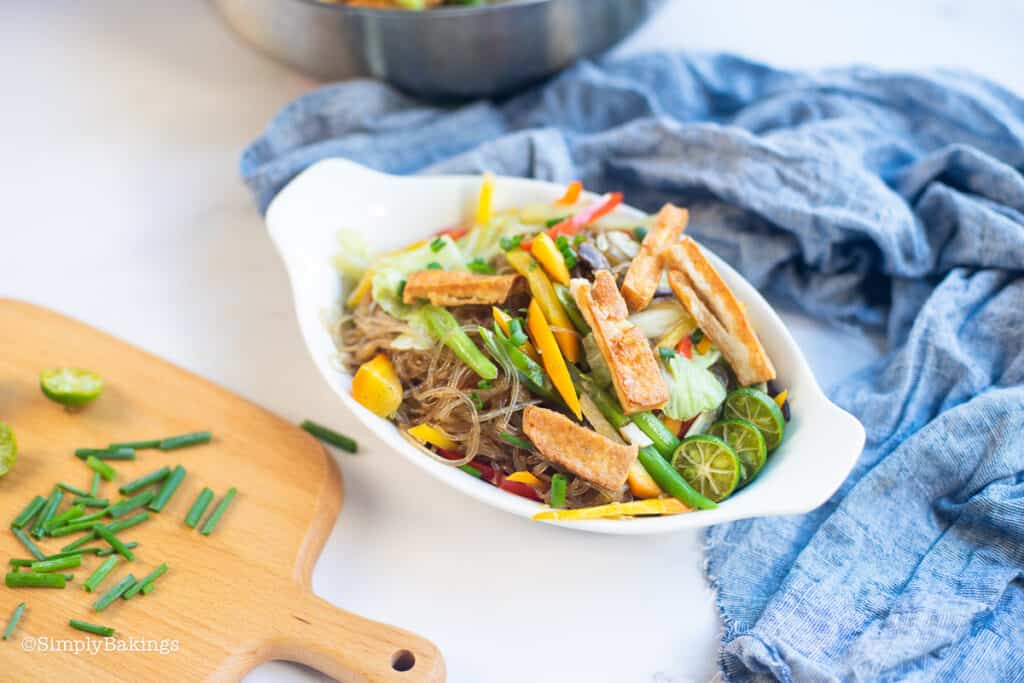
This Ginisang Repolyo is a quick and easy-to-cook Filipino vegetable dish that is made with sautéed cabbage, vegetarian meat, hearty vegetable broth, and savory sauce. It's a great recipe for a simple yet healthy and delicious lunch or dinner meal!
Looking for more Filipino Vegetable dishes? Try my Easy Pinakbet, Delicious Stir Fry Okra, and Green Beans in Black Bean Sauce.

What is Ginisang Repolyo?
This Ginisang Repolyo Recipe (Sautéed Cabbage) is one of the quick and easy Filipino vegetable recipes that you can make. The delicious combination of sauteed cabbage, vegetarian meat slices, vegetable broth, soy sauce, and spices makes a savory Filipino dish for family lunch or dinner.
Serve this with steamed rice or grilled foods and have a healthy and budget-friendly meal! Also, it's a great recipe for beginners and busy people out there who would want to have a vegetable dish in just a few minutes. So, try this easy cabbage recipe and enjoy!
Health Benefits of Cabbage
- Good for digestion
- Improves heart health
- Helps prevent cancer
- Good source of fiber
- Helps improve bone health
- Packed with nutrients and antioxidants

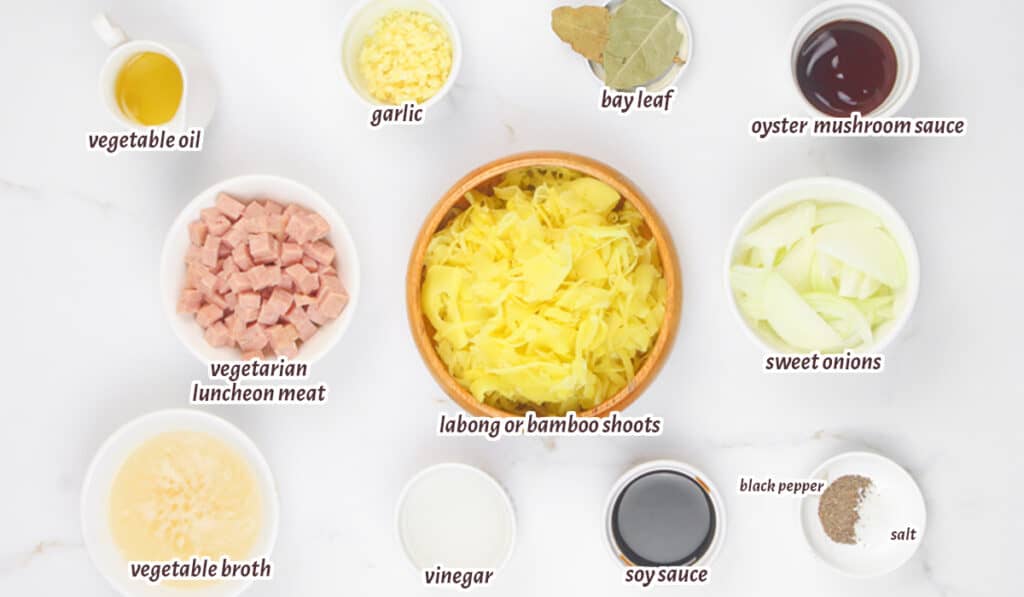
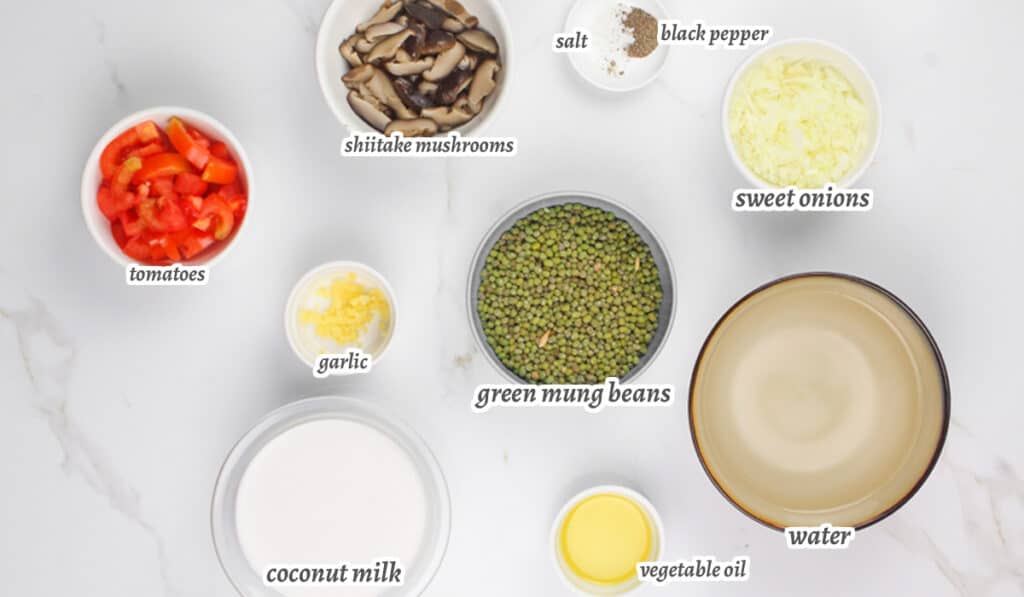
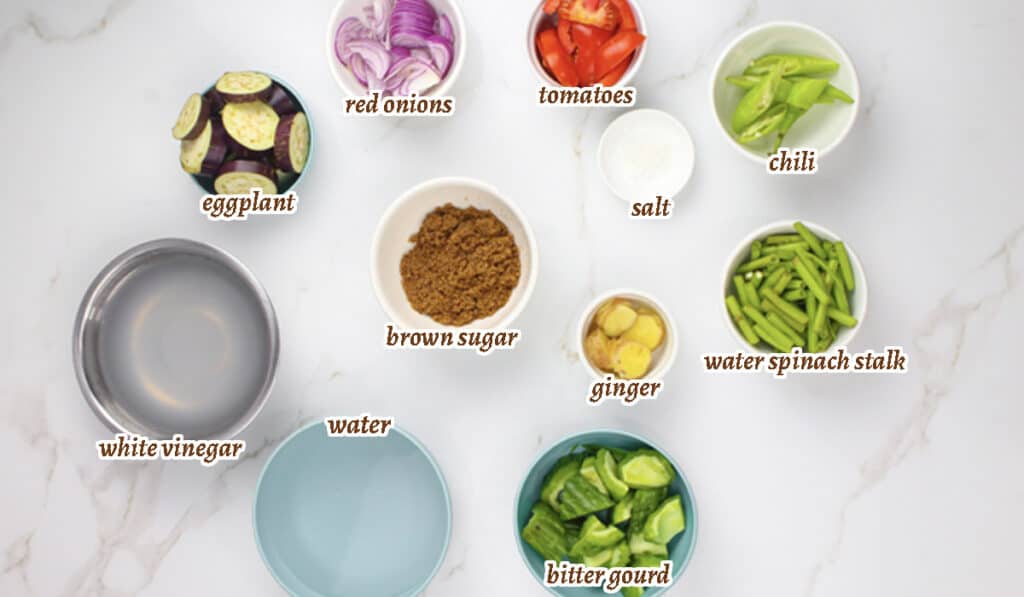
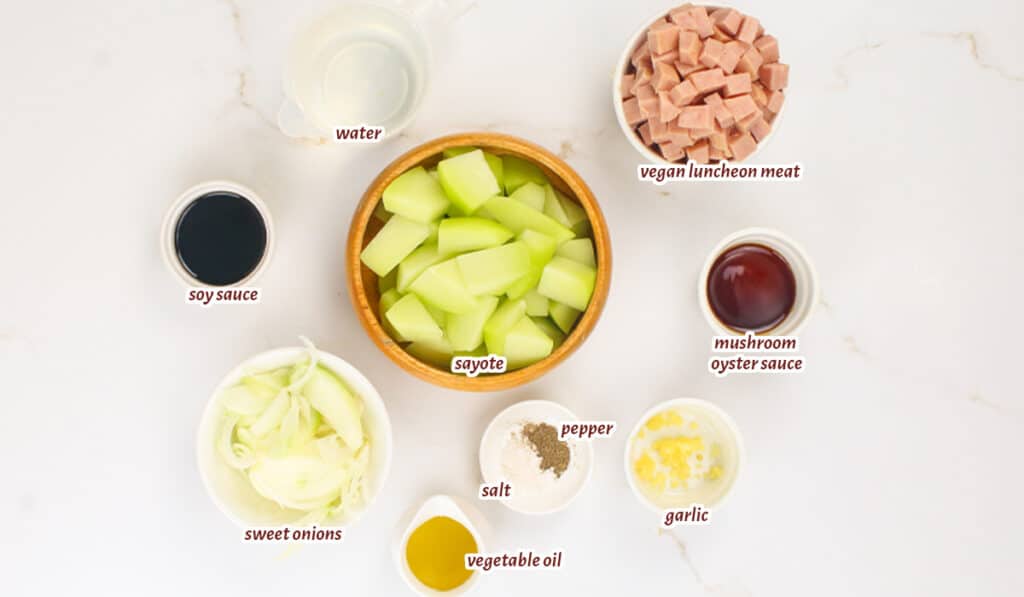
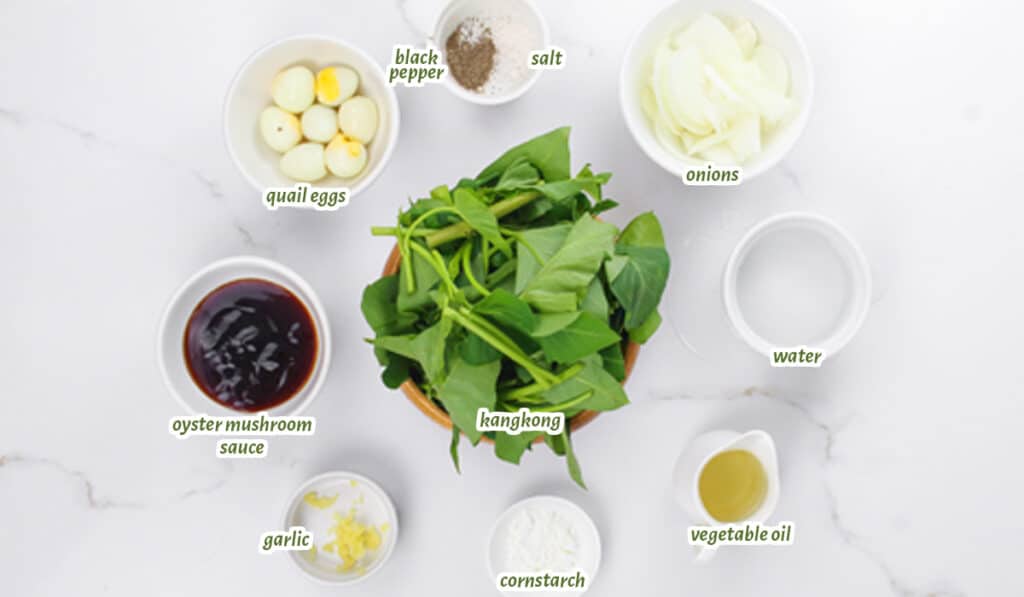
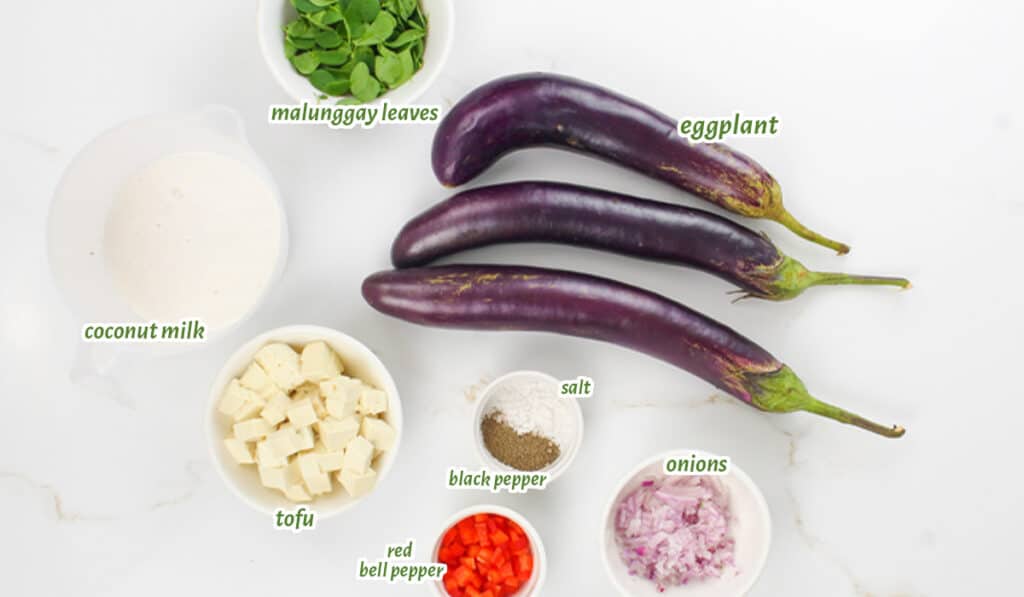
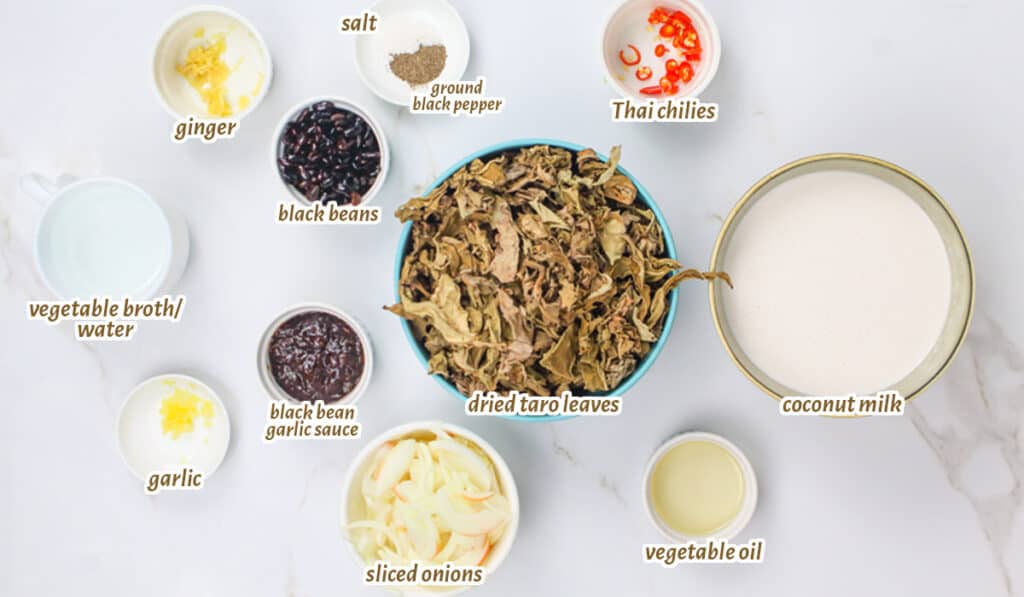
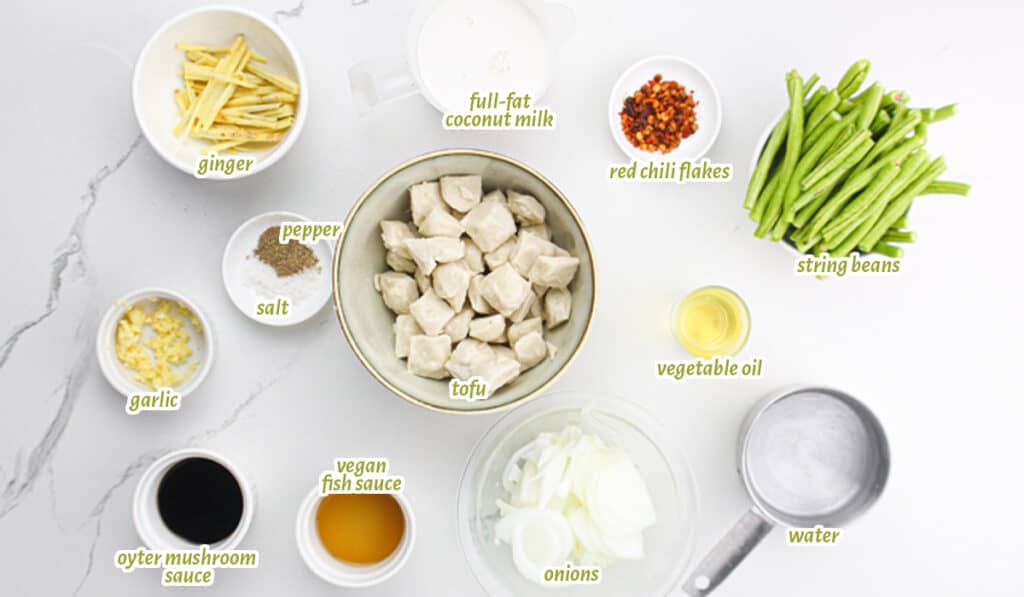
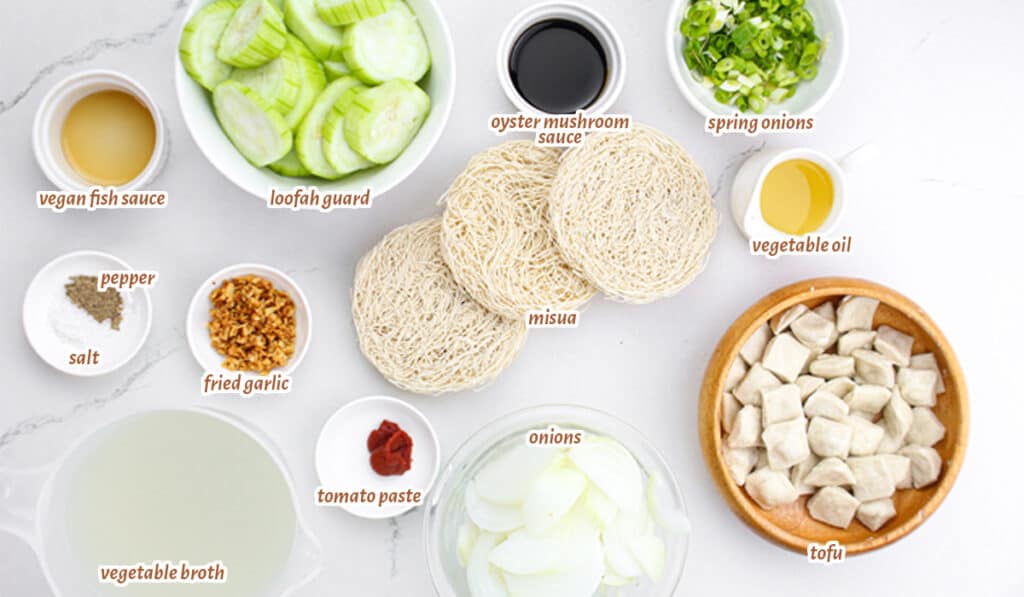
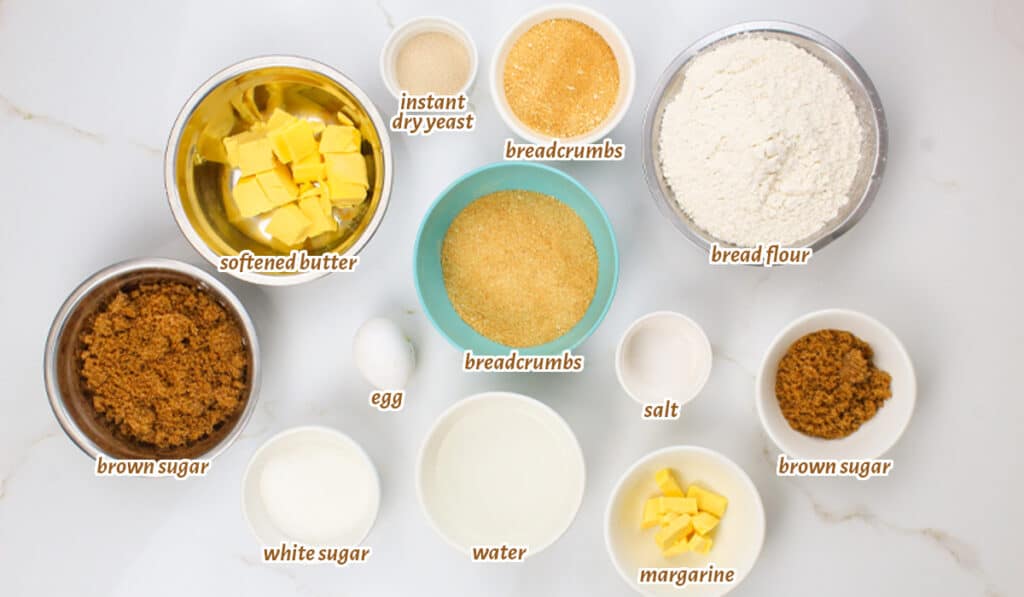
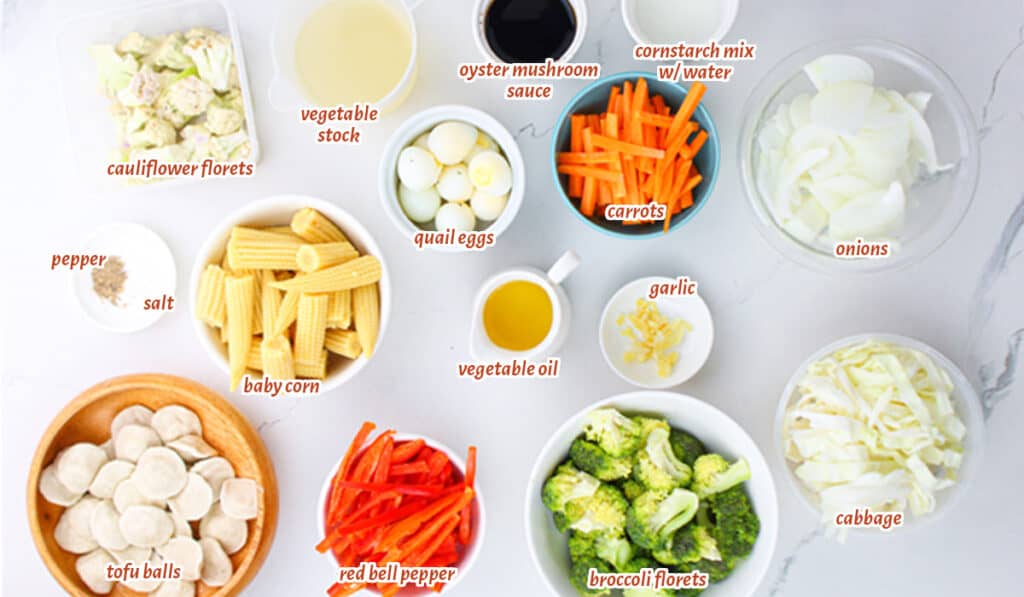
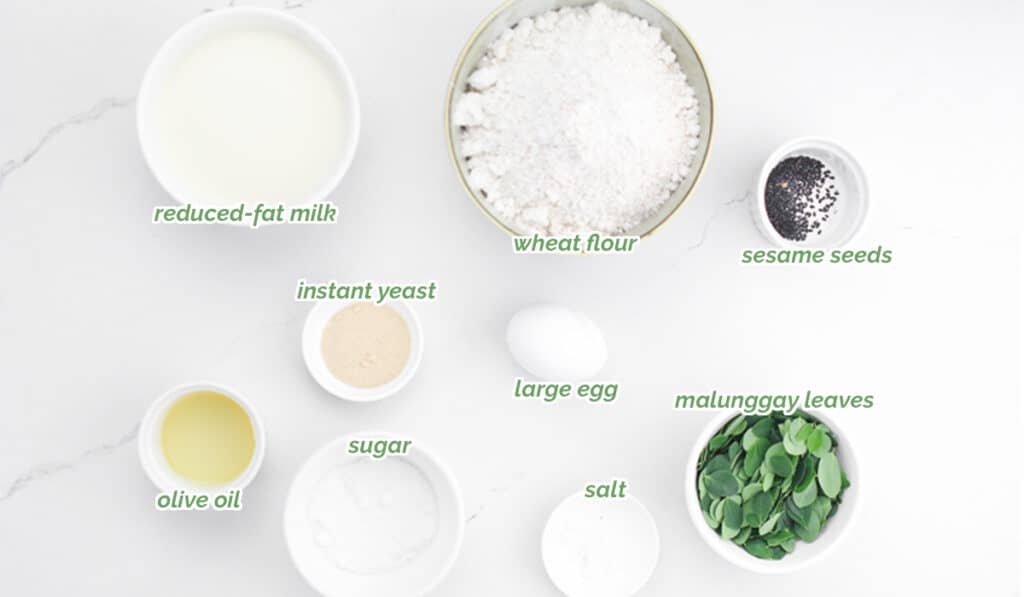
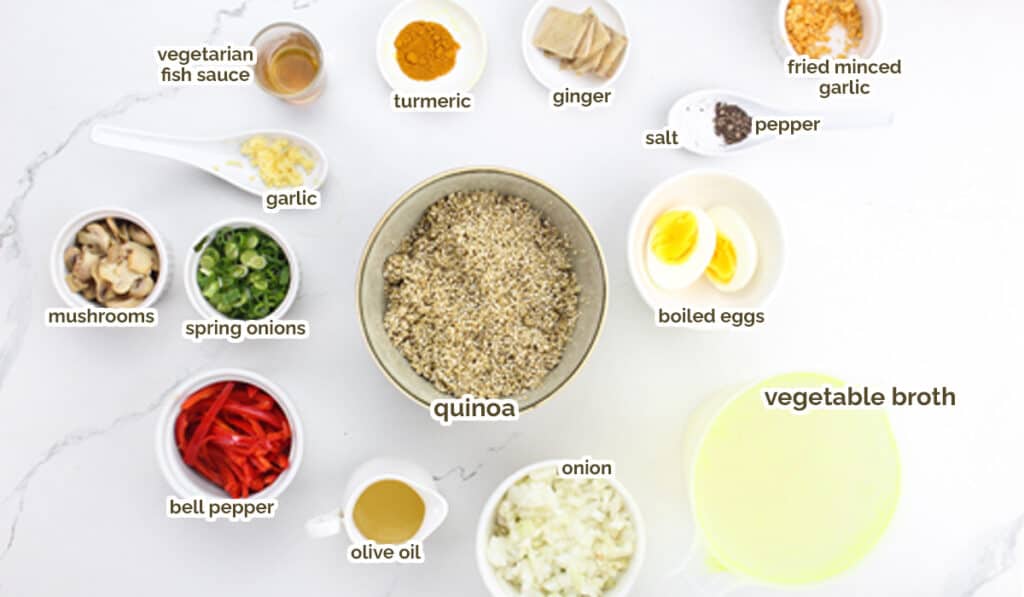
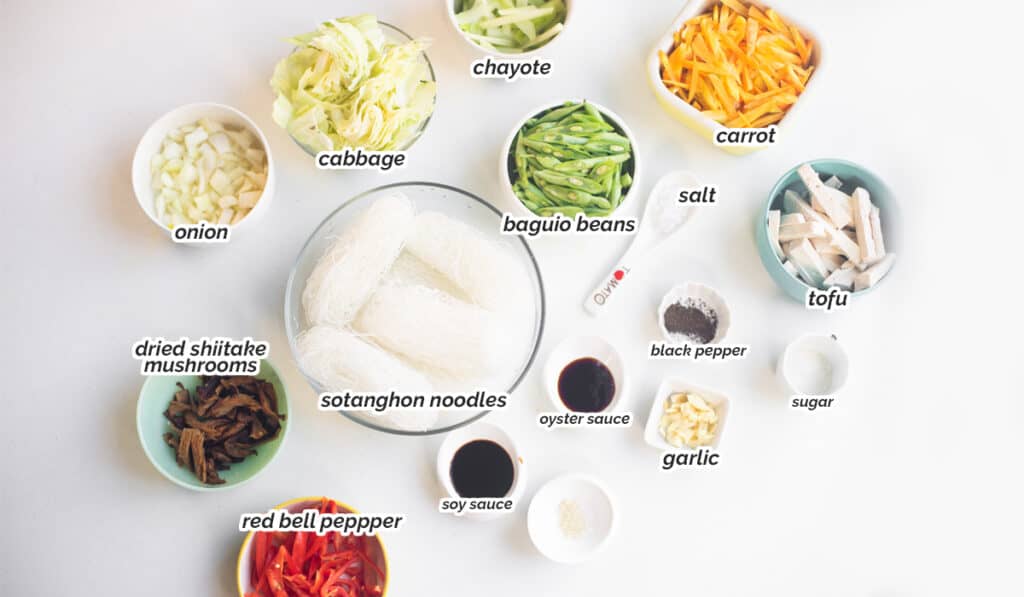
Ingredients
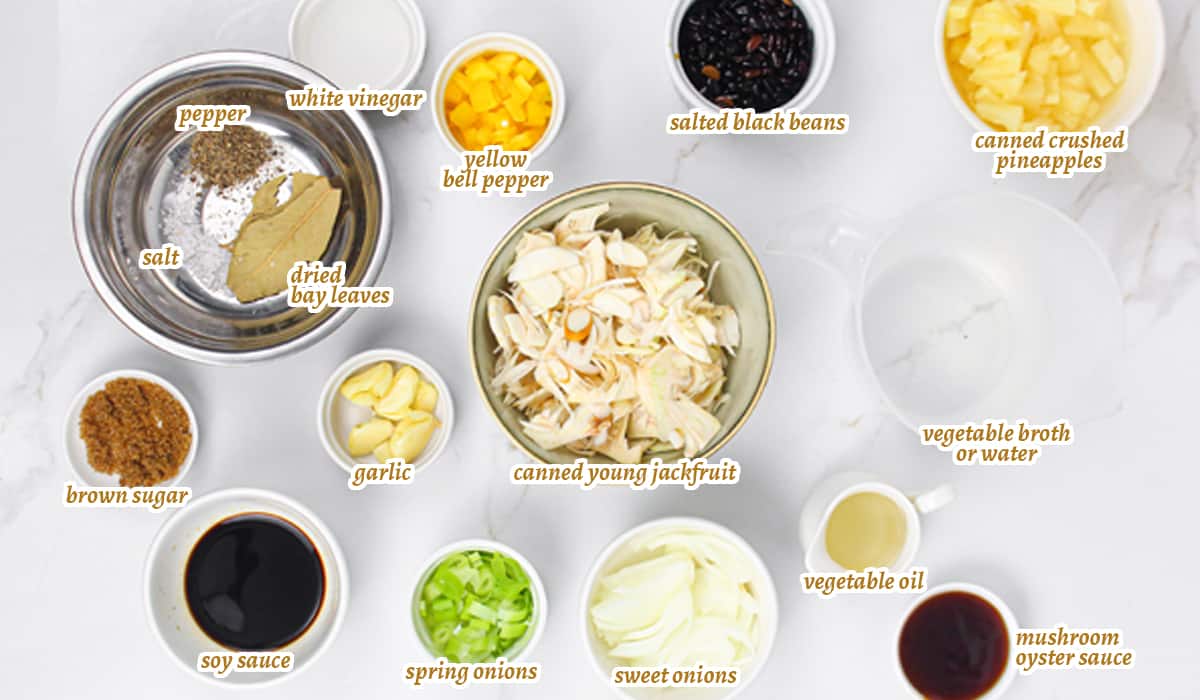
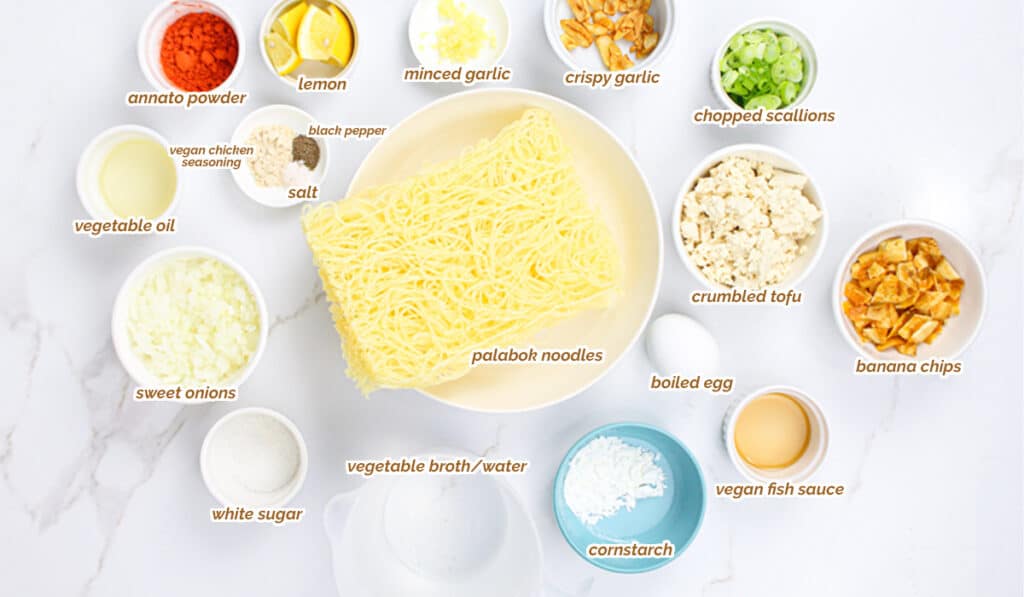
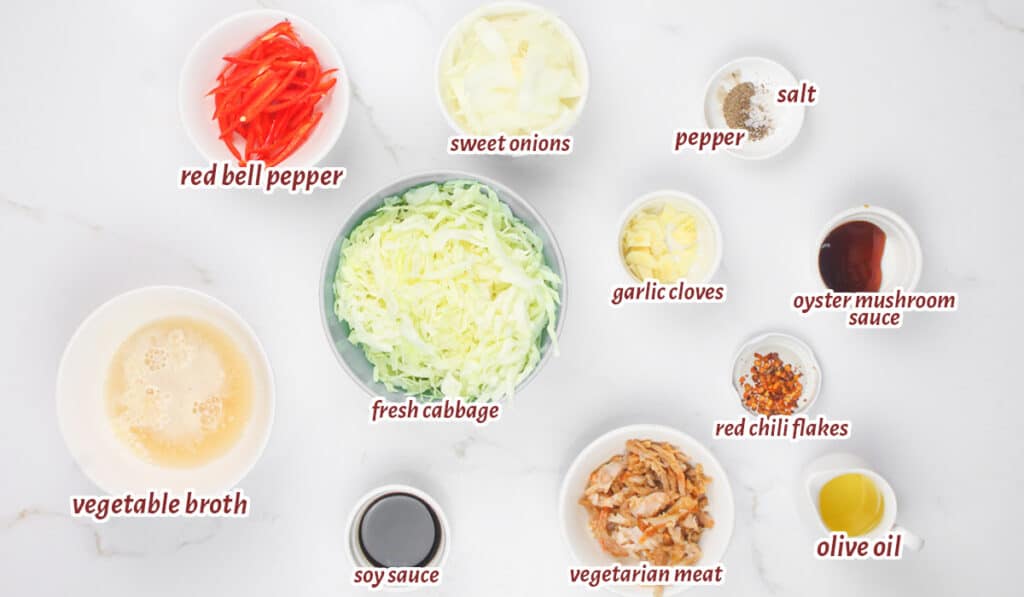
Listed below are all the ingredients you will need:
- olive oil
- Vegetarian meat
- sweet onions
- garlic clove
- fresh cabbage
- low-sodium soy sauce
- oyster mushroom sauce
- vegetable broth
- red bell pepper
- red chili flakes
- salt
- ground black pepper
Instructions
Prepare all the ingredients needed before cooking this delicious Filipino food.
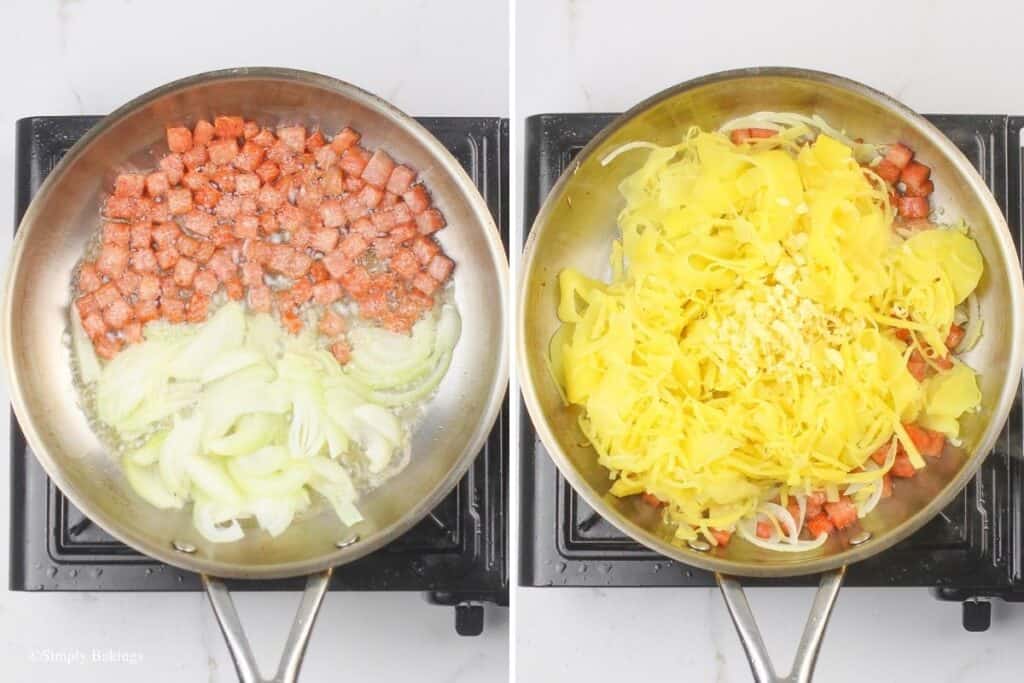
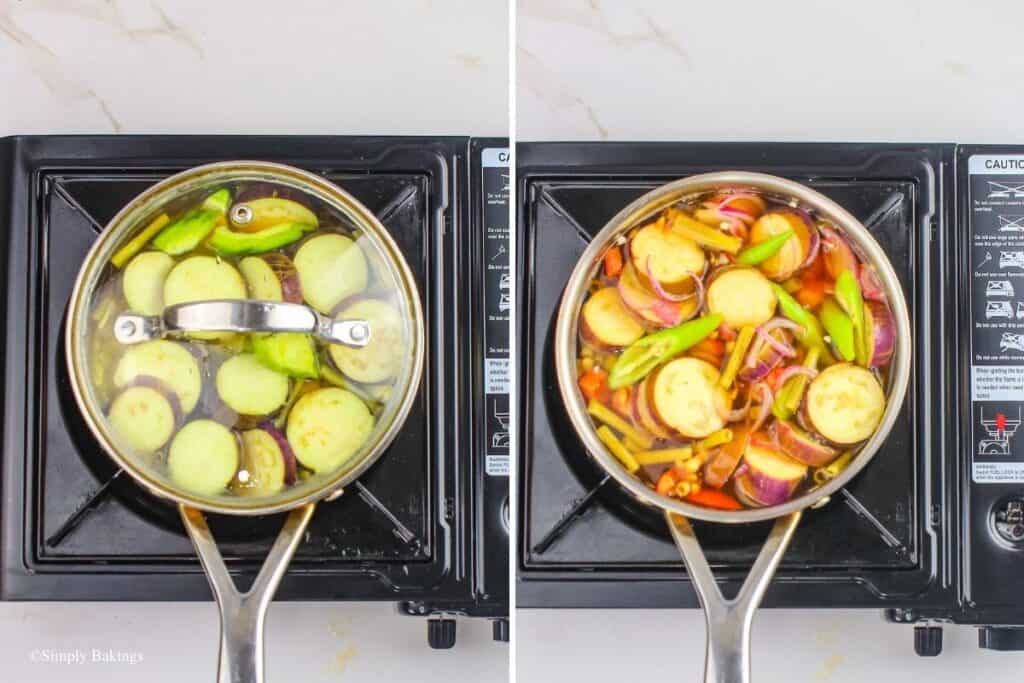
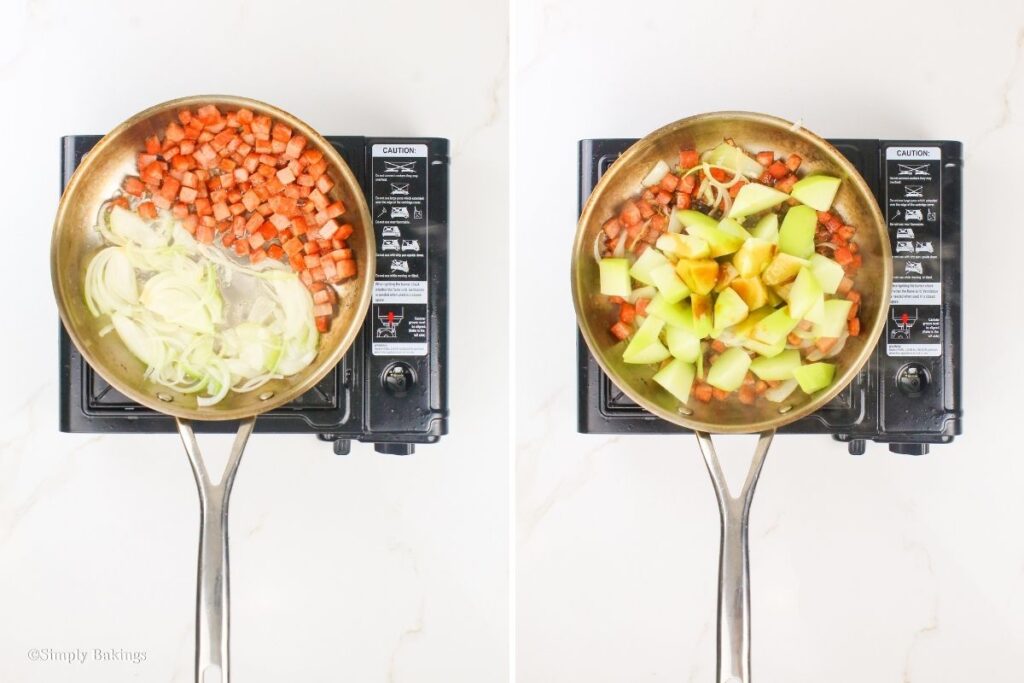
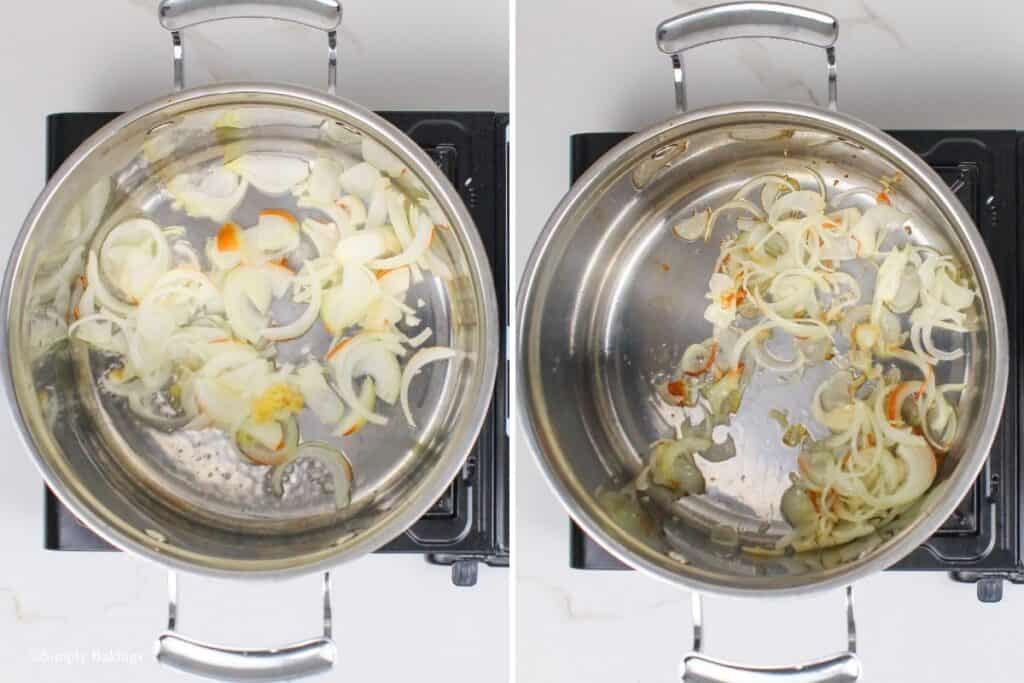
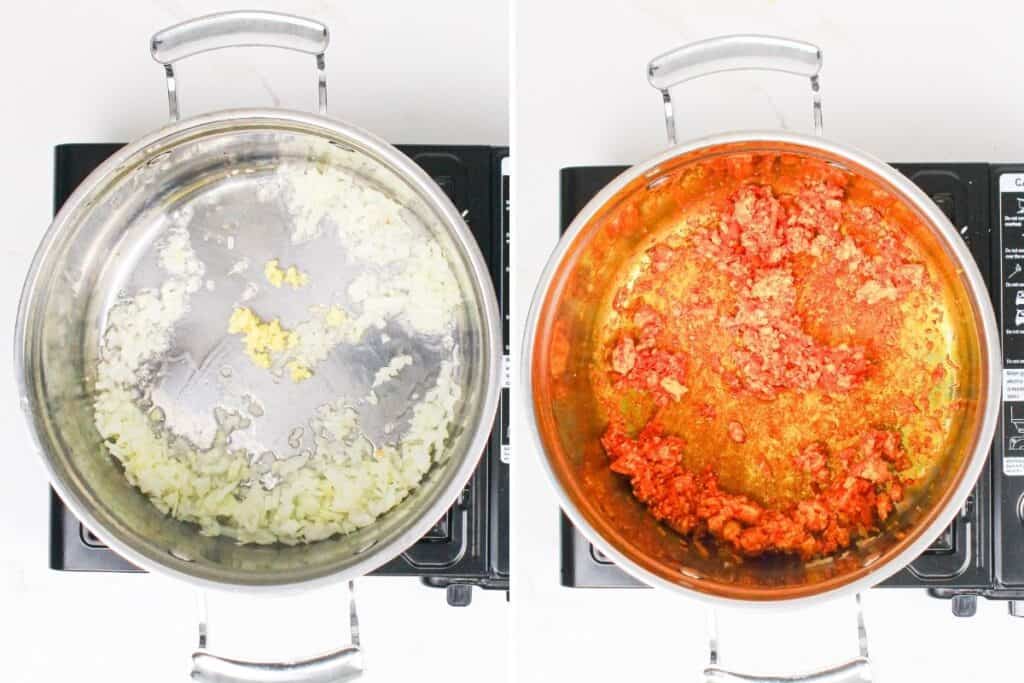
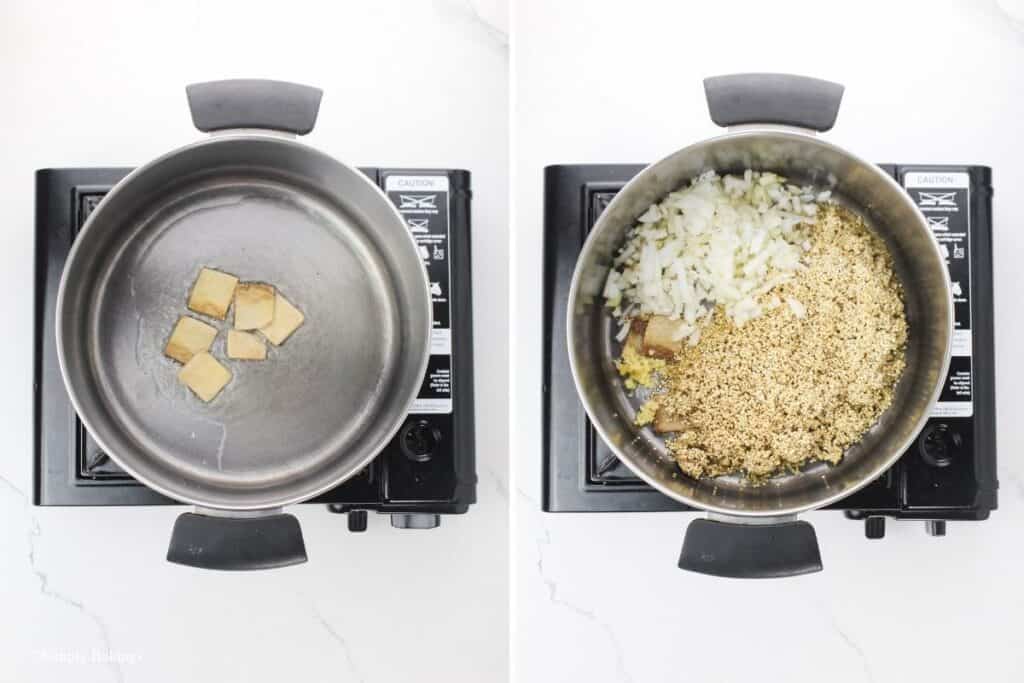
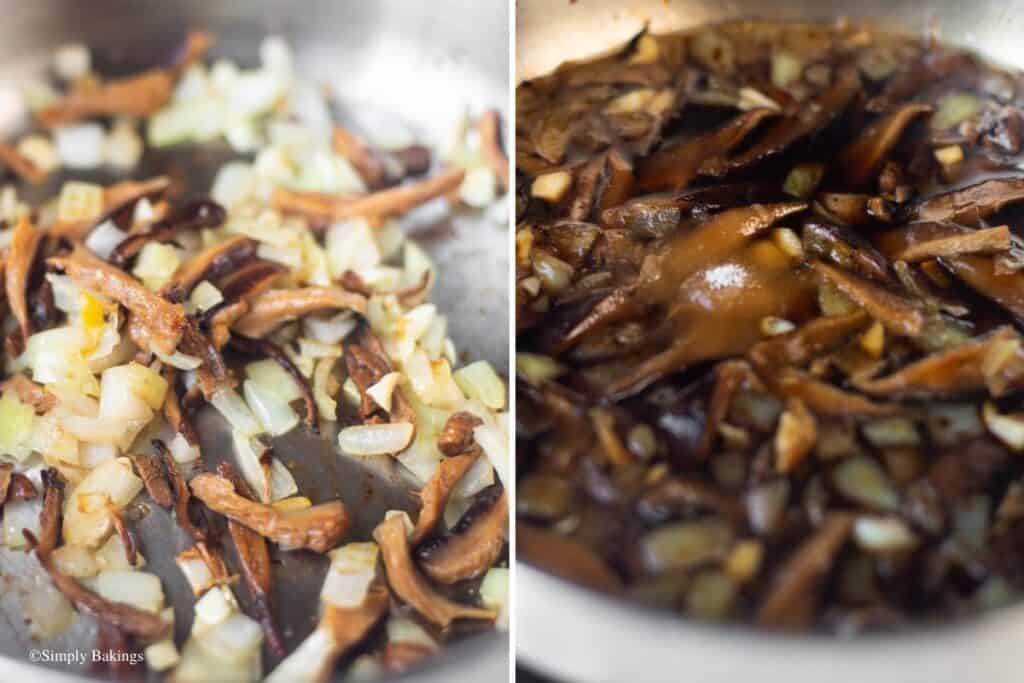
In a skillet over medium heat, add cooking oil. Next, sauté and cook the vegetarian meat for 2 minutes while stirring constantly. Then, slide the cooked vegetarian meat to the side of the pan, then add the sweet onions, garlic, and saute for another minute:

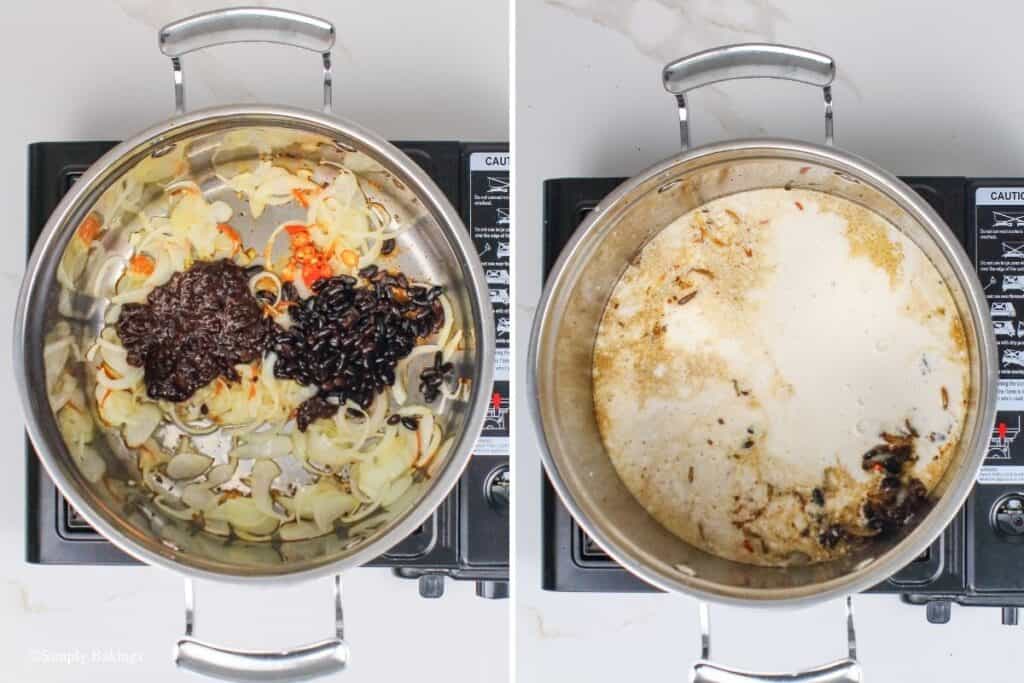
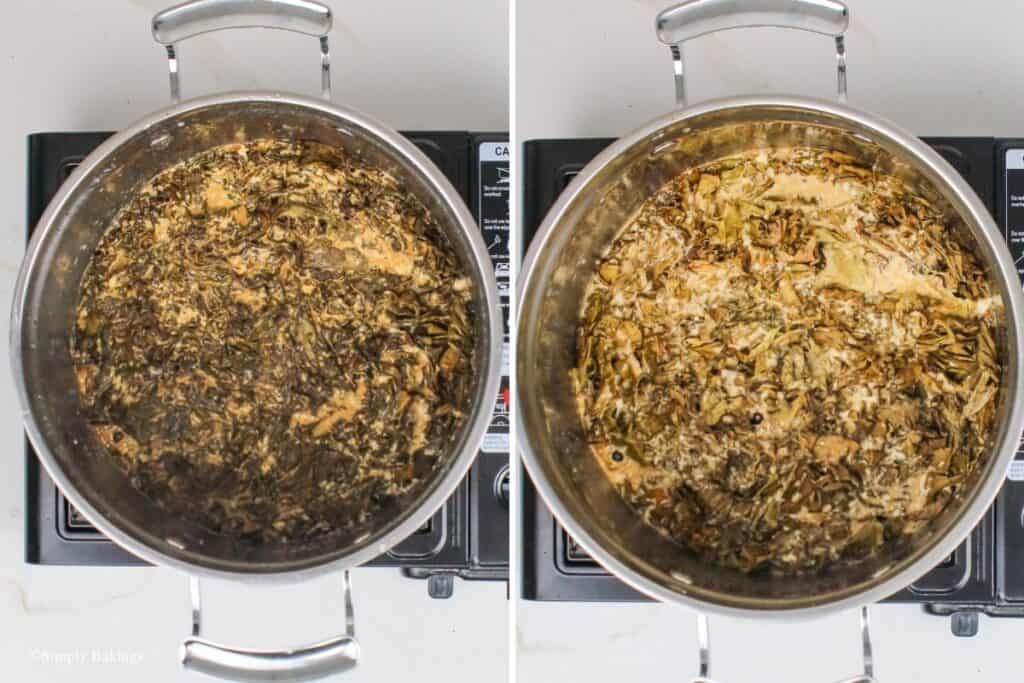
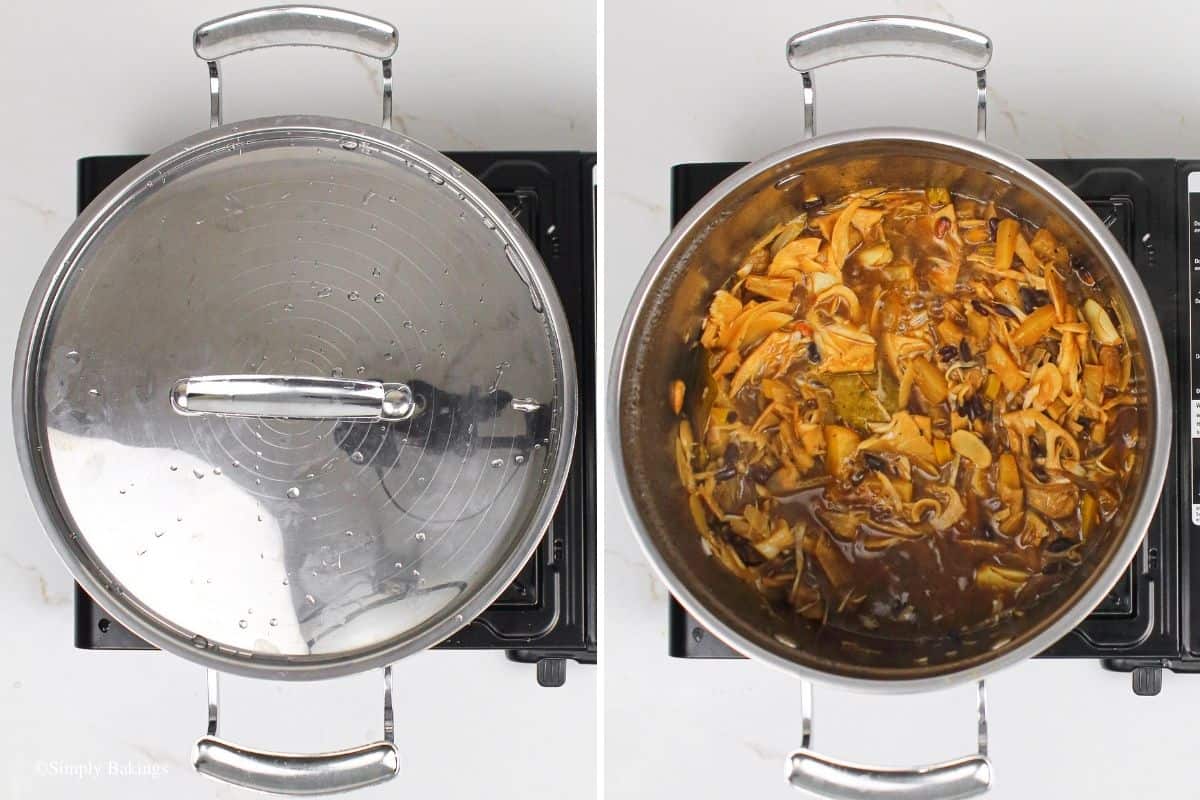
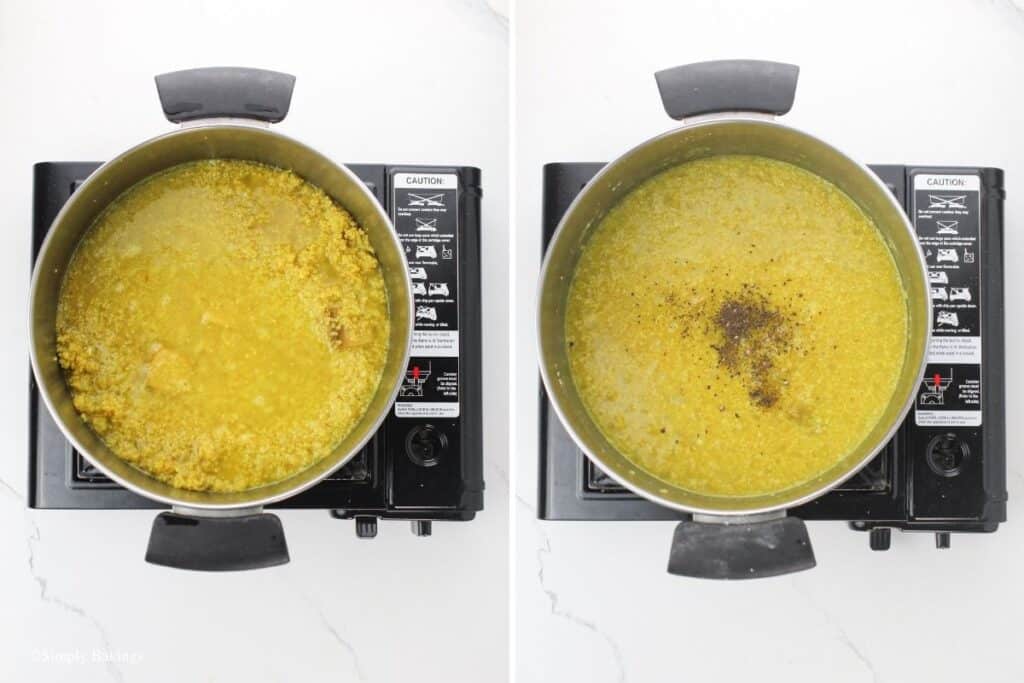
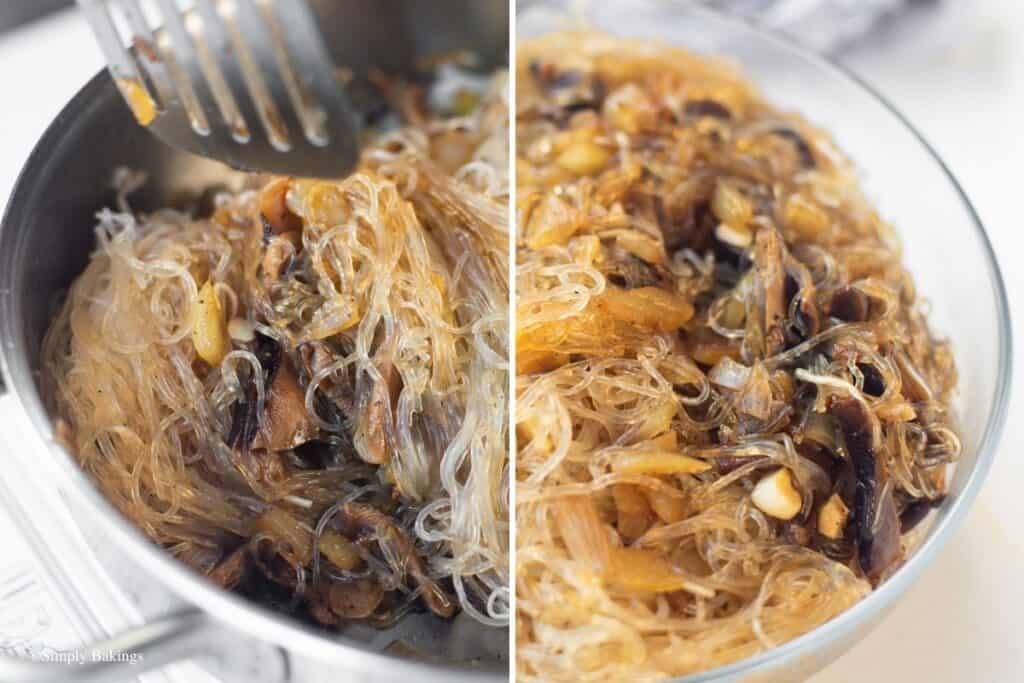
Add cabbage, soy sauce, oyster mushroom sauce, and mix until combined. Next, pour the vegetable broth and bring the mixture to a boil until the liquid is reduced by half:

Add red bell pepper, red chili flakes, and toss until combined:
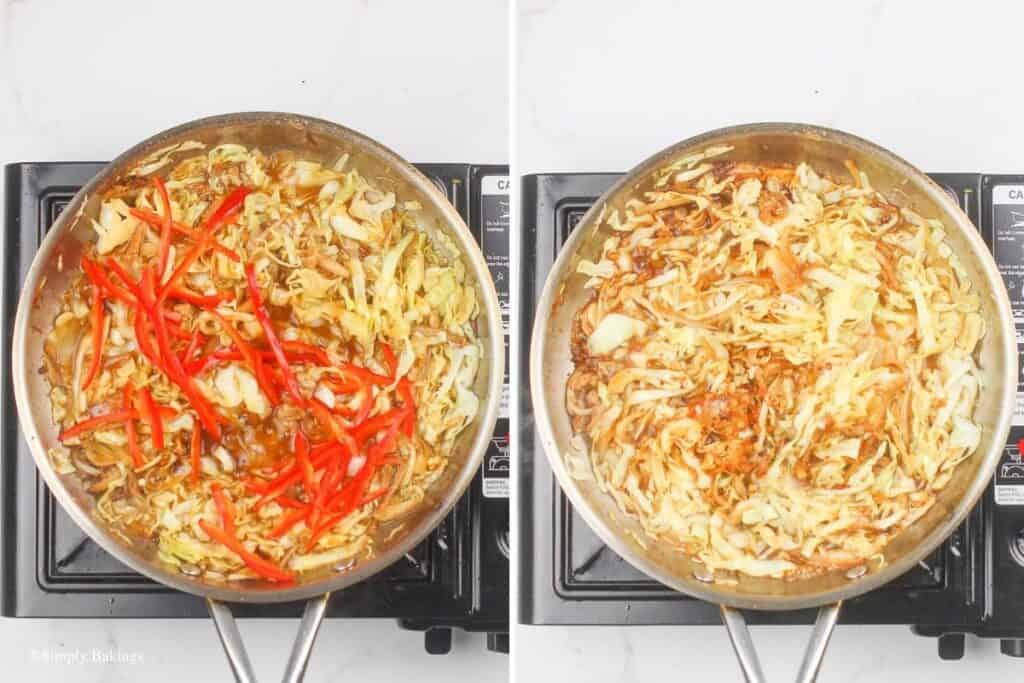
Then, season with salt and ground black pepper, then transfer to a serving platter and serve immediately. Enjoy!
Top Tip
Avoid overcooking the cabbage so that the sulfurous odor will not develop.
Substitutions
- Cabbage (Repolyo): If you don't have cabbage, you can substitute it with other leafy greens such as bok choy, kale, or collard greens. These greens will provide a similar texture and flavor to the dish.
- Protein: While Ginisang Repolyo is traditionally a vegetarian dish, you can add protein if desired. Substitute tofu, tempeh, or seitan. Alternatively, you can add cooked chickpeas, kidney beans, or lentils for a vegetarian protein source.
- Garlic and Onion: If you're out of garlic or onion, you can omit them or substitute with garlic powder or onion powder. However, fresh garlic and onion will provide the best flavor.
- Vegetable Oil: Any neutral-flavored oil such as canola oil, sunflower oil, or avocado oil can be used as a substitute for vegetable oil.
- Seasonings: Feel free to customize the seasonings based on your preferences. You can add ground black pepper, chili flakes, or your favorite herbs and spices to enhance the flavor of the dish.
Variations
- Vegetables: Ginisang Repolyo is versatile, and you can add other vegetables to the dish. Consider adding carrots, green beans, or potatoes, chayote slices, for added flavor and texture. Adjust the cooking time accordingly to ensure all the vegetables are cooked evenly.
- Fish Sauce (Patis): Add vegan fish sauce for more flavor.
Storage
- Storage: Place the leftovers in an airtight container and keep them in the fridge for 3-4 days.
Frequently Asked Questions
Don't put too much water or broth so that the sliced cabbage will not become soggy and limp.
It would be great if you cook the cabbage until it gets tender but a bit crunchy.
It can be served with other vegetables, fried fish, grilled dishes, and steamed rice.

BEST Ginisang Repolyo (Without Meat)
Ingredients
- 2 tablespoons olive oil
- ½ cup vegetarian meat thinly sliced
- ½ cup sweet onions thinly sliced
- 2 garlic cloves thinly sliced
- 2 cups fresh cabbage shredded
- 1 tablespoon low-sodium soy sauce
- 1 tablespoon vegetarian oyster mushroom sauce
- ¼ cup vegetable broth
- 1 red bell pepper thinly sliced
- ½ teaspoon red chili flakes
- ¼ teaspoon salt
- ¼ teaspoon ground black pepper
Instructions
- In a skillet over medium heat, add oil.
- Next, sauté and cook the vegetarian meat for 2 minutes while stirring constantly.
- Slide the cooked vegetarian meat to the side of the pan, then add the sweet onions, garlic, and saute for another minute.
- Add cabbage, soy sauce, oyster mushroom sauce, and mix until combined.
- Next pour the vegetable broth and bring the mixture to a boil until the liquid is reduced by half.
- Add red bell pepper, red chili flakes, and toss until combined.
- Season with salt and ground black pepper, then transfer to a serving platter and serve immediately.