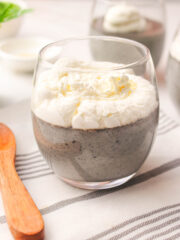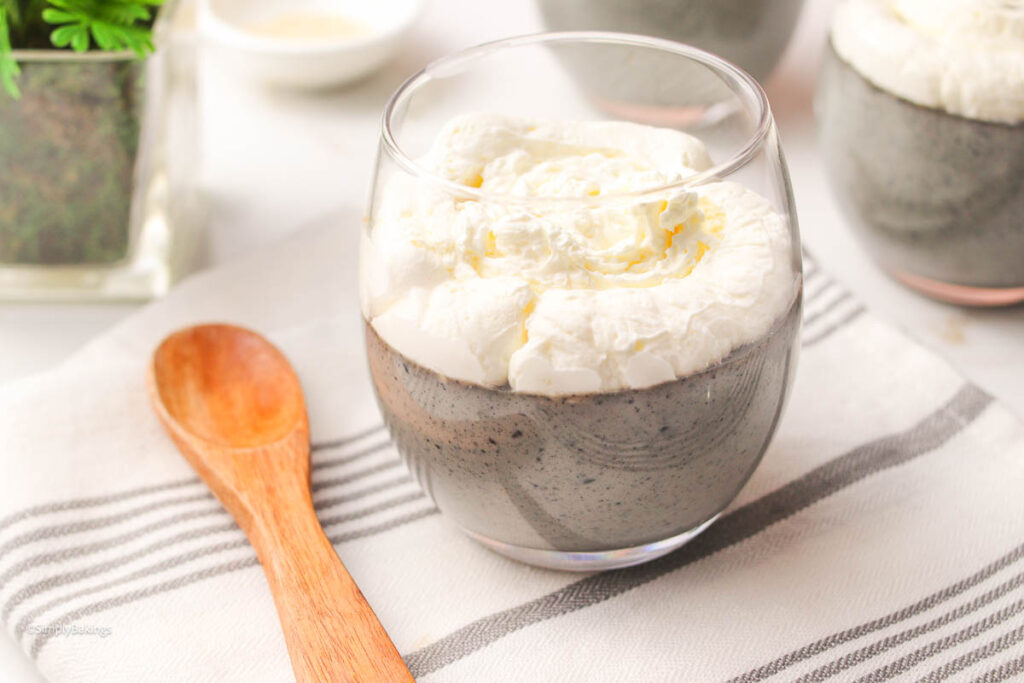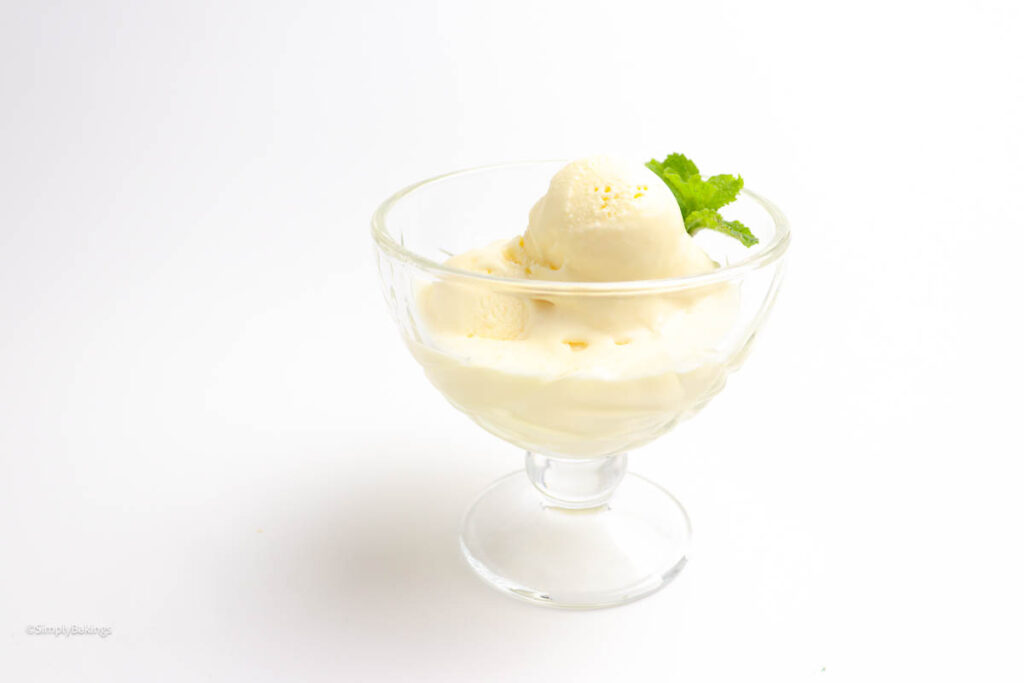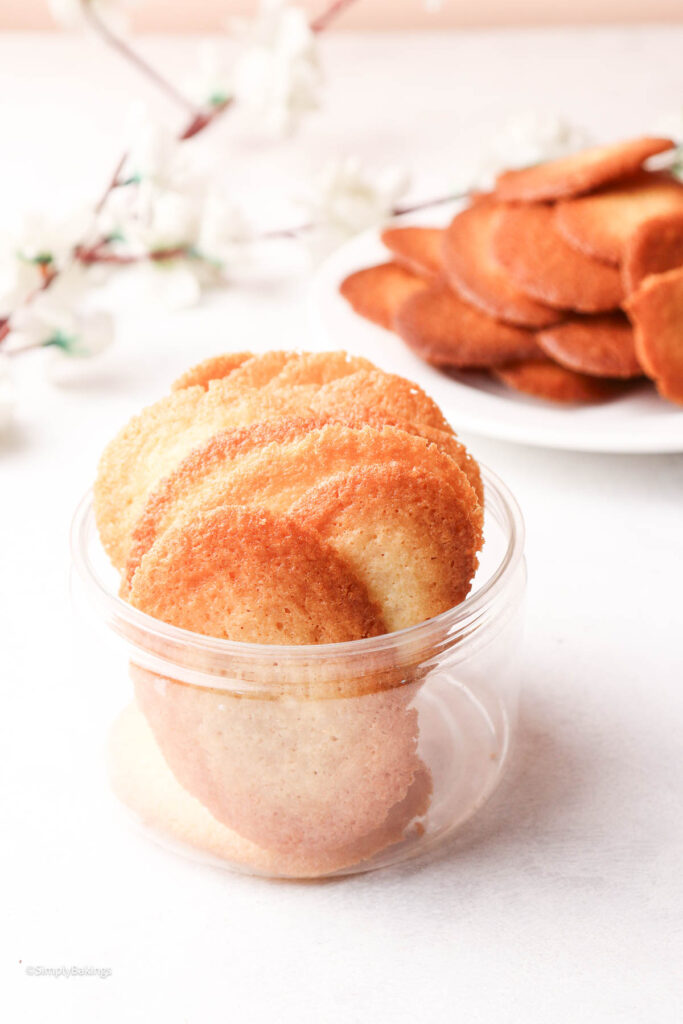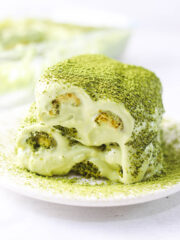
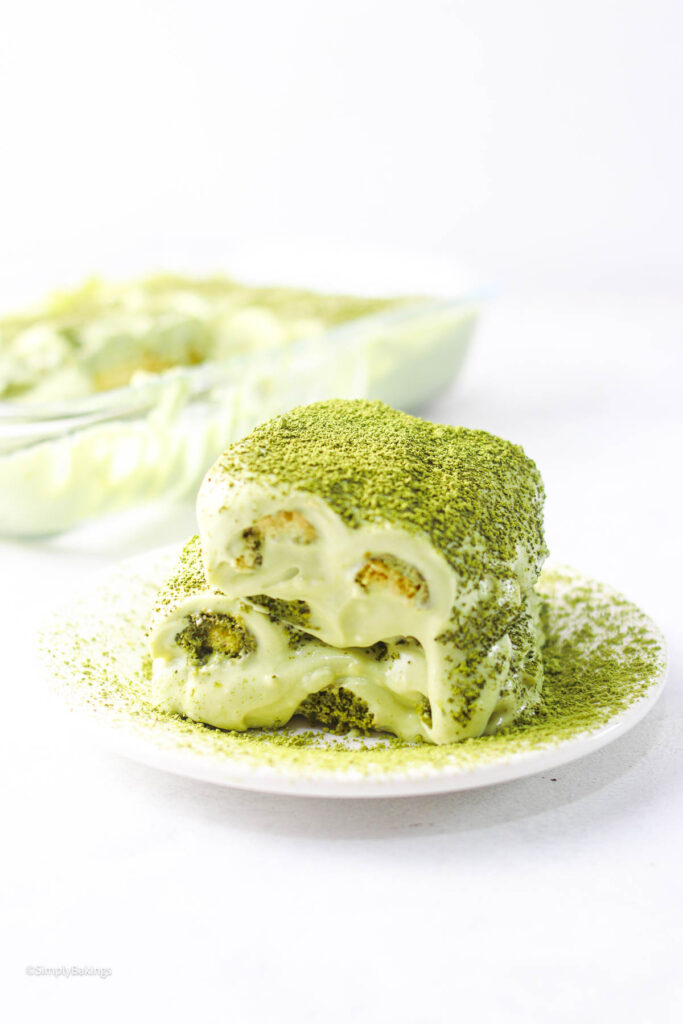
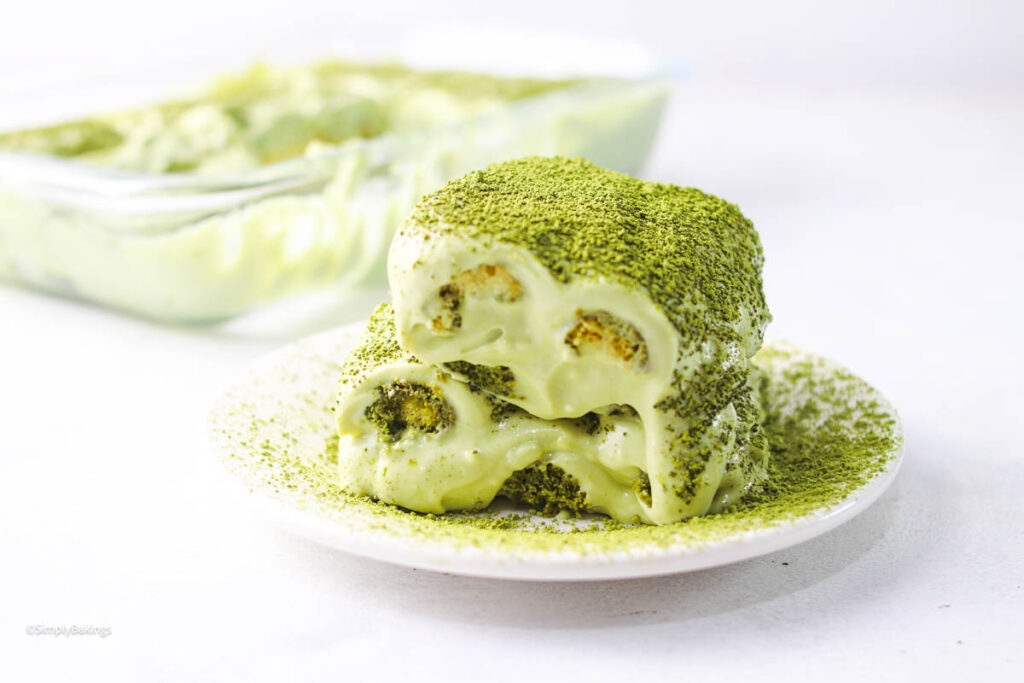
This creamy no bake Matcha Tiramisu combines layers of fluffy whipping cream, delicate ladyfingers, and rich matcha flavor for a refreshing twist on the classic Italian dessert. Perfect for matcha lovers and beginner bakers alike, this easy make ahead dessert is light, elegant, and surprisingly simple to prepare at home.
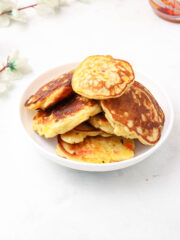
If you're craving more matcha delicious desserts or sweets, try my Matcha Strawberry Bread or my Matcha Pancakes!
Why You’ll Love This Recipe
This matcha tiramisu is a beginner-friendly recipe that doesn’t require baking. It’s a fun kitchen project with a beautiful, matcha flavor that shines through. The matcha flavor is earthy and slightly sweet. For a smooth mix and better flavor, use a matcha whisk.
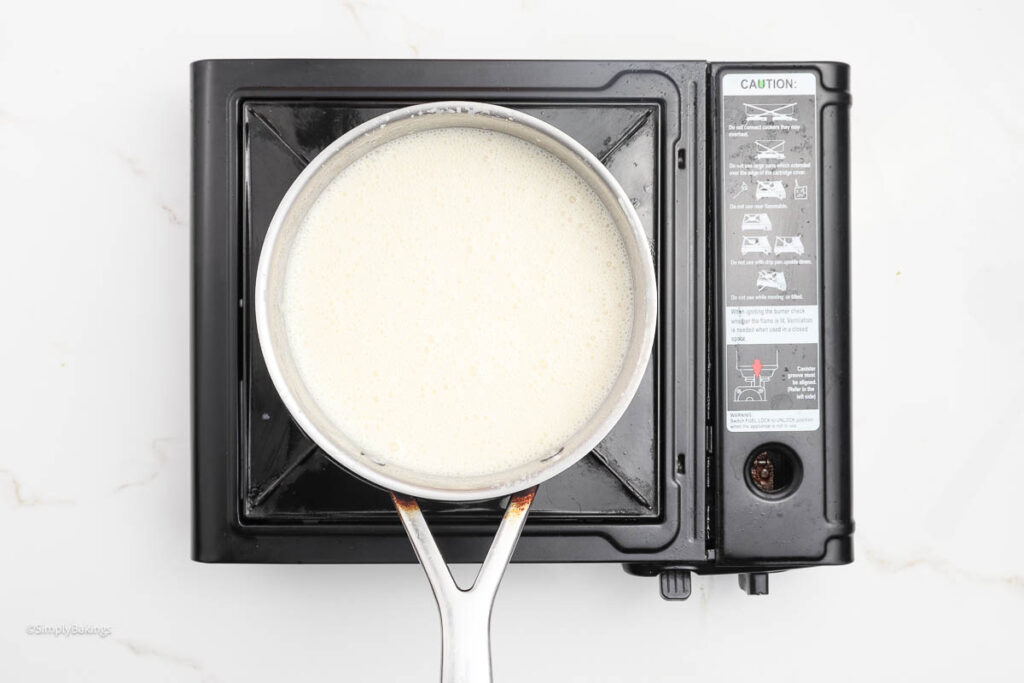
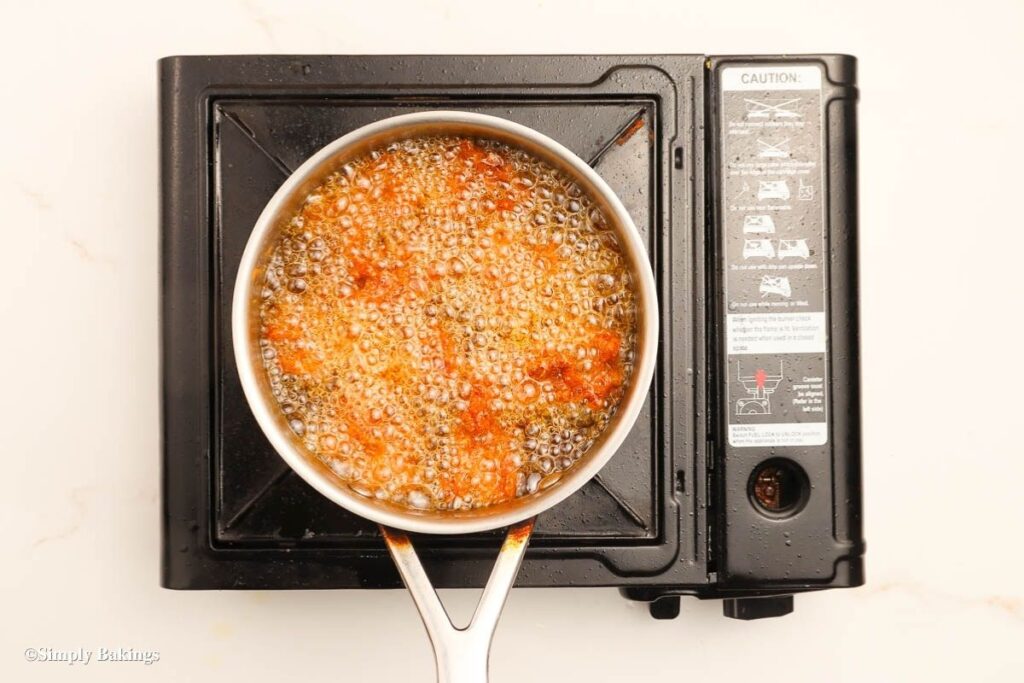
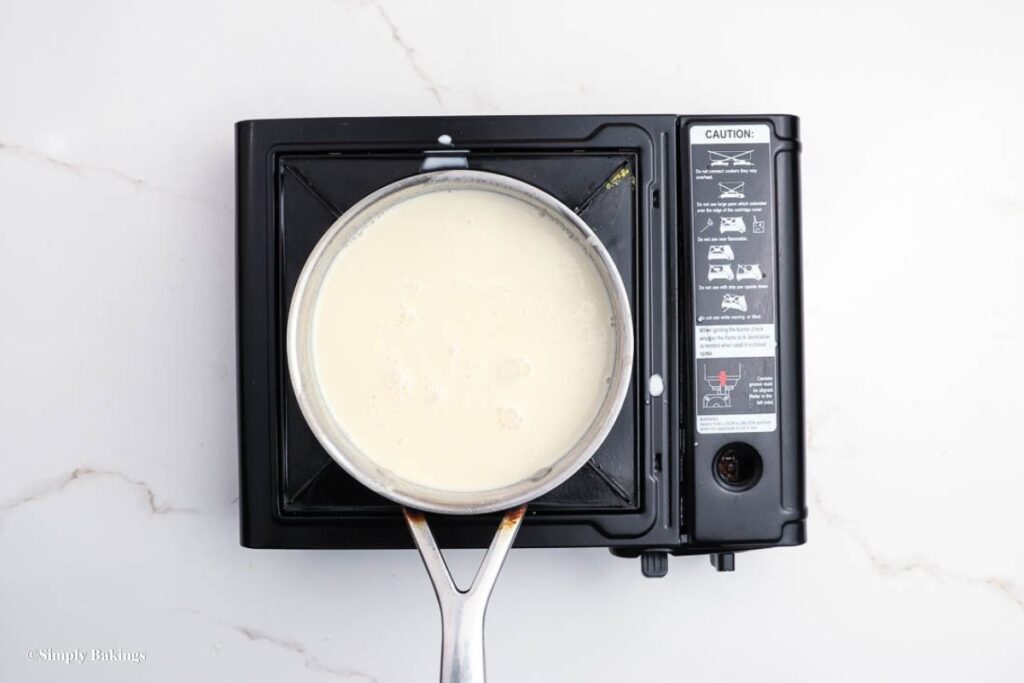
Cream cheese and heavy whipping cream create a signature silky tiramisu texture. Some use mascarpone cream for a richer version. In making this dessert, you can also use a saucepan or regular pan and bring the hot water to a light simmer.
We use ceremonial grade matcha in this recipe for its vibrant color and smoother flavor. Matcha is naturally rich in antioxidants and contains caffeine and L-theanine, which many people enjoy for a more balanced, steady energy boost. If you love matcha or want to try an easy matcha dessert at home, this creamy no bake matcha tiramisu is a great place to start.
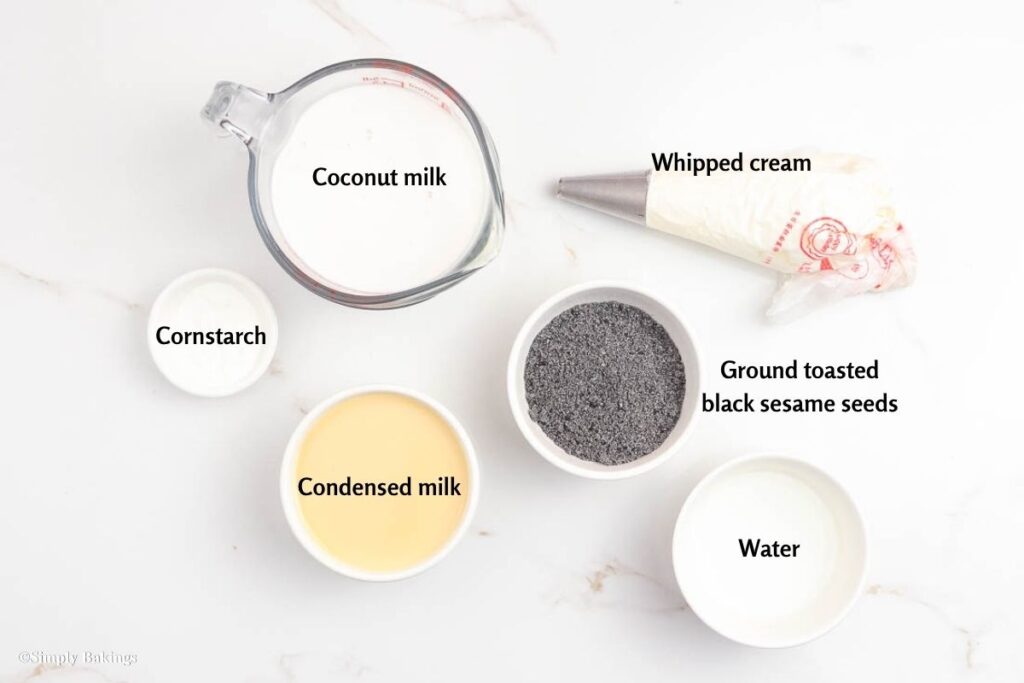
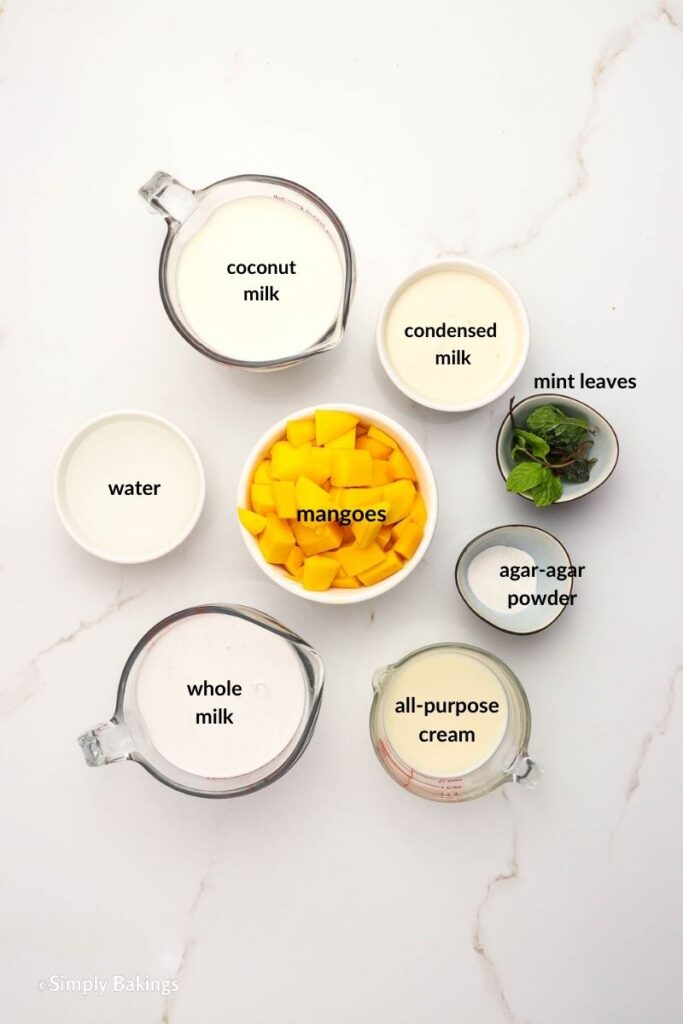
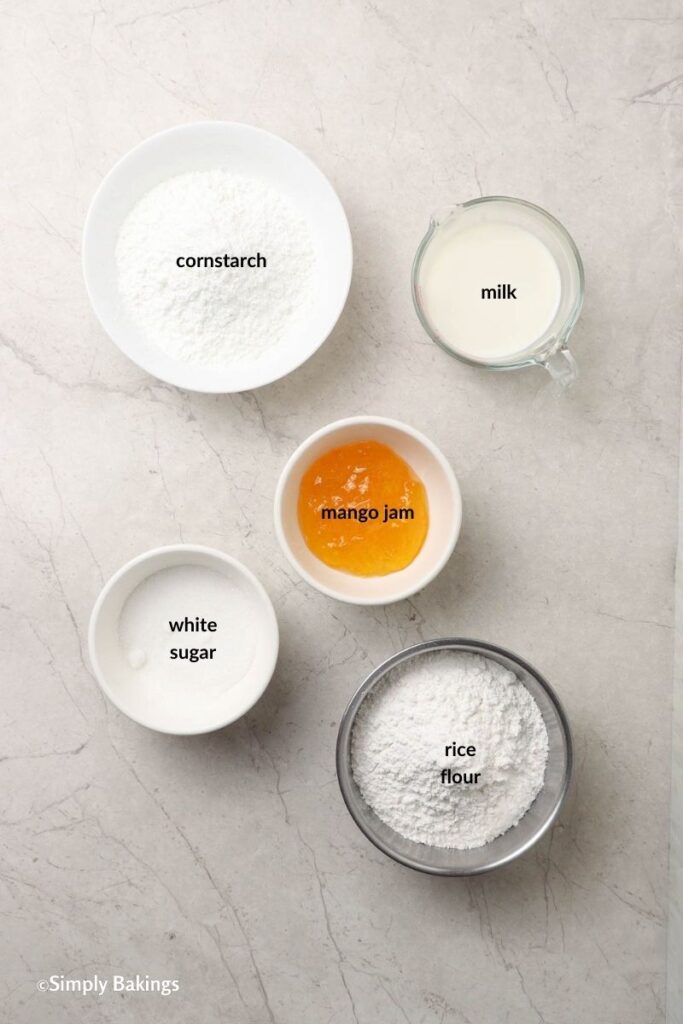
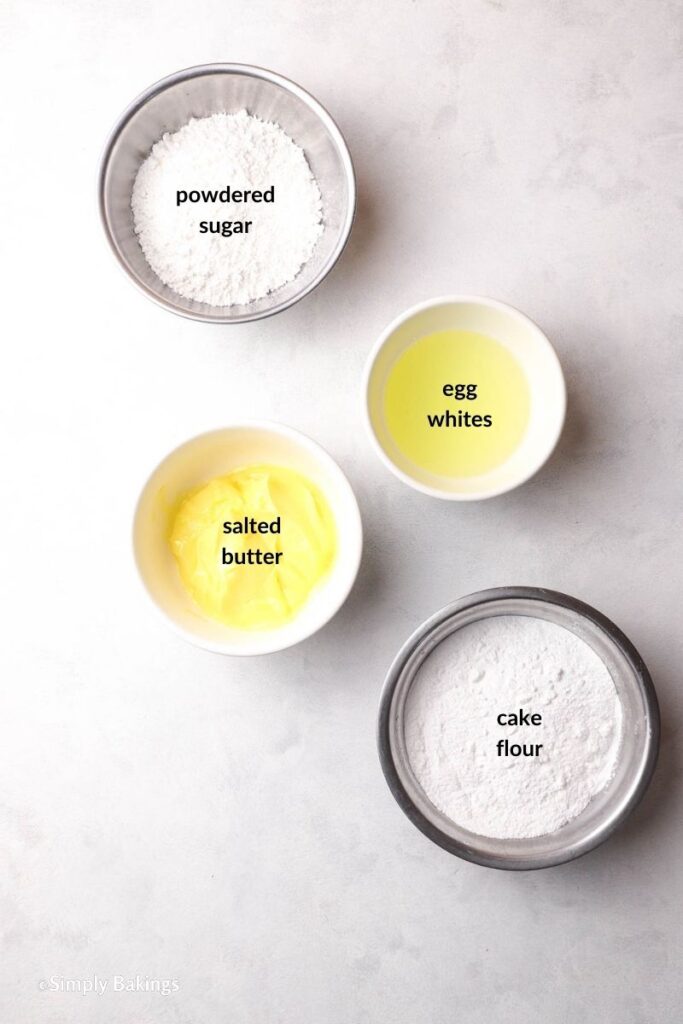
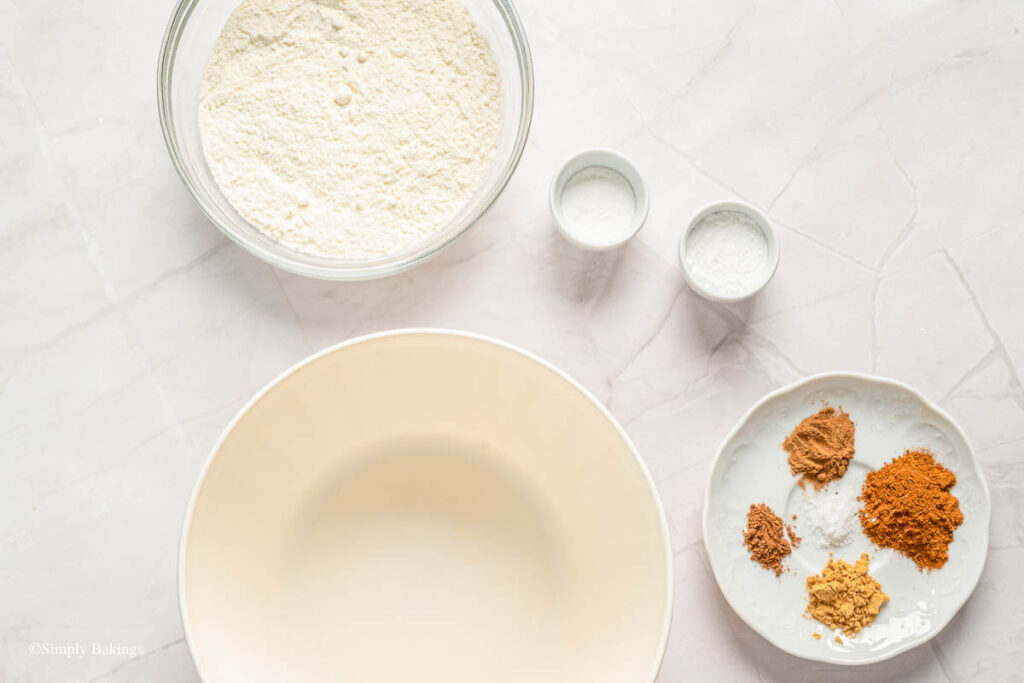
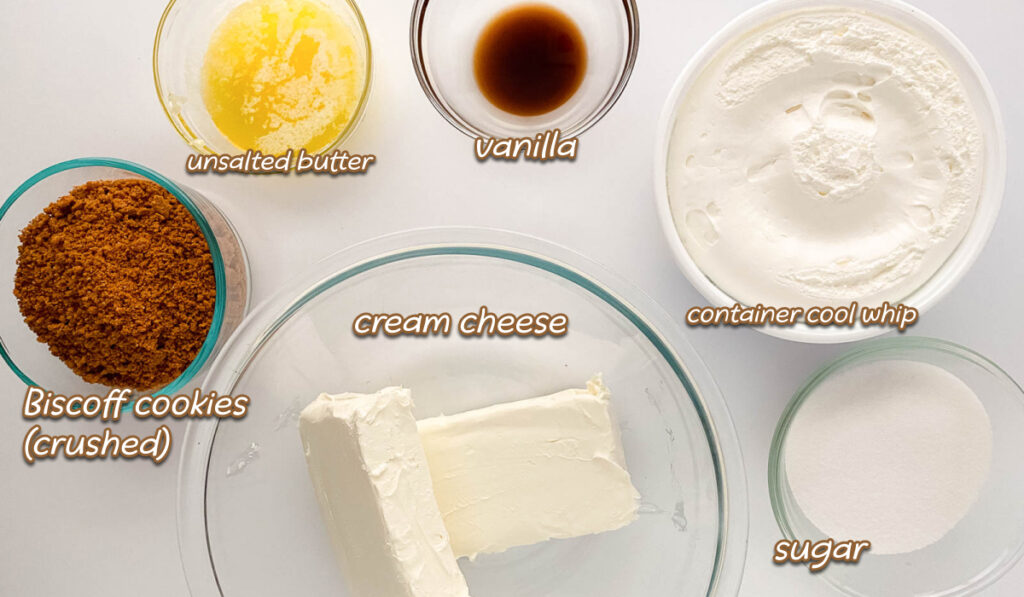
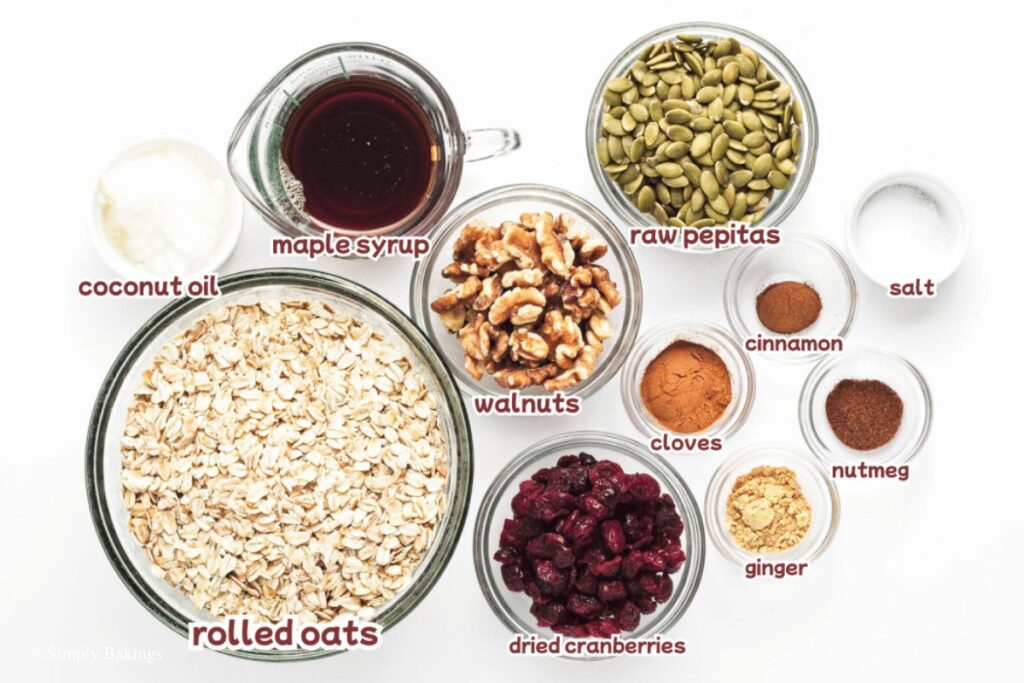
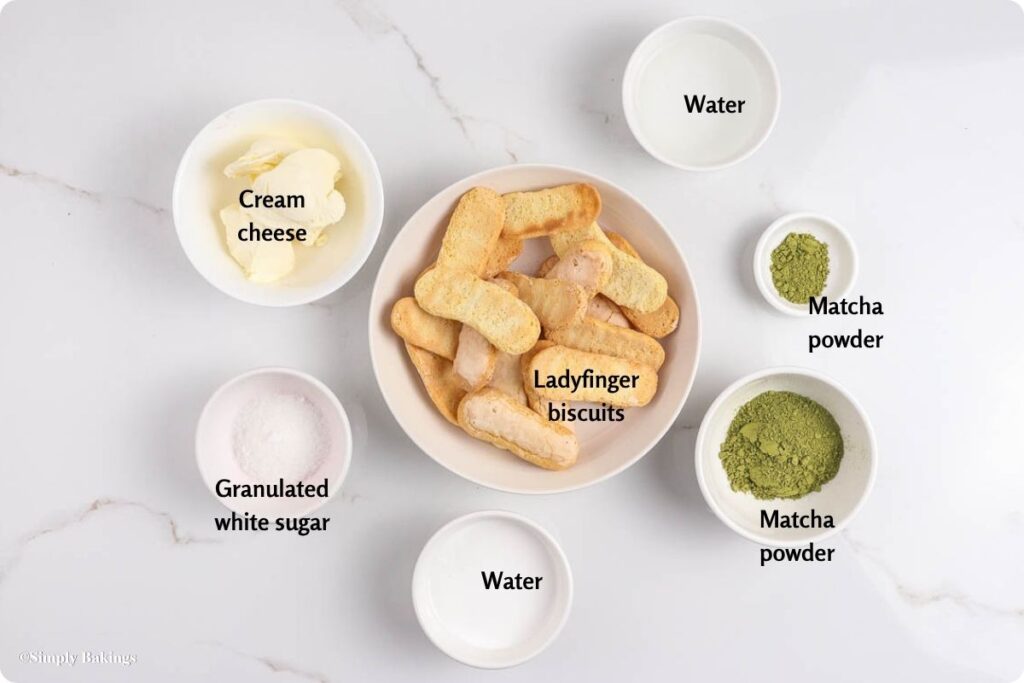
Ingredients
Listed below are all the ingredients you will need:
- Water
- Ladyfinger biscuits
- Matcha powder
- Whipping cream
- Cream cheese
- Granulated white sugar
- Matcha syrup
See the recipe card for quantities.
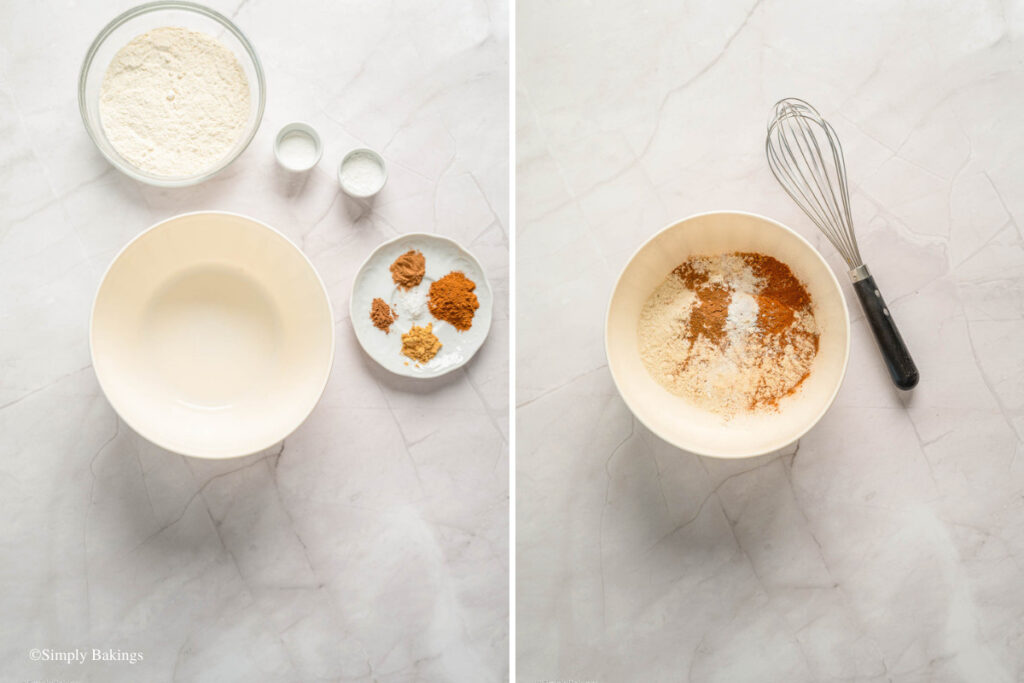
Instructions
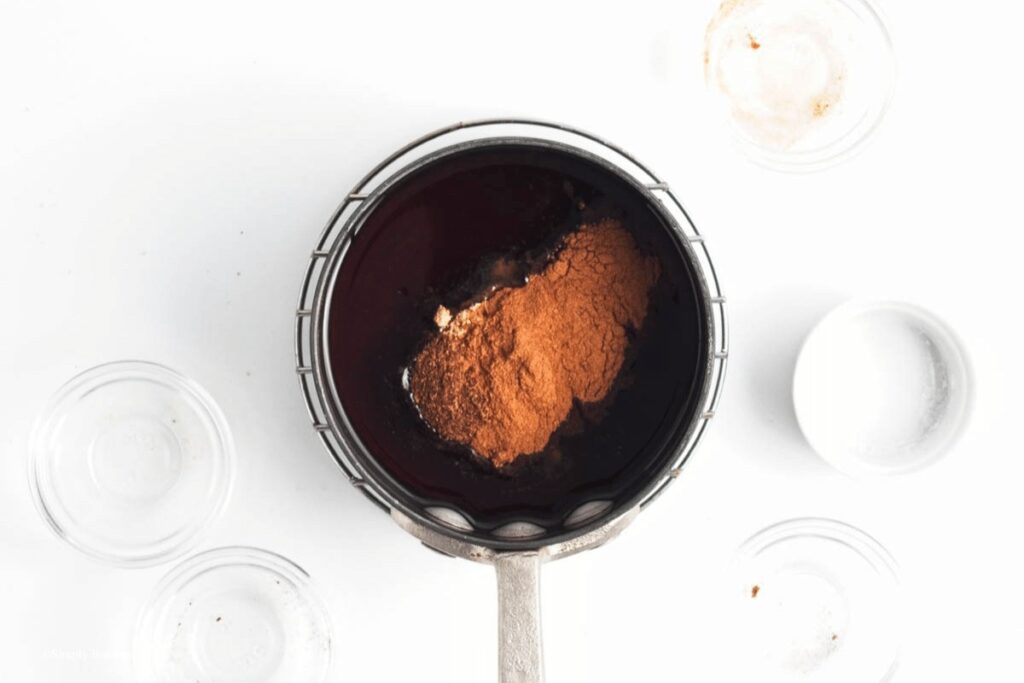
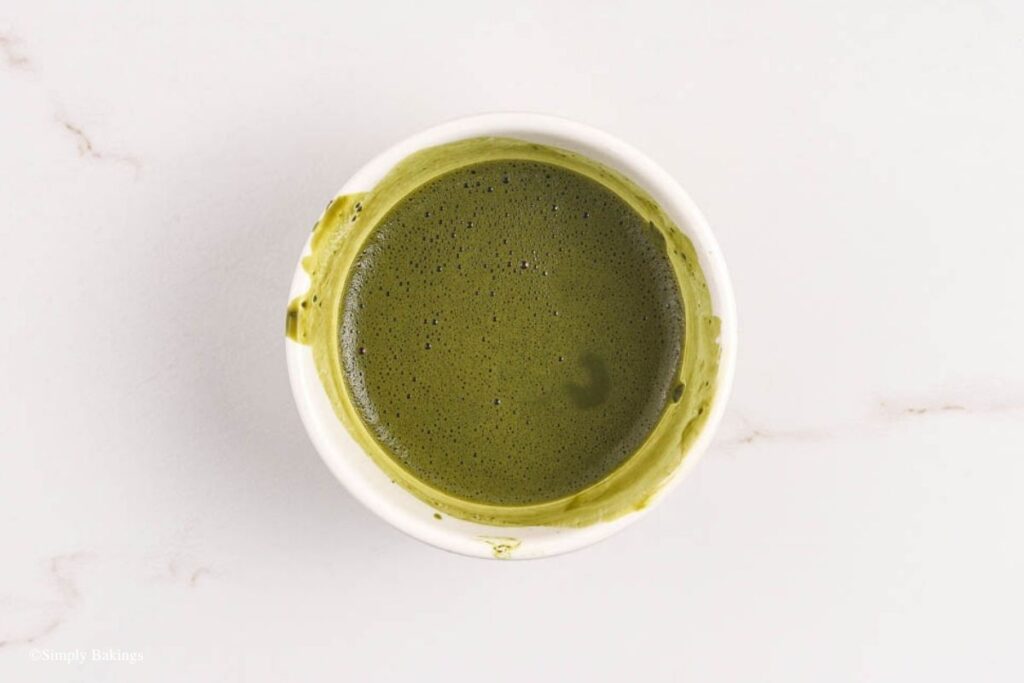
Make the Matcha Syrup:
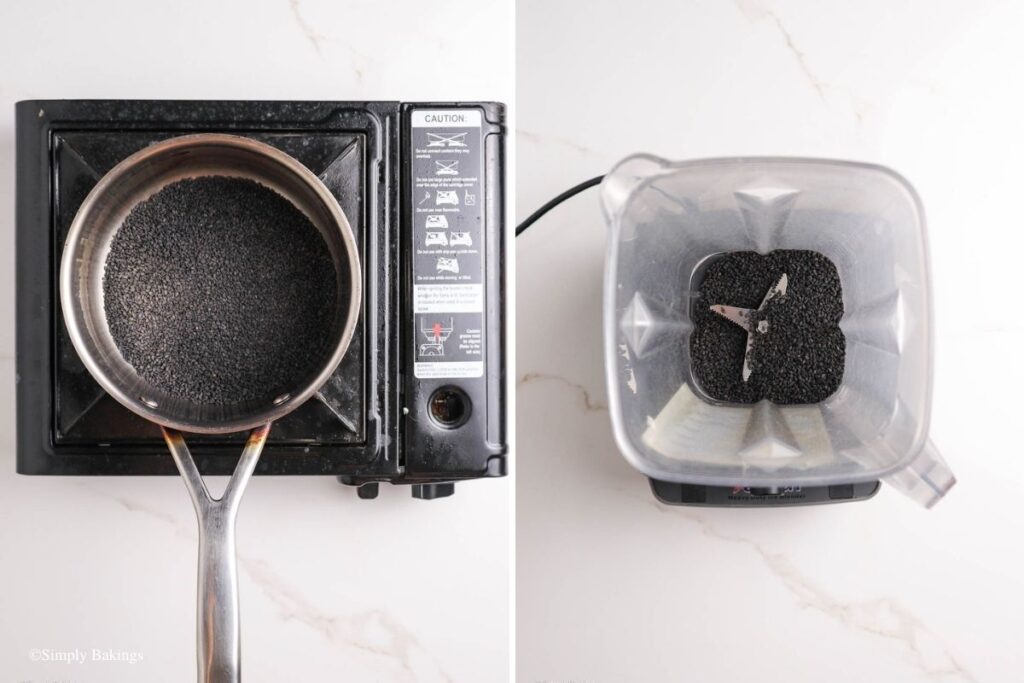
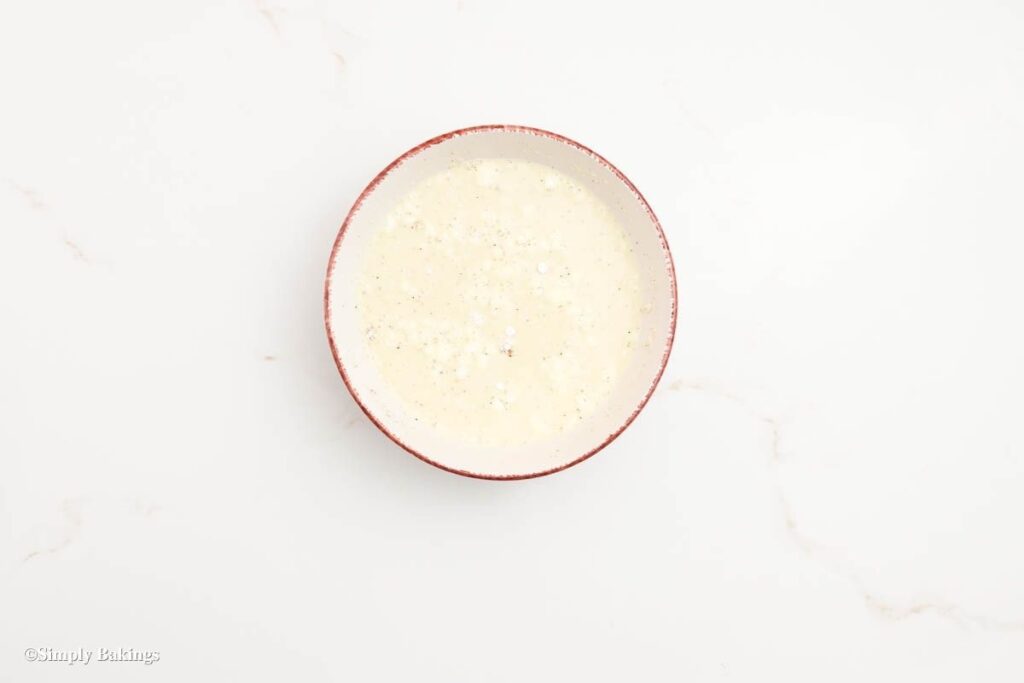
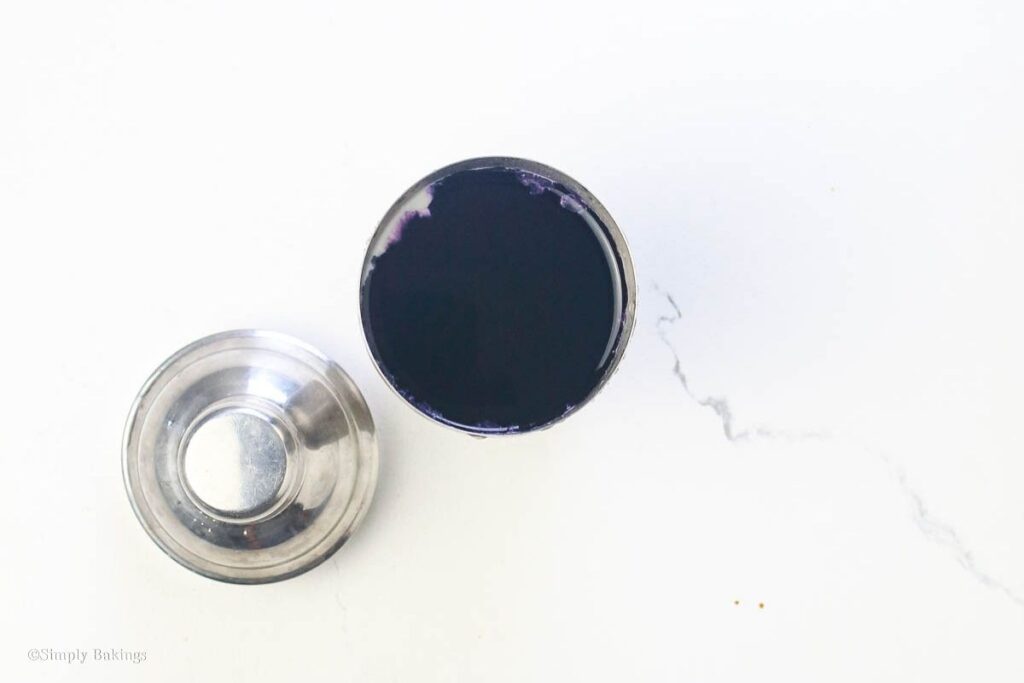
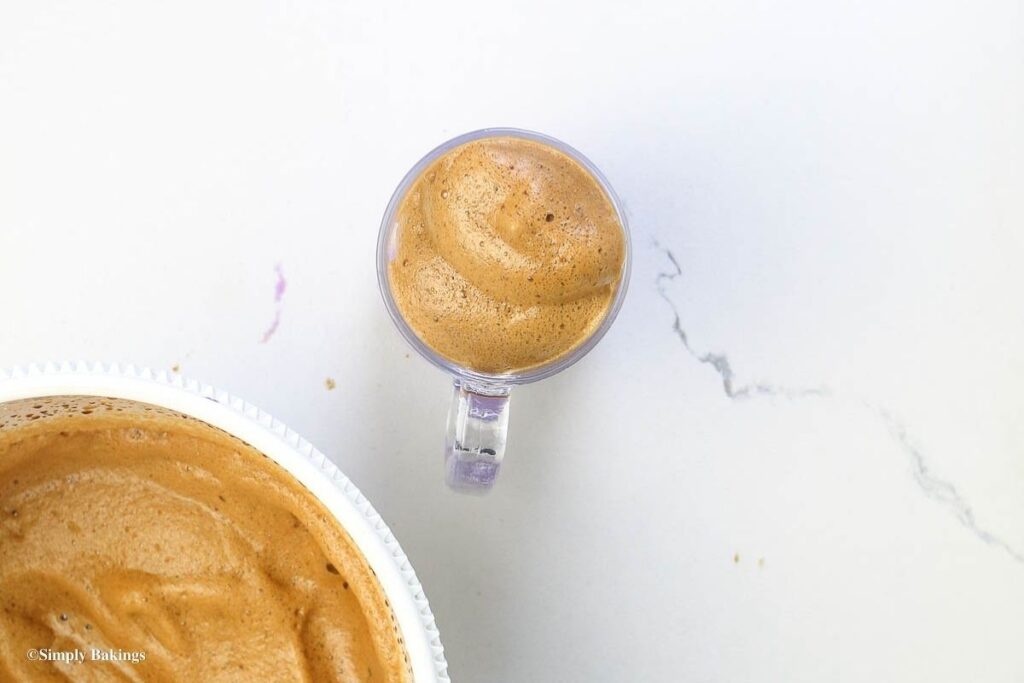
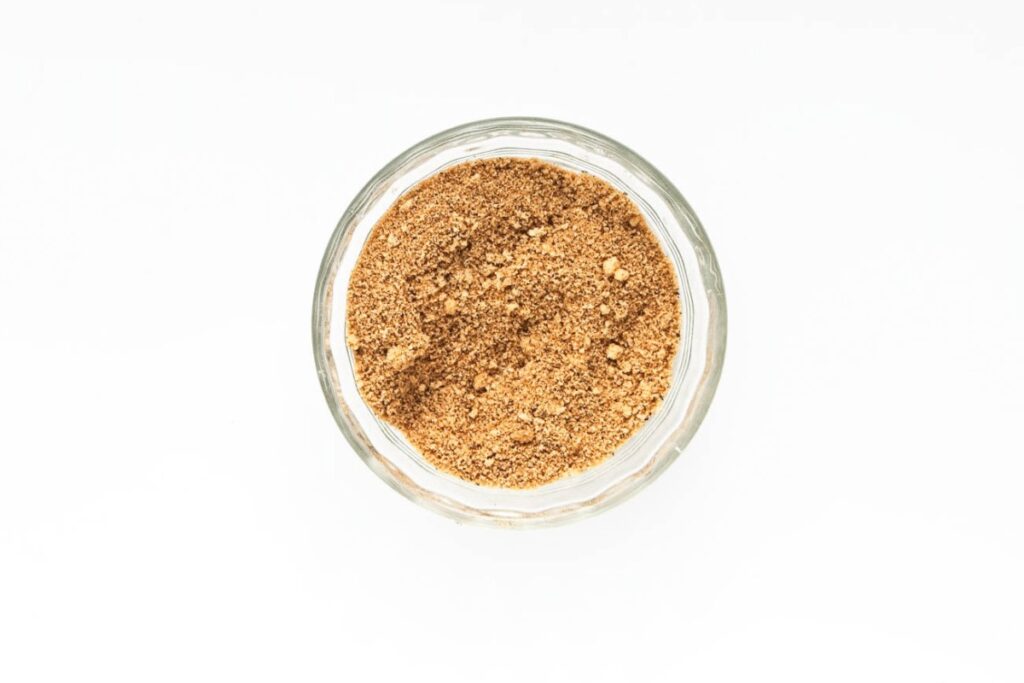
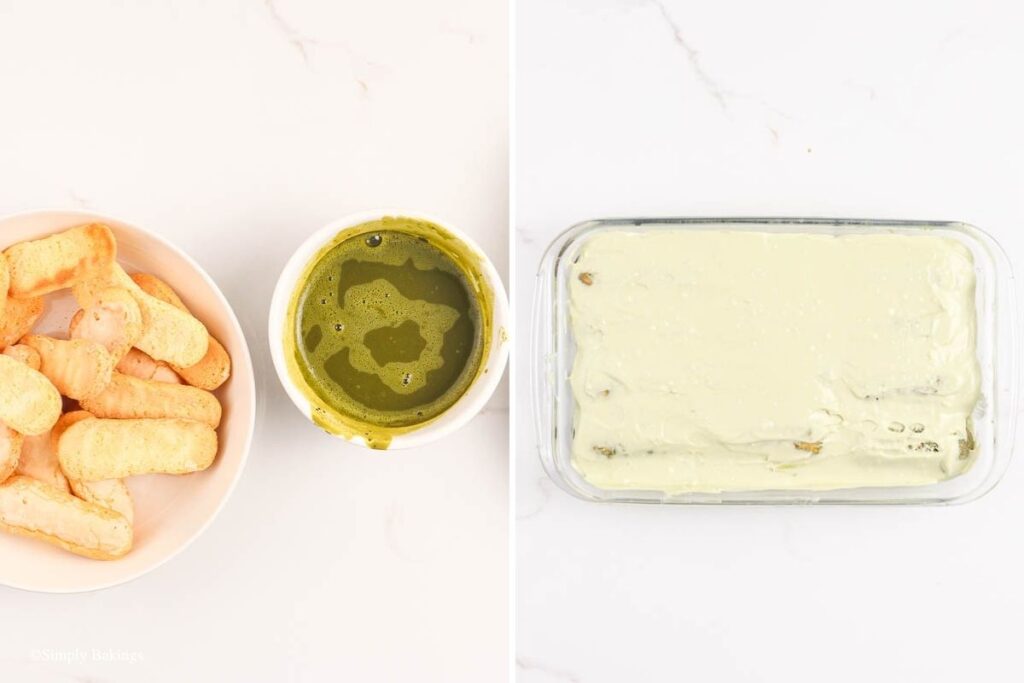
1. In a small bowl, whisk together 3 tablespoons matcha powder and ⅓ cup warm water until smooth and frothy. Use a bamboo whisk if available.
2. Set aside 2 tablespoons of the syrup for the cream filling.
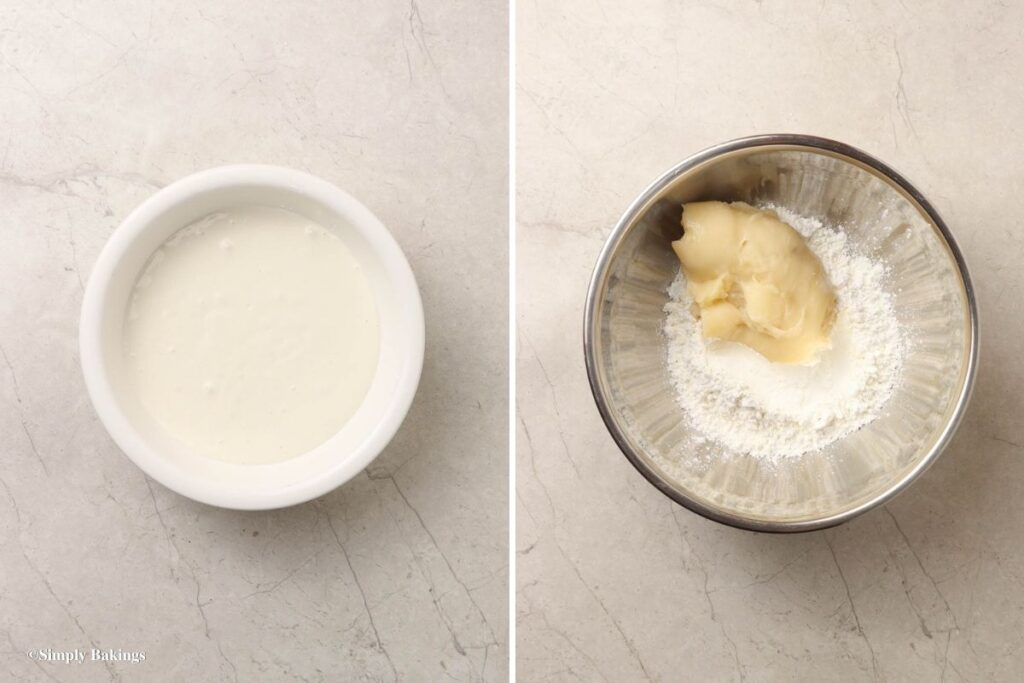
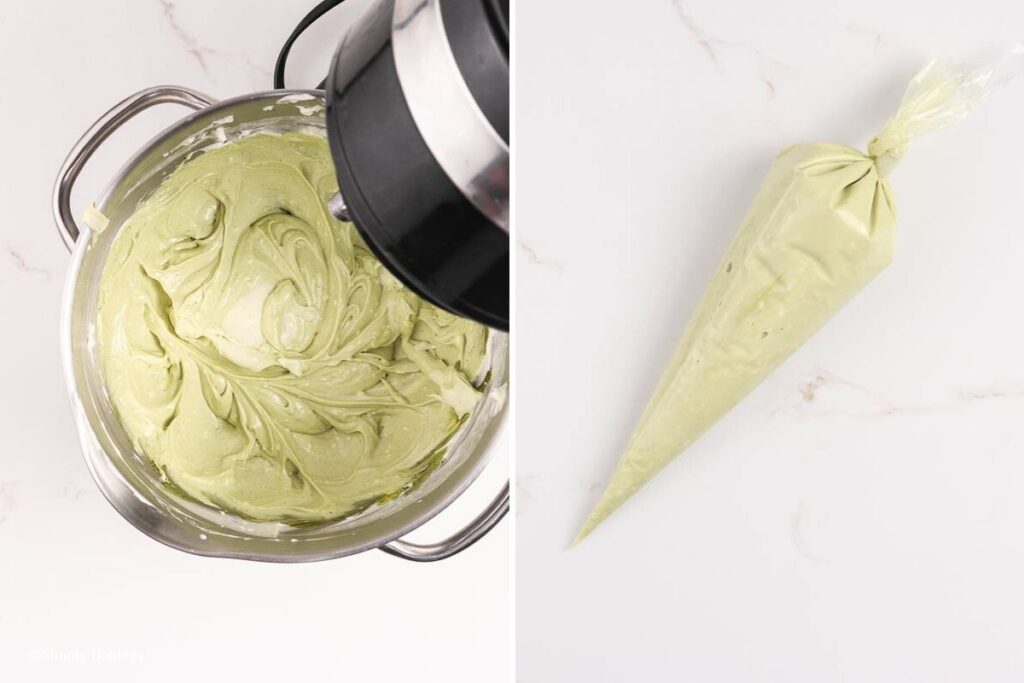
Prepare the Matcha Cream Cheese Filling:
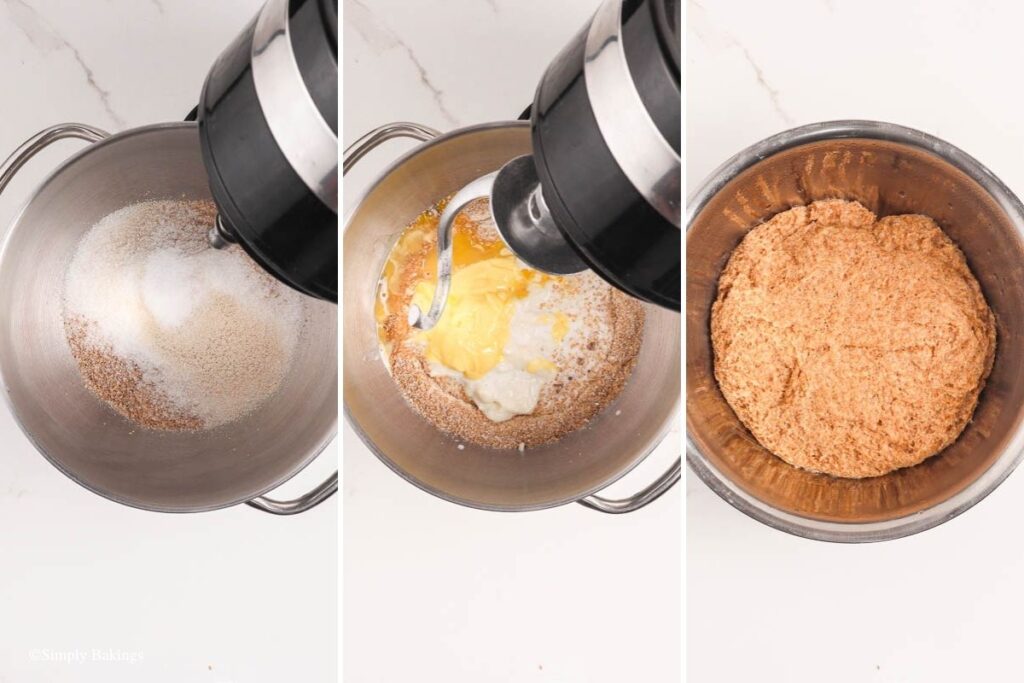
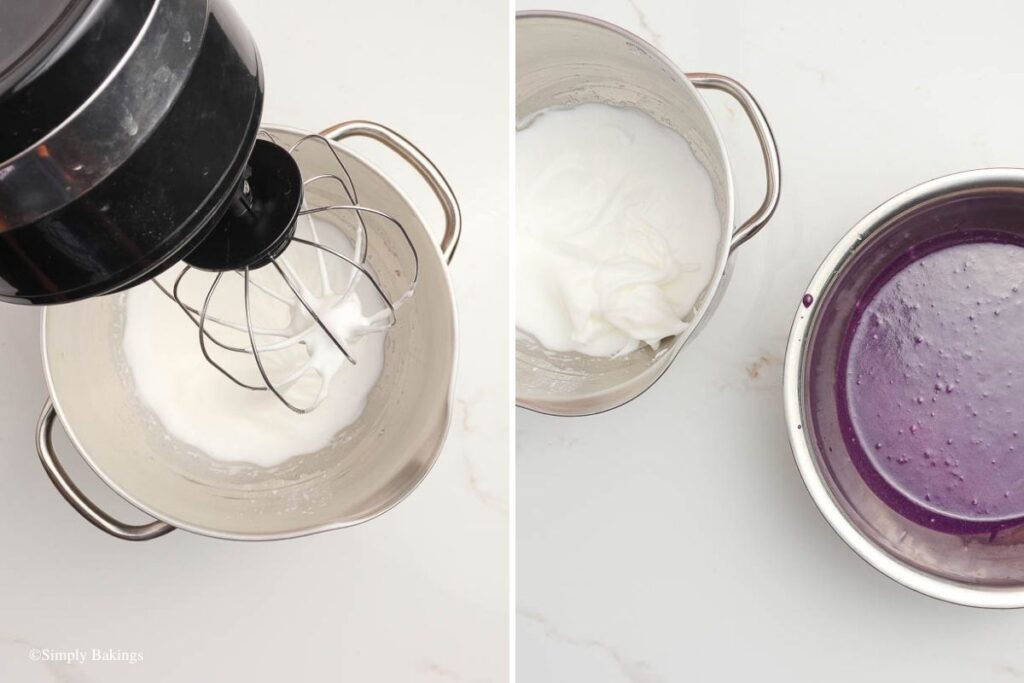
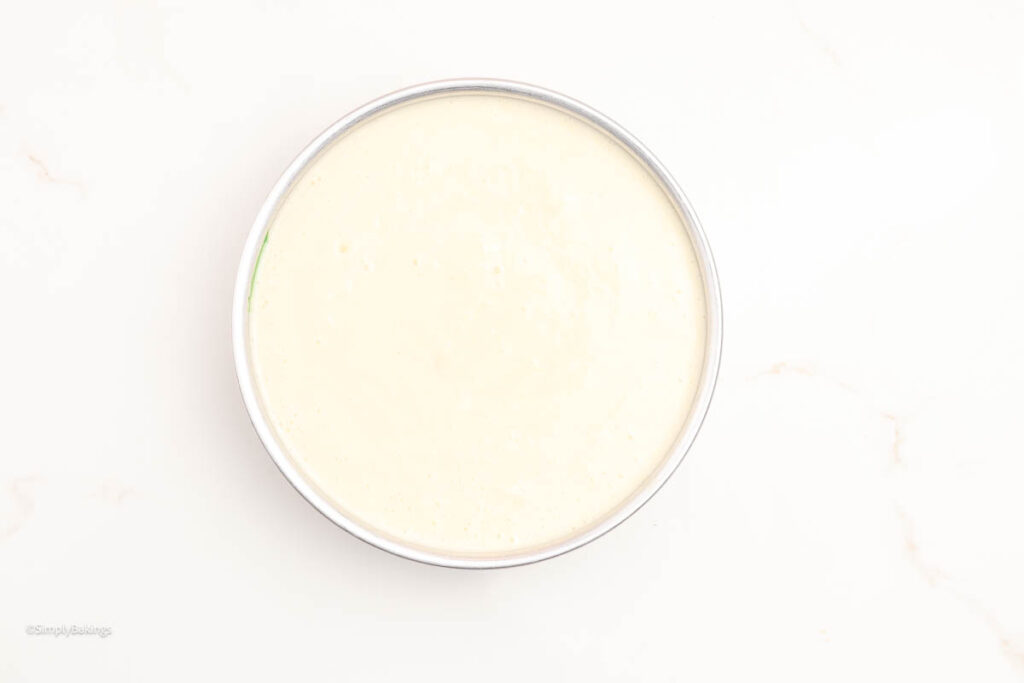
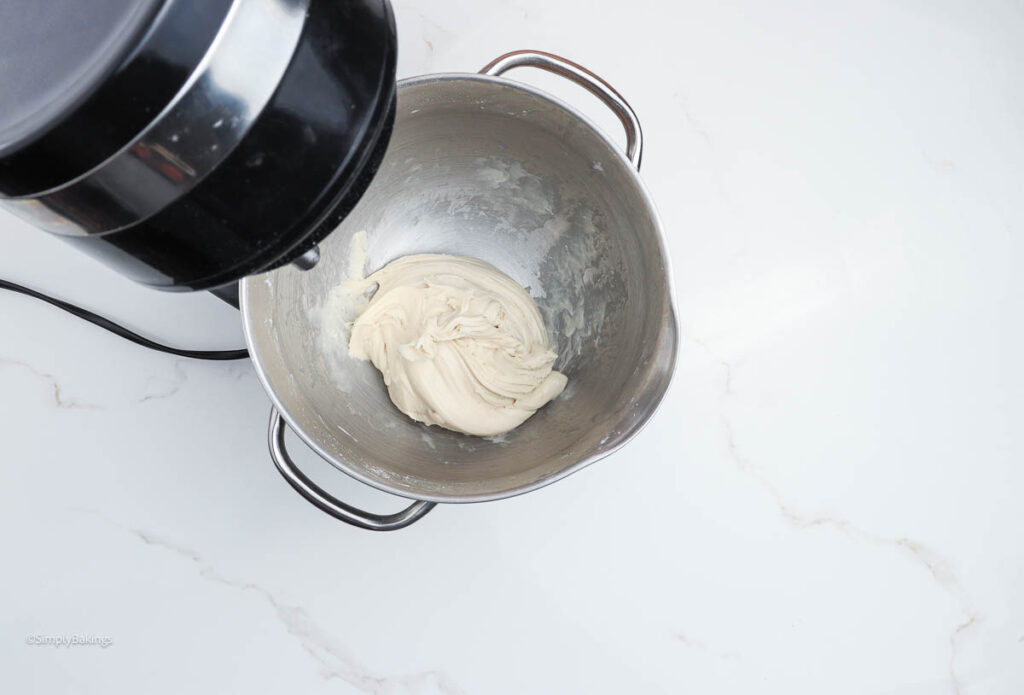
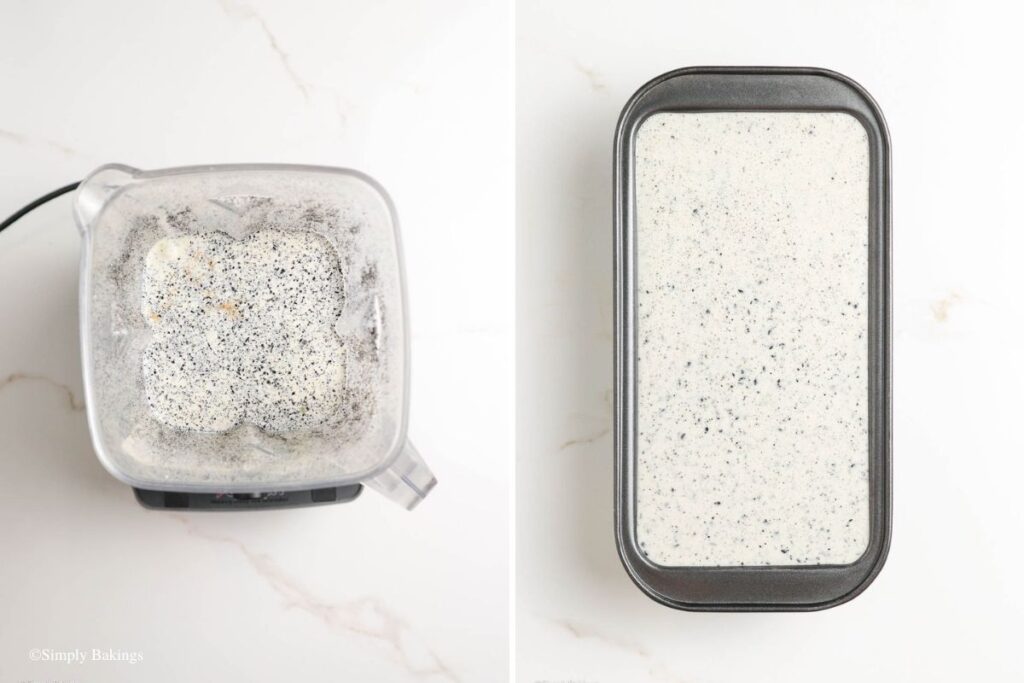
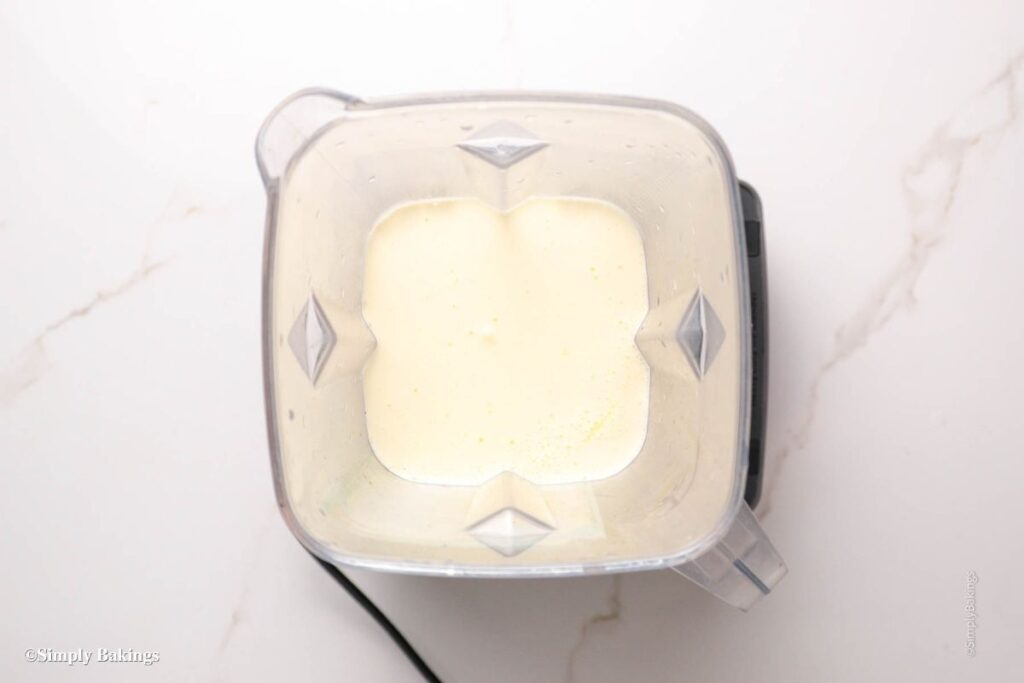
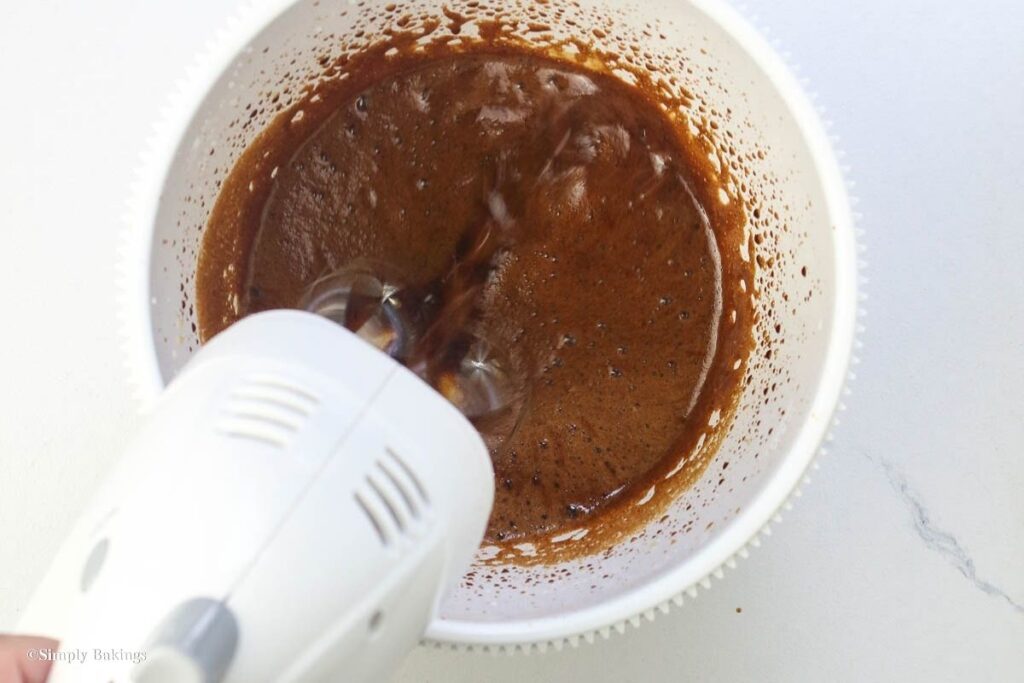
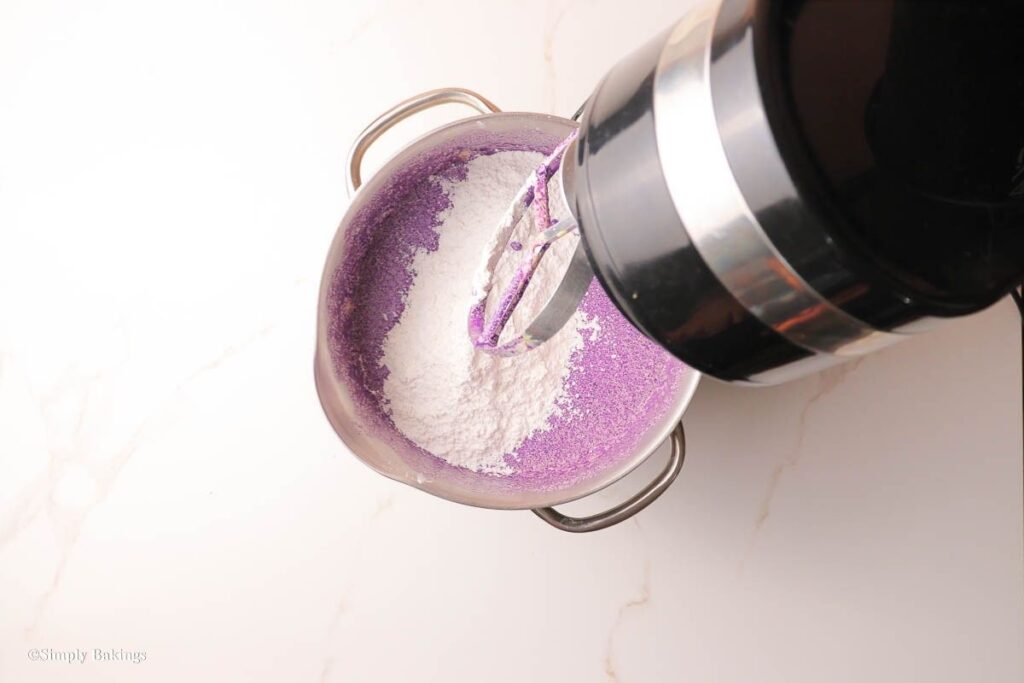
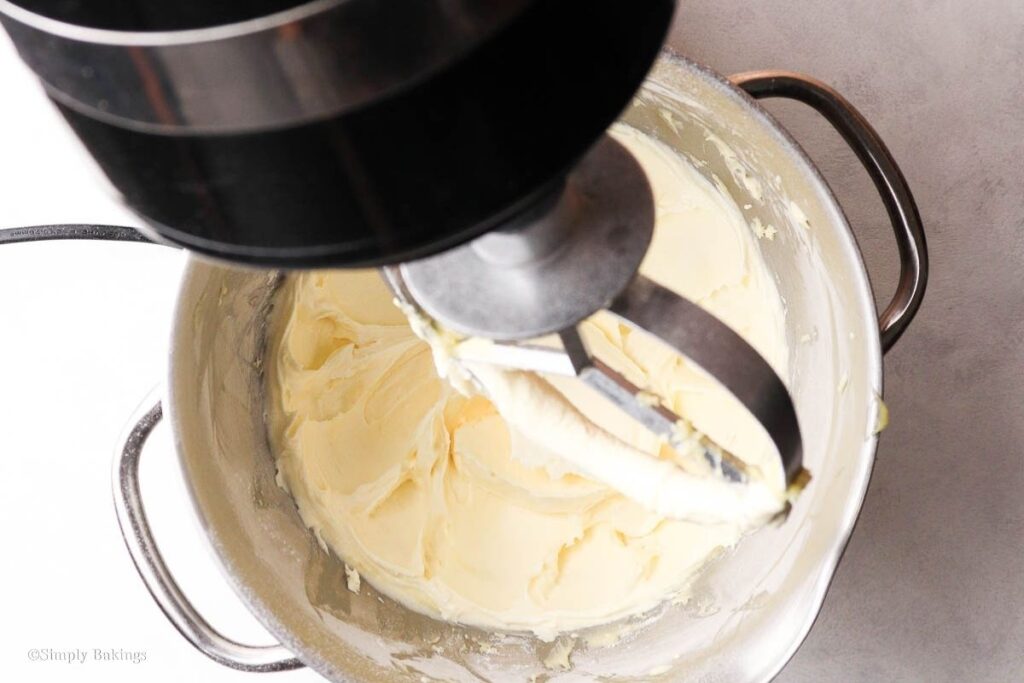
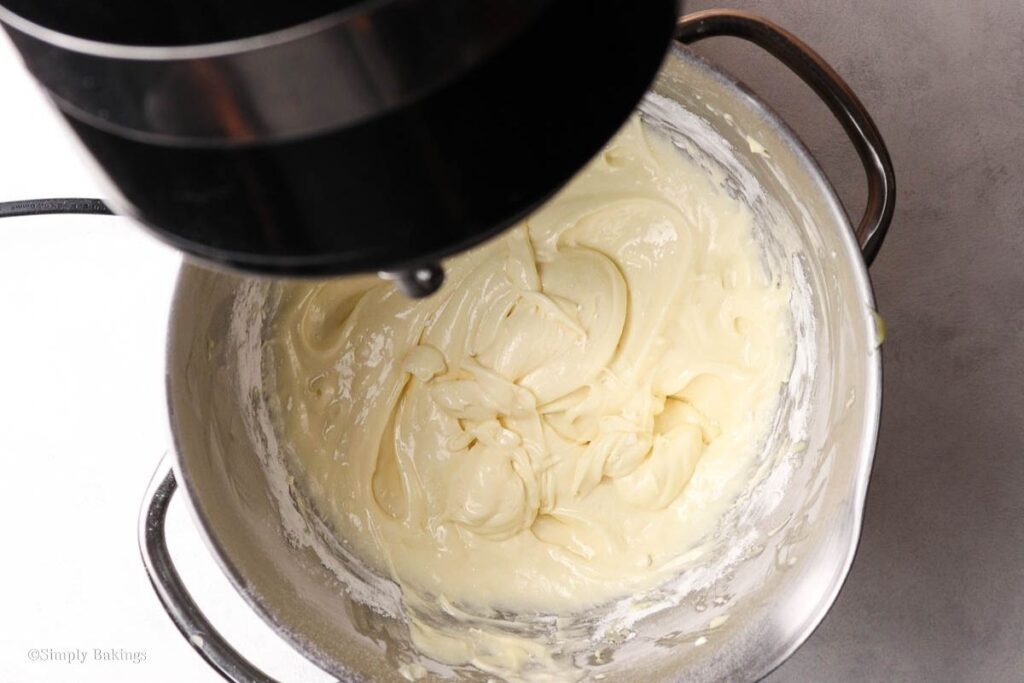
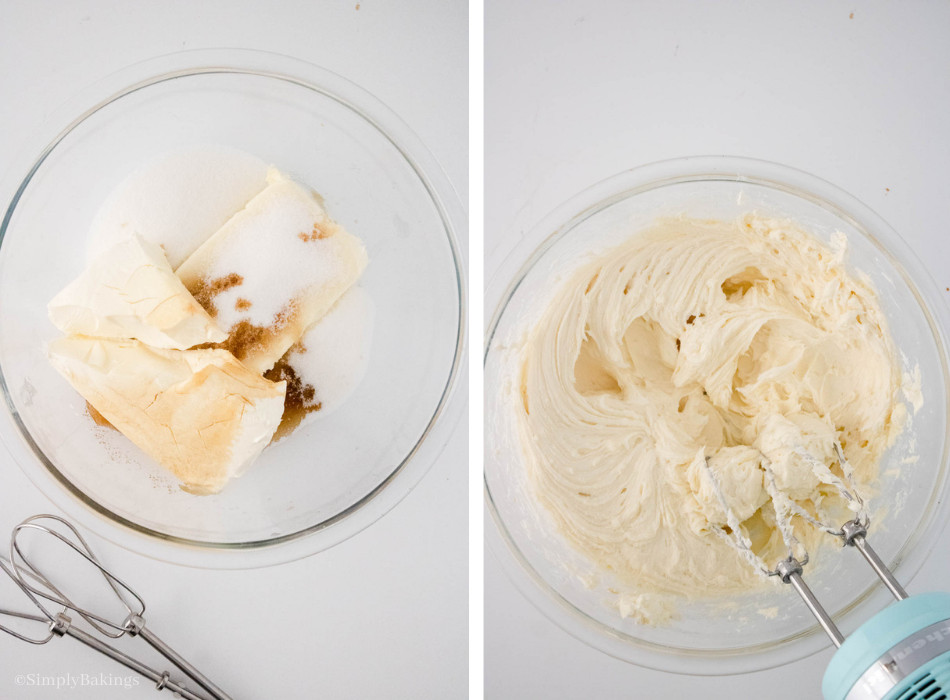
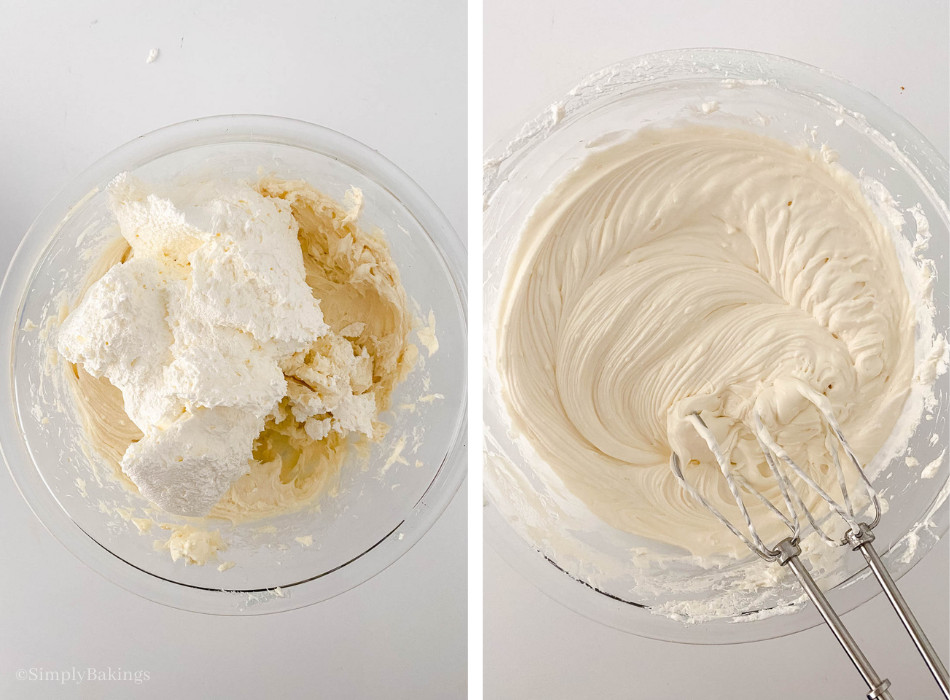
3. In a stand mixer or large mixing bowl, or with a hand mixer, whip the whipping cream and cream cheese until light and fluffy.
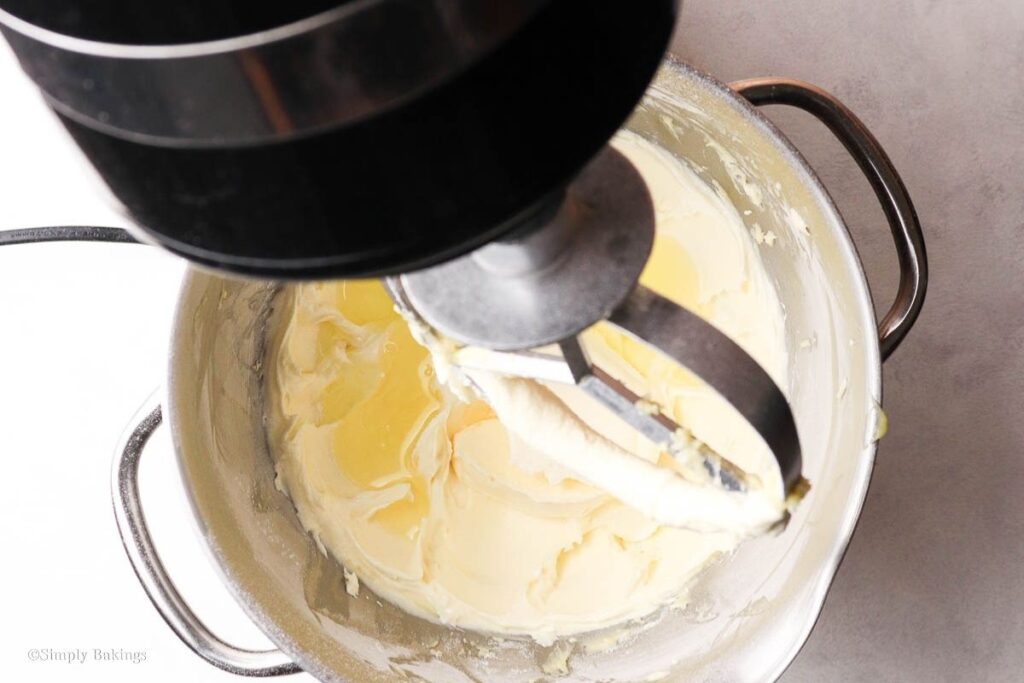
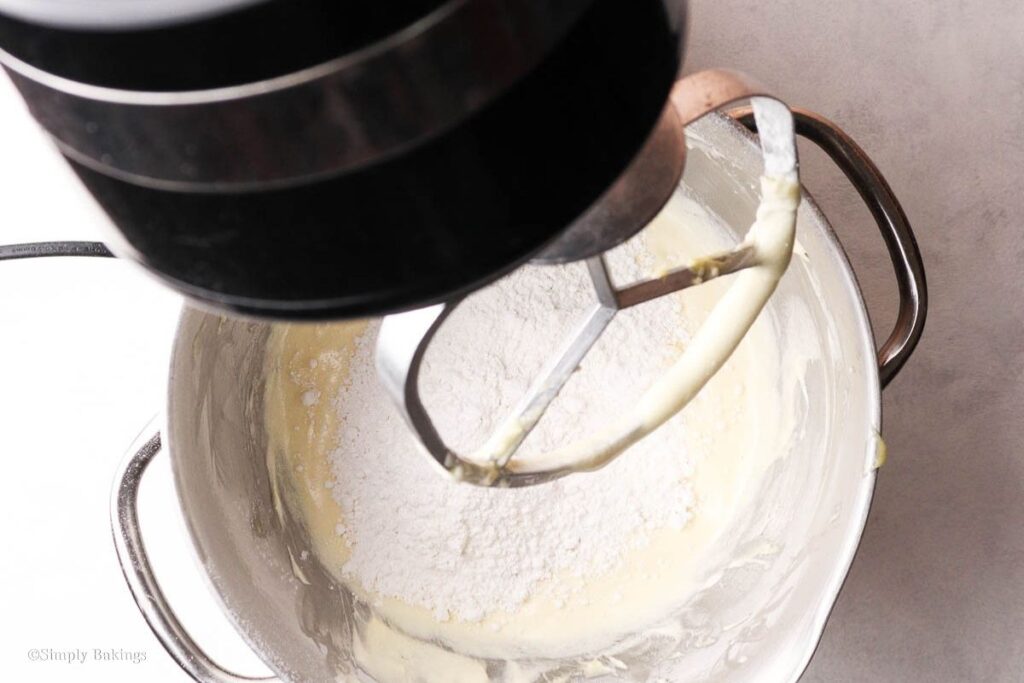
4. Add 2 tablespoons matcha syrup and white sugar, then whip again until fully incorporated and smooth.
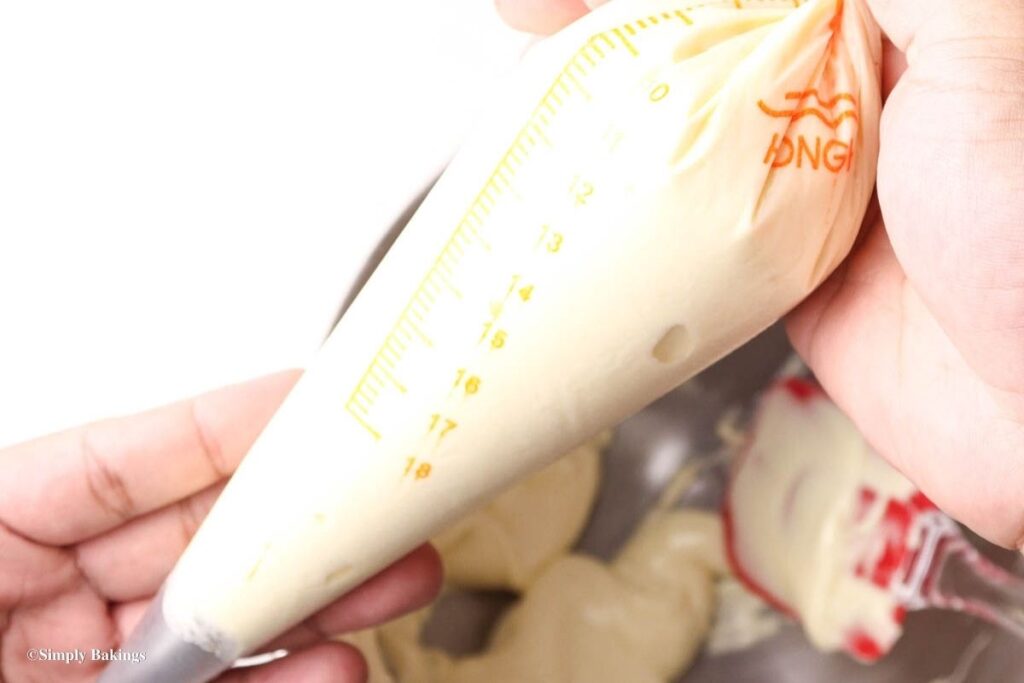
5. Transfer the mixture into a pastry bag and refrigerate until ready to use.
Soak the Ladyfingers:
6. Add the half cup of water to the remaining matcha syrup to thin it out.
7. Quickly dip each ladyfinger into the matcha mixture - do not oversoak. Repeat until all biscuits are coated.
Assemble the Tiramisu:
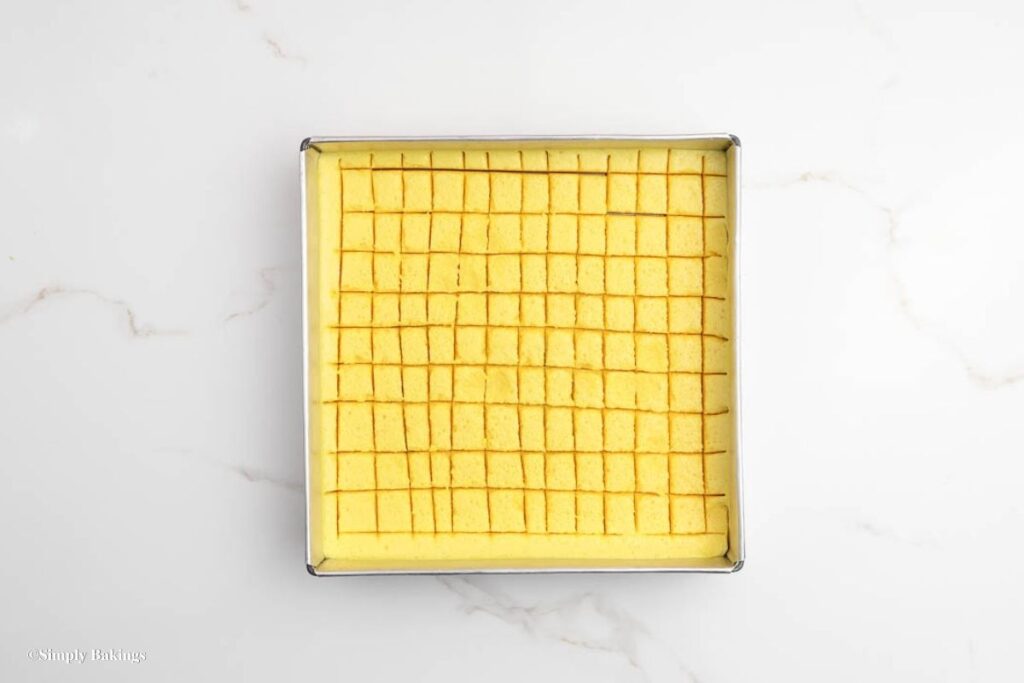
8. In a baking dish, arrange a layer of dipped ladyfinger cookies.
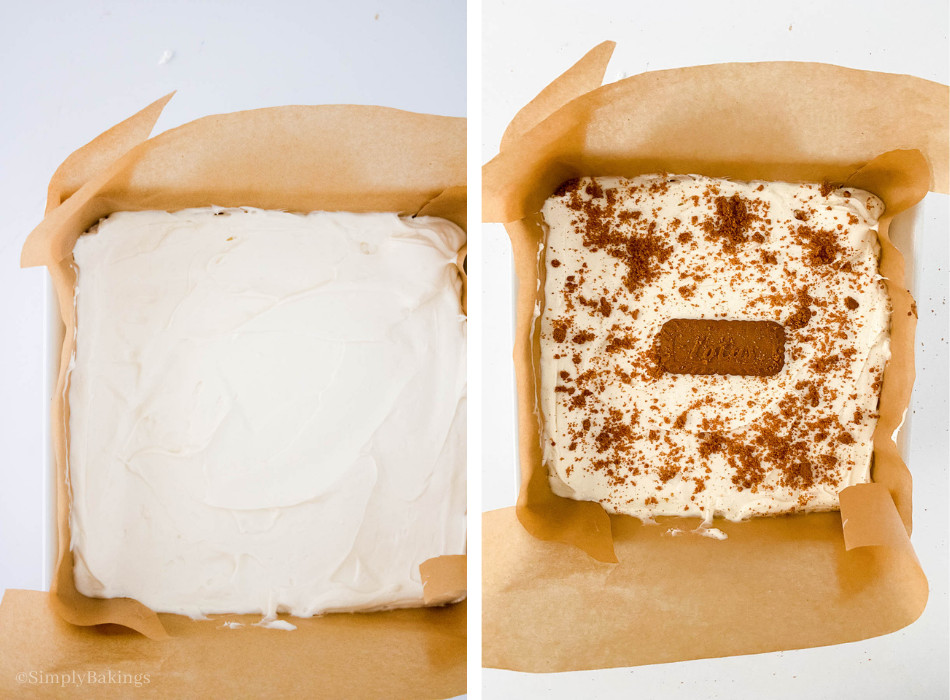
9. Pipe a generous amount of matcha cream over the ladyfingers and smooth it out using a spatula.
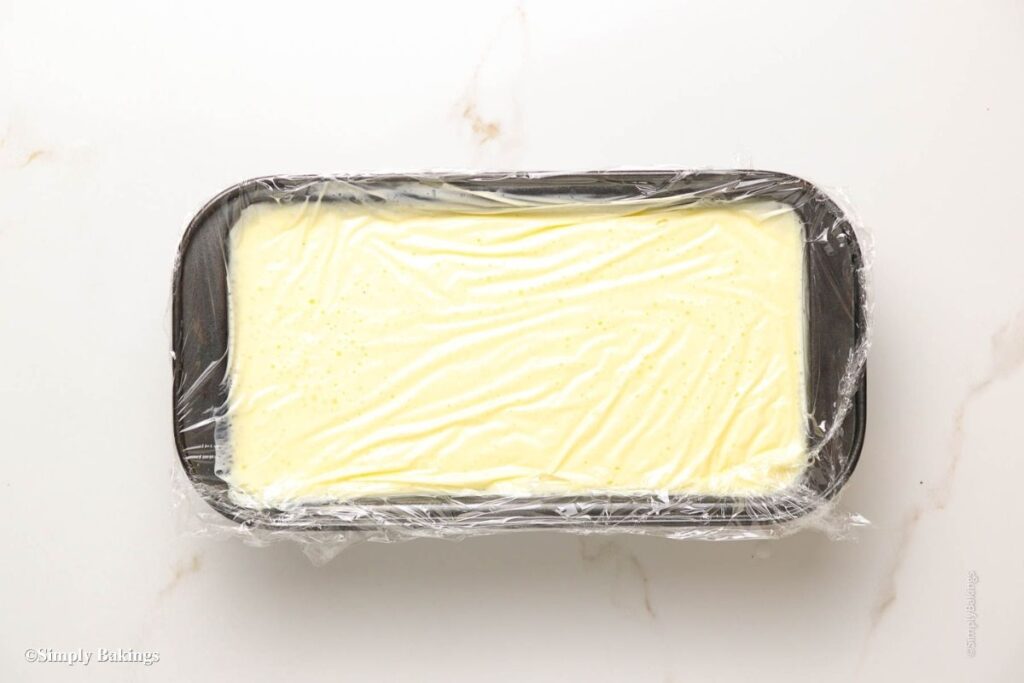
10. Repeat the layers - ladyfingers, then cream - until the dish is filled, ending with a layer of cream on top.
Finish and Chill:
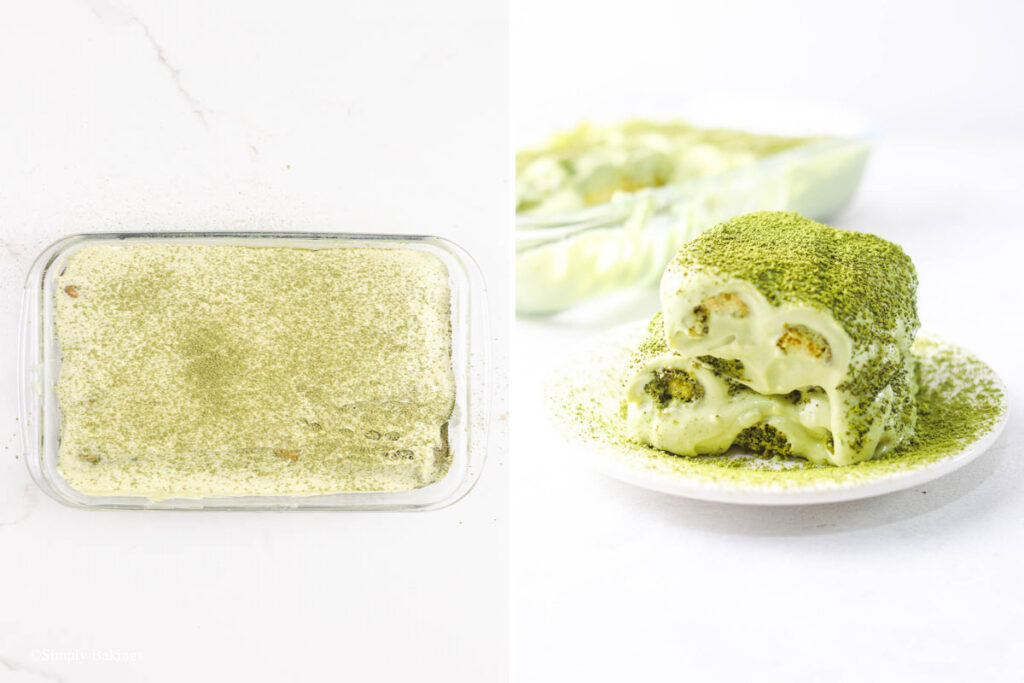
11. Lightly dust the top with 1 tablespoon matcha powder.
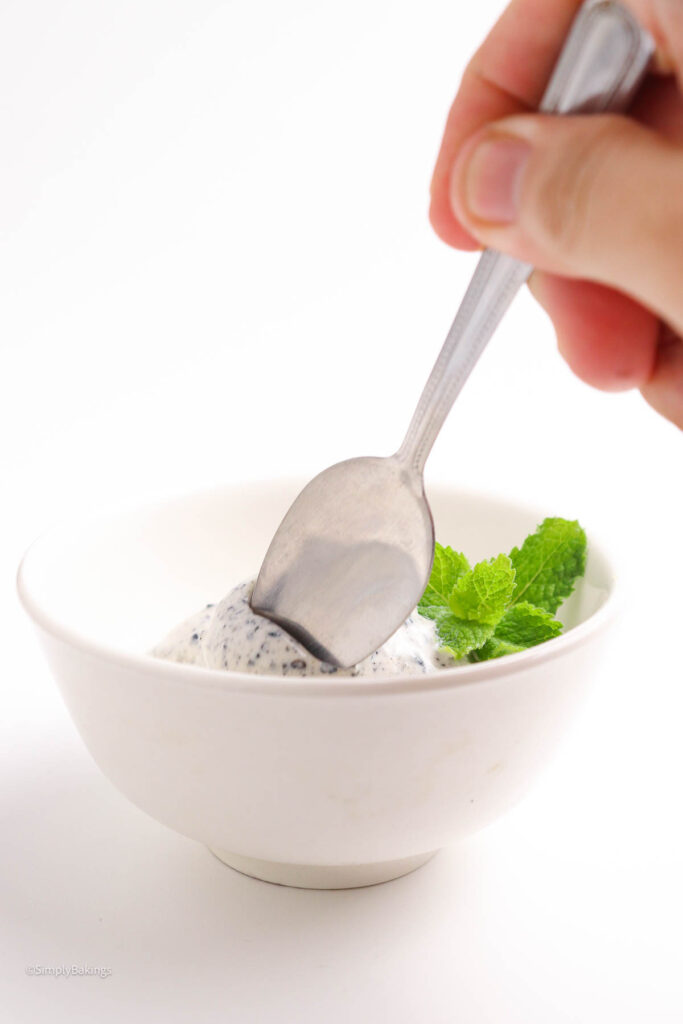
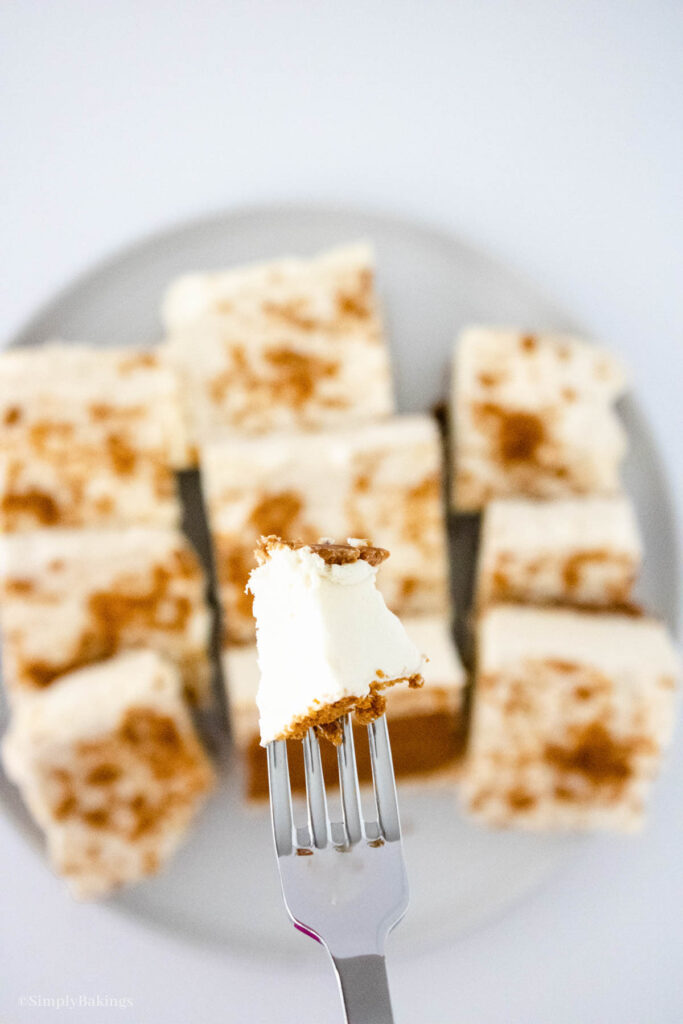
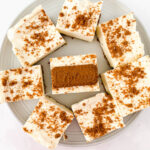
12. Chill in the refrigerator for at least 2 hours, or until set. Serve cold and enjoy!
Substitutions & Variations
- Ingredient Swap
Out of ladyfingers? Use sponge cake or even graham crackers.
You can also sweeten with maple syrup instead of sugar.
Try using savoiardi or substitute mascarpone cheese with a dairy-free option. - Variation
You can add vanilla extract for extra aroma and taste.
To change the base, make a single layer of ladyfingers dipped in matcha syrup. This adds structure and flavor. - Mistake to Avoid
Don’t skip the chill time! It helps the flavors and texture set beautifully. Also, fold the mascarpone mixture gently to keep the filling light and airy. - Storage Tips
- Store in the fridge, covered, for up to 3 days.
- Not suitable for freezing as the texture may change.
- Best enjoyed chilled - allow to set for at least 2 hours before serving.
FAQs
Best Ever Matcha Tiramisu
Ingredients
- ½ cup water
- 20 –30 ladyfinger biscuits
- 1 tablespoon matcha powder for dusting
Matcha Syrup:
- 3 tablespoons matcha powder
- ⅓ cup warm water
Matcha Cream Cheese Filling:
- 1½ cups whipping cream
- 2 cups cream cheese
- 2 tablespoons matcha syrup
- ⅓ cup granulated white sugar
Instructions
Make the Matcha Syrup:
- In a small bowl, whisk together matcha powder and warm water until smooth and frothy. Use a bamboo whisk if available.
- Set aside 2 tablespoons of the syrup for the cream filling.
Prepare the Matcha Cream Cheese Filling:
- In a stand mixer or large mixing bowl, whip the whipping cream and cream cheese until light and fluffy.
- Add 2 tablespoons matcha syrup and white sugar, then whip again until fully incorporated and smooth.
- Transfer the mixture into a pastry bag and refrigerate until ready to use.
Soak the Ladyfingers:
- Add the half cup of water to the remaining matcha syrup to thin it out.
- Quickly dip each ladyfinger into the matcha mixture—do not oversoak. Repeat until all biscuits are coated.
Assemble the Tiramisu:
- In a baking dish, arrange a layer of dipped ladyfingers.
- Pipe a generous amount of matcha cream over the ladyfingers and smooth it out.
- Repeat the layers - ladyfingers, then cream - until the dish is filled, ending with a layer of cream on top.
- Smooth the final layer with a spatula.
Finish and Chill:
- Lightly dust the top with 1 tablespoon matcha powder.
- Chill in the refrigerator for at least 2 hours, or until set. Best served cold!
Watch The Recipe Video!

You Might Also Like:
Recipes for Every Moment
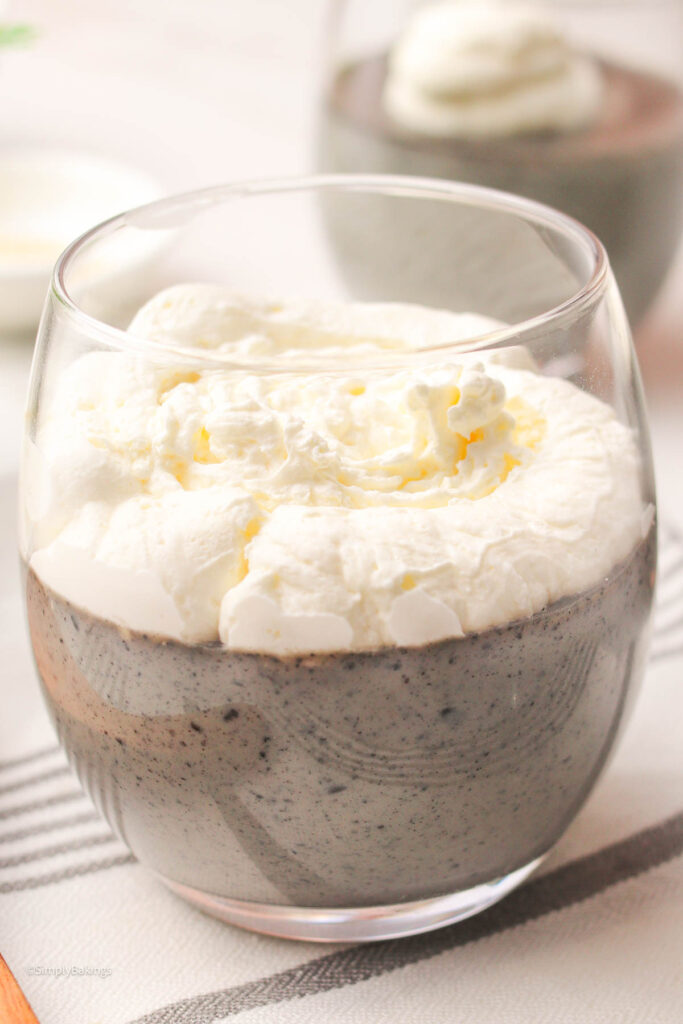
Is it scorching hot outside, and you need to cool down as soon as possible? This no-bake Matcha Tiramisu is the ultimate refreshing treat that chills you out in every creamy bite!