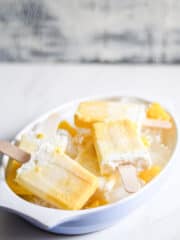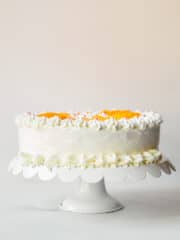
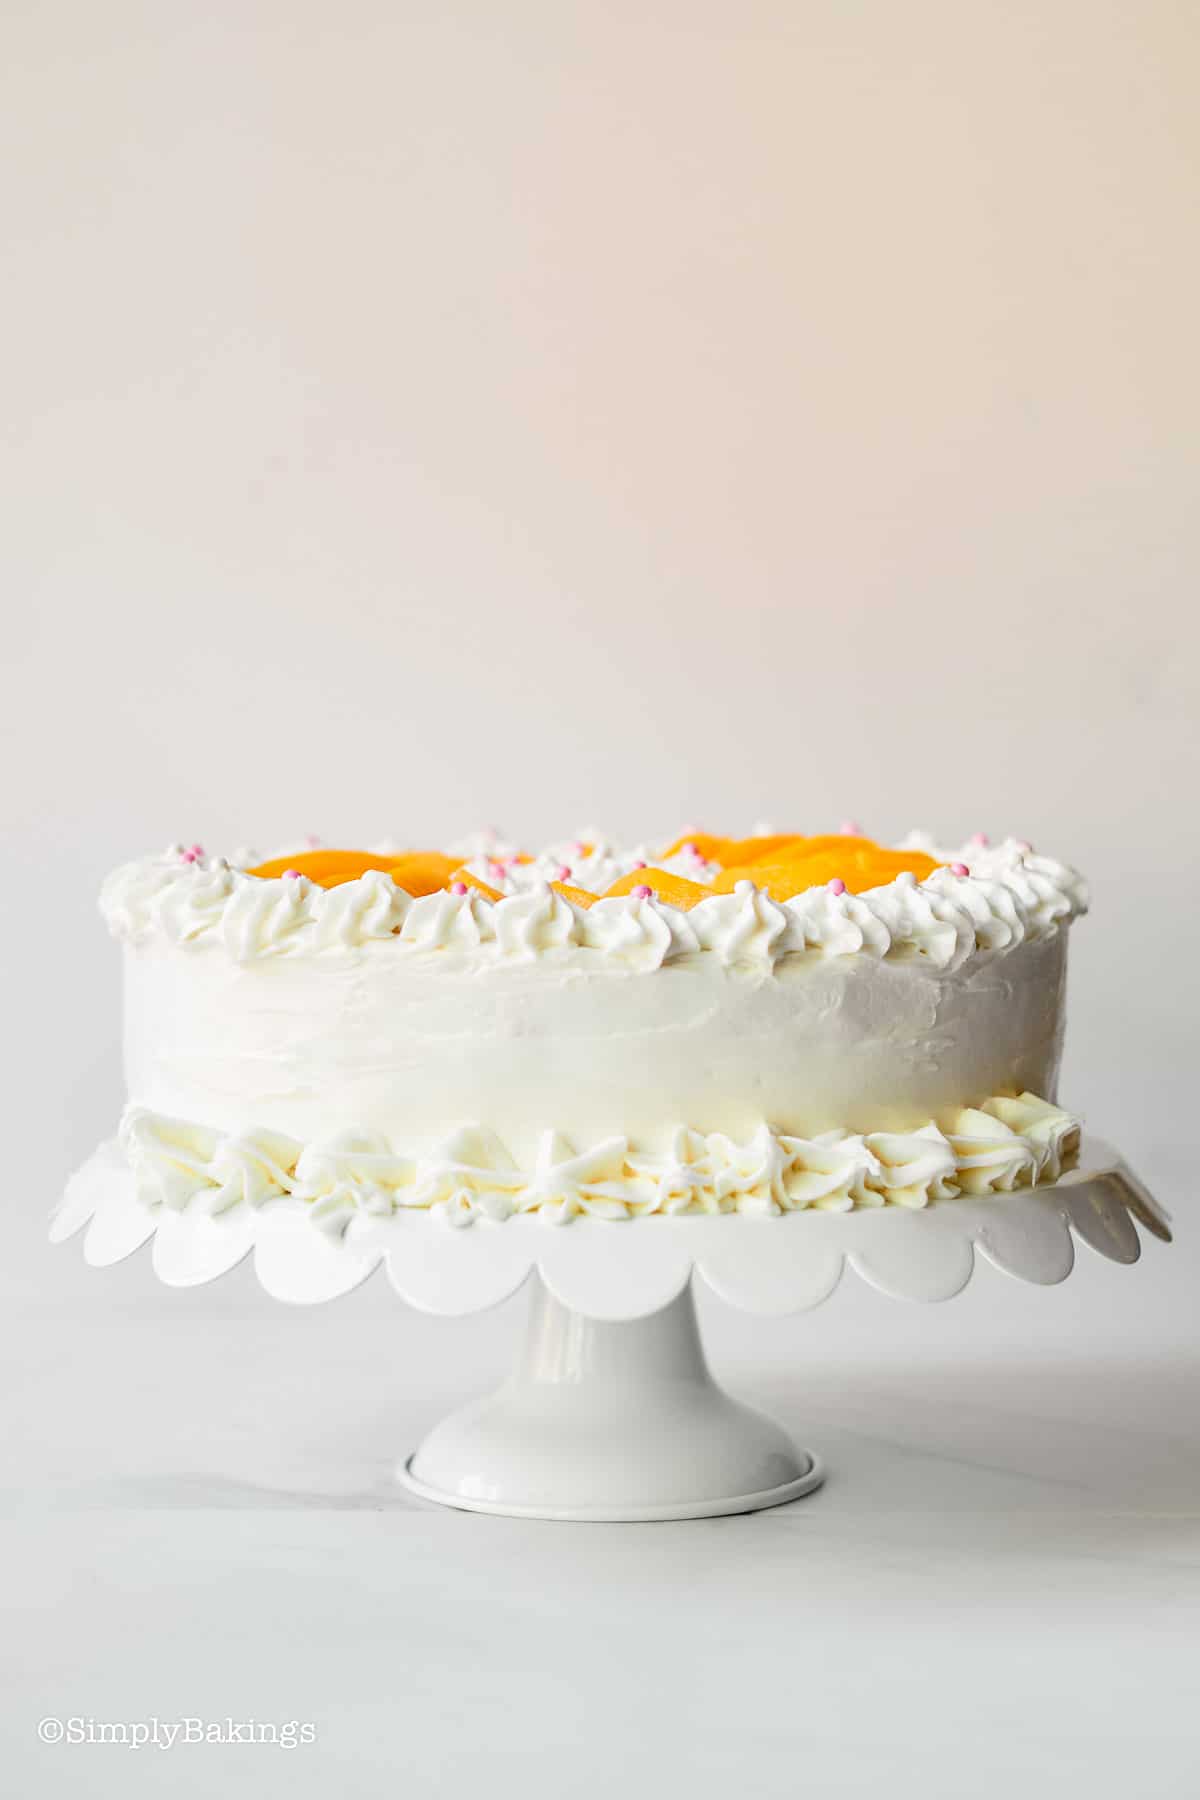
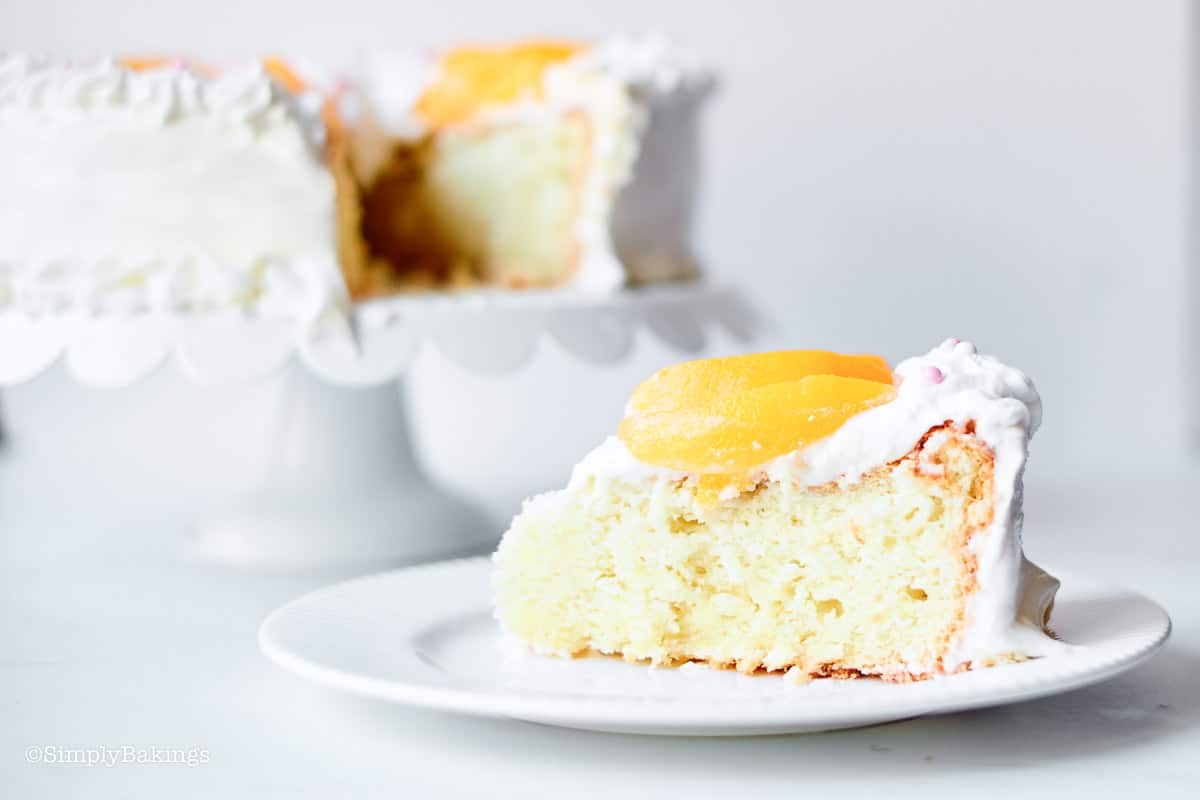
This Chiffon Cake is soft and tender, light as air, frosted with whipped buttercream, and garnished with peaches, perfect for parties, celebrations, or any special event!
Love Filipino-inspired desserts? Try my addicting Mango Float, Peach Upside Down Cake, Filipino Style Carrot Cake or my Best Ever Cassava Cake!
What is Chiffon Cake?
Chiffon Cake, pronounced she-fon cake, originated in America and was created by Harry Baker, a Californian insurance salesman who turned into a caterer. It is a super light, moist, and fluffy cake that is made mainly with flour, vegetable oil, eggs, and sugar.
It has a fluffy texture because egg whites are beaten separately until stiff and then folded into the cake batter before baking. The method of cooking this dessert is a combination of the method used in baking sponge cakes and conventional cakes.
It includes baking powder and vegetable oil, but the eggs are separated and the whites are beaten before being folded into the batter, creating a rich flavor like an oil cake, but with a lighter texture that is more like a sponge cake. It can be baked in tube pans or layered with fillings and frostings.
What is the difference between a chiffon cake and a sponge cake?
Chiffon cake and sponge cake are similar but have some key differences. Chiffon cake uses oil and egg yolks for a moist texture, while sponge cake relies on beaten eggs for its light and airy feel.
Chiffon cake is made by mixing wet and dry ingredients separately before folding in whipped egg whites. Sponge cake is created by beating eggs and sugar until fluffy, then gently folding in flour. Chiffon cake is moist and tender, while sponge cake is light and spongy.
Top Tips
- Whip the egg whites properly on medium speed. You may use chilled egg whites which will make very fine and smooth meringue with small and strong air bubbles inside. Whisk until stiff peaks with a tip that folds over. It is best to use a balloon whisk in folding the egg whites.
- It is best to use a chiffon tube pan without non-stick coating because the batter needs to cling to the sides of the pan as it rises, which is what gives the cake its height and airy crumb. The best pans are made of aluminum with a removable base.
- Fold the egg whites and batter thoroughly without destroying the bubbles to prevent.
- Check oven temperature: When the oven temperature is too low, the cake will not rise to its optimum height.
- Invert the pan immediately after cooking by sitting the funnel over the neck of a bottle. Or, if using a tube pan, invert it over a cooling rack and set it a few inches off the countertop.
Substitutions
- Flour: You can substitute cake flour with all-purpose flour, but the texture may be slightly denser.
- Sugar: You can use granulated sugar, brown sugar, or a sugar substitute like stevia or erythritol.
- Flavorings: You can experiment with different flavorings like vanilla extract, almond extract, lemon extract, or orange zest to customize the flavor of your chiffon cake.
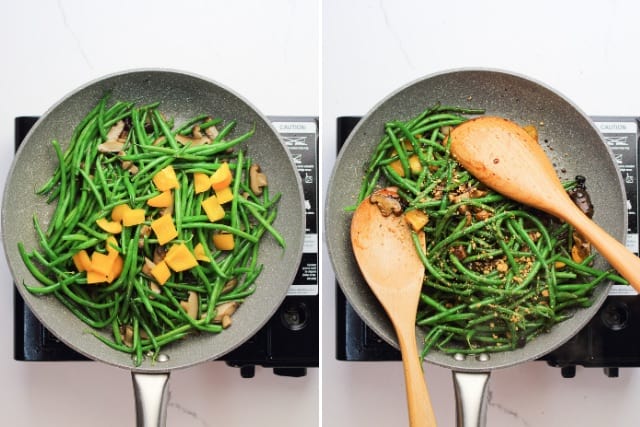
- Add-ins: Feel free to add in your favorite nuts, fruits, or chocolate chips to the batter for added flavor and texture.
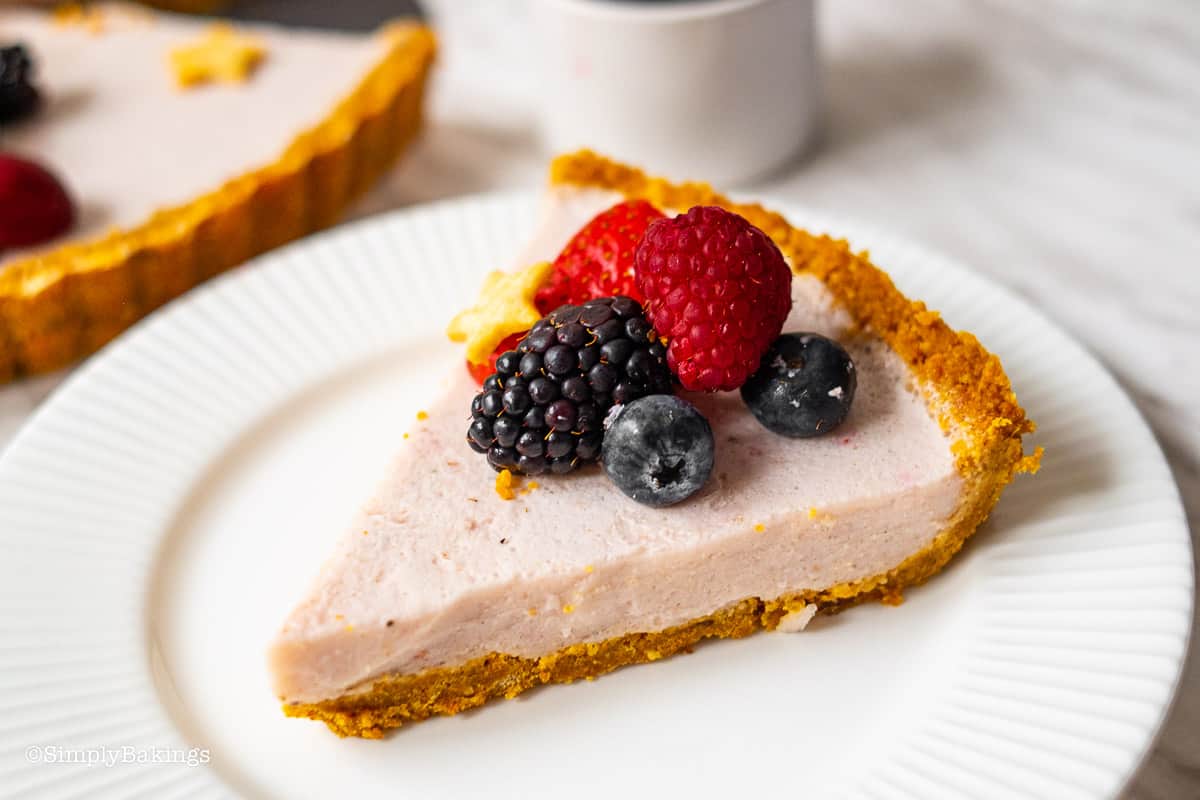
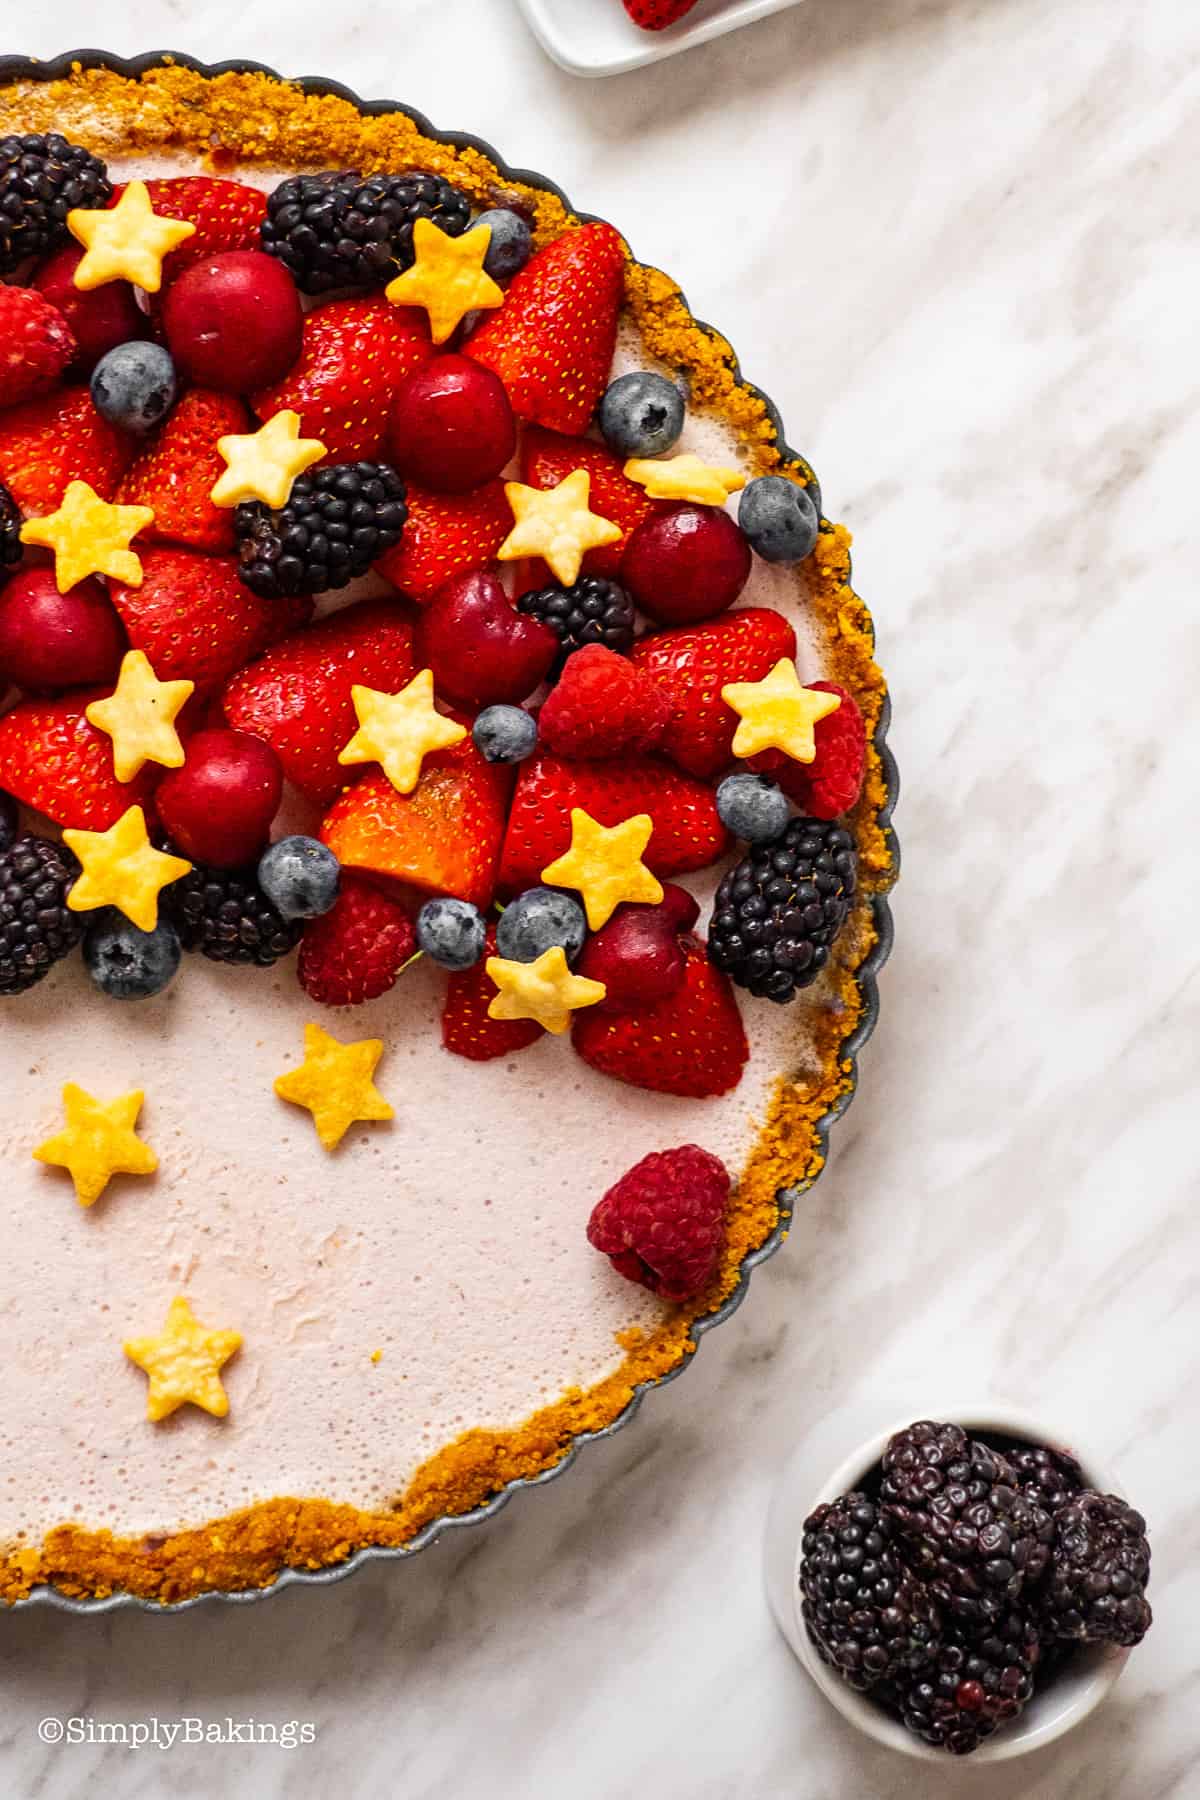
- Toppings: You can top your chiffon cake with whipped cream, frosting, fruit compote, or powdered sugar for added sweetness and decoration.
Variations
- Lemon Chiffon Cake: Add lemon zest and juice to the batter for a refreshing citrus twist.
- Orange Chiffon Cake: Substitute orange zest and juice for lemon to create a vibrant orange-flavored cake.
- Coconut Chiffon Cake: Add coconut extract or shredded coconut to the batter for a tropical taste.
- Garnish: Use mango, sliced strawberries, blueberries, sliced kiwi, or even shredded cheese
Storage
- Wrap the cake in plastic wrap and keep it well at room temperature for about 2-3 days. It is best kept in an air-tight container and chilled to extend its freshness. Transfer to room temperature for around 20 minutes before serving.
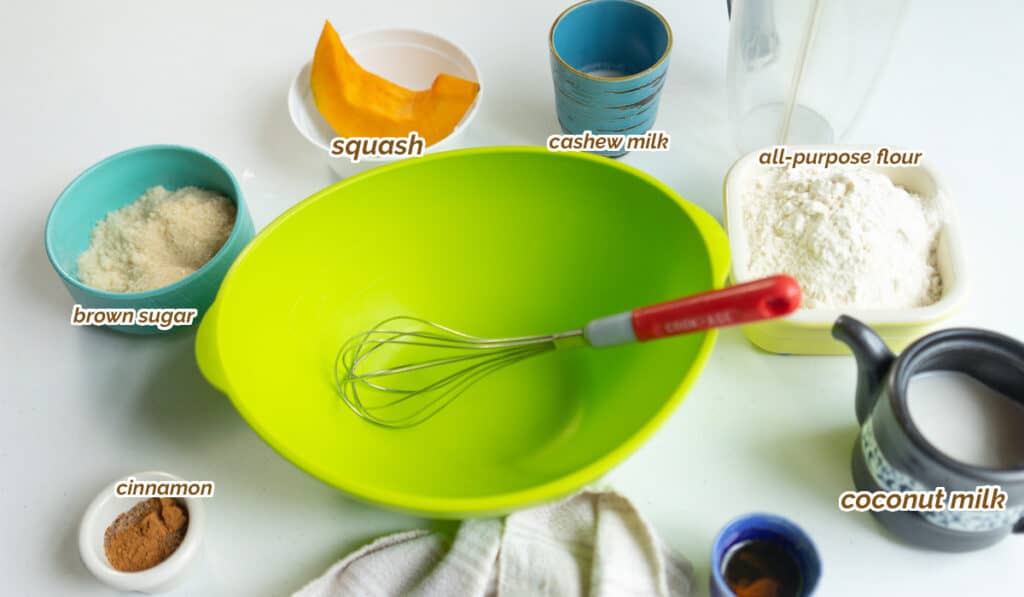
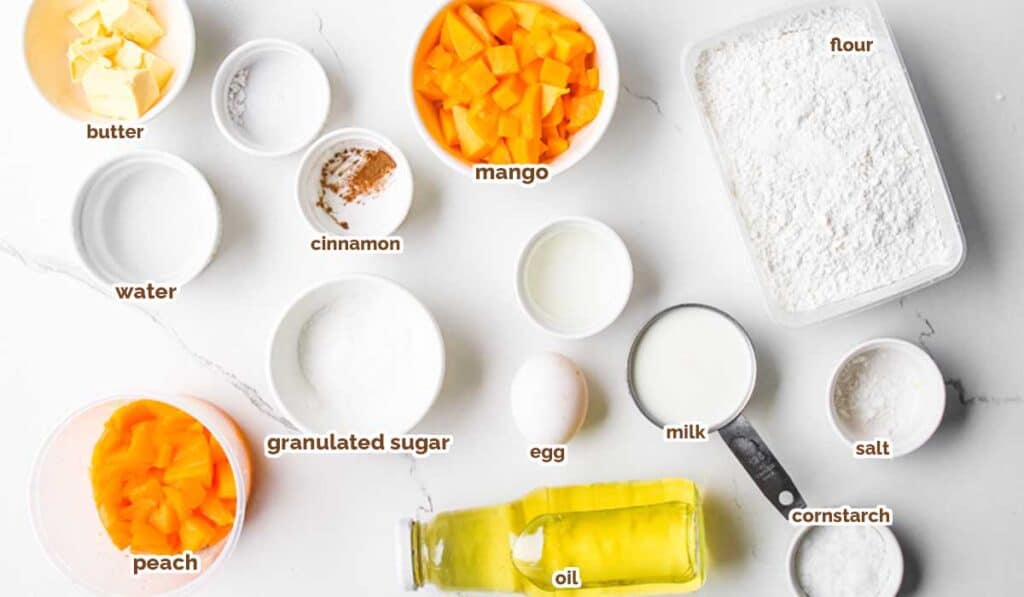
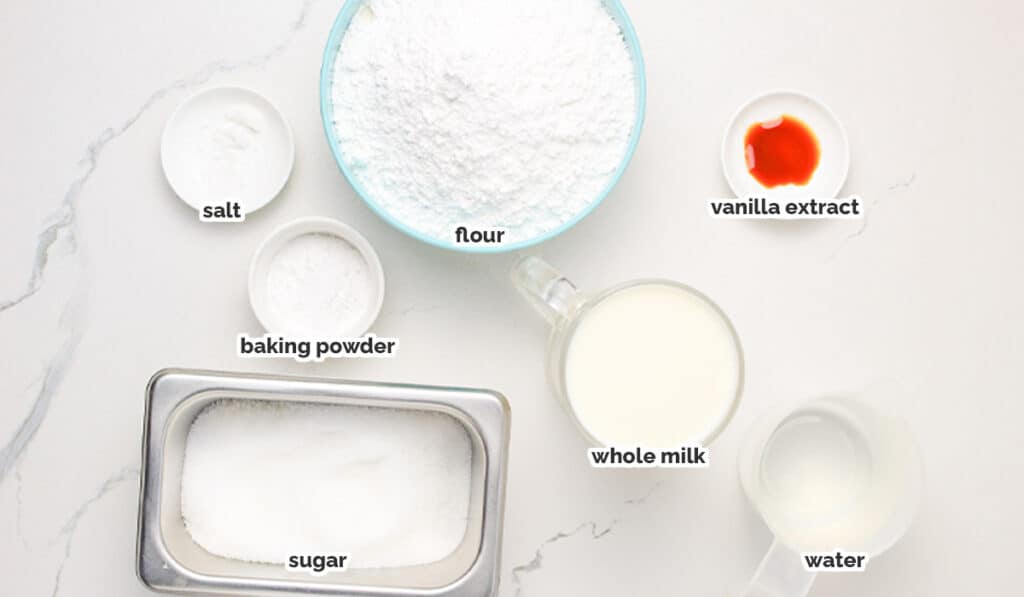
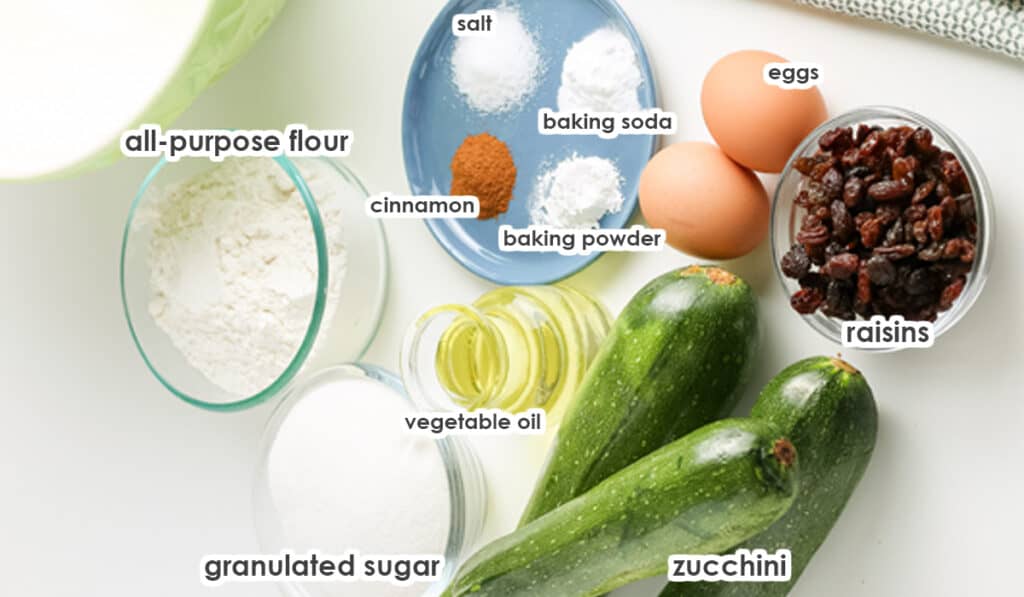
Ingredients
Listed below are all the ingredients you will need:
- cake flour
- white sugar
- baking powder
- salt
- vegetable oil
- egg yolks
- cold water
- vanilla extract
- egg whites
- cream of tartar

Instructions
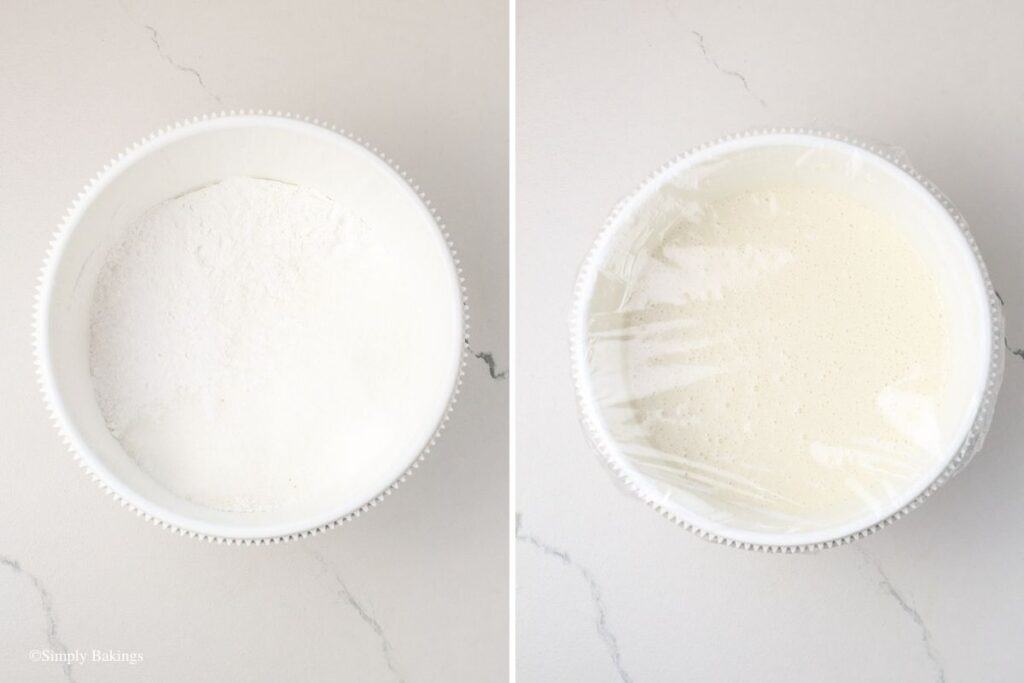
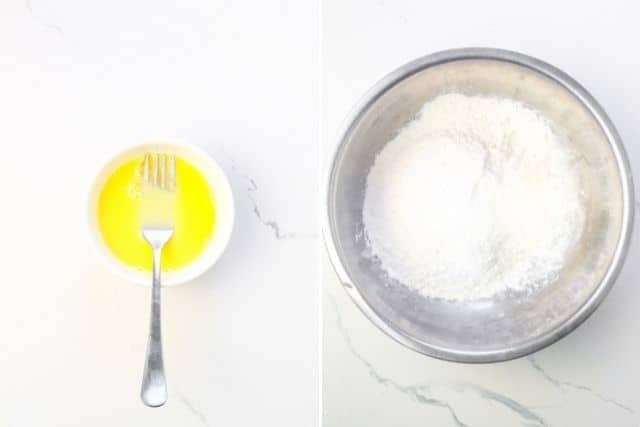
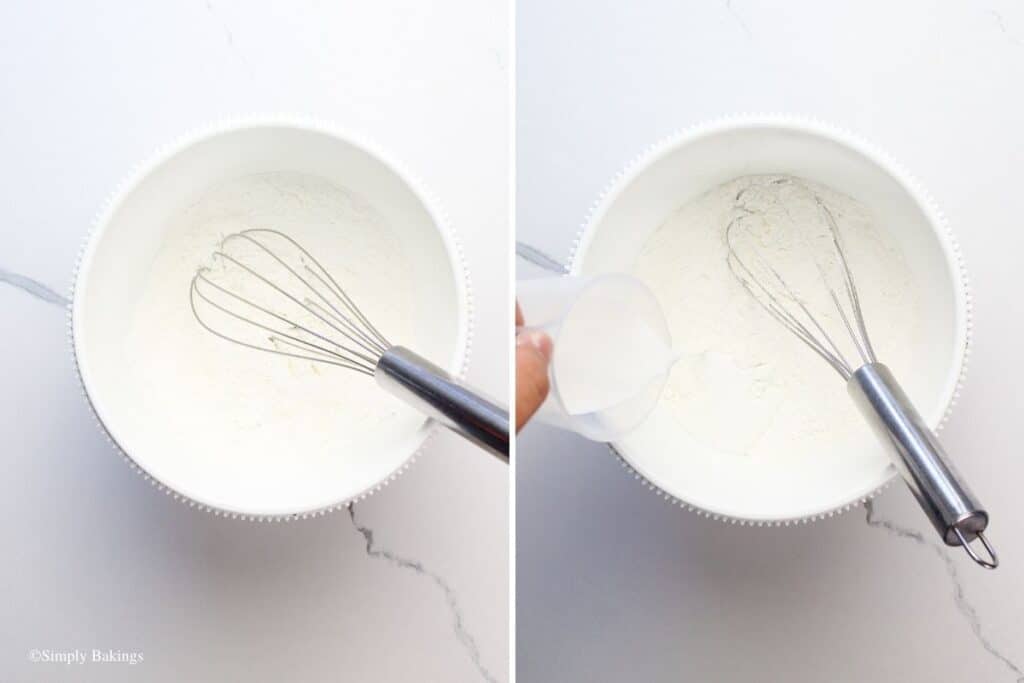
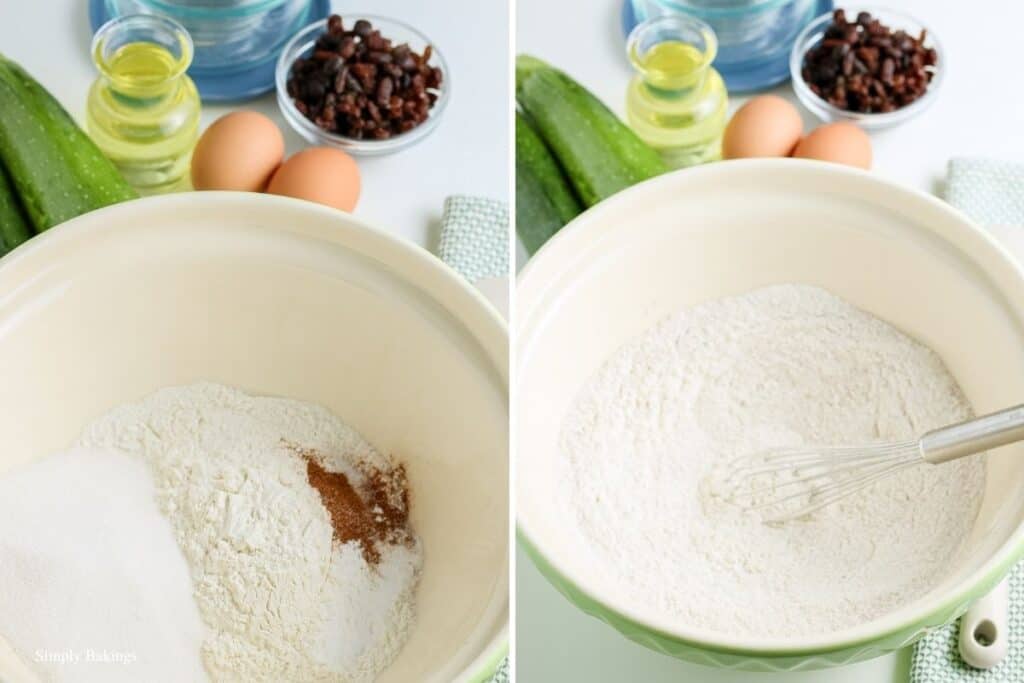
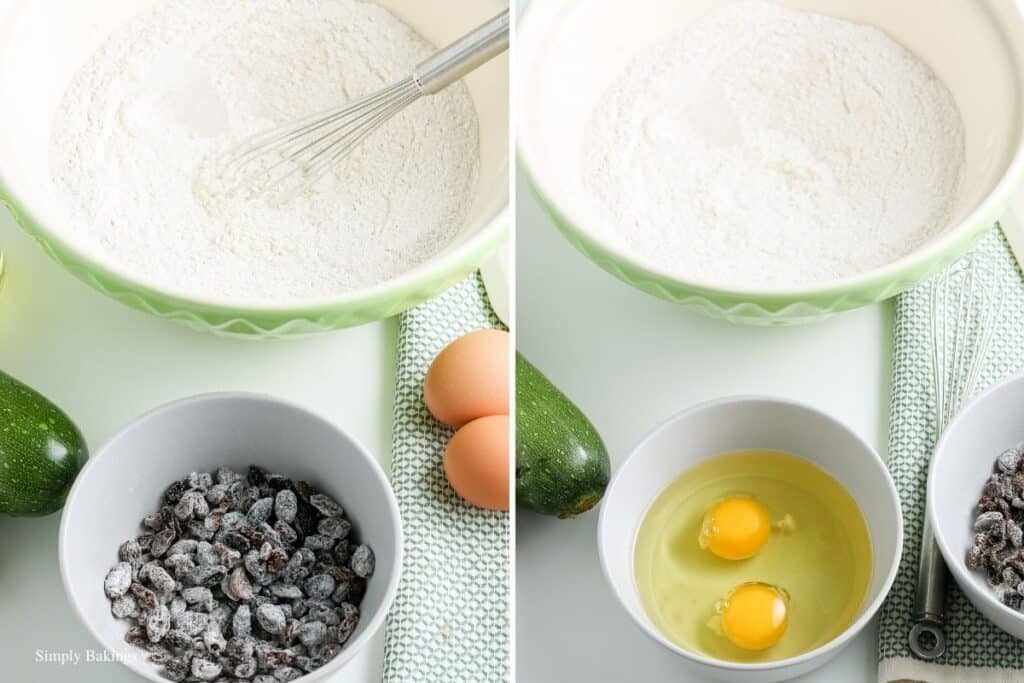
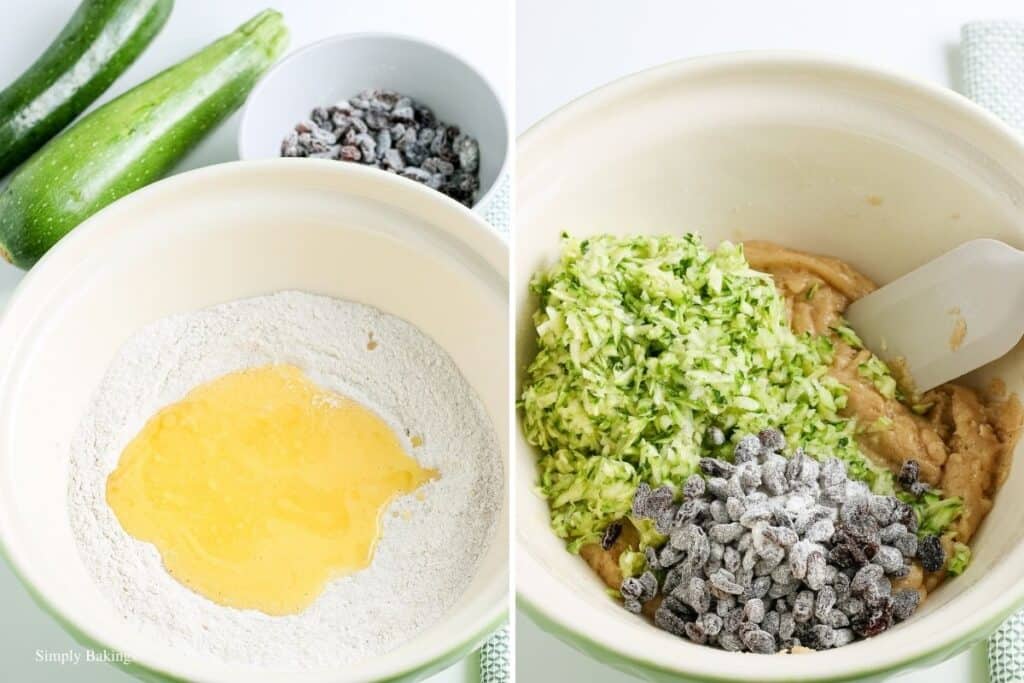
Preheat the oven to 325 degrees F. Wash a 10-inch angel food tube pan in hot soapy water to ensure it is totally grease free. Measure flour, sugar, baking powder, and salt into a sifter, then sift into a large bowl. Make a well and in this order, add oil, egg yolks, water, and vanilla, and don’t beat.

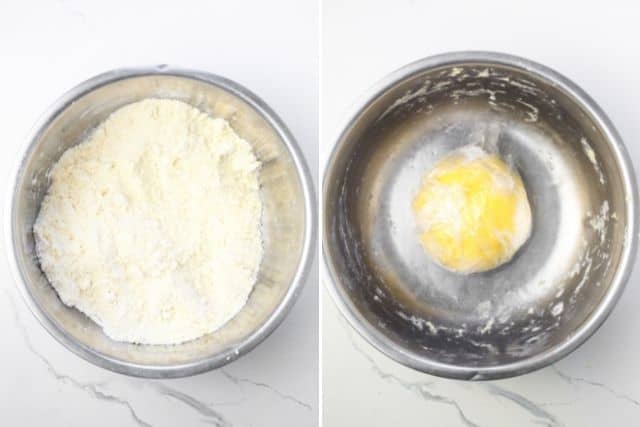
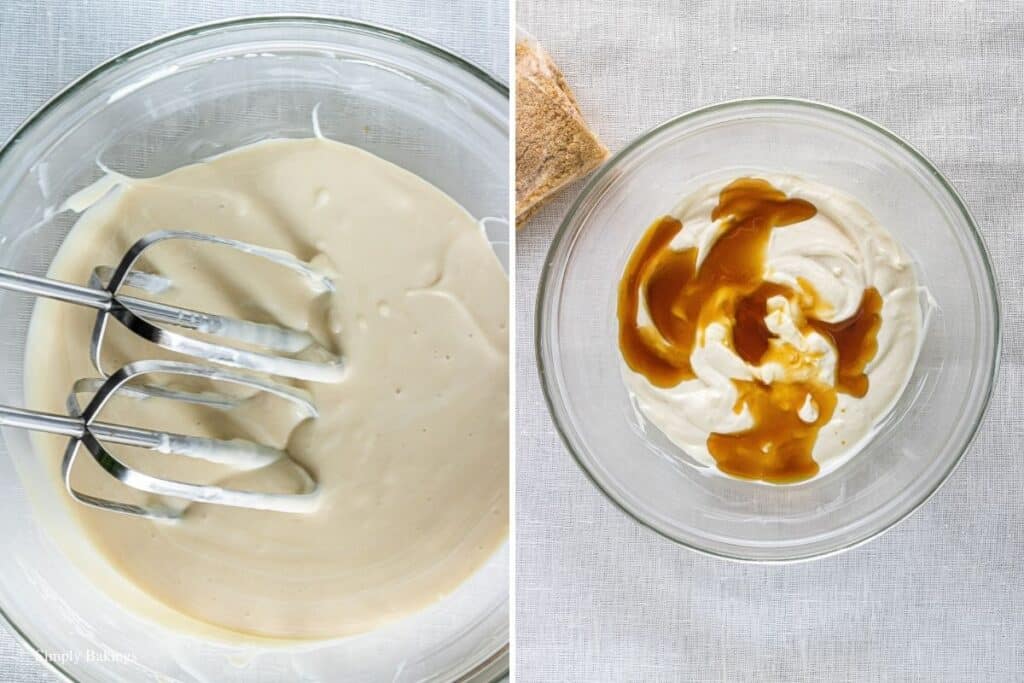
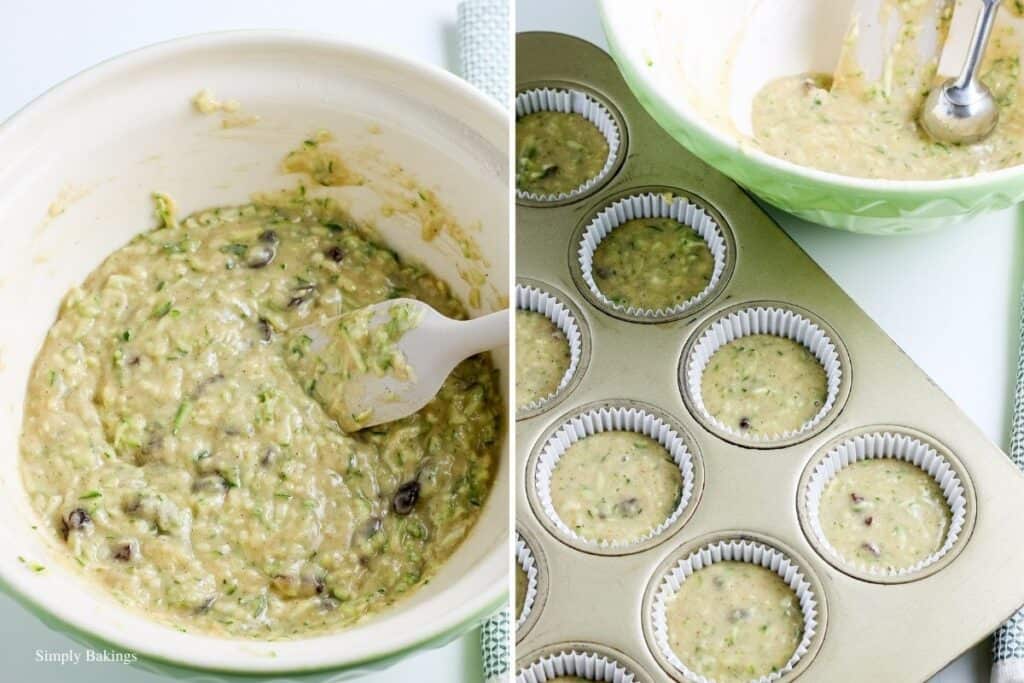
In a large mixing bowl, beat egg whites and cream of tartar until very stiff. Set aside. Using the same beaters, beat egg yolk batter until smooth and light. Pour gradually over egg whites, folding in with a rubber spatula, and do not stir. Pour batter into an angel food tube pan.
Bake for 55 minutes. Increase the heat to 350 degrees F (175 degrees C), and bake for 10 to 15 minutes until done. Invert the pan until cool. Allow it to cool completely before frosting.

Slice and serve. Enjoy!
FAQs

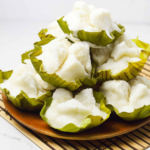
Soft and Fluffy Filipino Chiffon Cake
Ingredients
- 2 cups cake flour
- 1 ½ cups granulated sugar
- 1 tablespoon baking powder
- 1 teaspoon salt
- ½ cup vegetable oil
- 6 egg yolks
- ¾ cups cold water
- 2 teaspoons vanilla extract
- 6 egg whites
- ½ teaspoon cream of tartar
Instructions
- Preheat the oven to 325 degrees F. Wash a 10-inch angel food tube pan in hot soapy water to ensure it is totally grease free
- Measure flour, sugar, baking powder, and salt into a sifter, then sift into a large bowl. Make a well and in this order, add oil, egg yolks, water, and vanilla, and don’t beat.
- In a large mixing bowl, beat egg whites and cream of tartar until very stiff. Set aside.
- Using the same beaters, beat egg yolk batter until smooth and light. Pour gradually over egg whites, folding in with a rubber spatula, and do not stir. Pour batter into an angel food tube pan.
- Bake for 55 minutes. Increase heat to 350 degrees F (175 degrees C), and bake for 10 to 15 minutes until done. Invert the pan until cool.
- Allow it to cool completely before frosting.
Notes

This is one of my favorite cakes yet. I love how airy it is and it's simply amazing if you use mangos and a whipped frosting. It reminds me of Goldilocks cakes from the Philippines. Anyways, if you decide to make this, please tag me on Facebook or Pinterest. Enjoy!