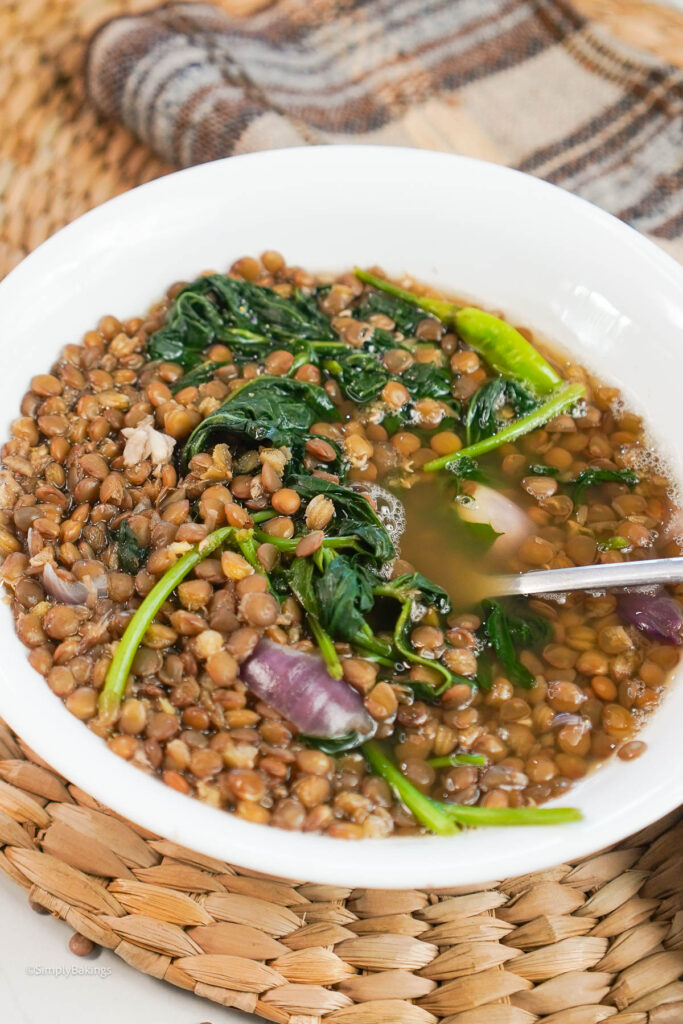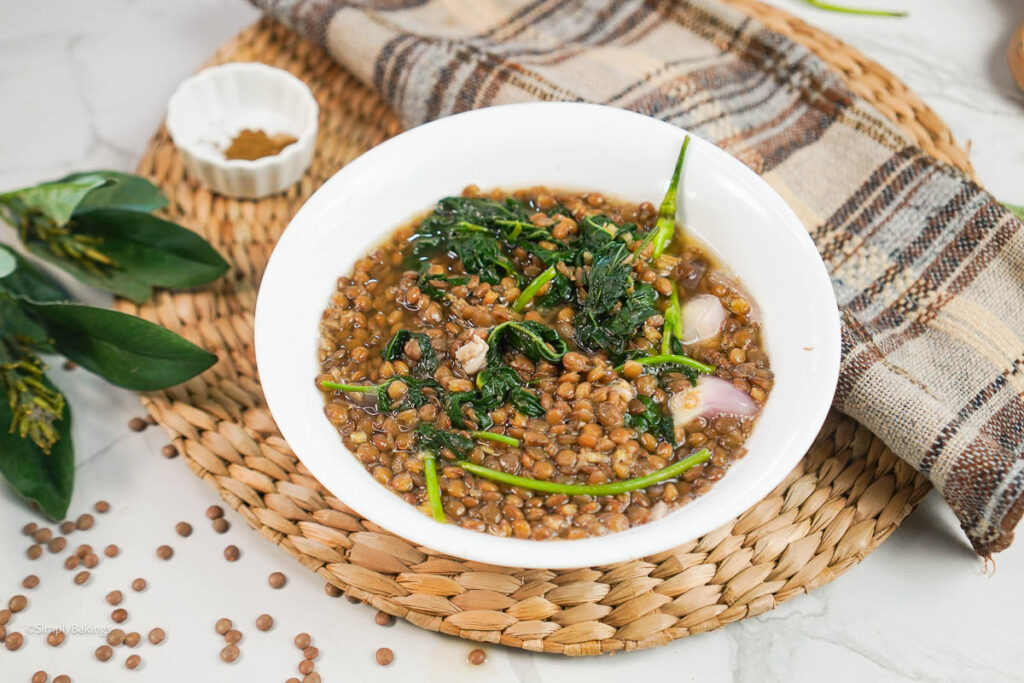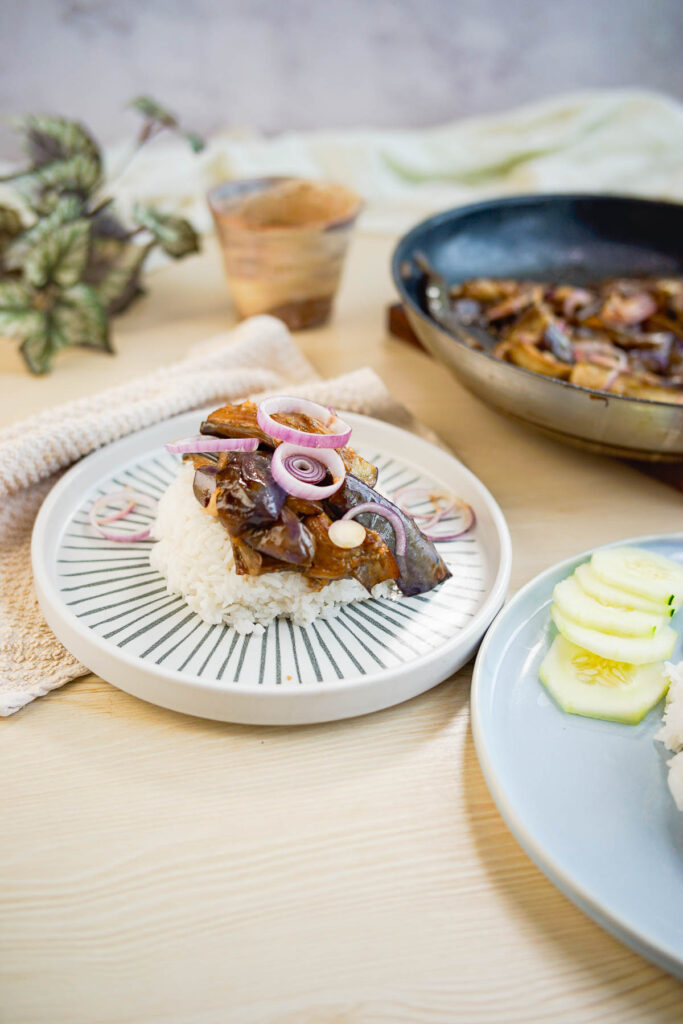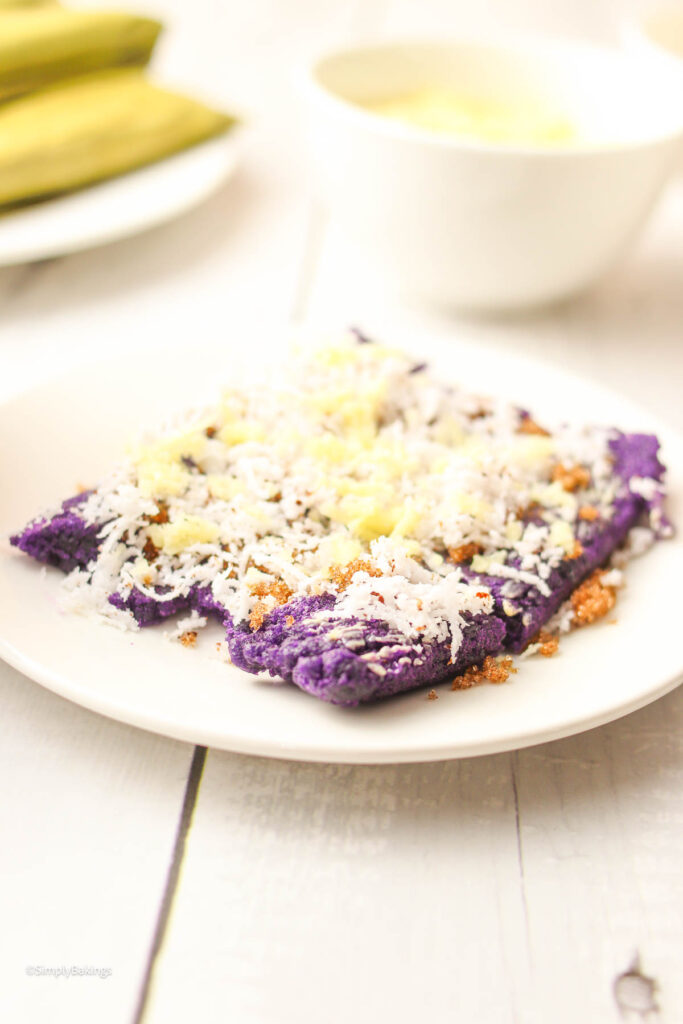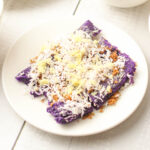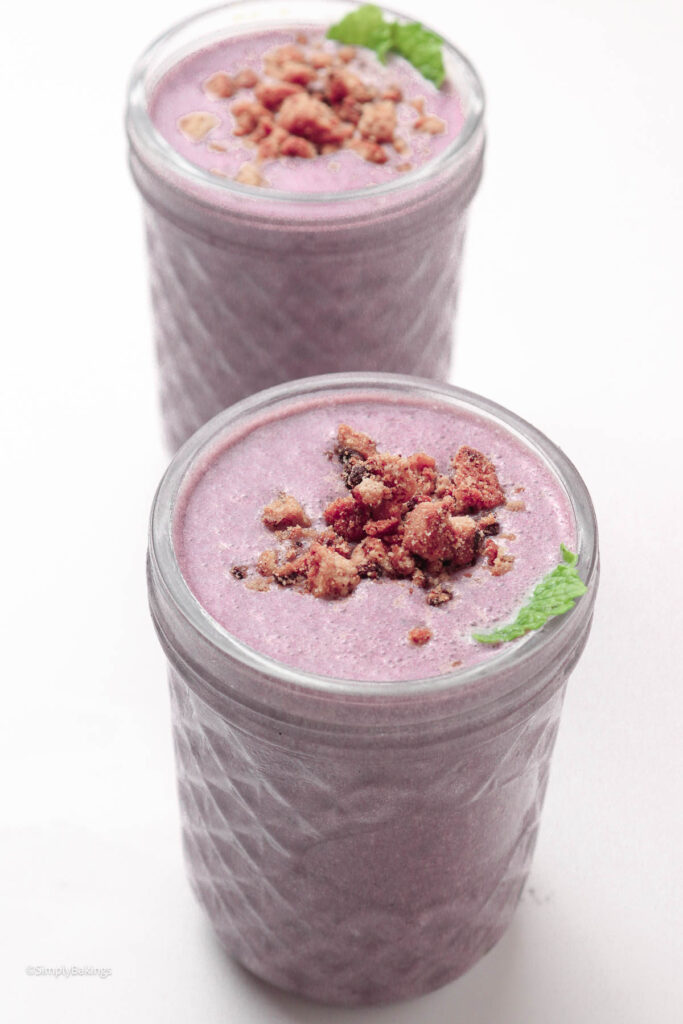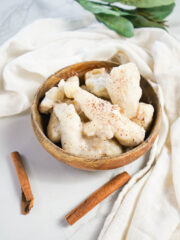
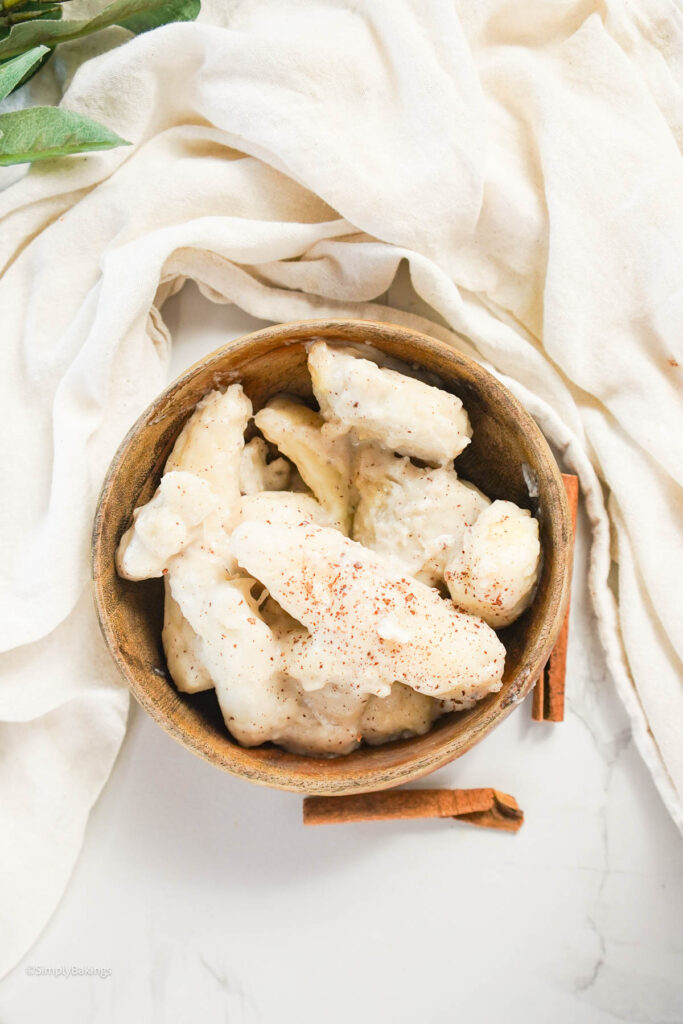
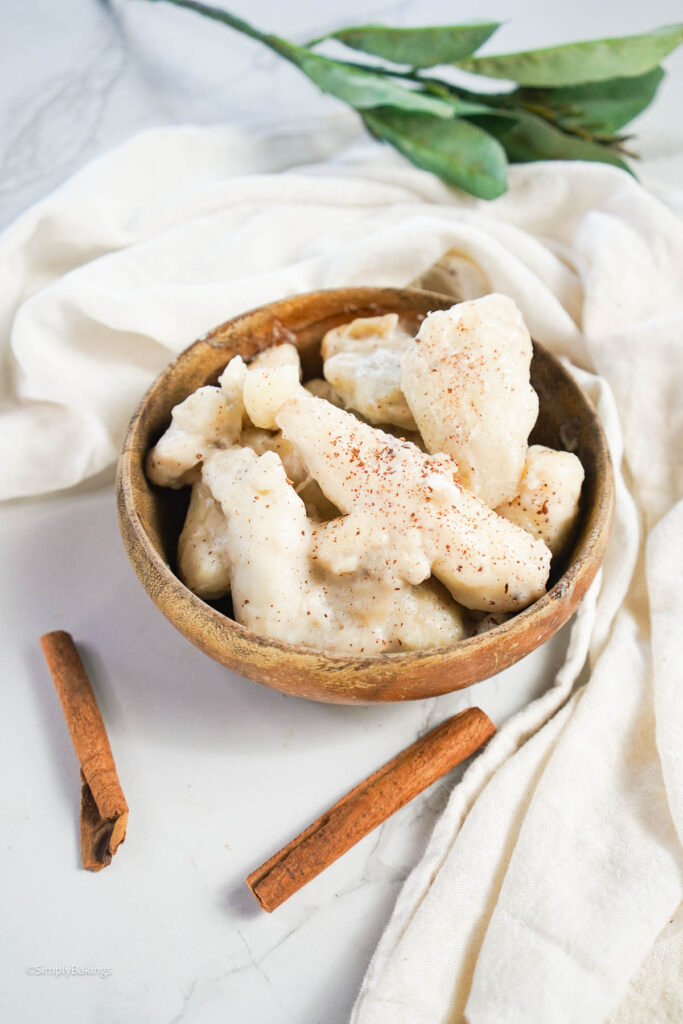
This taro recipe is a warm and creamy coconut milk dessert made with taro, sugar, and cinnamon. It is perfect for beginner cooks, taro lovers, and anyone craving a vegan treat. The tender taro and sweet coconut sauce make it cozy and comforting.
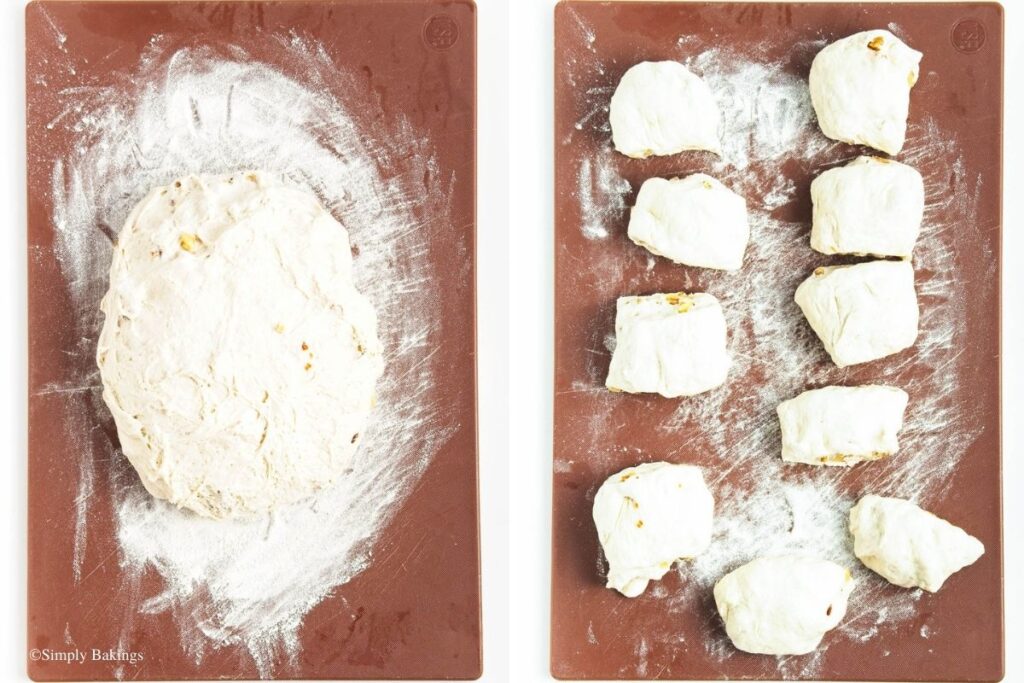
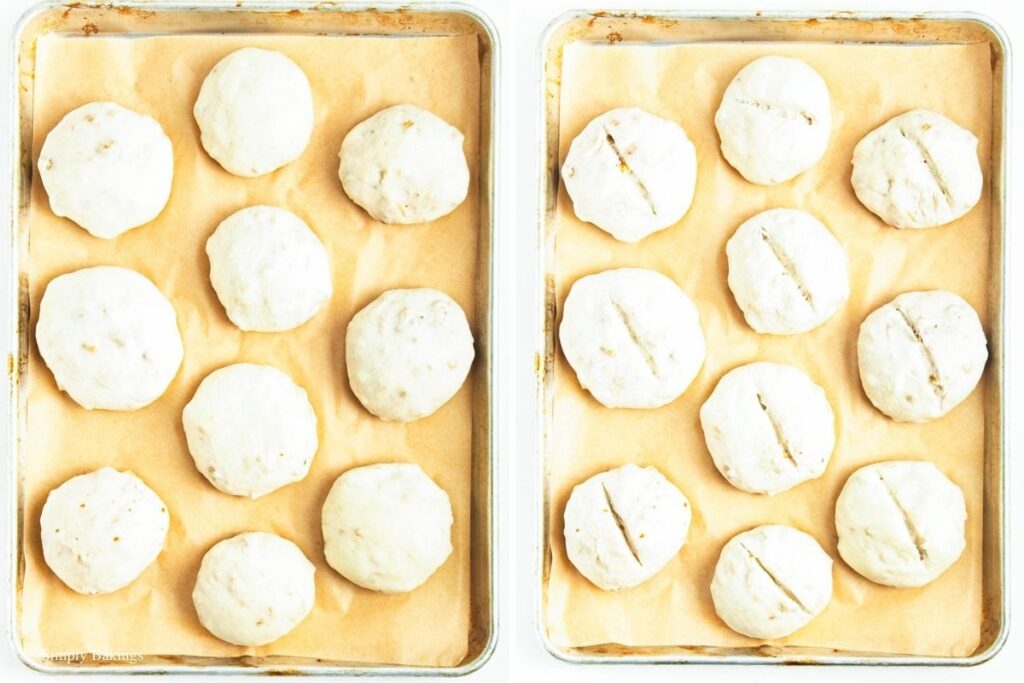
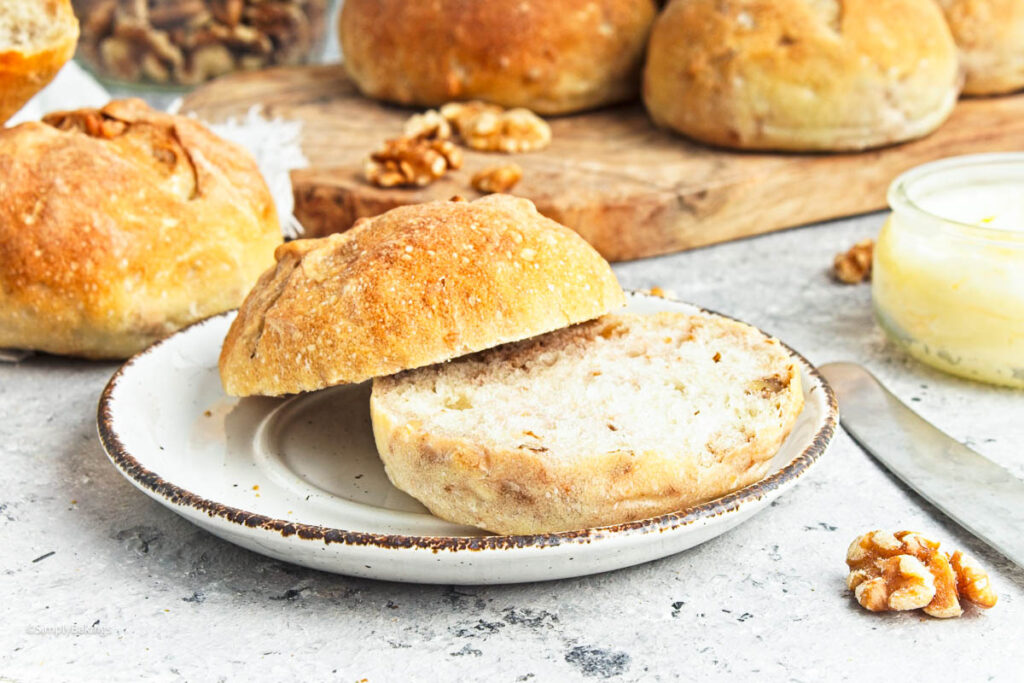
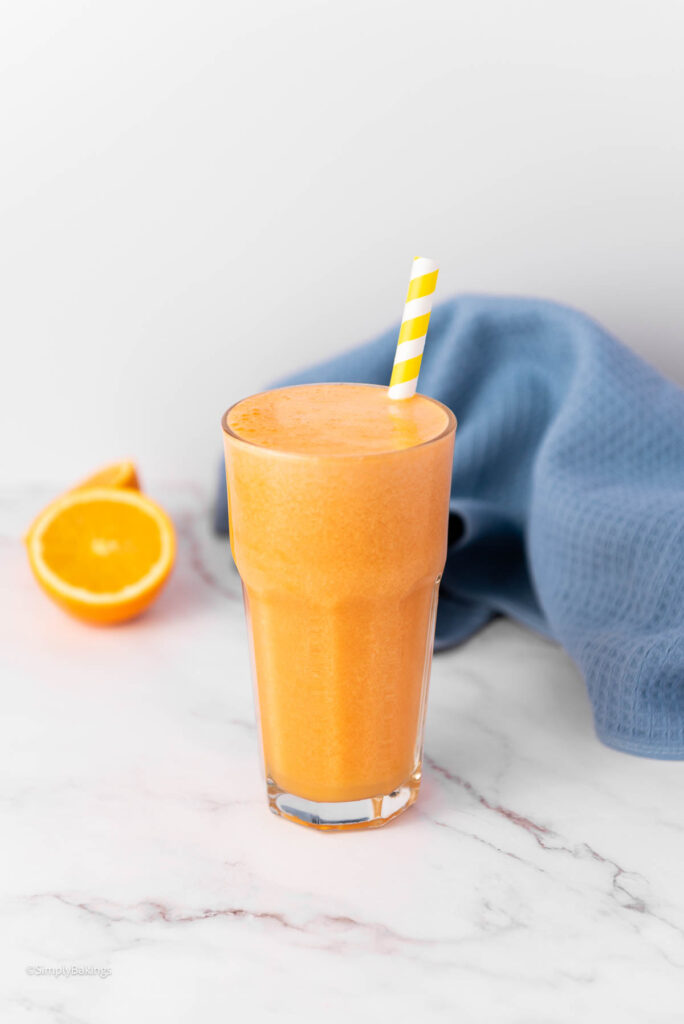
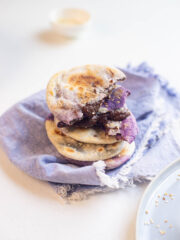
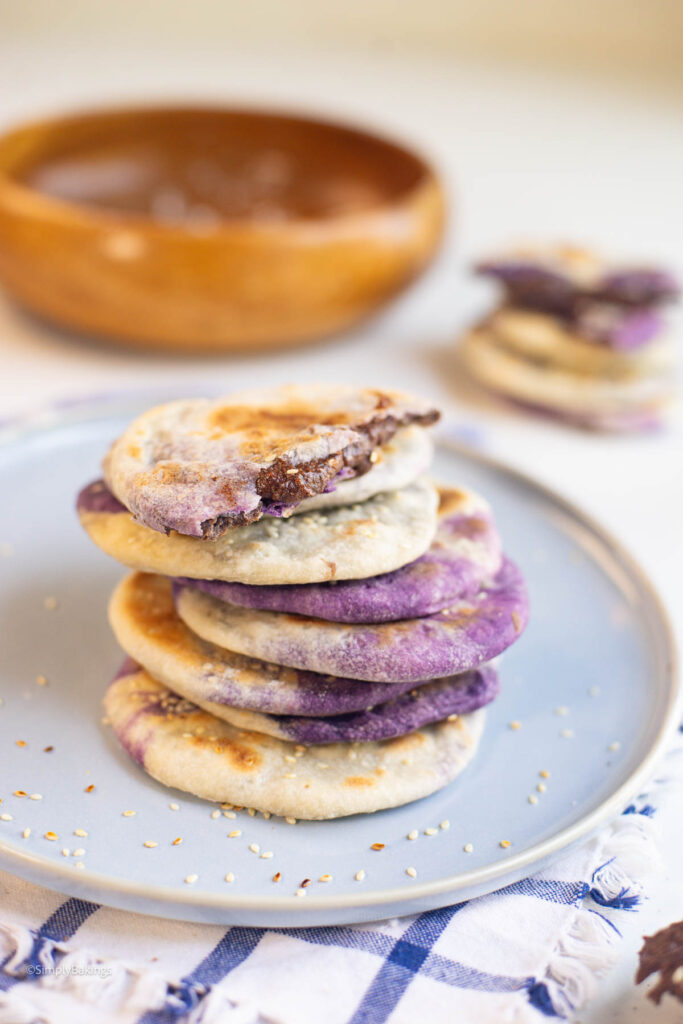
Grab my other taro recipes, like the steamed taro buns and taro smoothie recipe!
Why You’ll Love This Recipe
This taro recipe is vegan, dairy-free, and beginner-friendly. It only uses simple ingredients and cooks in one pot. It has taro that is filling and naturally rich in fiber, which gives this dish a soft, hearty texture that feels comforting in every bite.
It also has coconut milk, which makes it creamy without dairy. The cinnamon adds warmth, while the brown sugar gives gentle sweetness.
The Story Behind Taro Recipe
Taro fritters are loved in many Filipino and Asian homes because they're filling, affordable, and easy to cook. In this recipe, taro is simmered in coconut milk to create a warm, homey dish.
Where Taro Recipe Comes From
Taro was first cultivated in many tropical regions of Asia and the Pacific long ago. No single person is known to have created this kind of recipe. Gluten-free taro desserts with coconut milk became popular because the ingredients were easy to find and filling.
When is this Dish Typically Enjoyed?
Taro is usually enjoyed as a warm snack or merienda. It is great on rainy days because it feels cozy and filling. Families may serve it after rice meals when they want something lightly sweet. Since taro is hearty, it can be enjoyed any time of year.
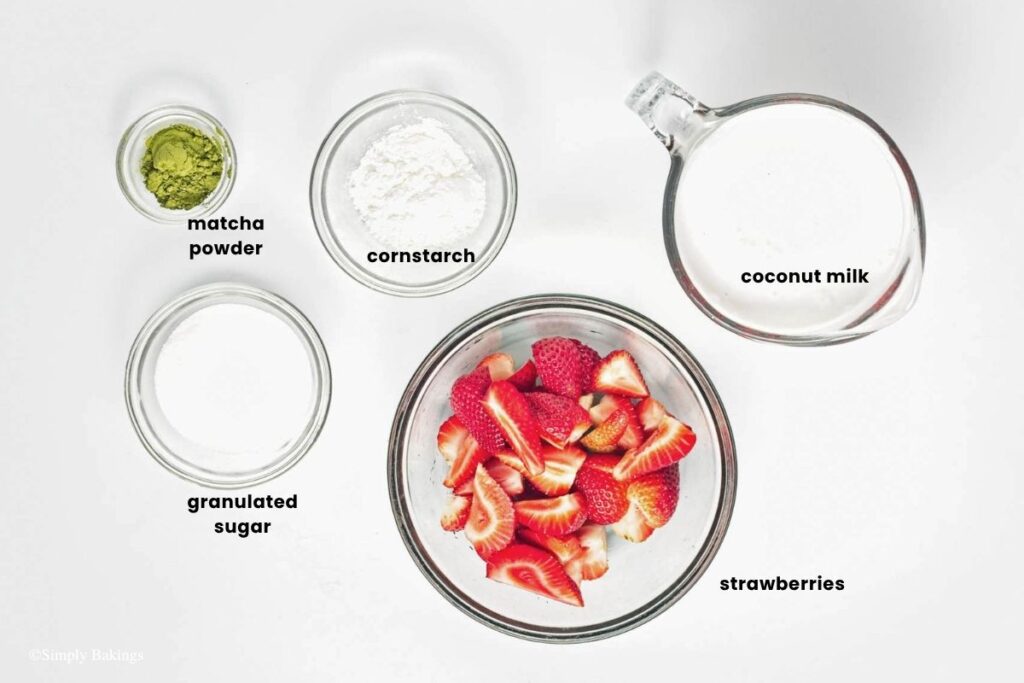
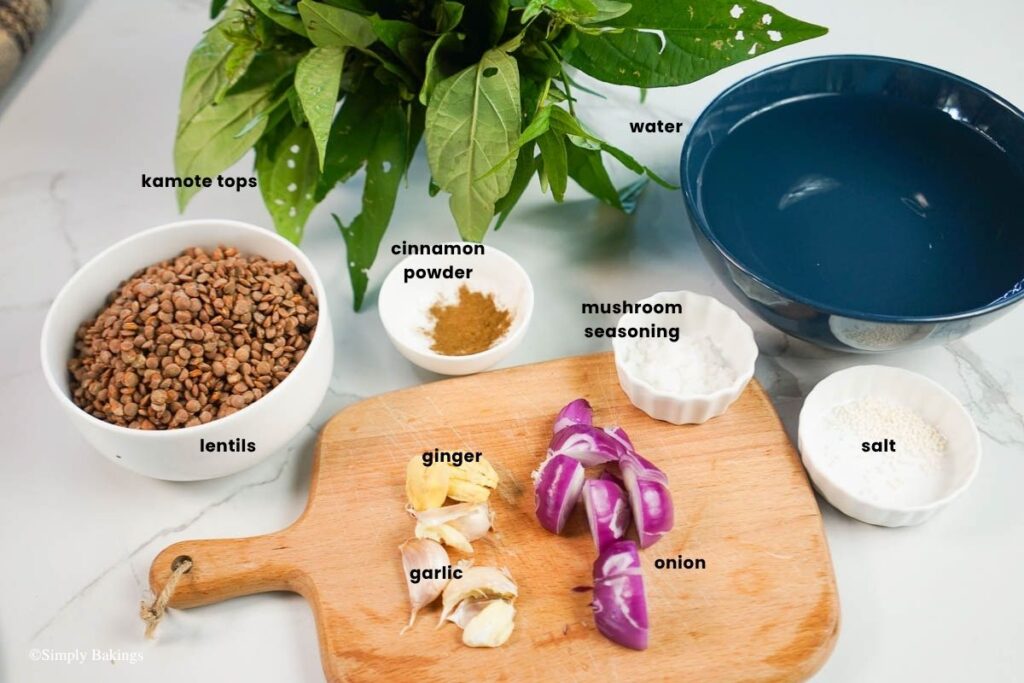
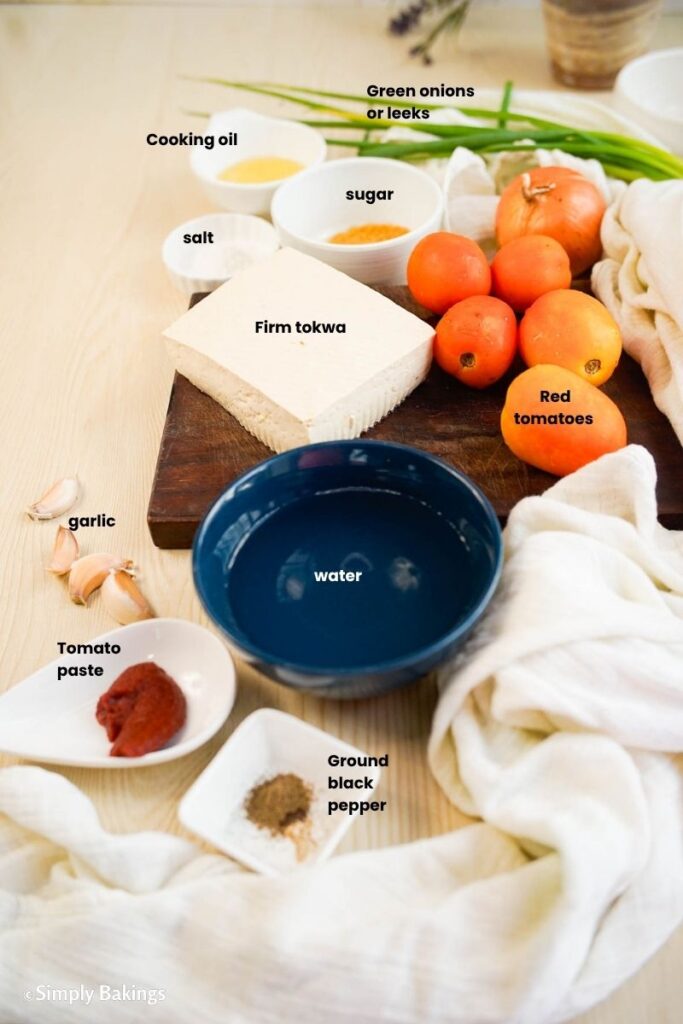
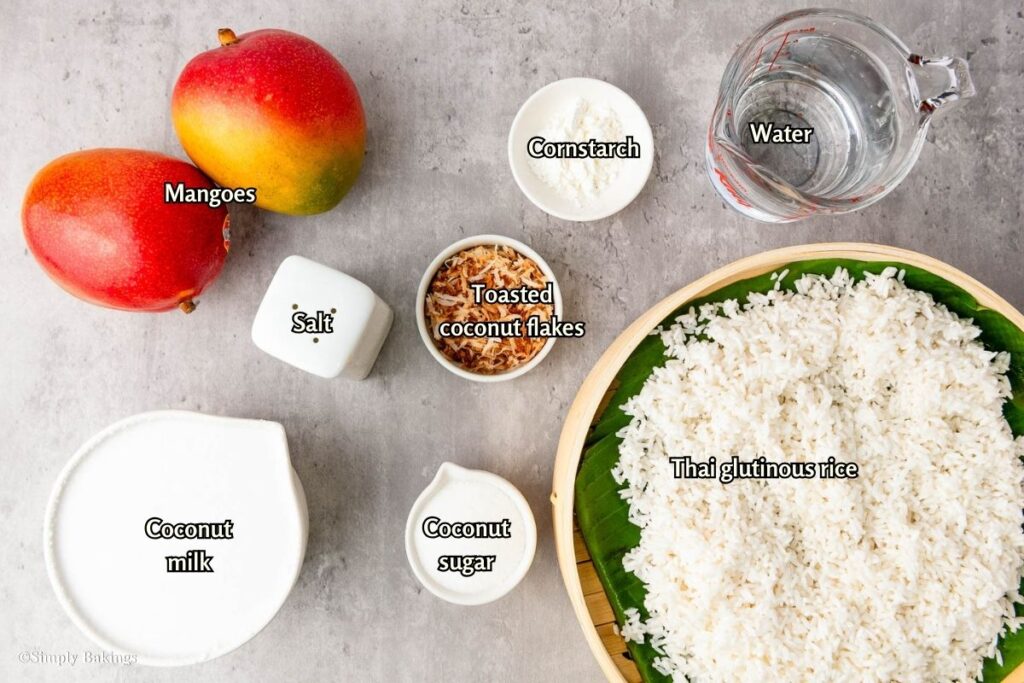
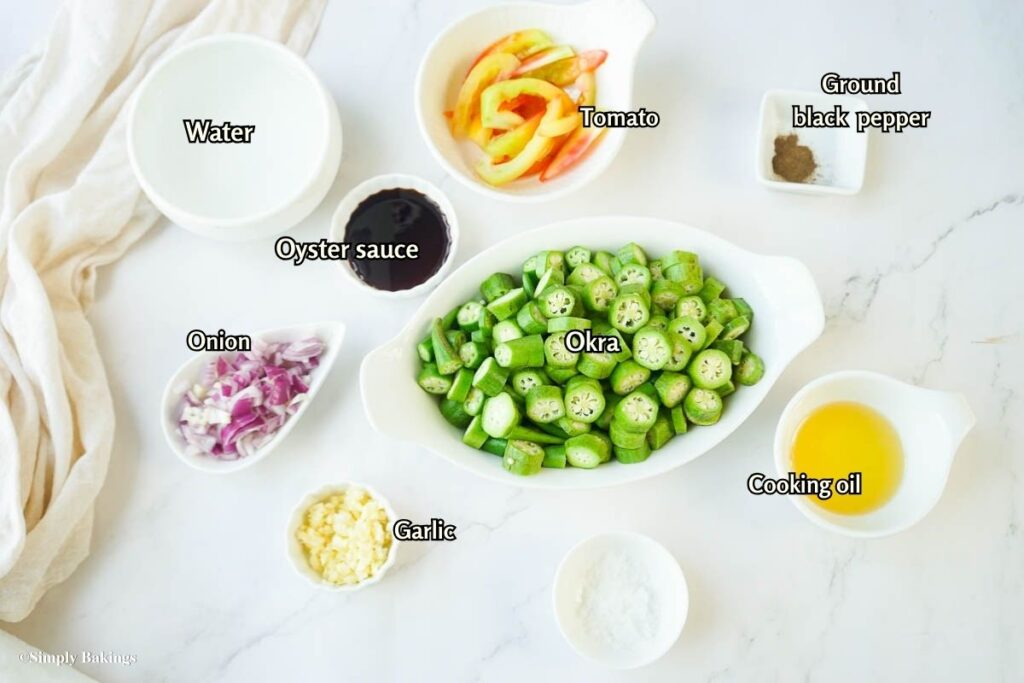
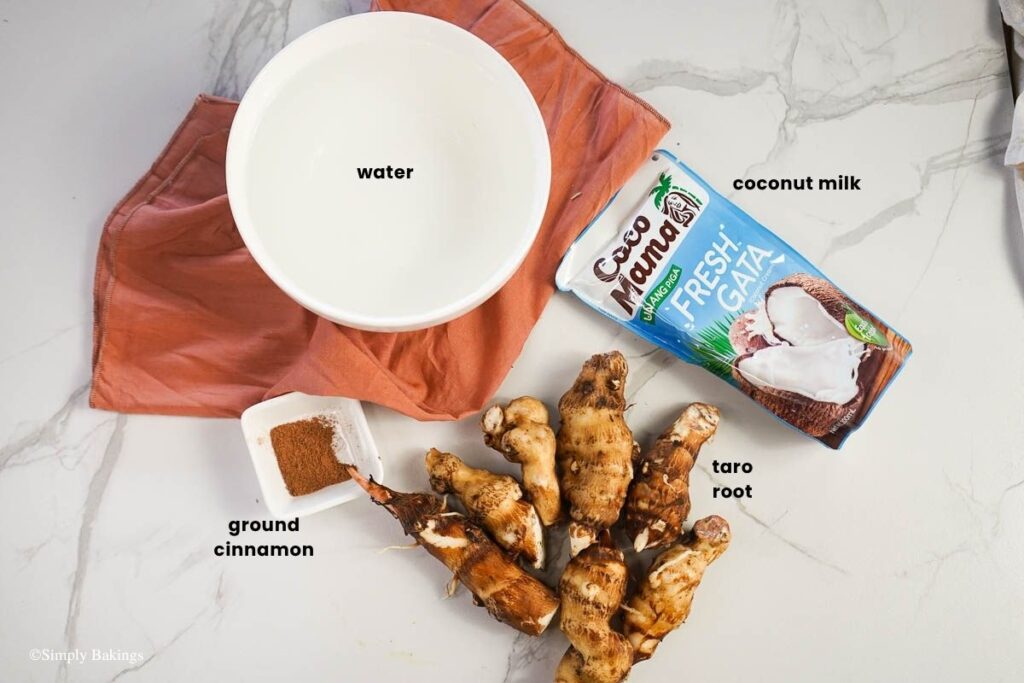
Ingredients
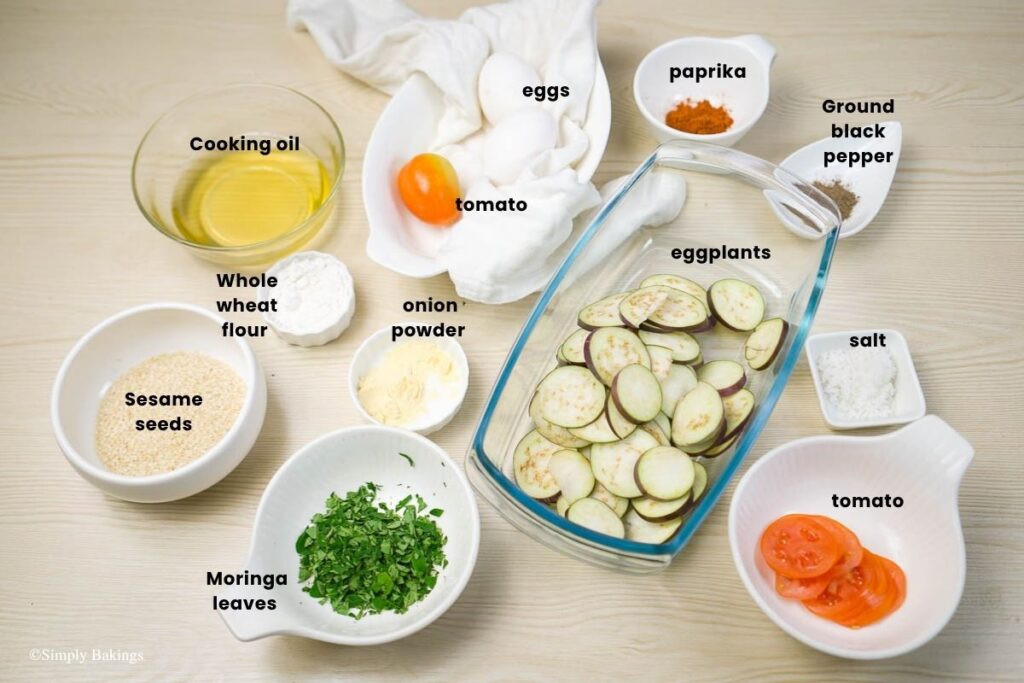
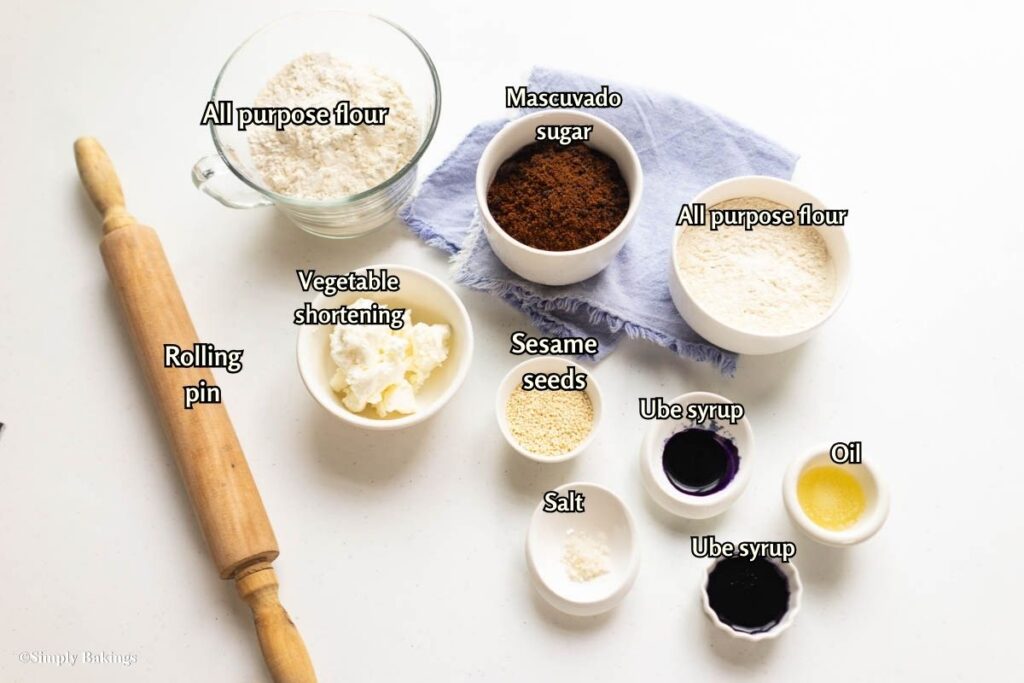
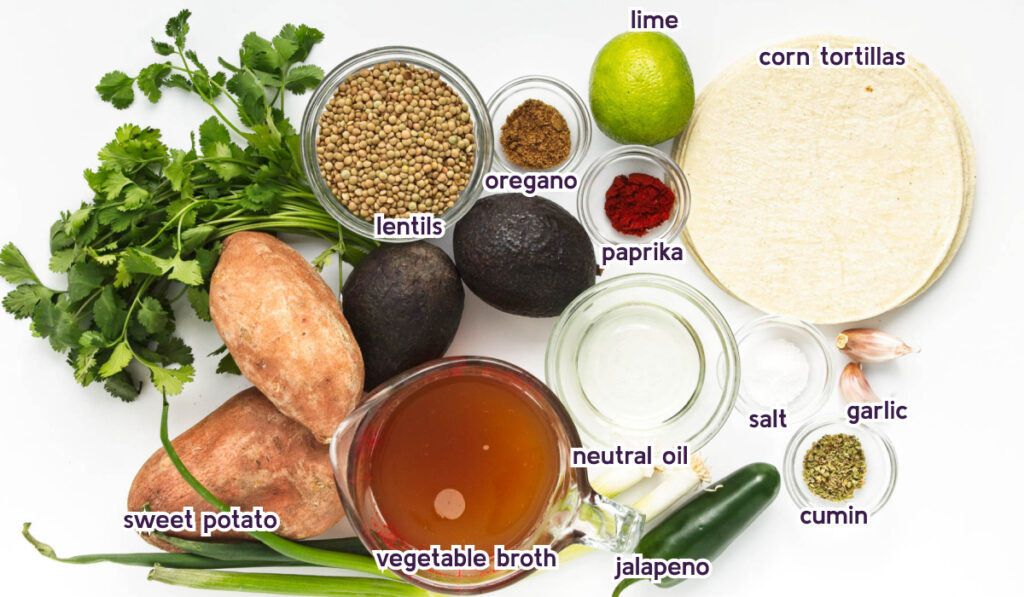
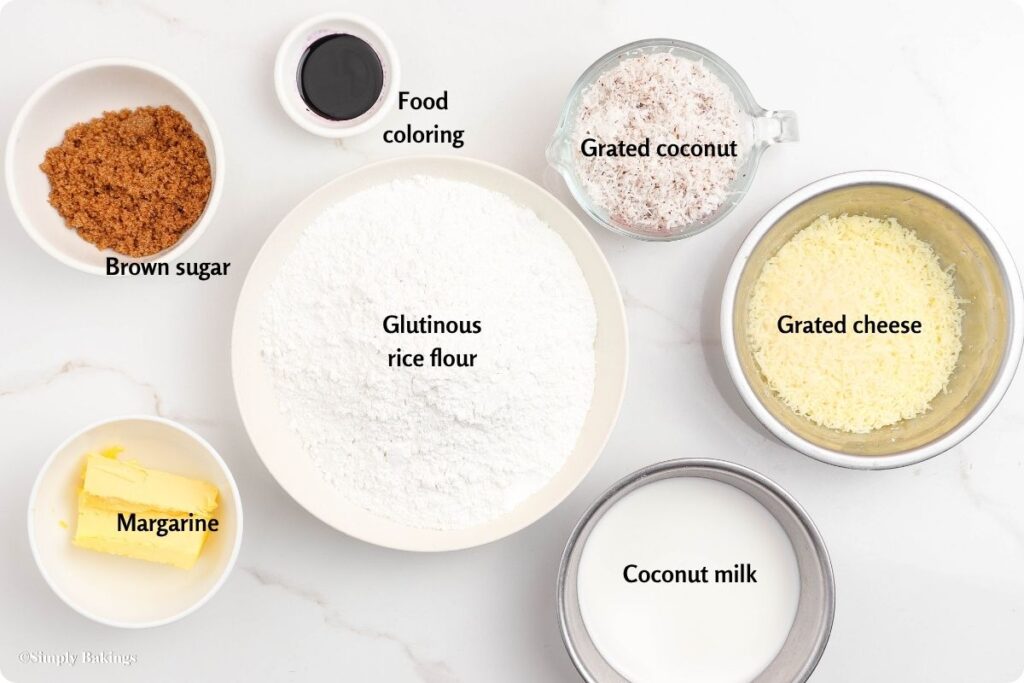
Listed below are all the ingredients you will need:
- taro root
- water
- coconut milk
- brown sugar
- ground cinnamon
- salt
See the recipe card for quantities.
Stock up on pantry essentials for this recipe with Thrive Market. Just use our link to get 30% off your first order plus a gift! #ThrivePartner
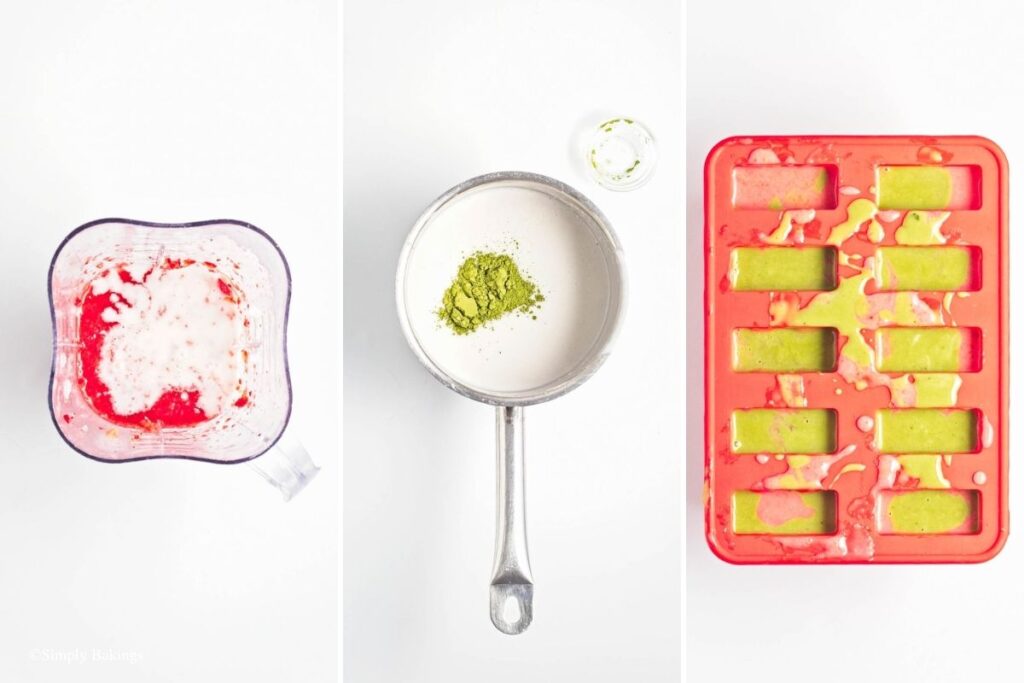
Instructions
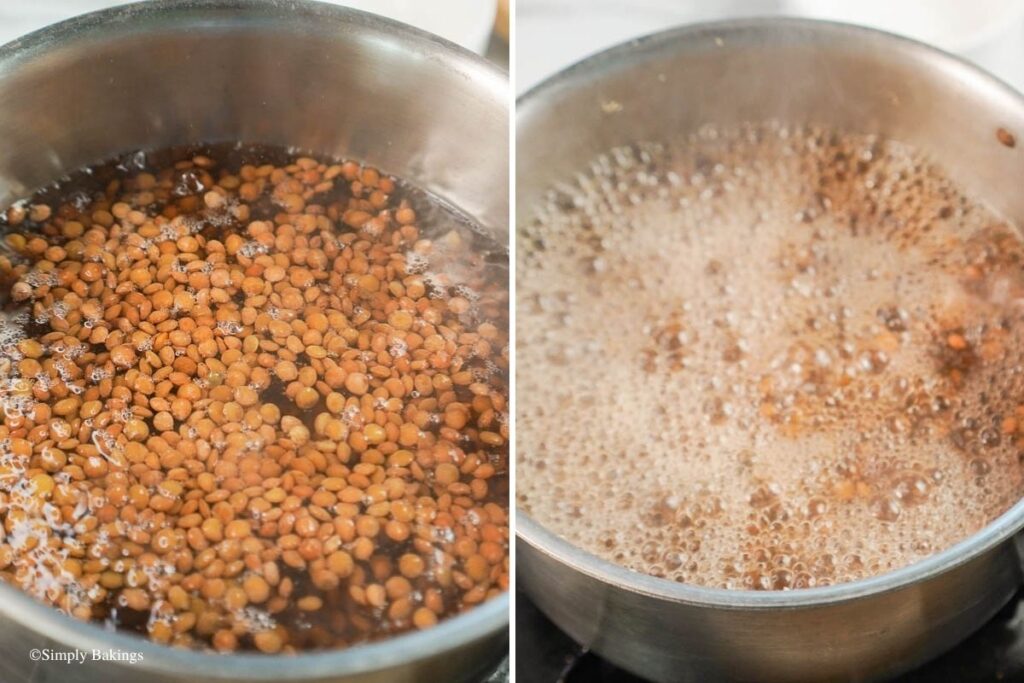
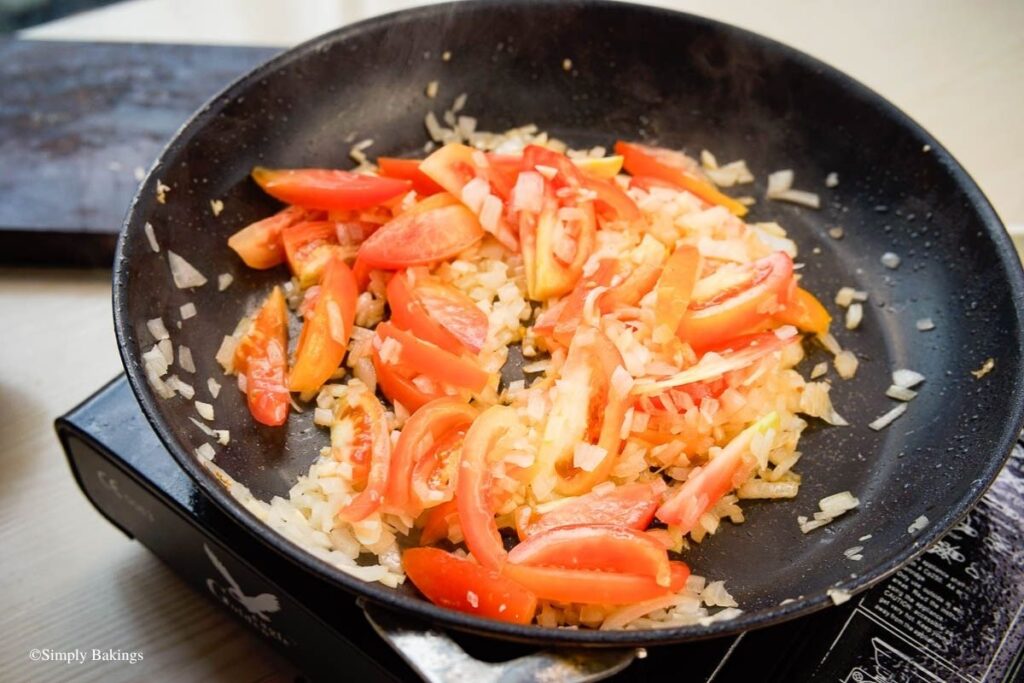
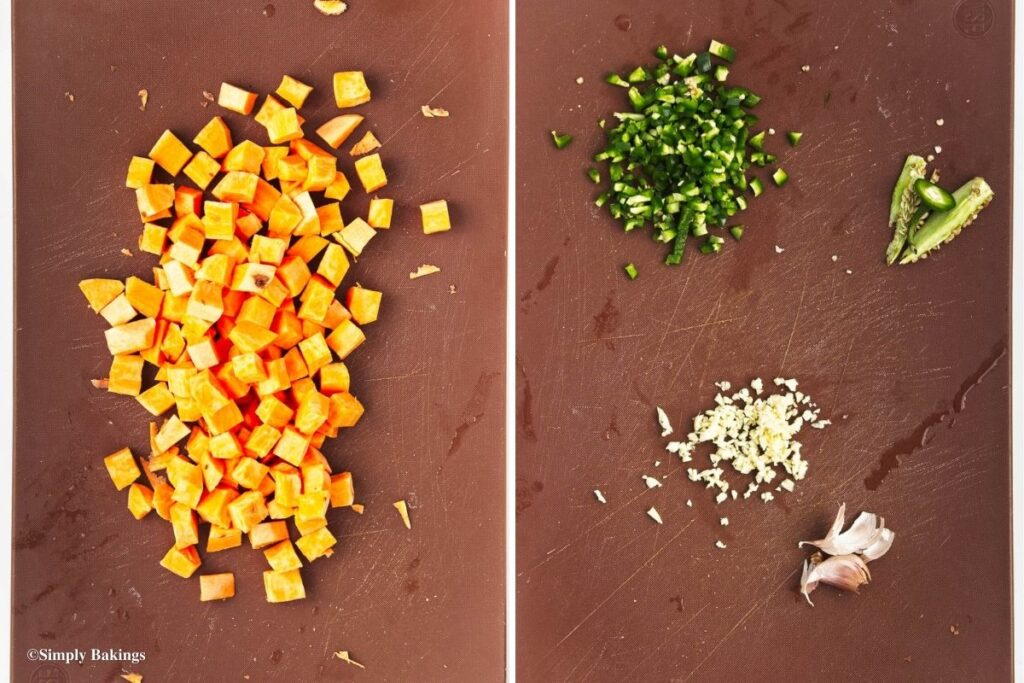
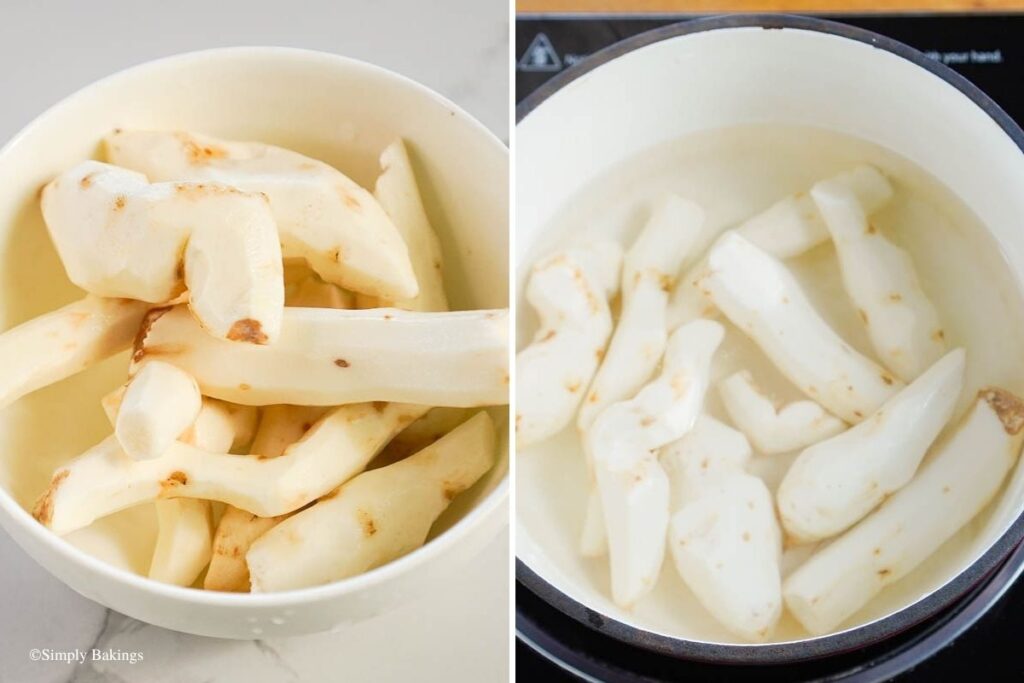
Cook the Taro
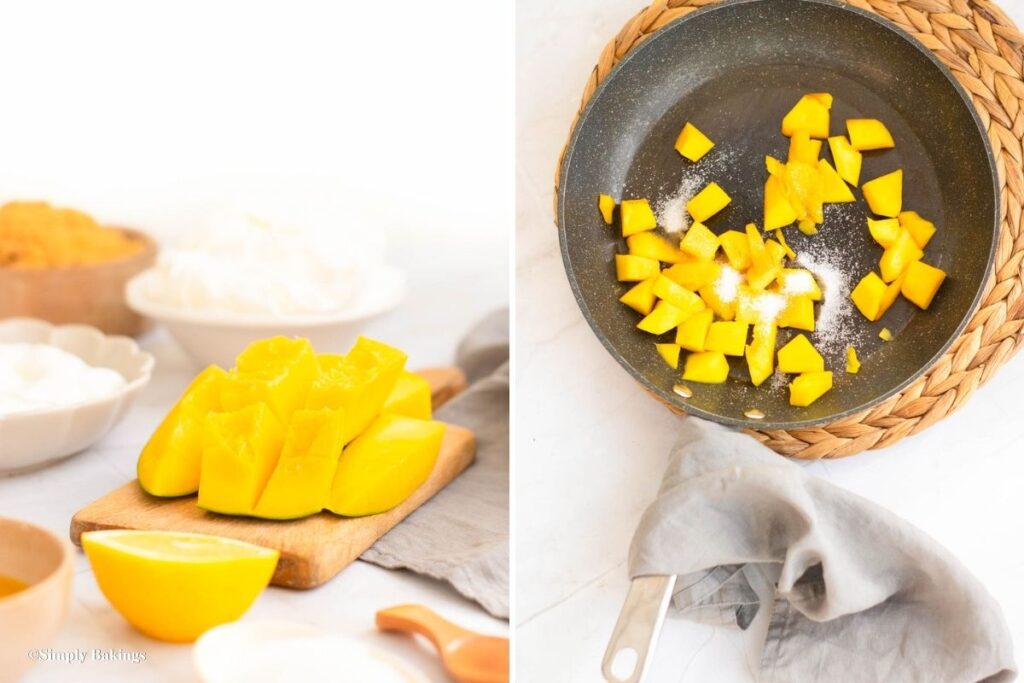
1. Add taro root and water to a pot.
2. Bring to a simmer over medium heat.
3. Cook for about 20 minutes, or until the taro is soft but not mushy.
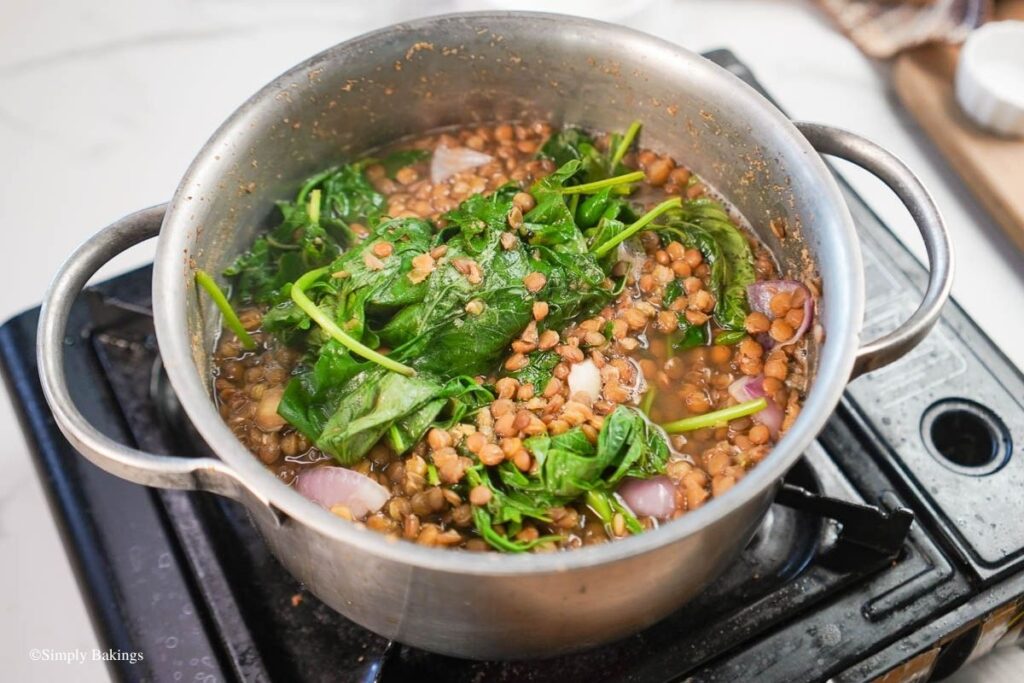
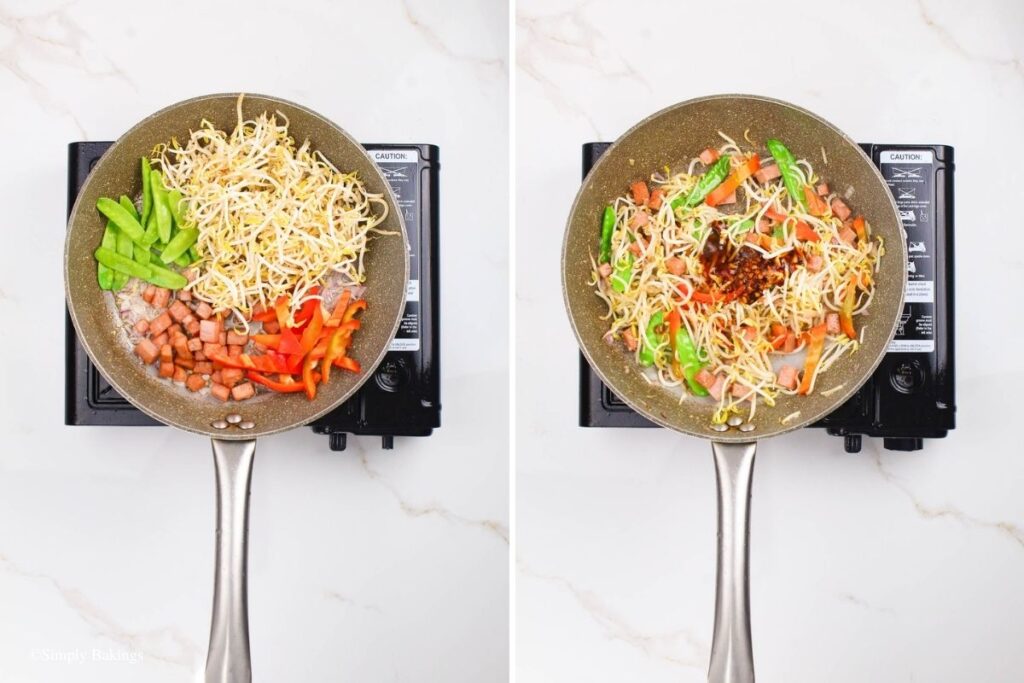
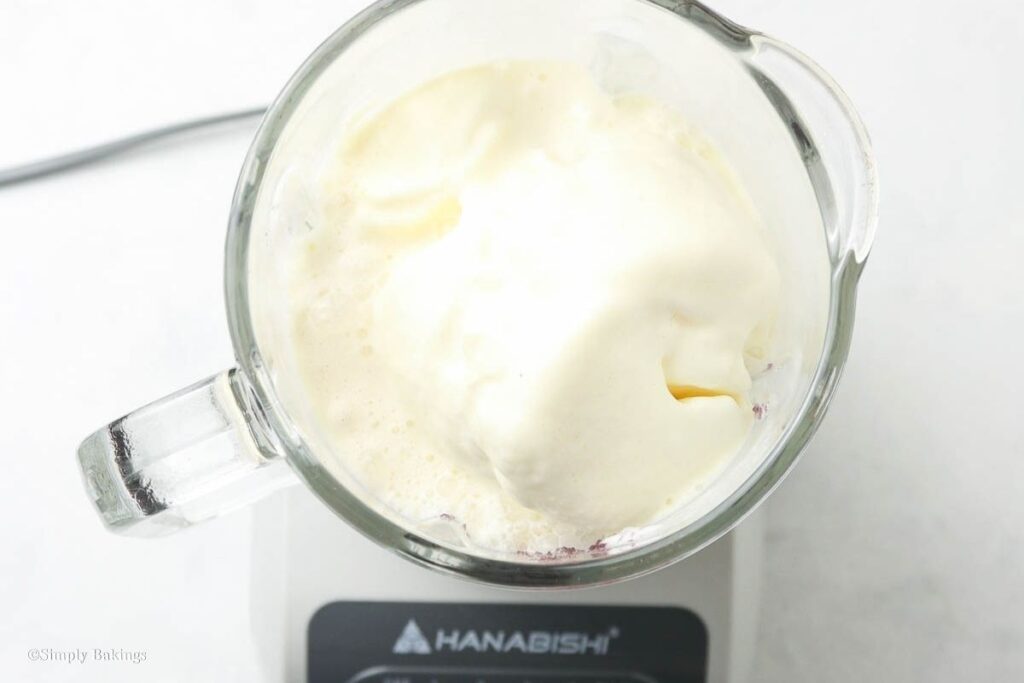
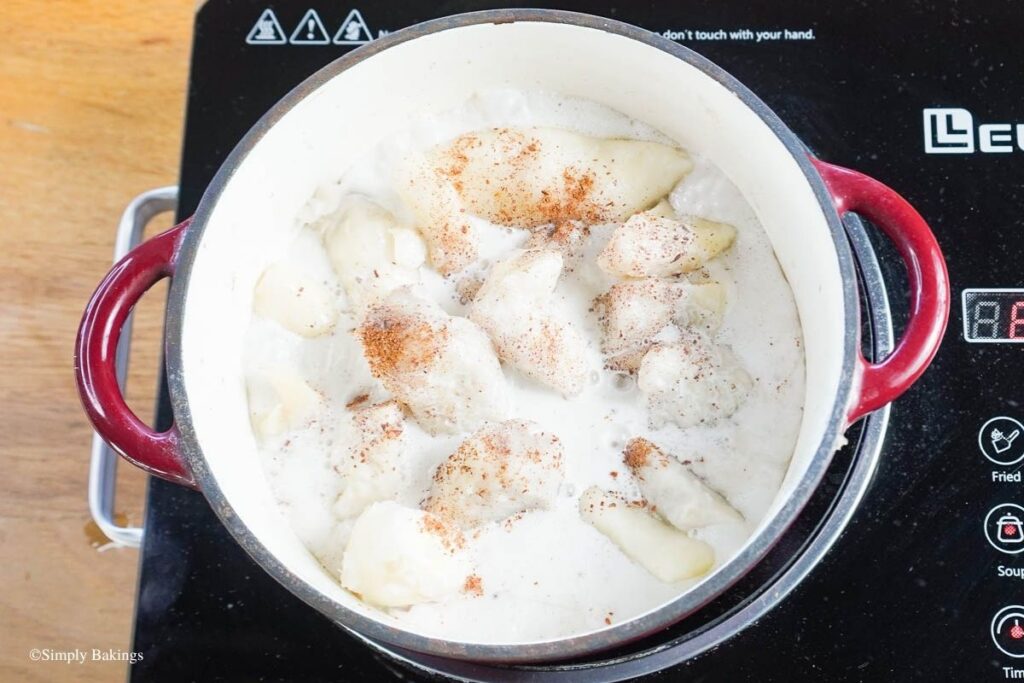
Add the Coconut Milk
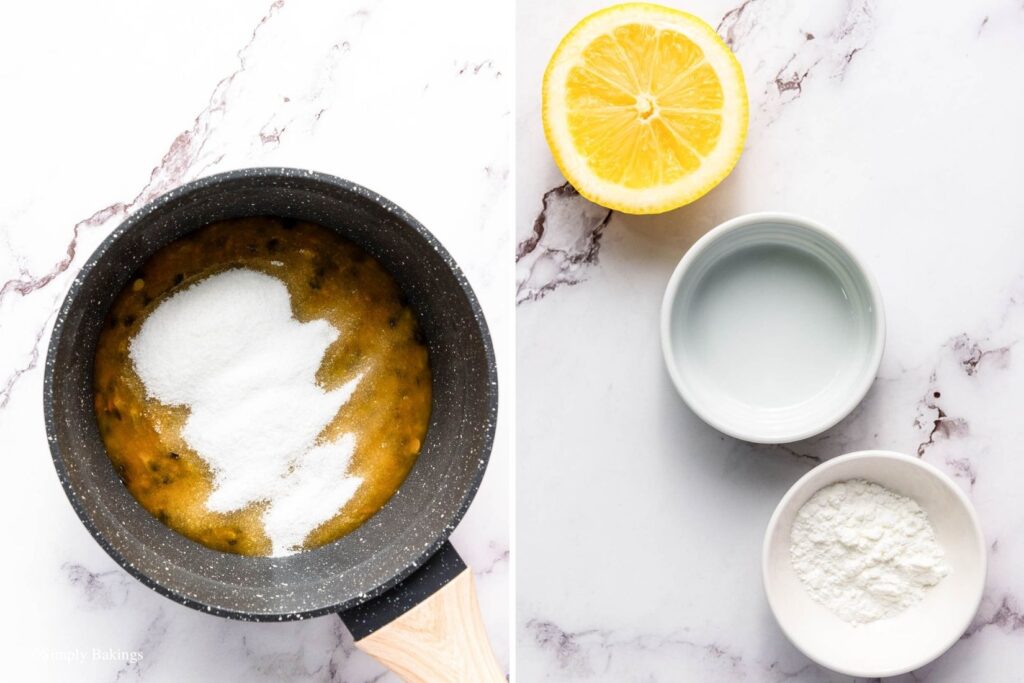
4. Pour in the coconut milk.
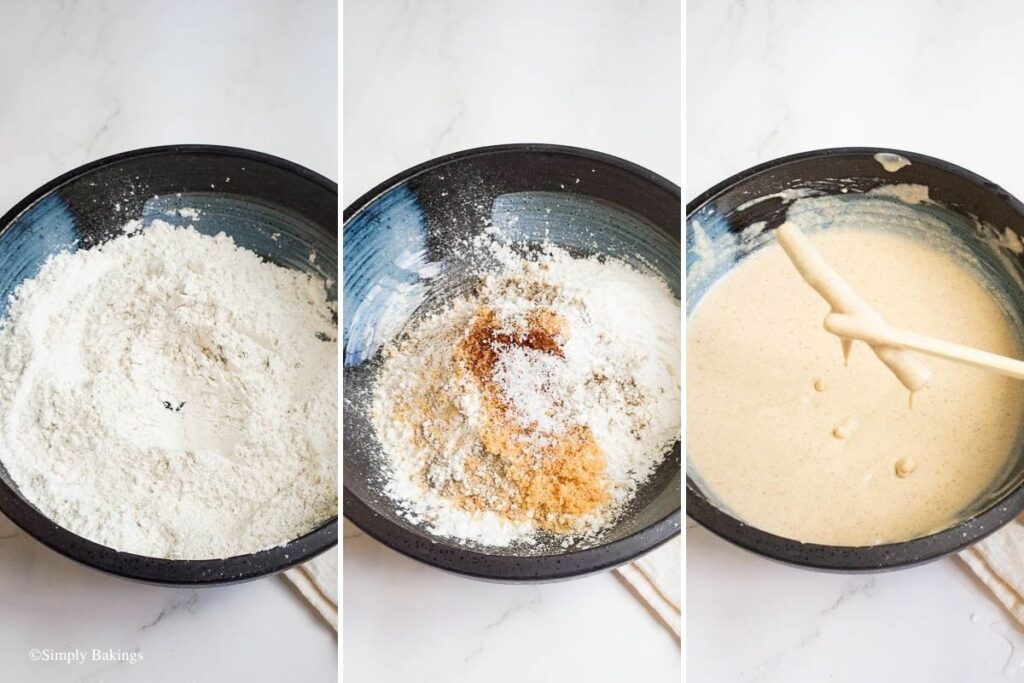
5. Add brown sugar, cinnamon, and salt.
6. Stir gently to combine.
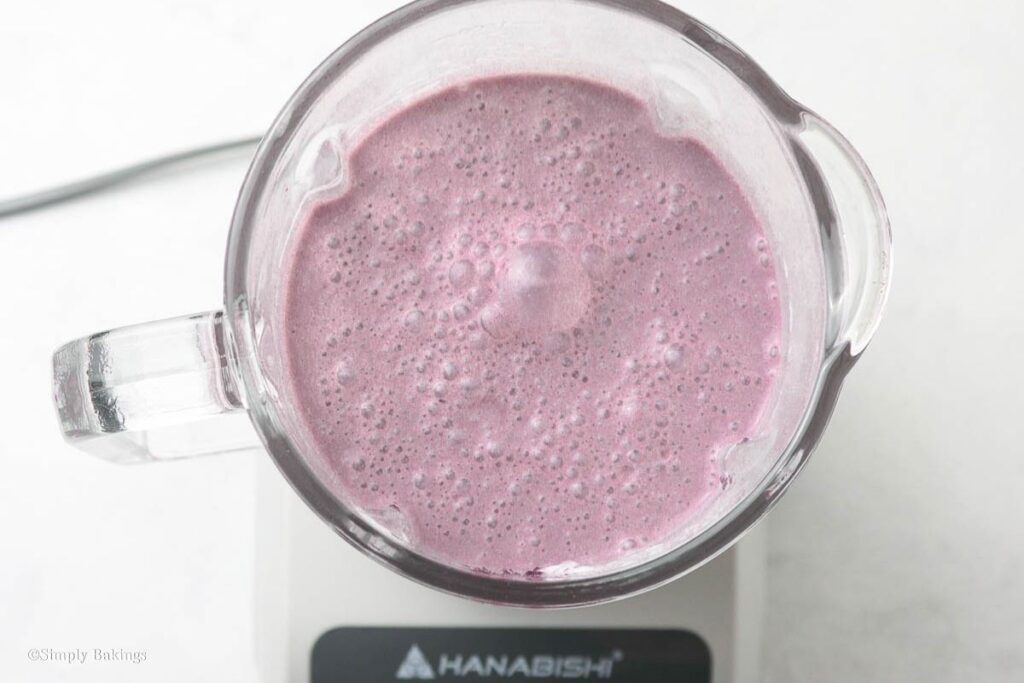
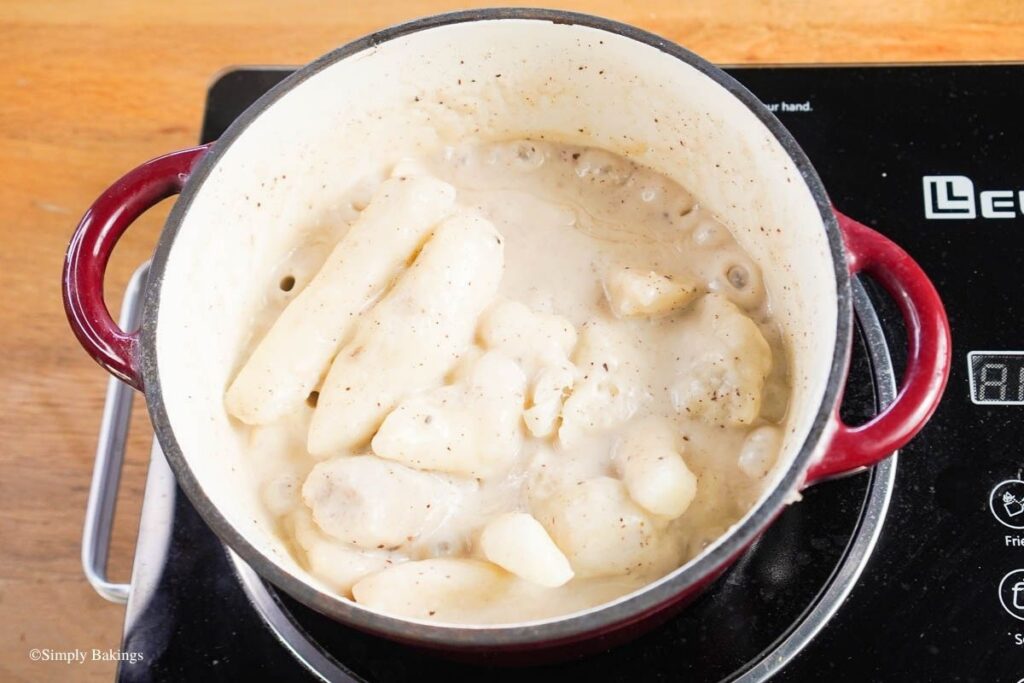
Simmer Until Creamy
7. Lower the heat.
8. Simmer for 5–8 minutes, or until slightly thick and fragrant.
9. Stir gently to keep the taro pieces intact.
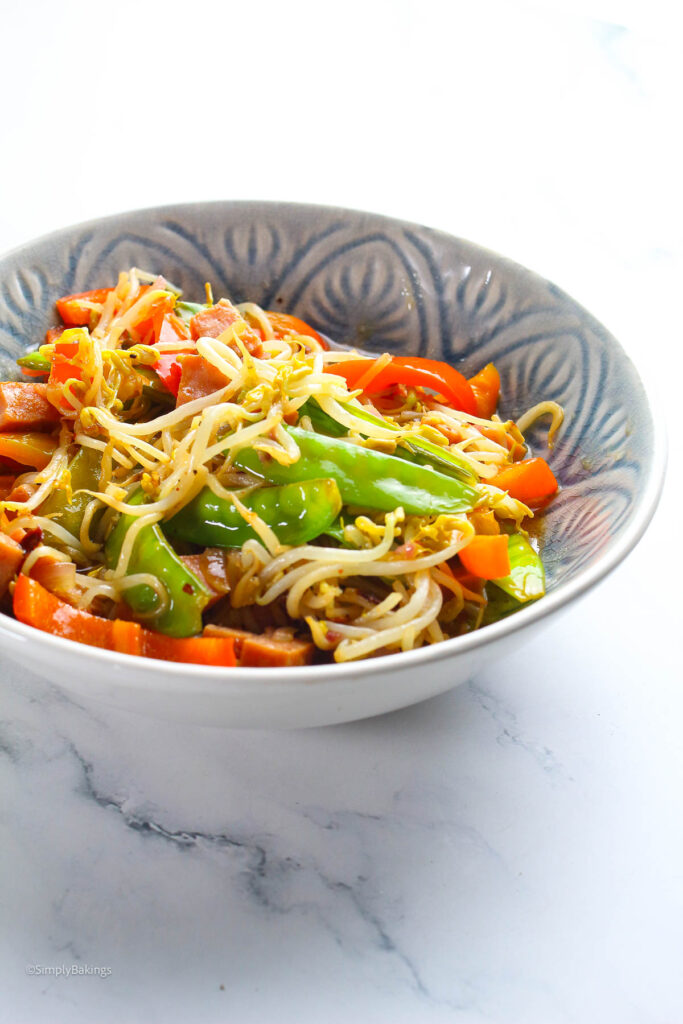
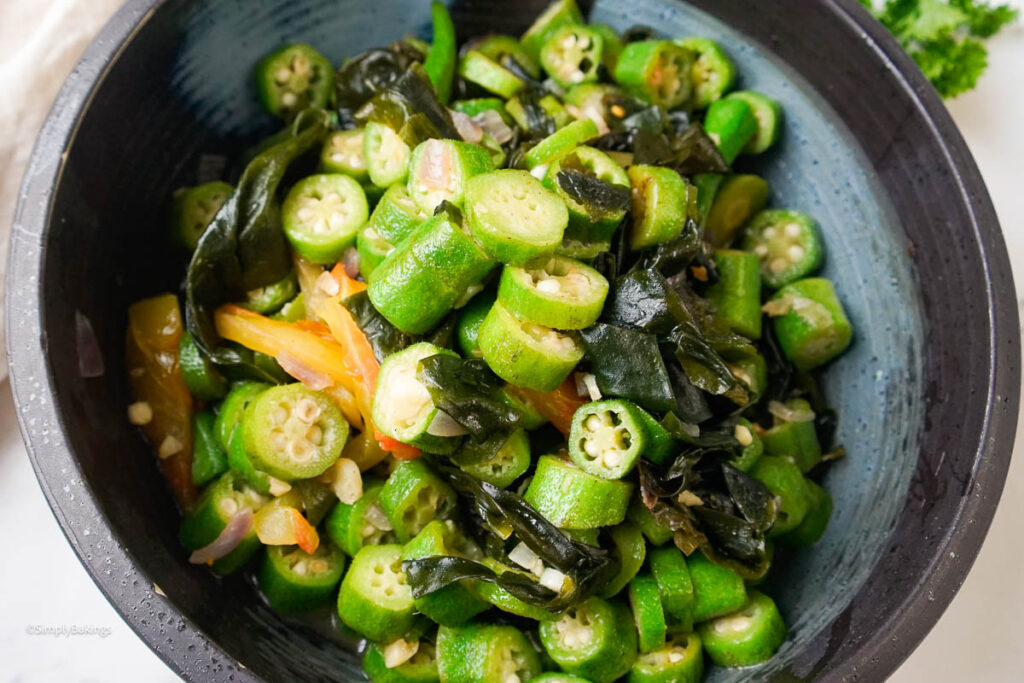
Serve
10. Taste and adjust the sweetness if needed.
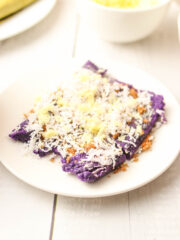
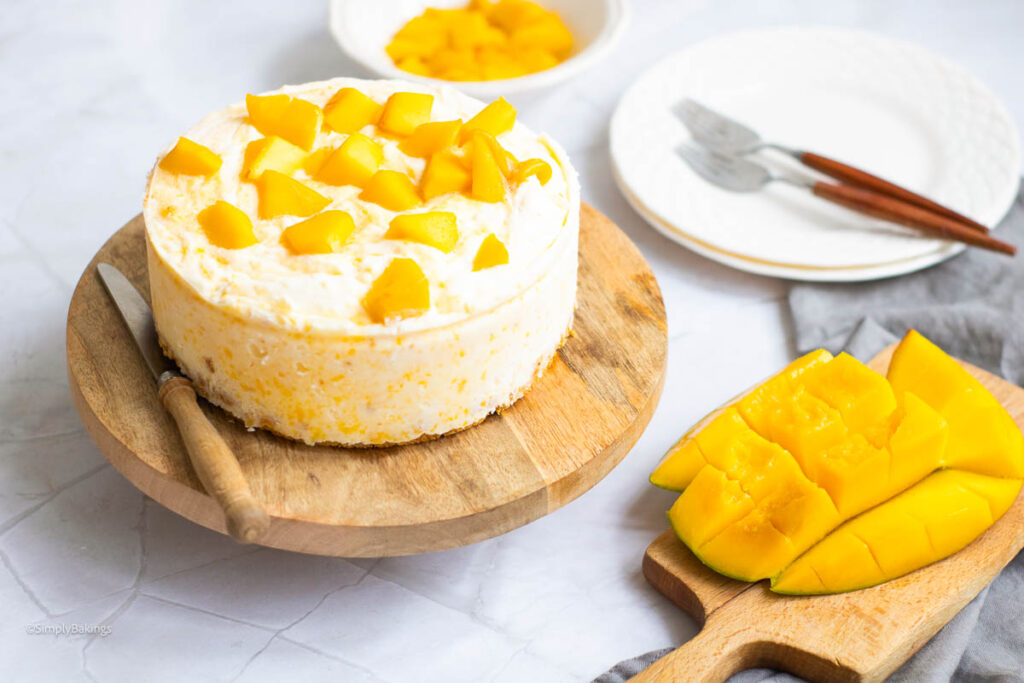
11. Serve warm.
Substitutions & Variations
- Ingredient Swap
Brown sugar can be swapped with coconut sugar, white sugar, or maple syrup. - Variation
If you'd like a warmer flavor, replace cinnamon with nutmeg. - Mistake to Avoid
Be careful not to overcook the taro. You'd like it soft but not mushy.
Storage Tip
- Store leftovers in an airtight container in the refrigerator for up to 3 days. This recipe can be frozen for up to 1 month, but the coconut milk may slightly change texture after thawing. Thaw in the refrigerator, reheat gently, and stir before serving.
FAQs

Foolproof Taro Recipe
Ingredients
- 2 cups taro root peeled and cubed
- 2 cups water
- 1 cup coconut milk
- 2 –3 tablespoons brown sugar adjust to taste
- ½ teaspoon ground cinnamon
- ½ teaspoon salt
Instructions
Cook the Taro
- Add taro root and water to a pot.
- Bring to a simmer over medium heat.
- Cook for about 20 minutes, or until the taro is soft but not mushy.
Add the Coconut Milk
- Pour in the coconut milk.
- Add brown sugar, cinnamon, and salt.
- Stir gently to combine.
Simmer Until Creamy
- Lower the heat.
- Simmer for 5–8 minutes, or until slightly thick and fragrant.
- Stir gently to keep the taro pieces intact.
Serve
- Taste and adjust the sweetness if needed.
- Serve warm.
Watch The Recipe Video!

You Might Also Like:
Recipes for Every Moment
Want something cozy and warm for the rainy afternoon? This sweet, homemade taro recipe is a simple but comforting treat you need!