If you love donuts, then you're going to have to try this delicious and easy Mochi Donuts recipe! They are addicting, sweet, and chewy just like mochi!
Here are more easy donut recipes: Vanilla Donuts and Halloween Donuts (even though it's not Halloween, you can definitely omit the Halloween garnishes).

What is Mochi Donuts?
Mochi Donuts also known as Pon de Ring Donut is a popular donut from a shop in Japan called Mister Donut, one of the largest donut chains in Japan. Its signature look is the 8 dough balls connected in a circle. It's a chewy yet fluffy donut using two key ingredients that regular donuts don't use: glutinous rice flour and silken tofu.
This recipe is a hybrid of the pon-de-ring donuts and the mochi doughnuts, meaning, I took the signature look of the Pon de Ring Donut (8 dough balls connected in a circle )and used glutinous rice flour like the mochi donut. And it tasted amazing- soft, chewy, and nice to look at.
These mochi donuts are great to serve for a sweet and delicious dessert or snacks during parties or, picnics. Learn this recipe now and enjoy!
Variations
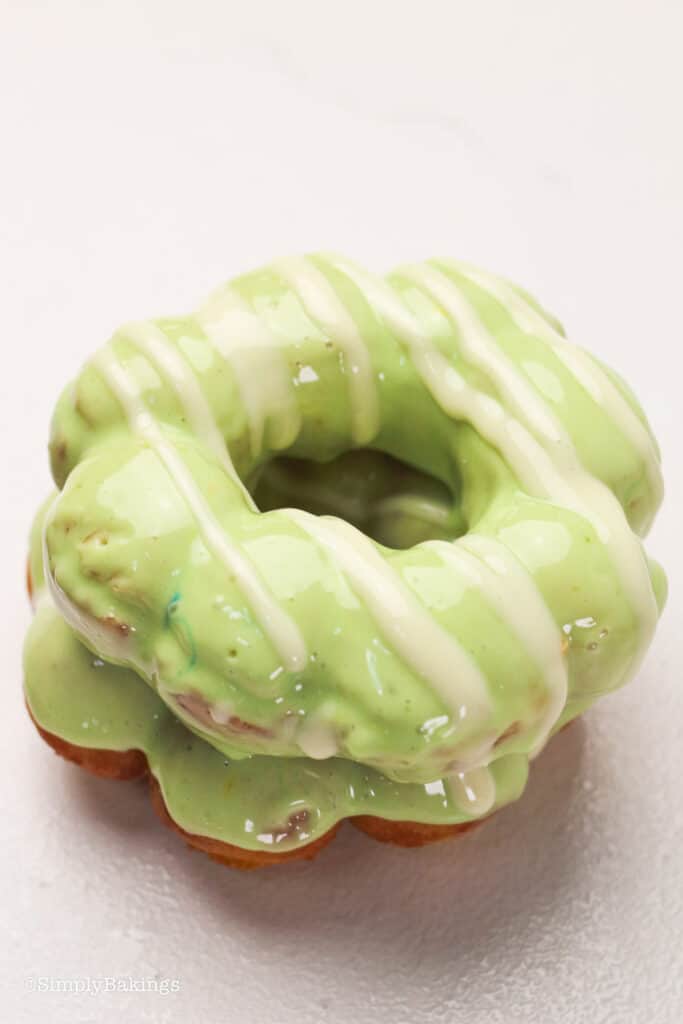
- Glaze: Feel free to use your favorite glaze such as strawberry, vanilla, matcha, chocolate, ube, lemon, or even pandan-flavor glaze.
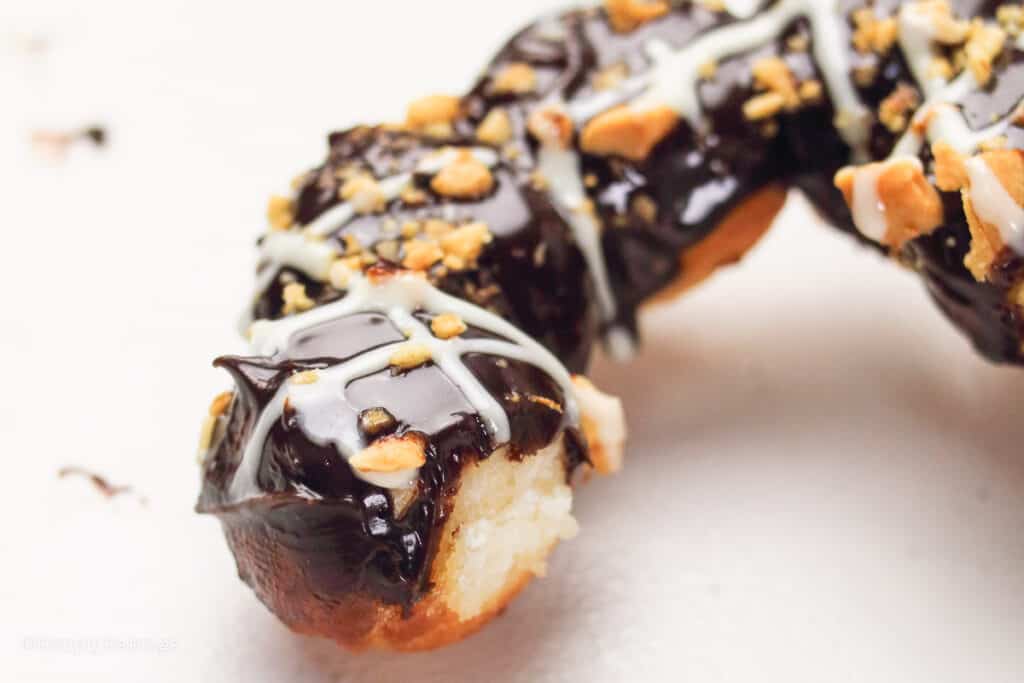
- Toppings: You may sprinkle sesame seeds, powdered sugar, or shredded coconut on top of the donuts to add a nutty flavor and crispy texture.
Substitutions
- Glutinous Rice Flour Alternatives: If sweet glutinous rice flour is not available, tapioca flour or potato starch can be used, though the texture will differ a bit.
- Gluten-Free Donuts: To achieve the soft texture, blend almond flour with tapioca flour for a gluten-free option.
- Regular Donuts: Traditional yeast donuts or cake donuts are a non-chewy option. They won't have the chewiness of mochi, but they're a great substitute.
Storage
- Mochi donuts are best eaten fresh, but you may keep them in an airtight container at room temperature for up to 1-2 days because they harden quickly, by day 2 the donuts start to harden (even if left on the counter).
- You may refrigerate for 3-4 days or freeze for up to a month, but warm before eating to keep the chewy texture. To keep them from drying out, wrap them tightly.
- To soften the donuts, microwave the donut for 10-15 seconds. I have a high powdered microwave so 10 seconds was long enough.
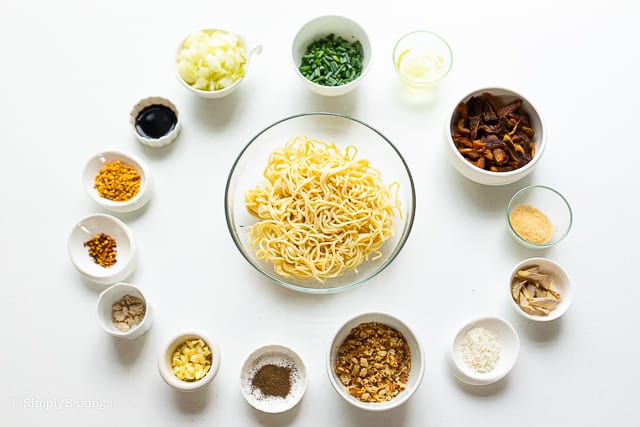
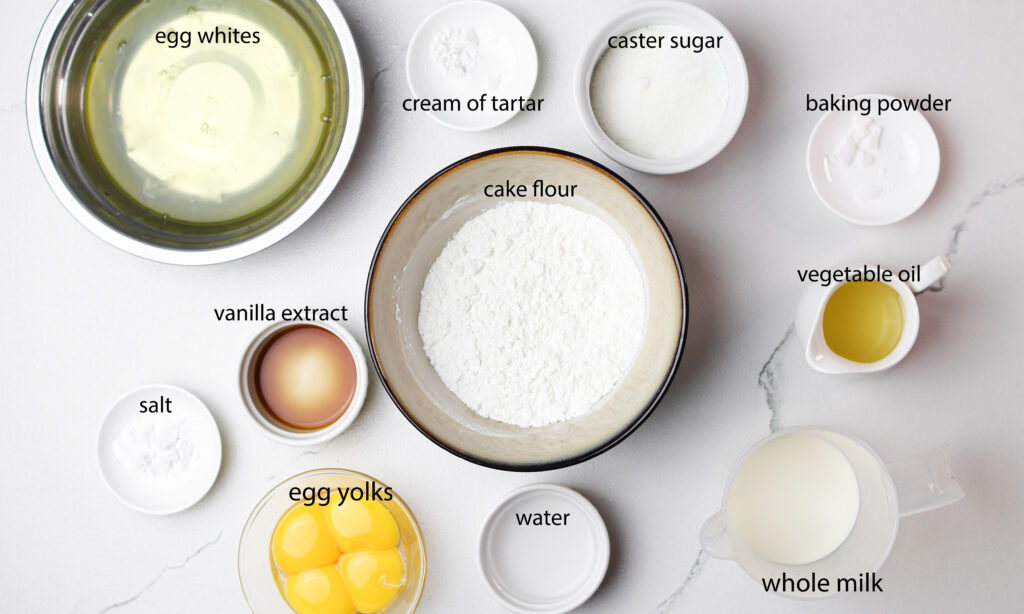
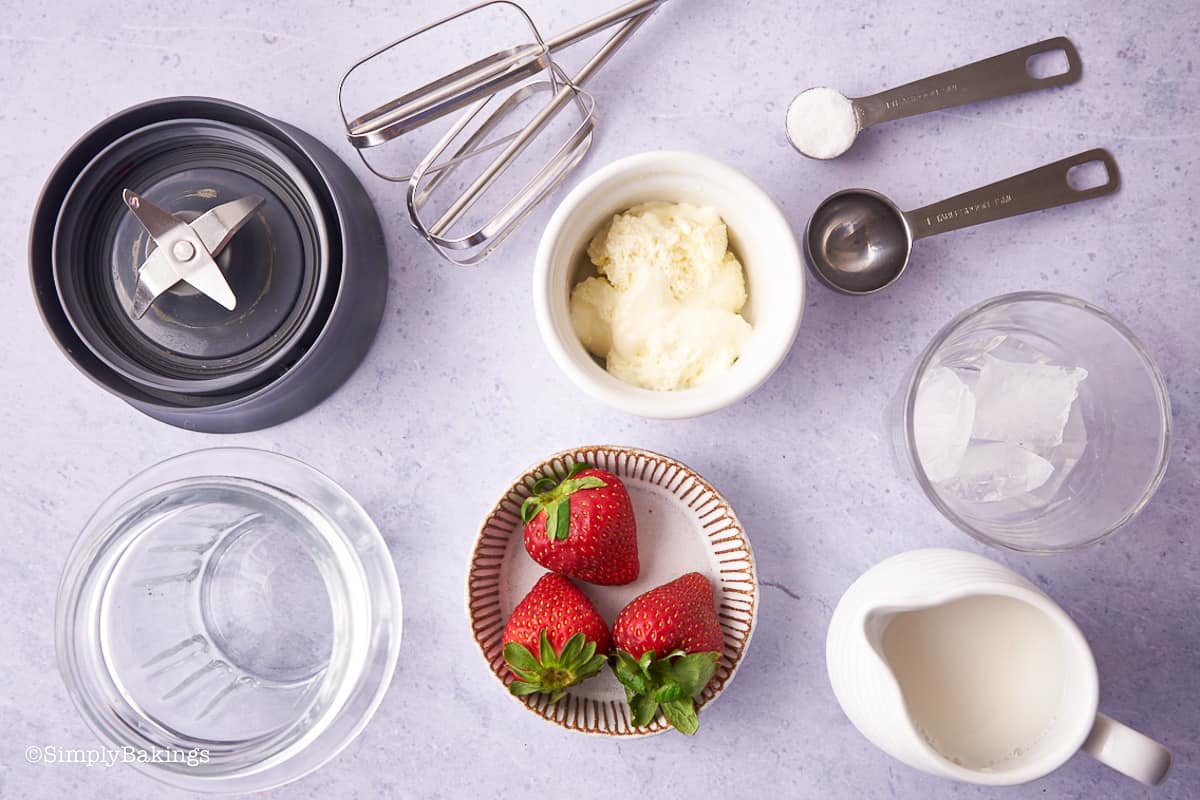
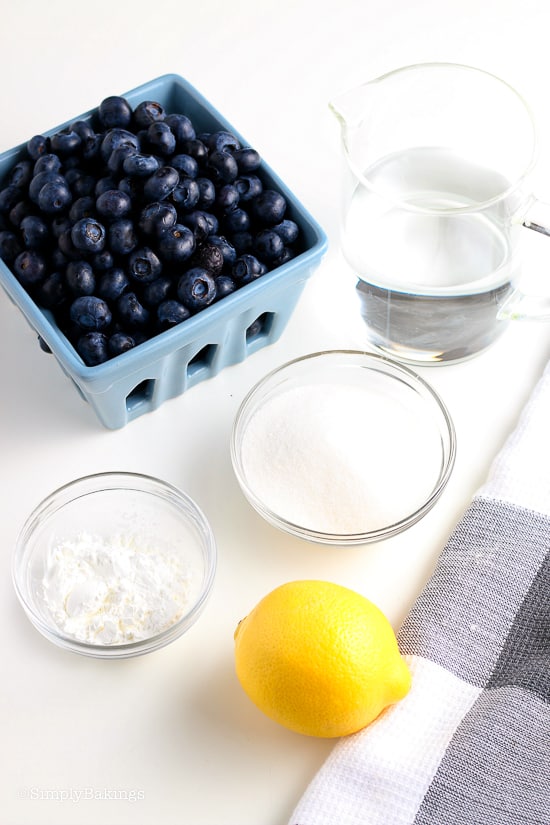
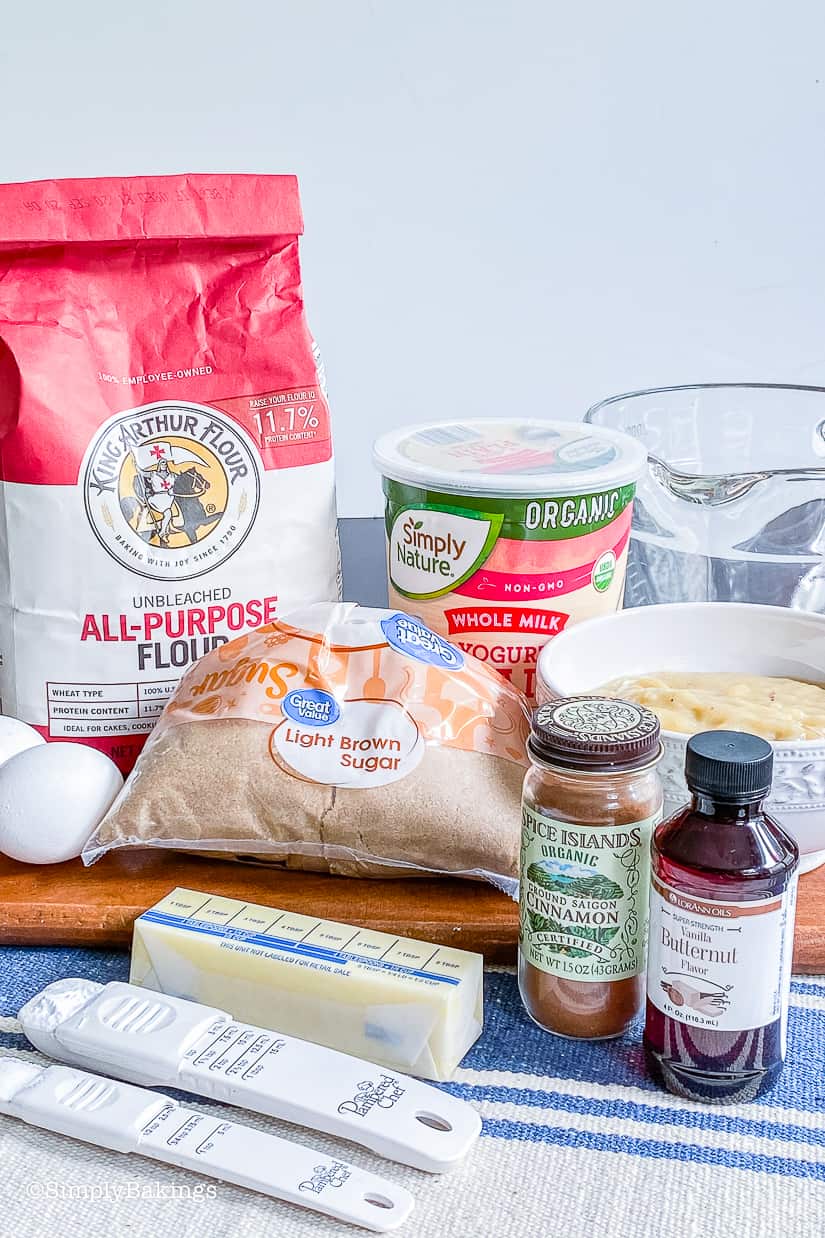
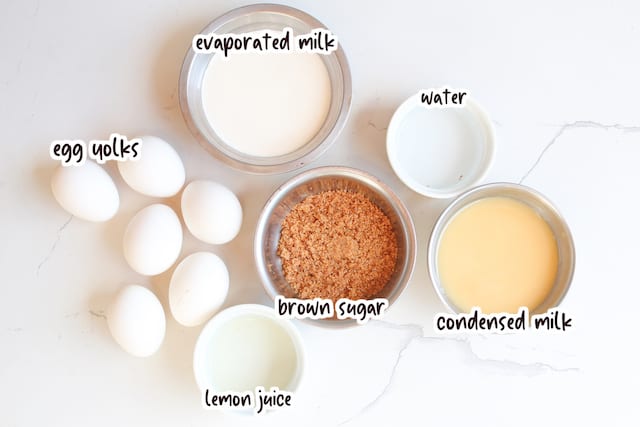
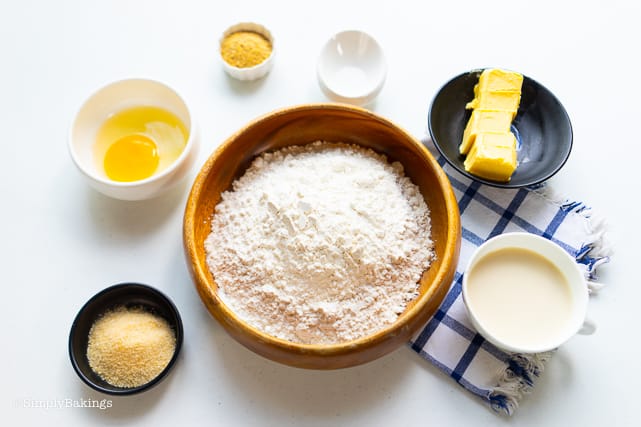
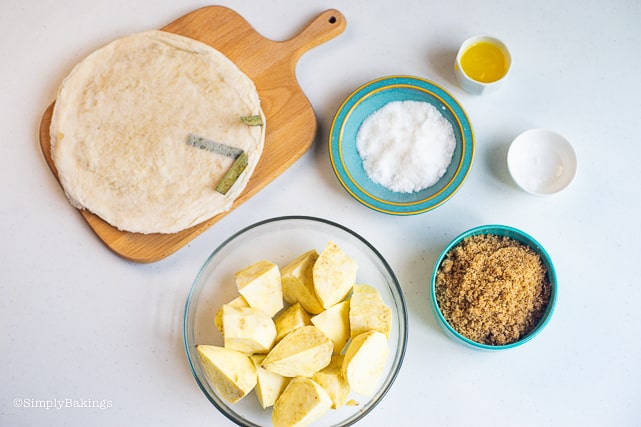
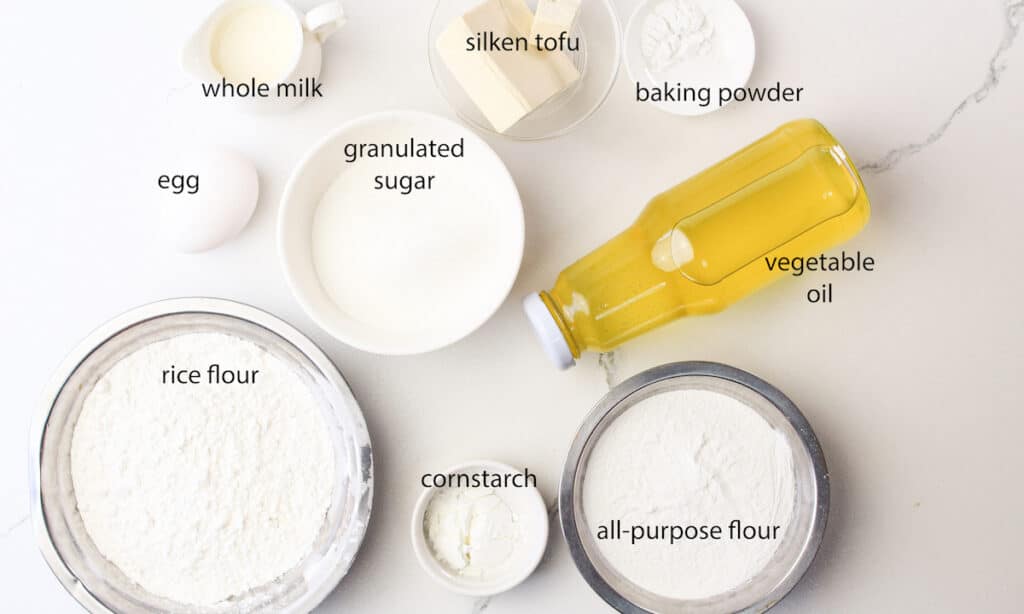
Ingredients
Listed below are all the ingredients you will need:
Mochi donut dough:
- all-purpose flour
- cornstarch
- glutinous rice flour
- baking powder
- granulated sugar
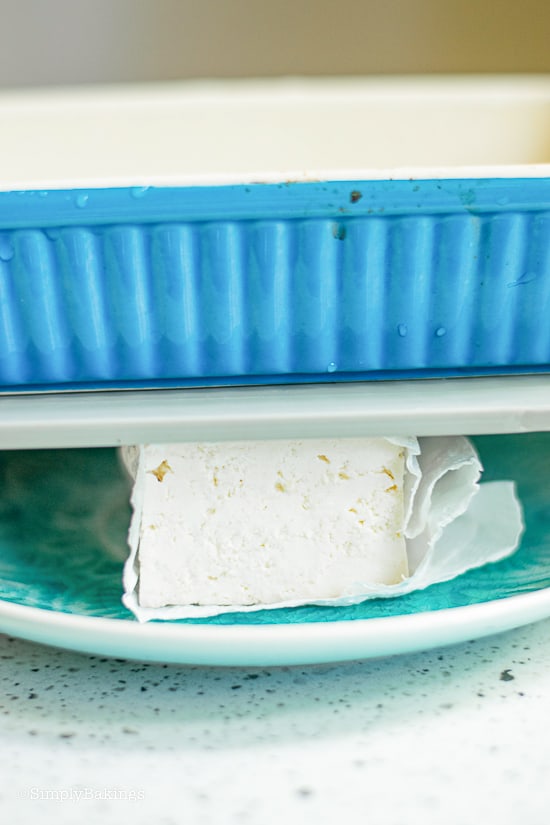
- silken tofu
- egg
- whole milk
- vegetable oil
Ube glaze:
- powdered sugar
- milk
- ube extract
Matcha glaze:
- white chocolate
- heavy cream
- Matcha powder
Chocolate glaze:
- powdered sugar
- cocoa powder
- milk
Instructions
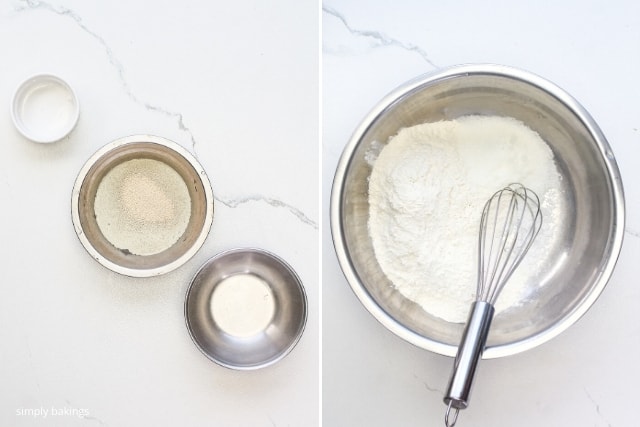
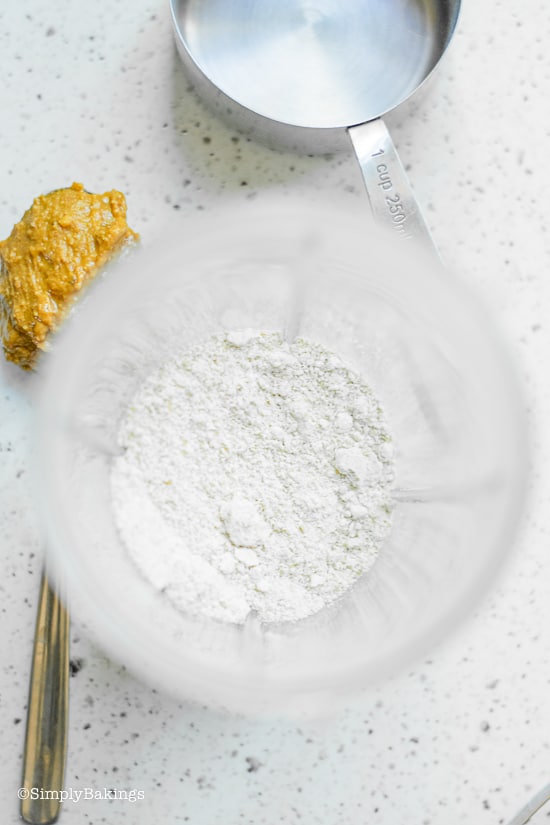
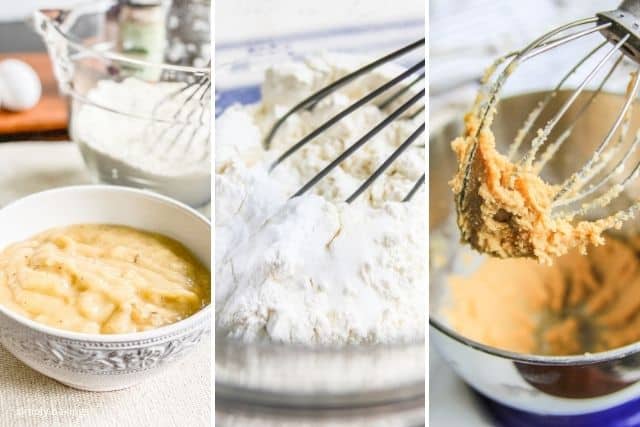
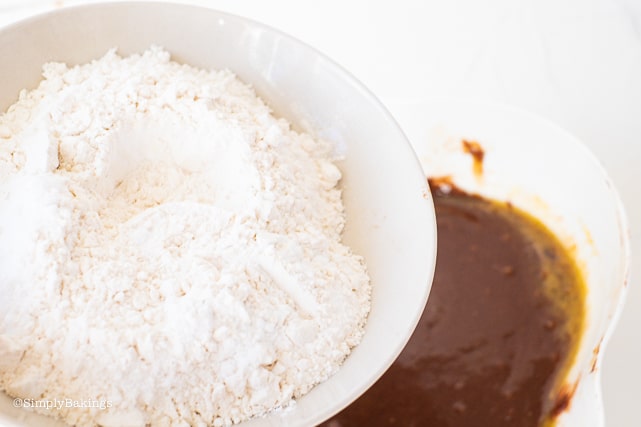
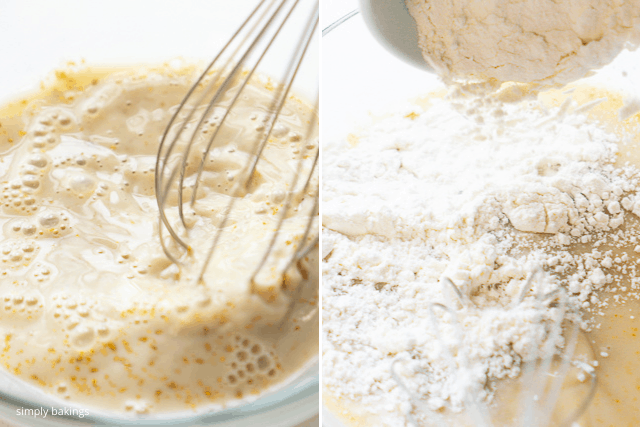
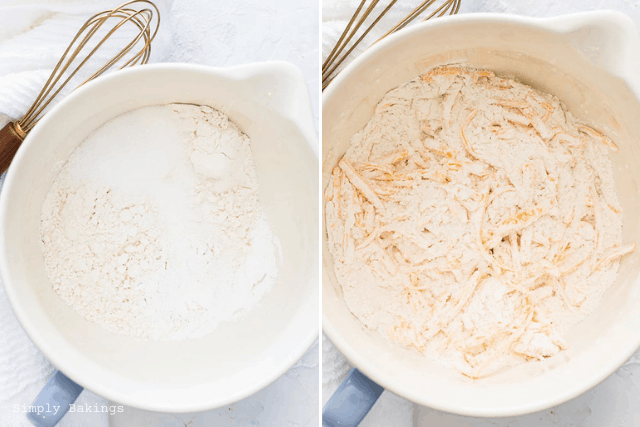
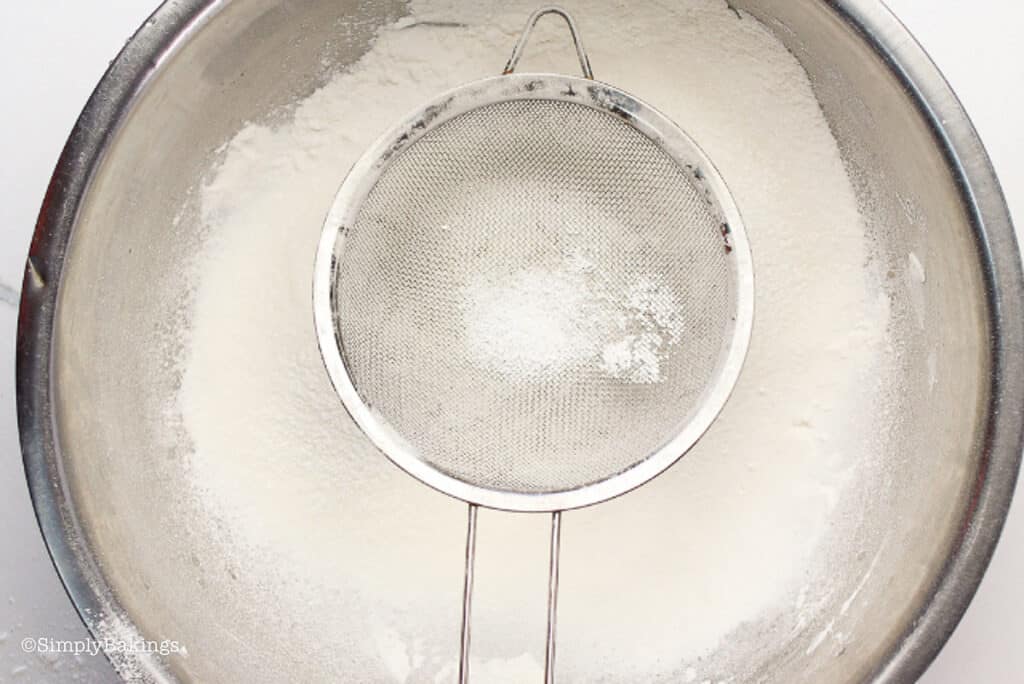
In a large bowl, sift together the dry ingredients such as all-purpose flour, cornstarch, glutinous rice flour, baking powder, and sugar:
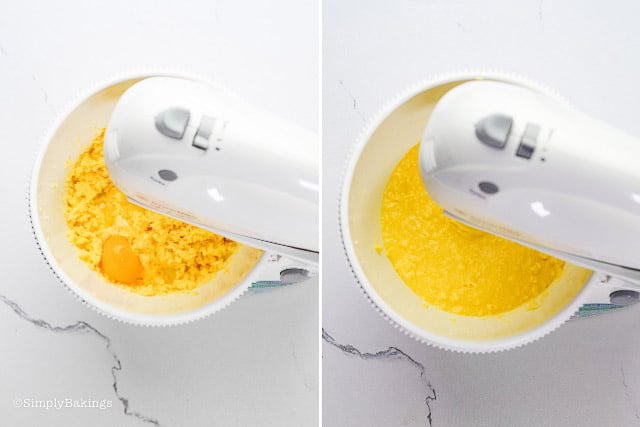
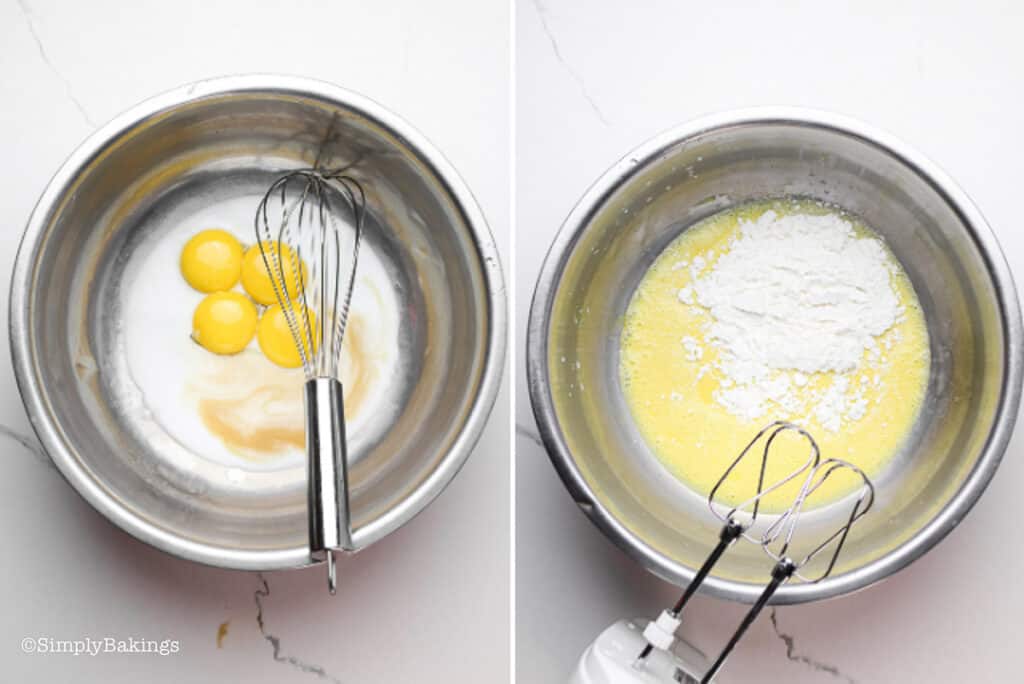
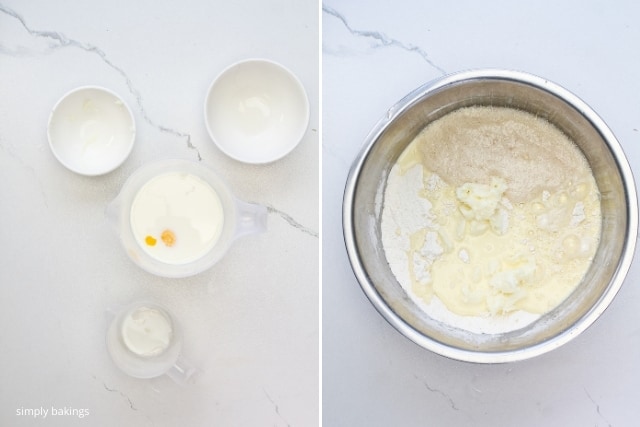
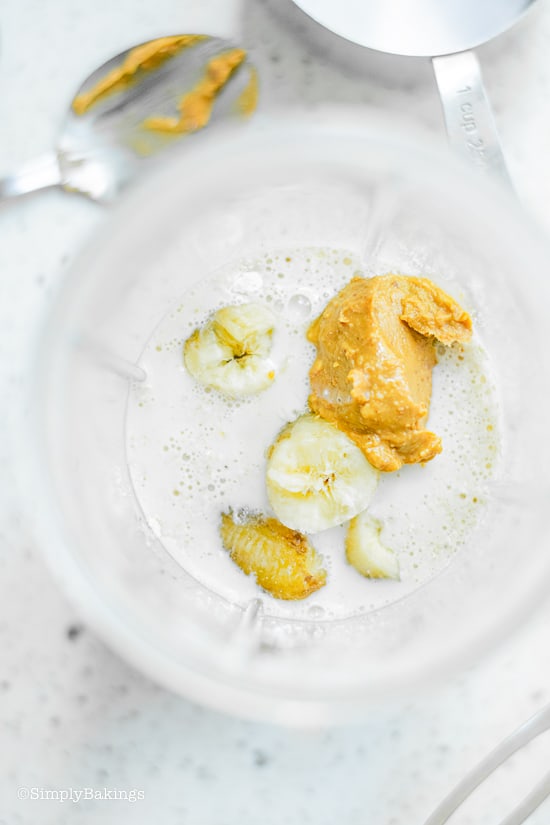
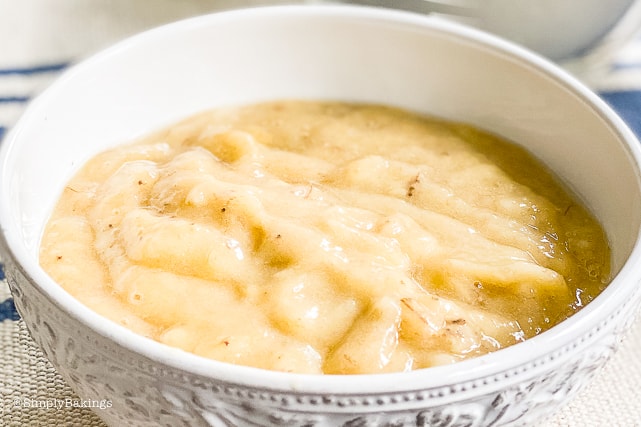
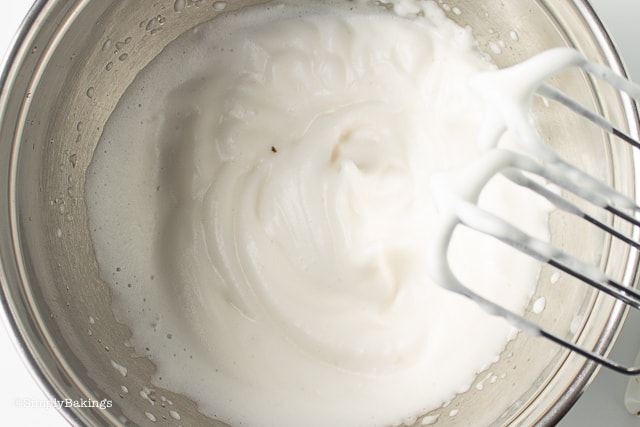
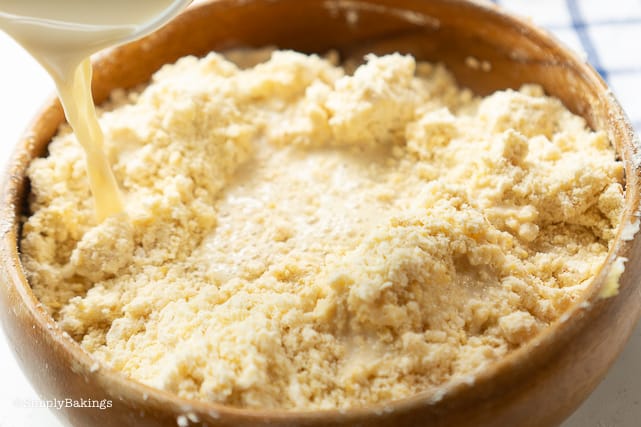
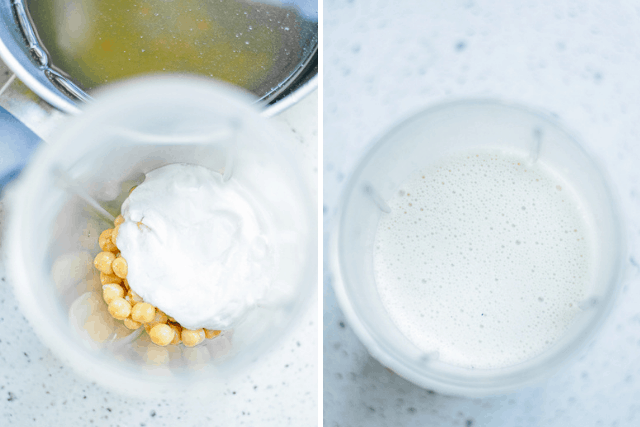
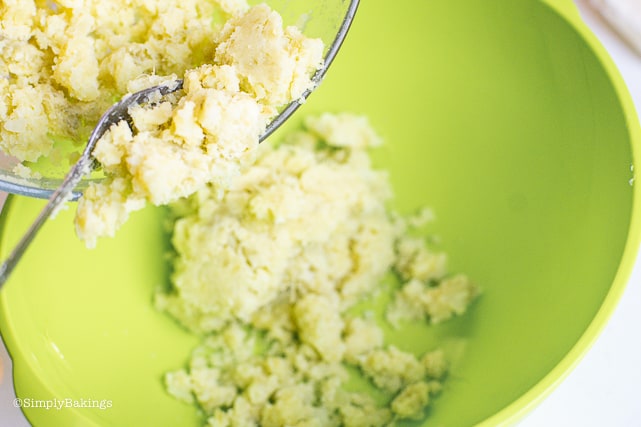
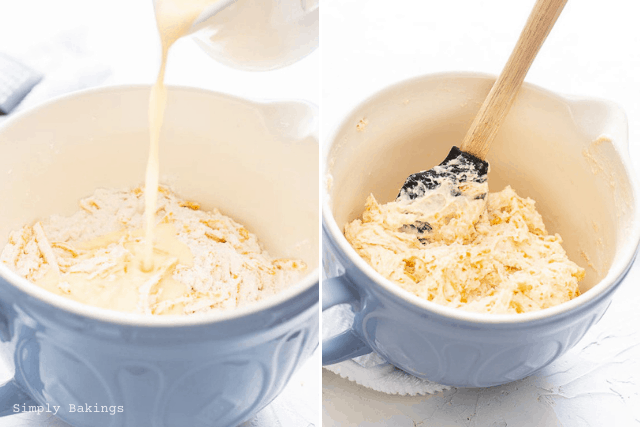
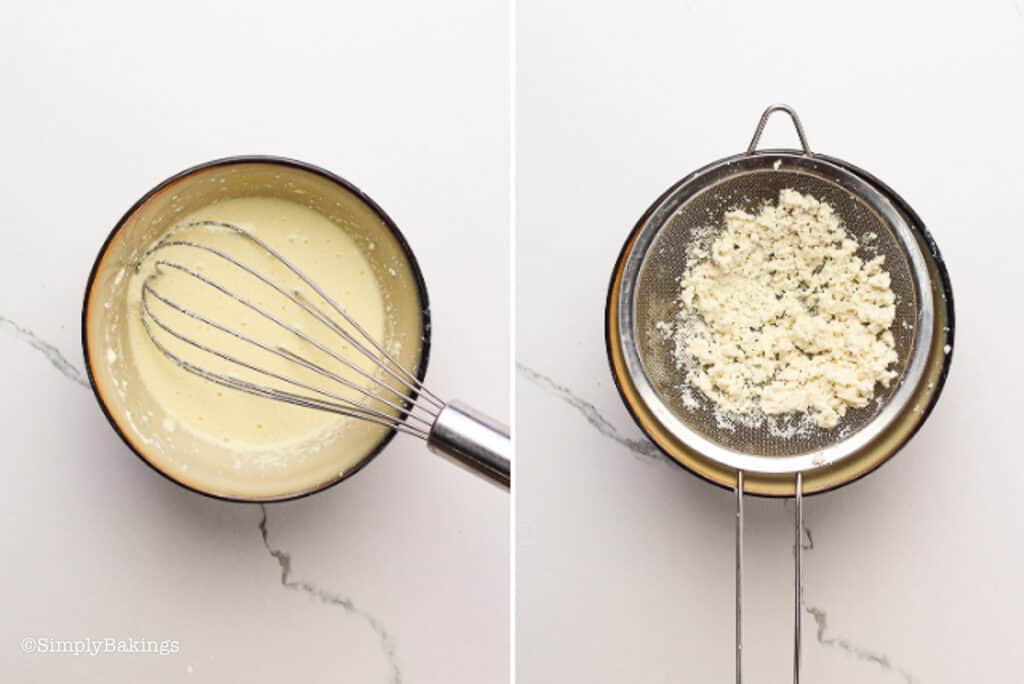
In a separate bowl, press the silken tofu through a fine-mesh sieve. Whisk the egg and milk into the tofu mixture:
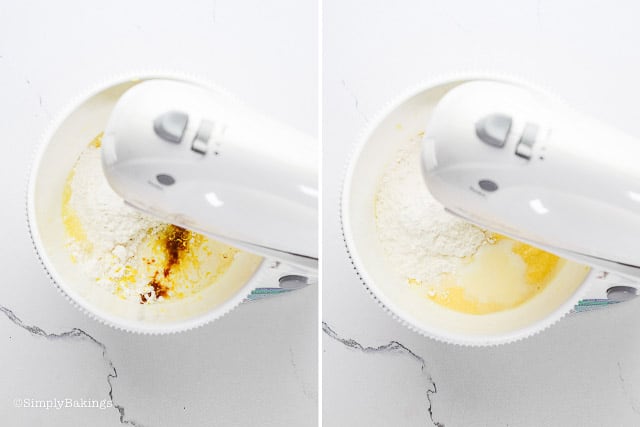
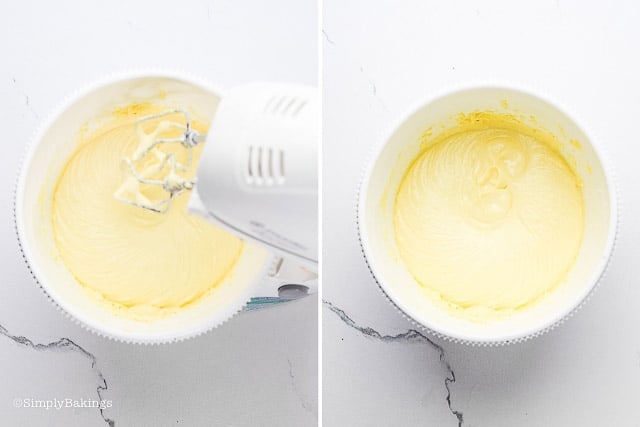
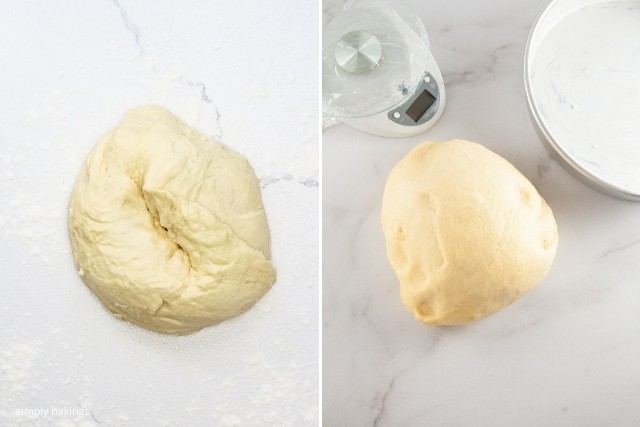
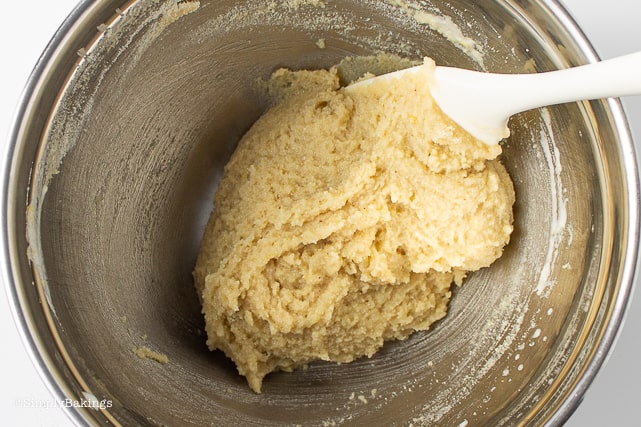
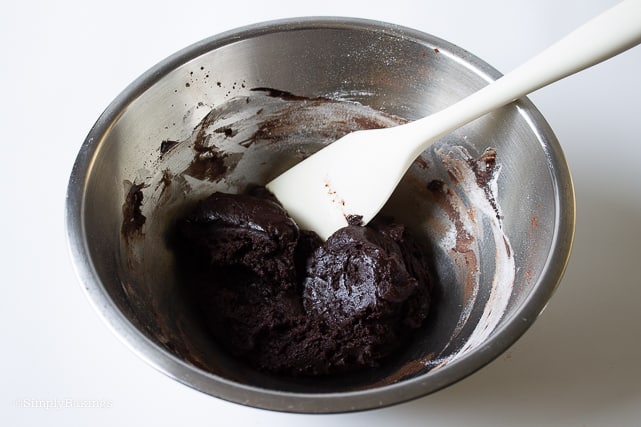
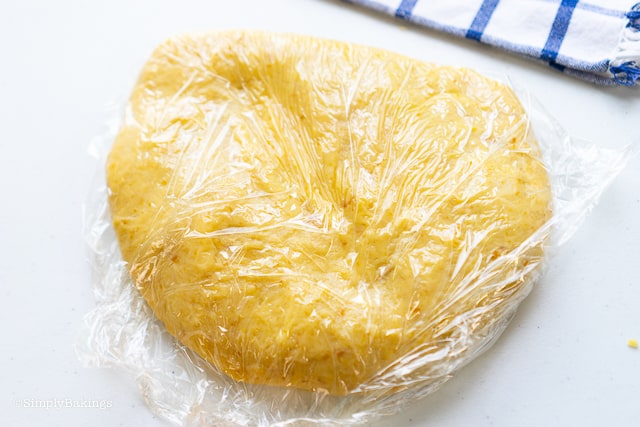
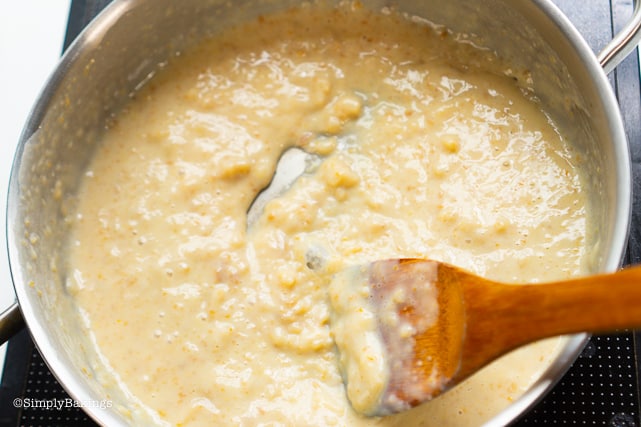
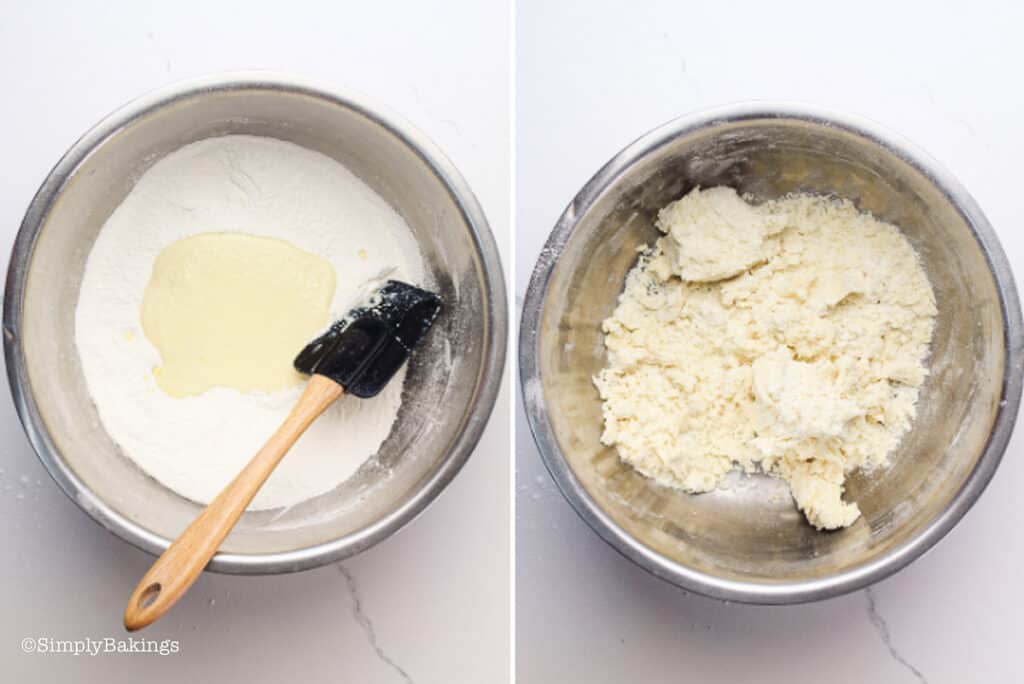
Using a spatula, combine the tofu mixture with the flour mixture to form into a rough dough. Knead the dough for 2 minutes until it becomes smooth:
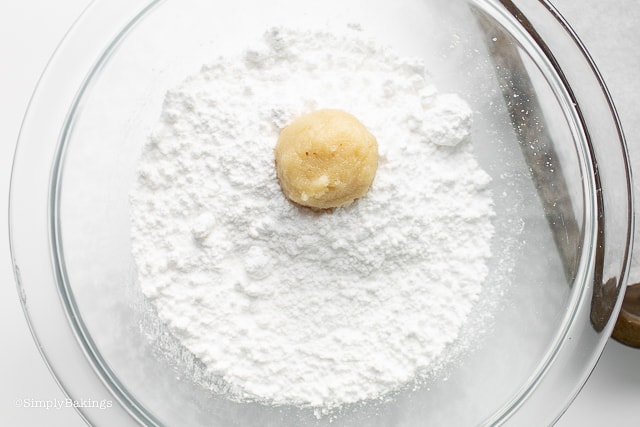
Using a kitchen scale, weigh-in 7 grams of dough and place it on a silicone mat.
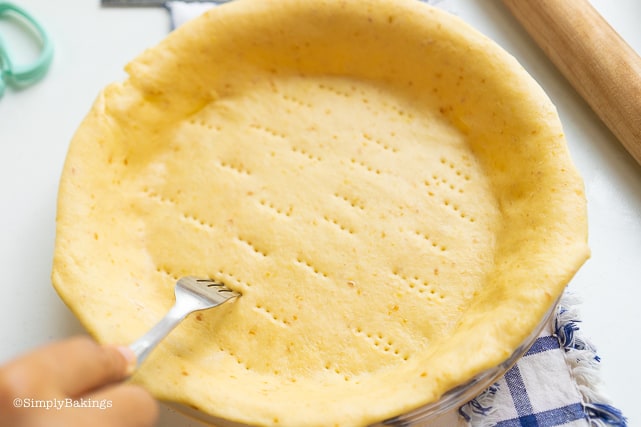
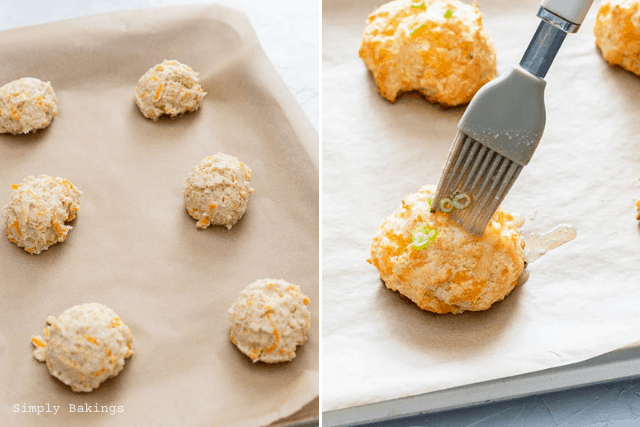
Once the dough has been weighed into smaller pieces, form the dough into smaller balls:

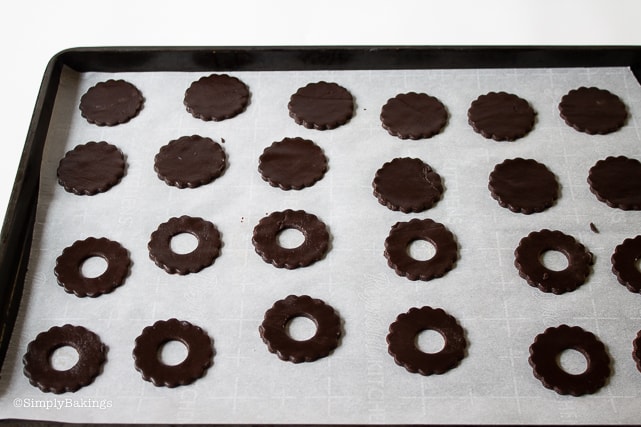
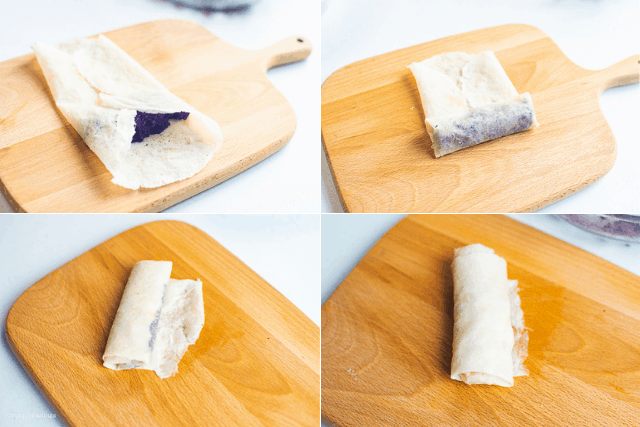
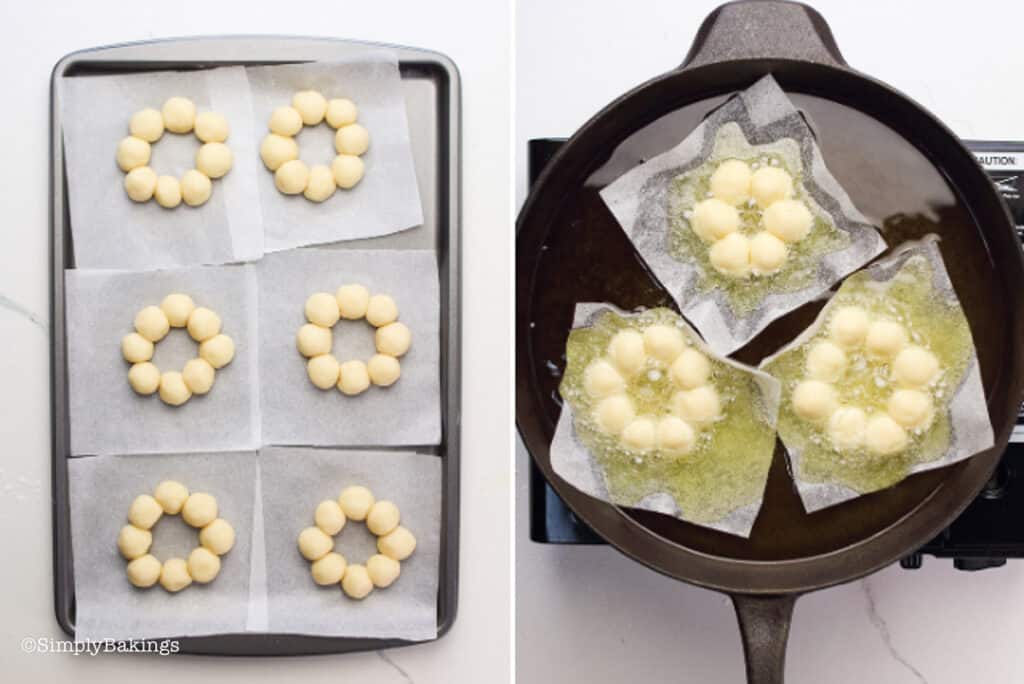
Place eight little balls of dough in a (5x5 inch) square parchment paper and shape into a donut. Repeat the process until all balls are placed in a square parchment paper:

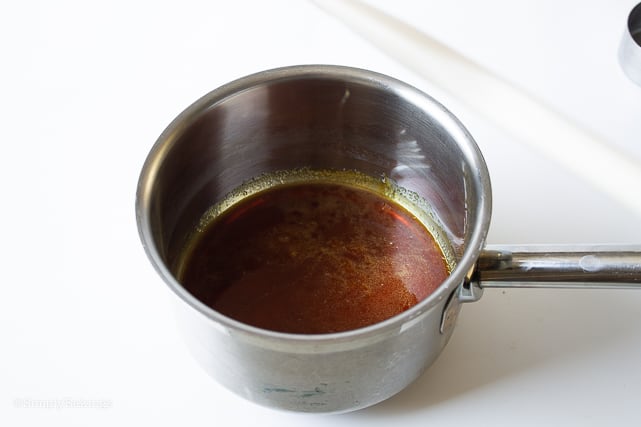
Heat the oil into a cast iron pan or a heavy-bottomed pot.
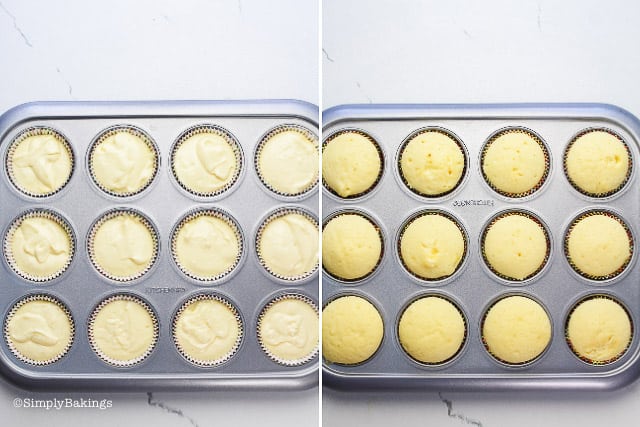
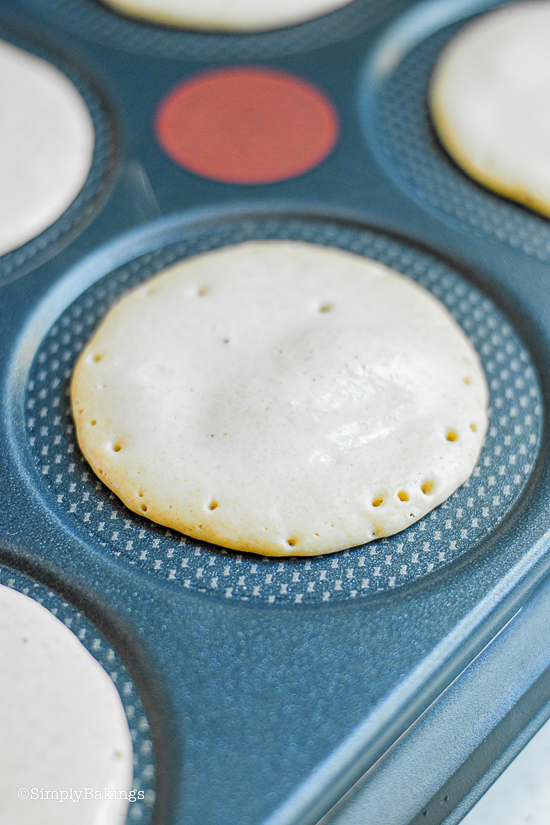
Fry the mochi donuts with pieces of parchment paper for 30 seconds to 1 minute at 335 degrees Fahrenheit or until it’s light brown:
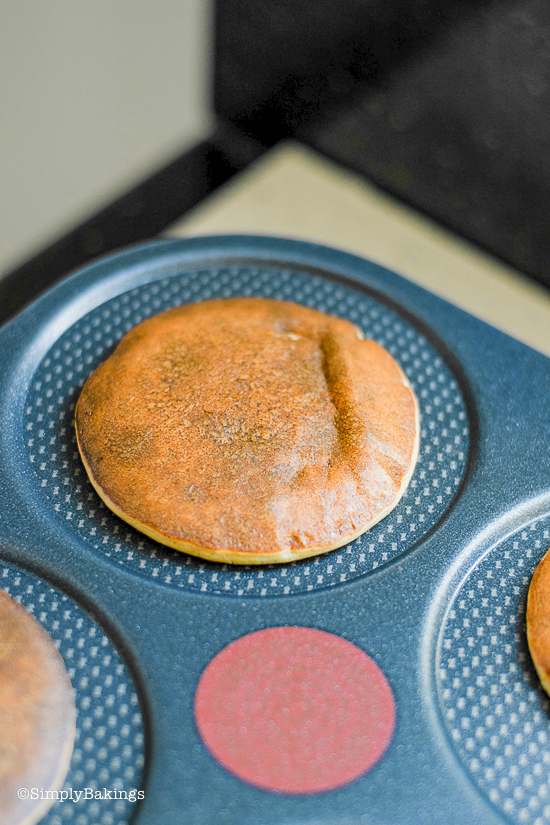
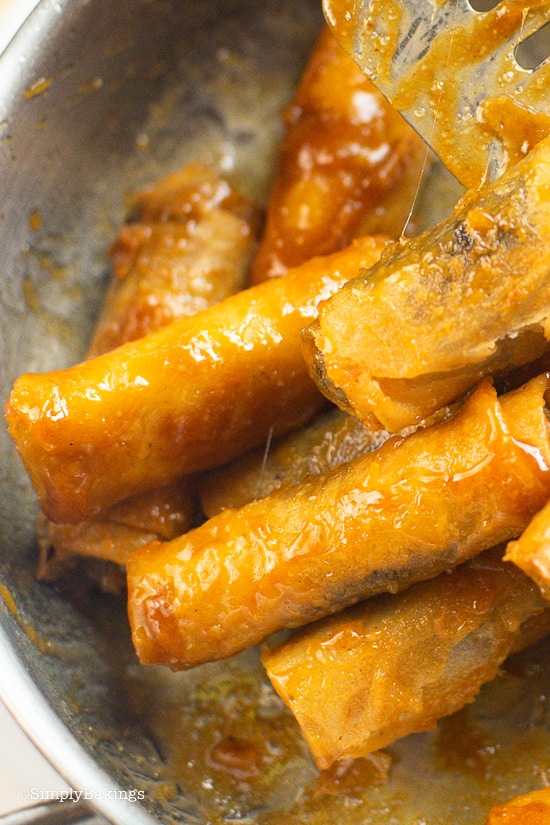
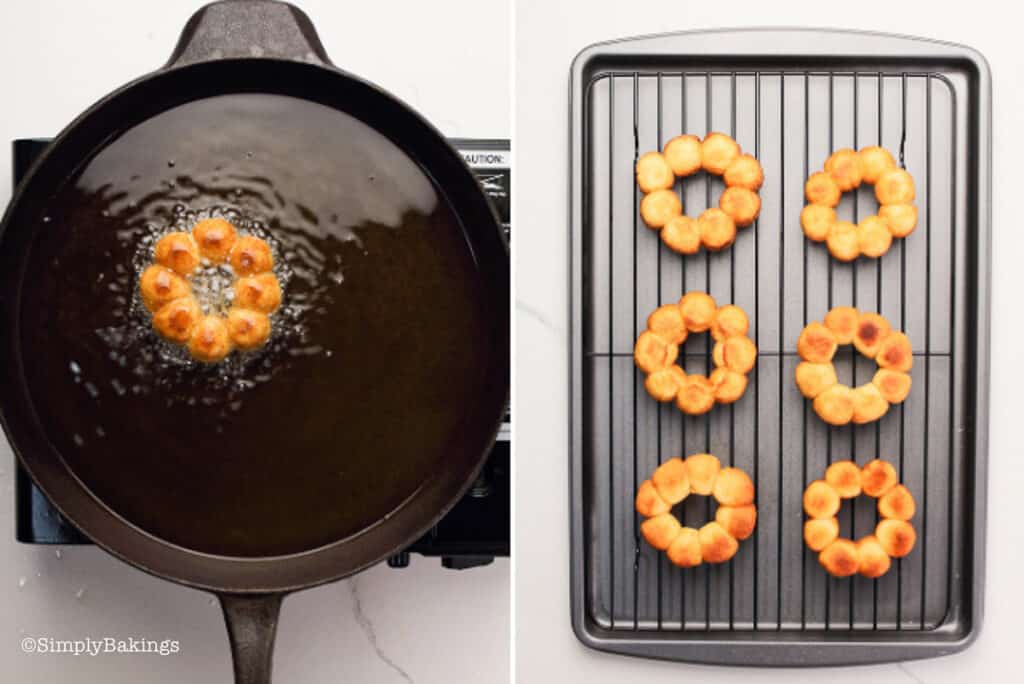
Turn the mocha donuts and slowly remove the parchment paper and continue frying for another 30 seconds to 1 minute. I cooked this donut too long and it turned brown, this is NOT what you're looking for.
Using a tong, carefully transfer the donuts to a plate lined with paper towels and repeat the frying process to the remaining donuts:
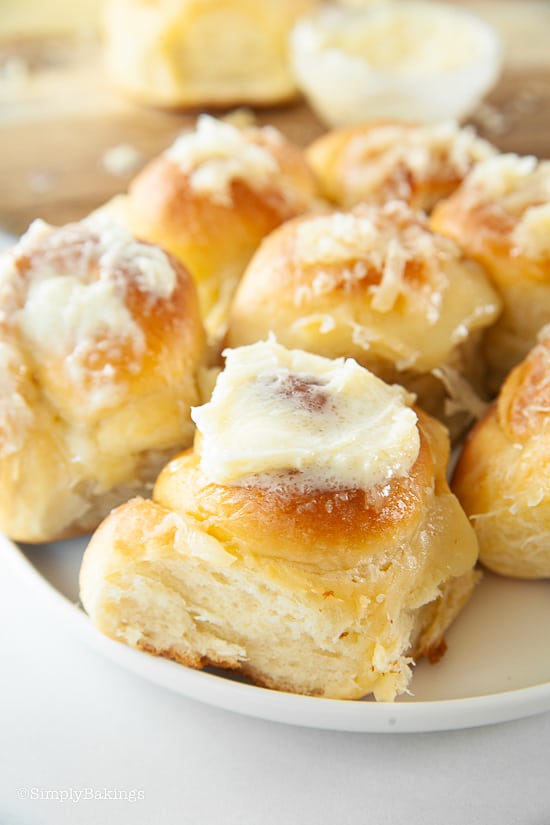
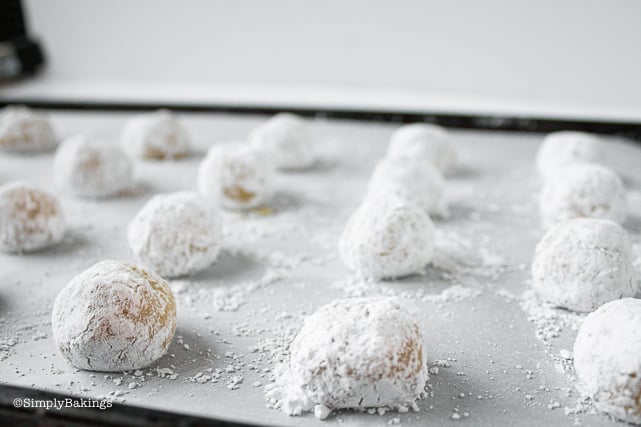
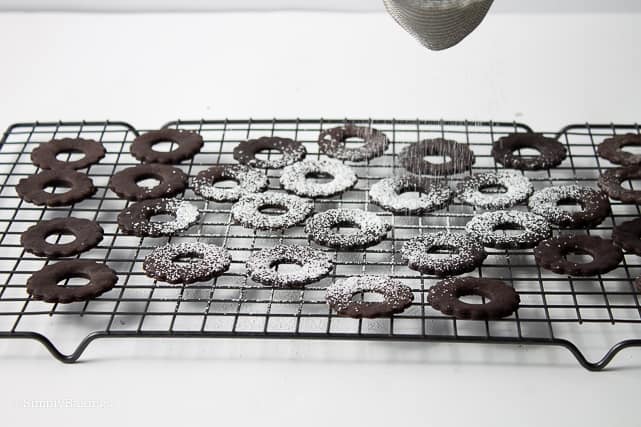
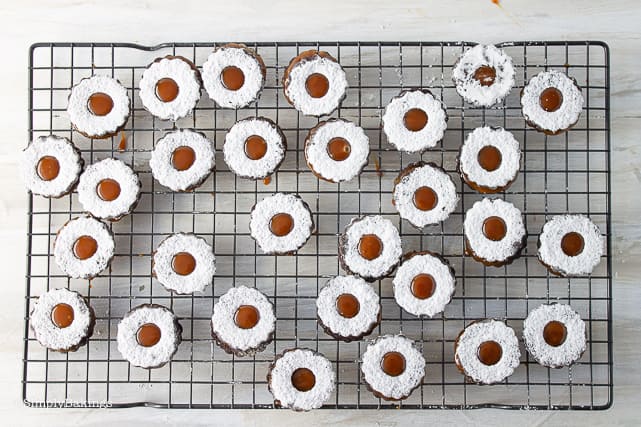
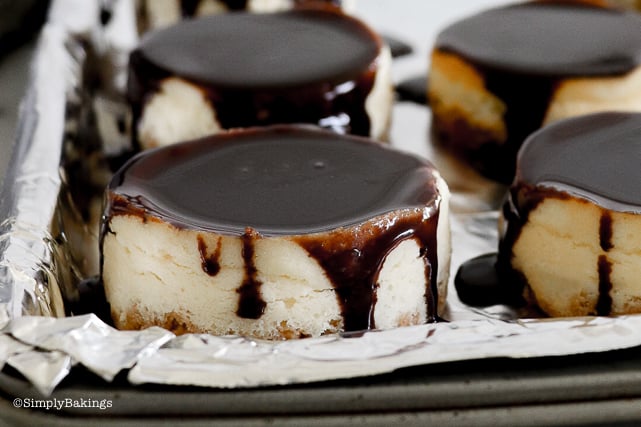
Dip each fried mochi donuts on your favorite glaze and let it set in a cooling wire rack before serving:
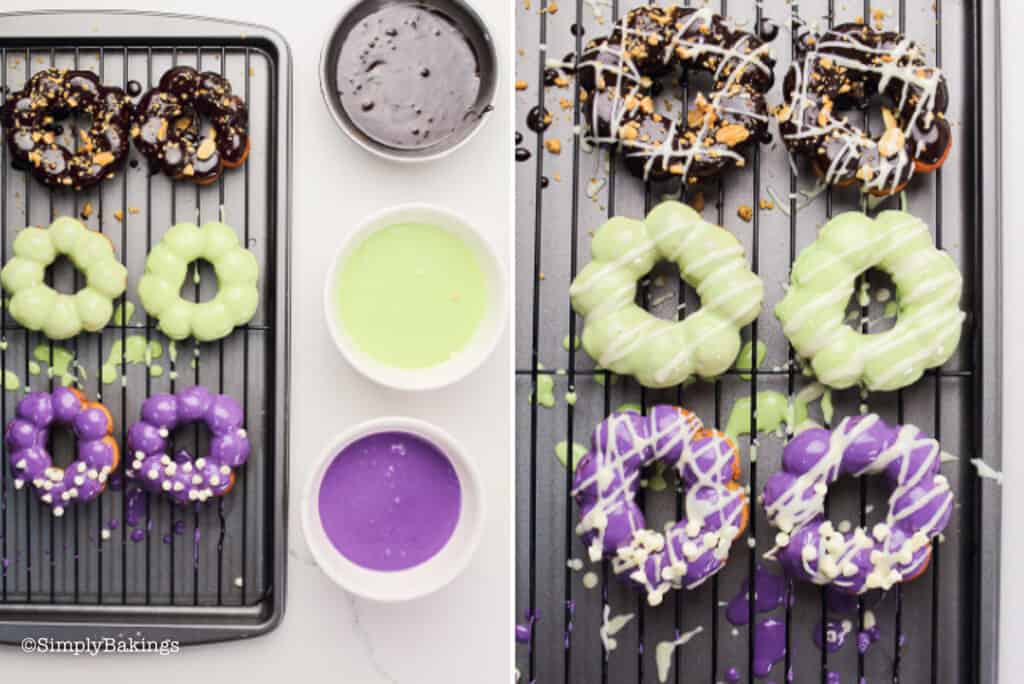
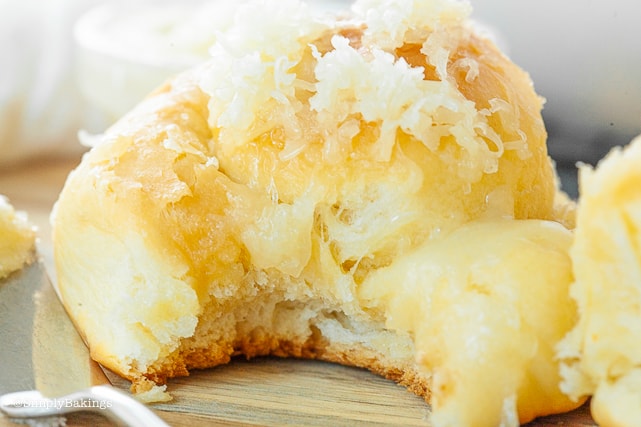
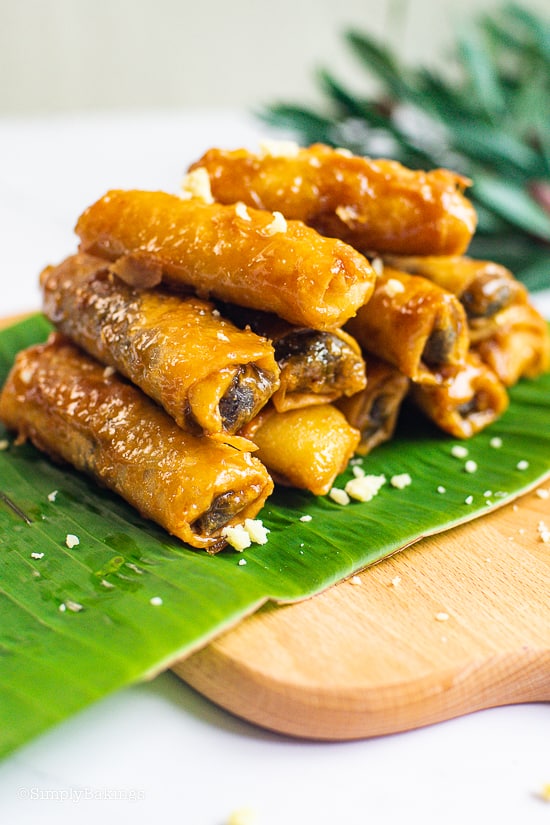
Voila! Enjoy these delicious mochi donuts with chewy texture and different sweet taste!
Top Tips
- Do not overcook the donuts, it will result in a very hard donut. You want a light brown color donut.
- Use vegetable oil or canola oil, it's neutral in flavor and has a high smoke point.
FAQ

Easy Mochi Donuts Recipe
Ingredients
Mochi donut batter:
- 1 cup all-purpose flour
- 1 tablespoon cornstarch
- ¾ cups glutinous rice flour
- 1 teaspoon baking powder
- ½ cup granulated sugar
- ½ cup silken tofu
- 1 egg
- 3 tablespoons whole milk
- 2 cups vegetable oil
Ube Glaze:
- ¼ cup powdered sugar sifted
- ½ tablespoon milk
- ½ teaspoon ube extract
Matcha Glaze:
- ½ cup white chocolate
- ⅓ cup heavy cream
- 1 tablespoon matcha powder
Chocolate Glaze:
- ¼ cup powdered sugar sifted
- 1 tablespoon cocoa powder
- ½ tablespoon milk
Instructions
Mochi donut batter:
- In a large bowl, sift together all-purpose flour, cornstarch, glutinous rice flour, baking powder, and sugar.
- In a separate bowl, press the silken tofu through a fine-mesh sieve.
- Whisk the egg and milk into the tofu mixture.
- Using a spatula, combine the tofu mixture with the flour mixture to form a rough dough. Knead the dough for 2 minutes until it becomes smooth.
- Using a kitchen scale, weigh-in 7 grams of dough and place it on a silicone mat. Once the dough has been weighed into smaller pieces, form the dough into smaller balls.
- Place eight balls in a (5x5 inch) square parchment paper and shape into a donut. Repeat the process until all balls are placed on square parchment paper.
Frying the donuts:
- Heat the oil in a cast iron pan or a heavy-bottomed pot.
- Fry the mochi donuts with parchment paper for 30 seconds to 1 minute at 335 degrees Fahrenheit or until it’s light brown. Turn the mocha donuts and slowly remove the parchment paper and continue frying for another 30 seconds to 1 minute.
- Using a tong, carefully transfer the donuts to a plate lined with paper towels and repeat the frying process to the remaining donuts.
- Dip each fried mochi donuts on your favorite glaze and let it set on a cooling rack before serving.
Ube Glaze:
- Sift powdered sugar in a medium-sized bowl, then mix in ube extract, then gradually add milk to make a smooth glaze.
Matcha Glaze:
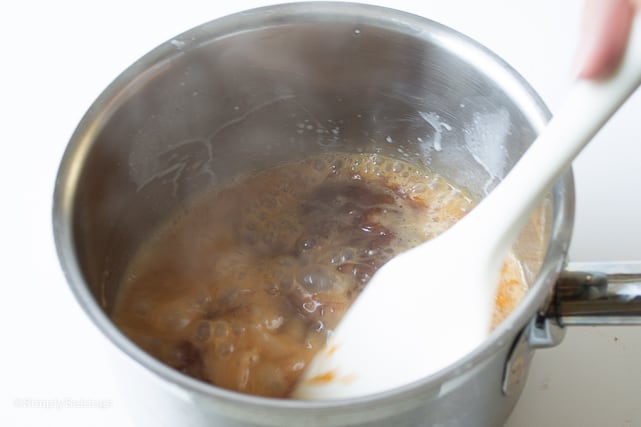
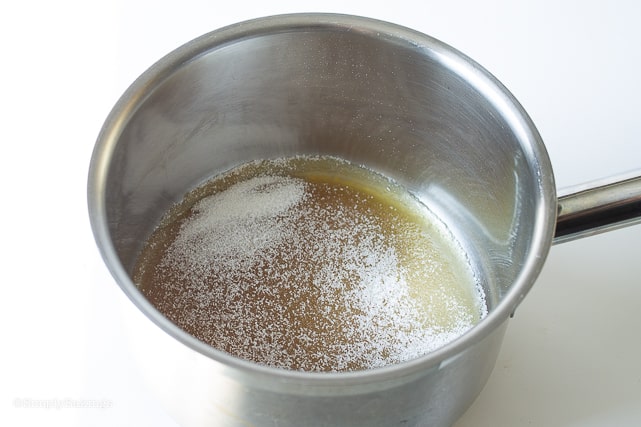
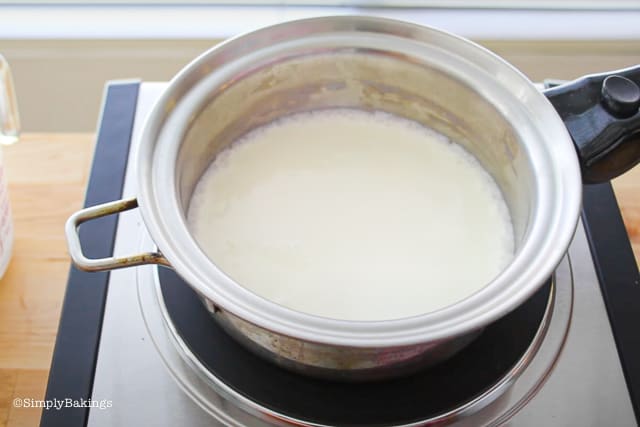
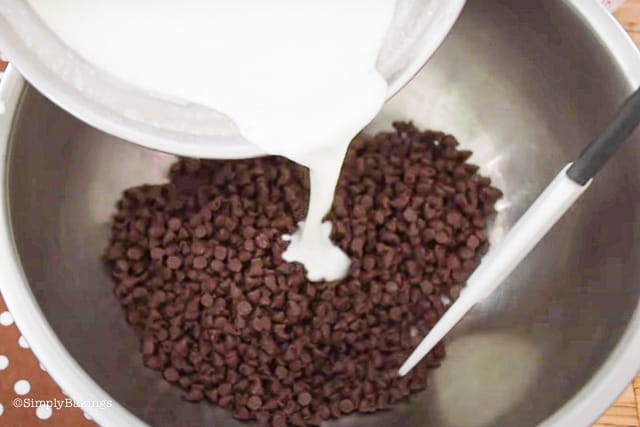
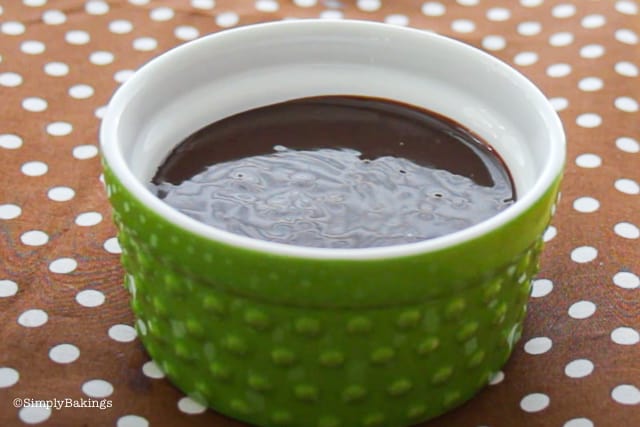
- In a small saucepan over medium-low heat, heat the heavy cream. Add the white chocolate and melt until smooth, then whisk in matcha powder well, and dip a few donuts in the matcha glaze.
Chocolate Glaze:
- Sift powdered sugar and cocoa powder in a medium-sized bowl, then slowly stir in milk a little at a time to make a smooth glaze.