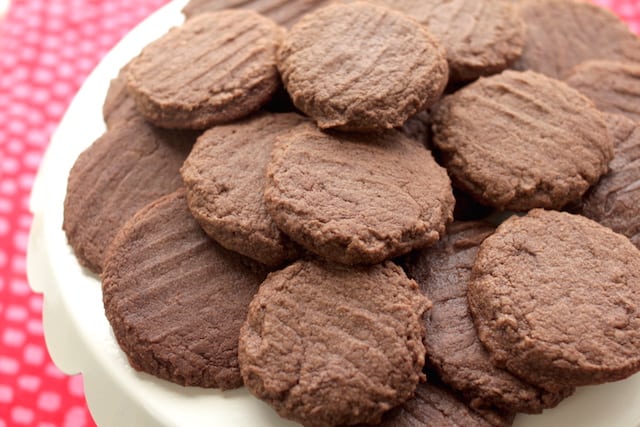
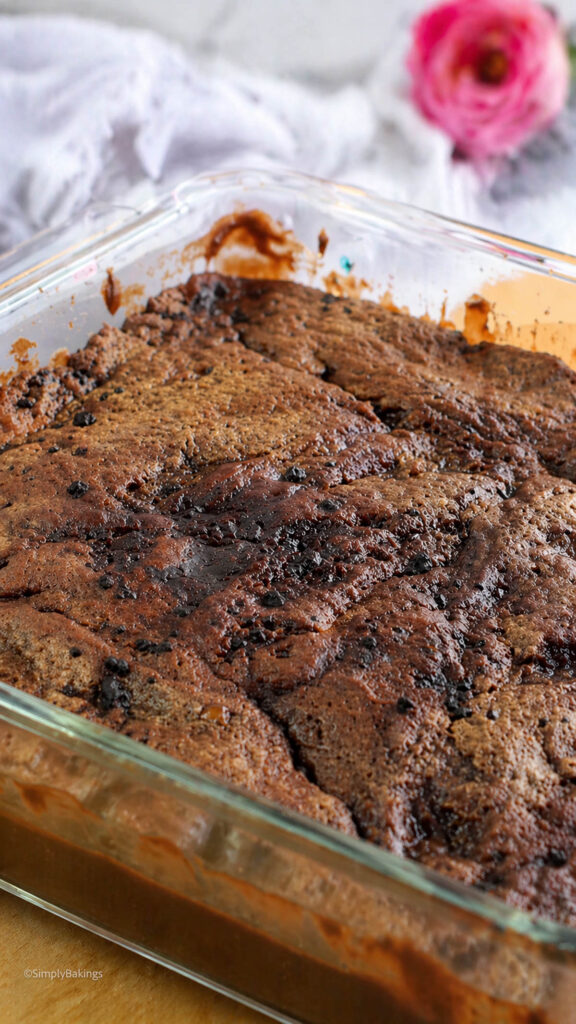
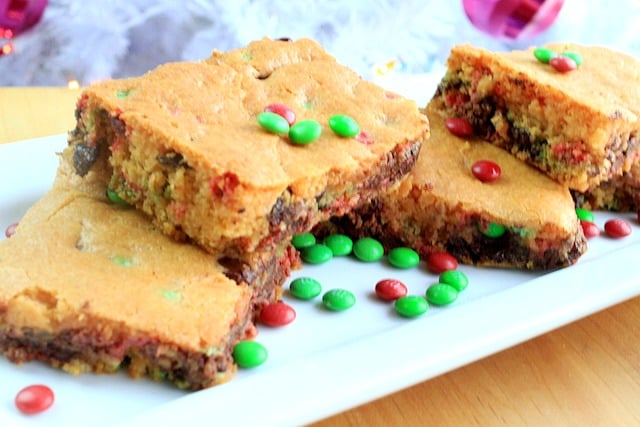
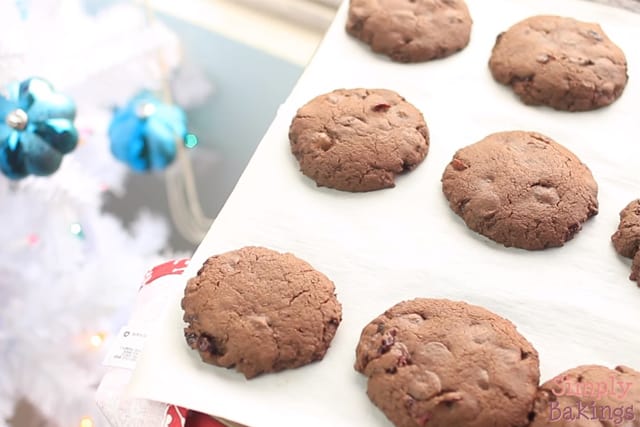
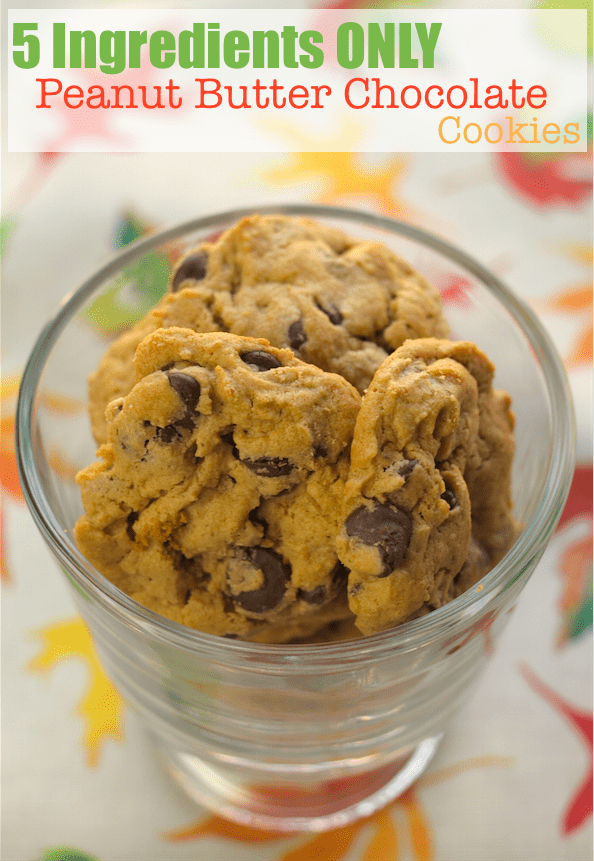
Make yourself a batch of these 5 Ingredient Gluten Free Peanut Butter Chocolate Chip Cookies! It's easy and quick to make. Perfect for busy bakers, late-night cravings, or anyone avoiding wheat. They’re chewy, chocolatey, and made in one large bowl. What’s not to love?
Love a quick cookie recipe? Try our Coffee Mint Cookies for a bold twist or Rice Krispies Cookies for a crispy, nostalgic bite!
Why You’ll Love This Recipe
5-ingredient peanut butter chocolate chip cookies are dairy-free, gluten-free, and beginner-friendly. No fancy equipment needed, like a mixer. Just mix, scoop, and bake!
Peanut butter gives natural protein and healthy fats, making each bite satisfying and energizing.
It's a great treat for kids, grown-ups, and late-night sweet cravers.
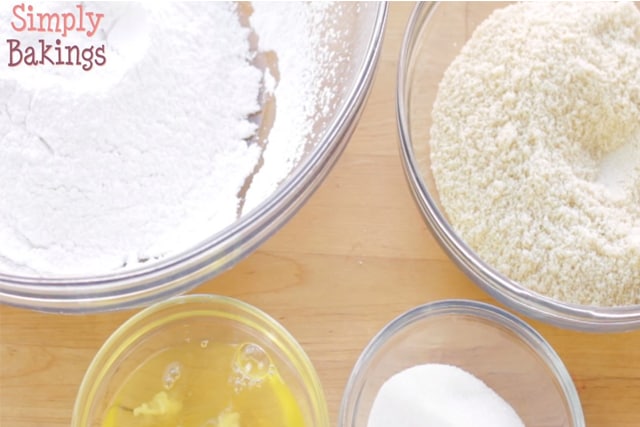
Ingredients
Listed below are all the ingredients you will need:
- Brown sugar
- Egg
- Creamy peanut butter
- Baking soda
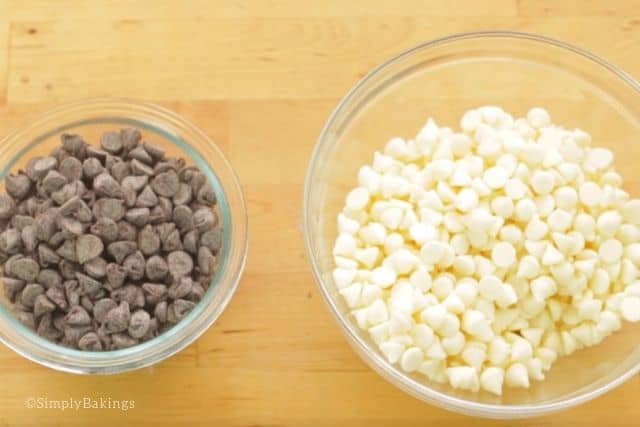
- Semi-sweet chocolate chips
See the recipe card for quantities.

Ingredients
Prepare the Oven and Pan:
1. Preheat the oven to 350°F (175°C).
2. Line a cookie sheet with parchment paper or a silicone baking mat.
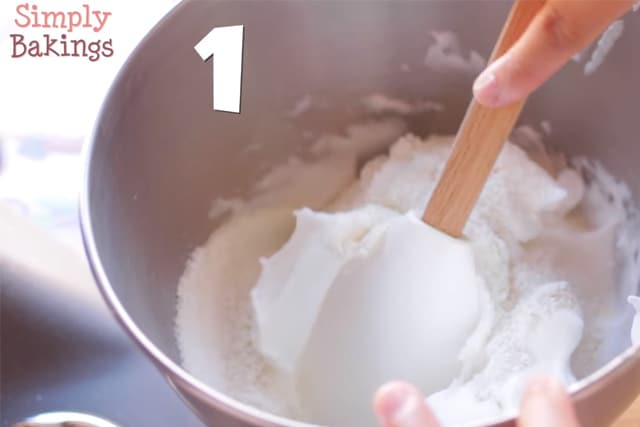
Make the Dough:
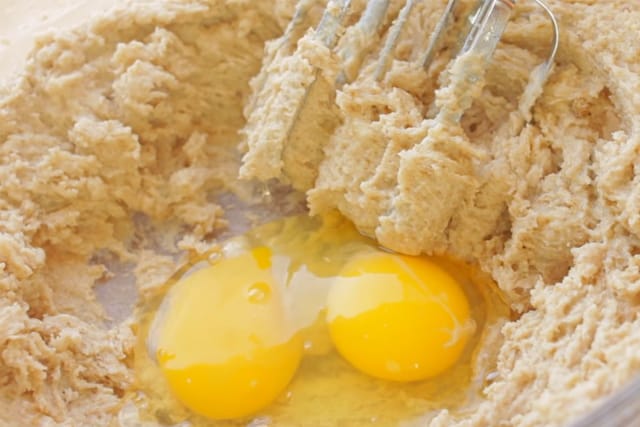
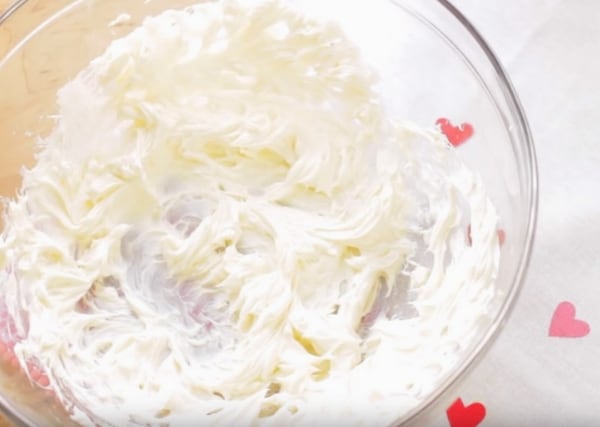
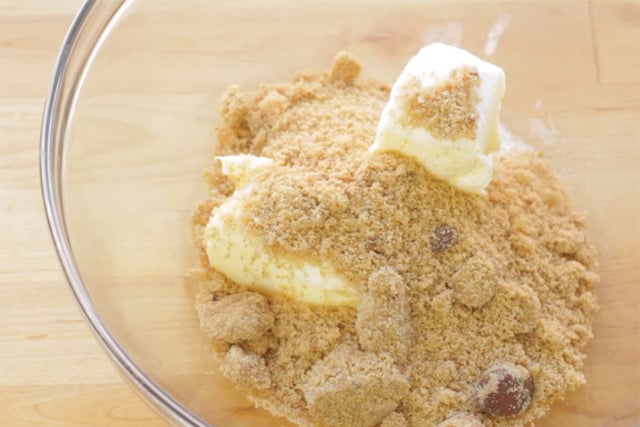
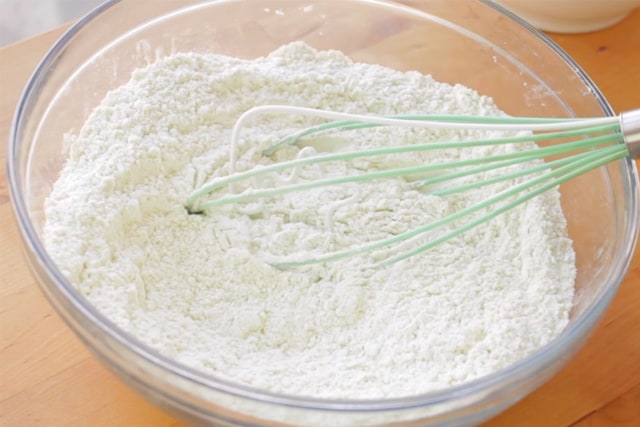
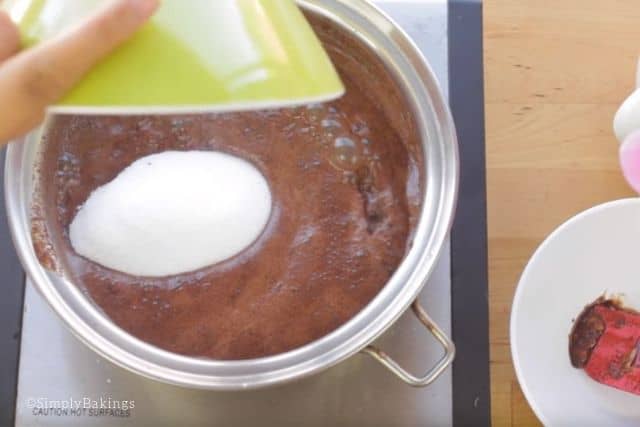
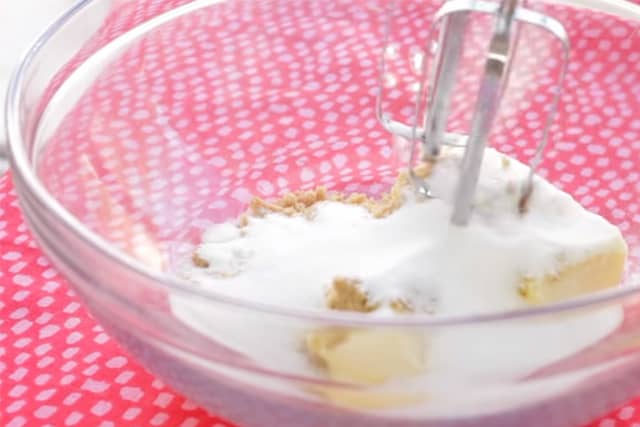
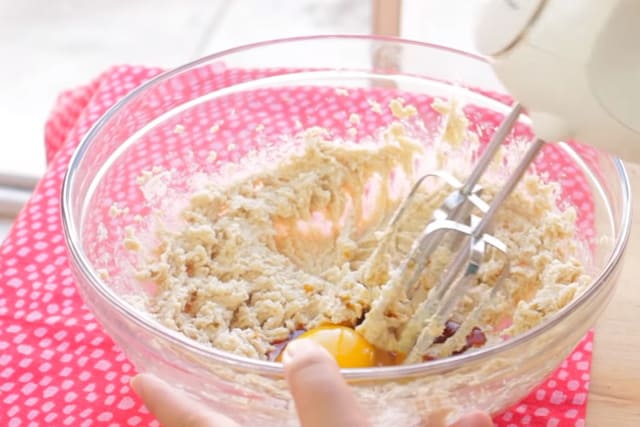
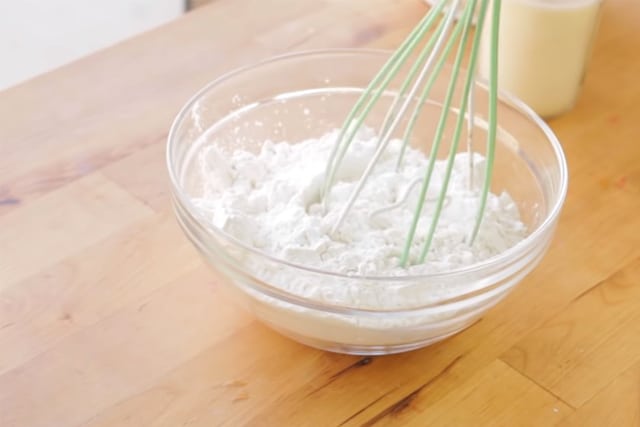
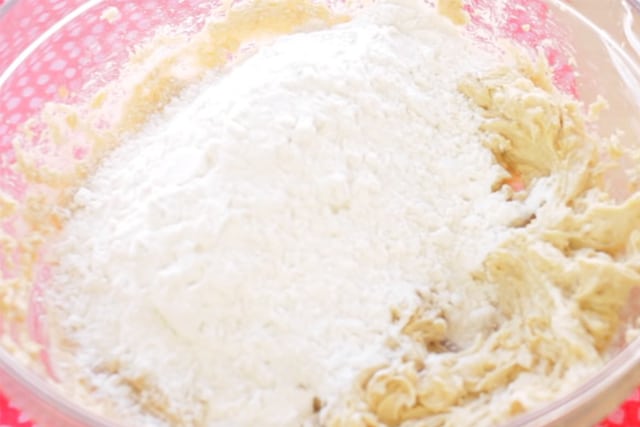
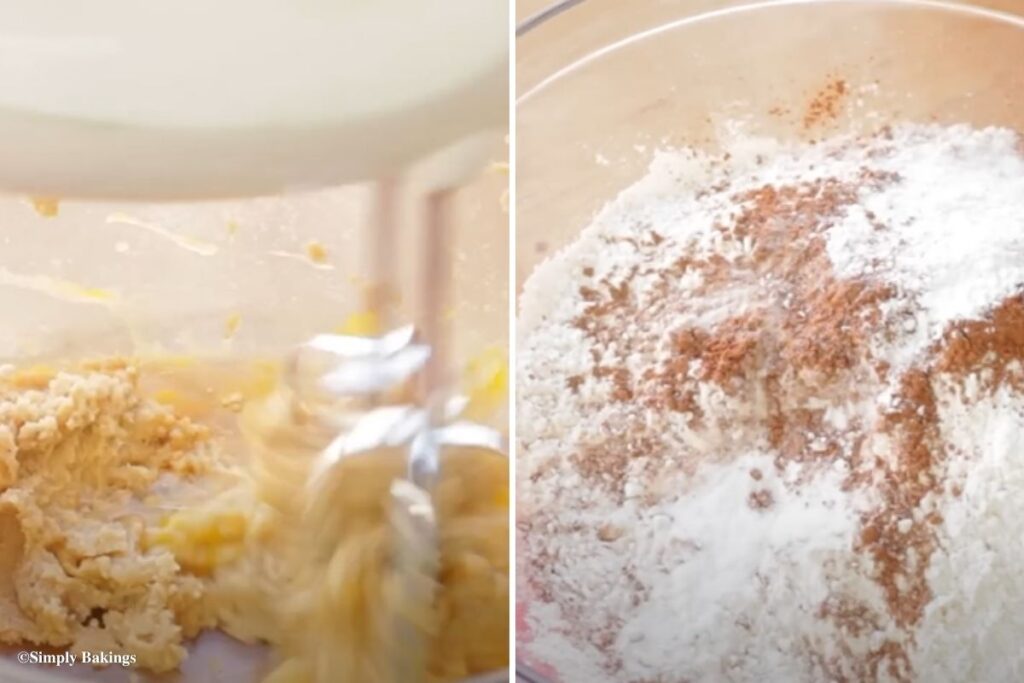
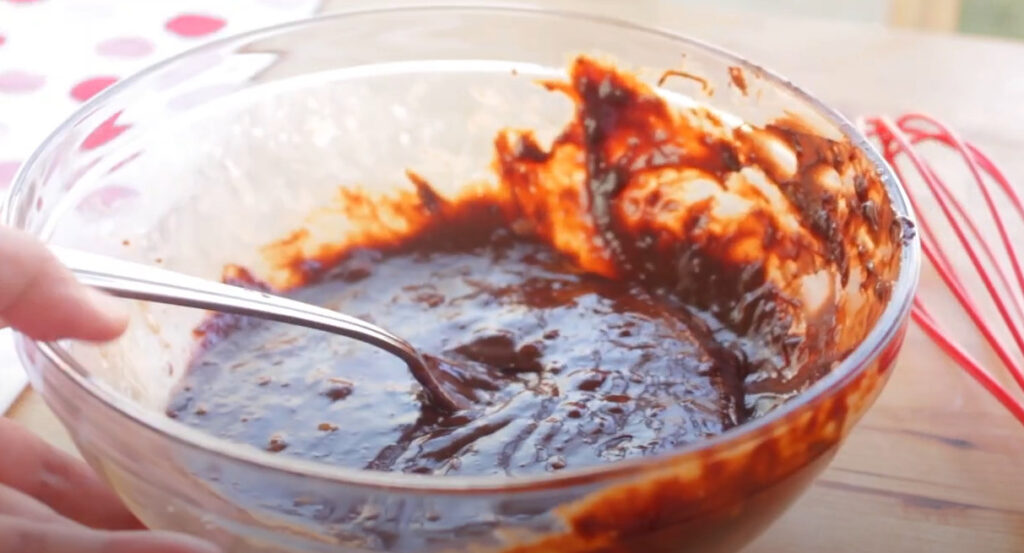
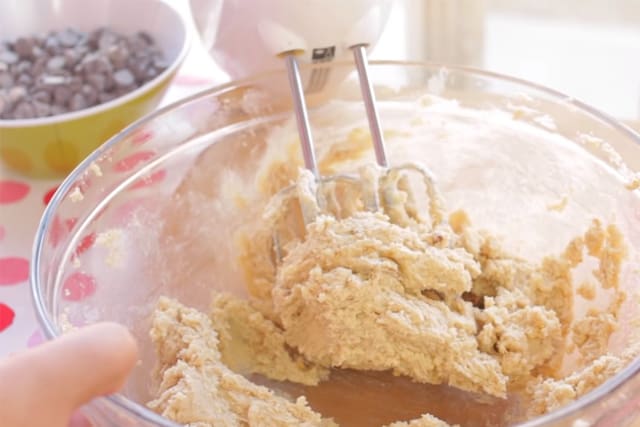
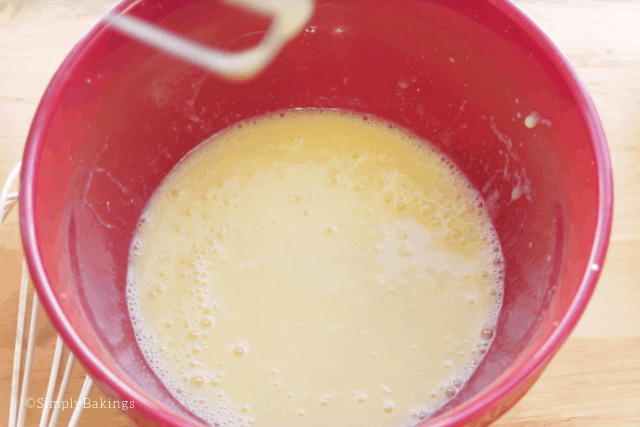
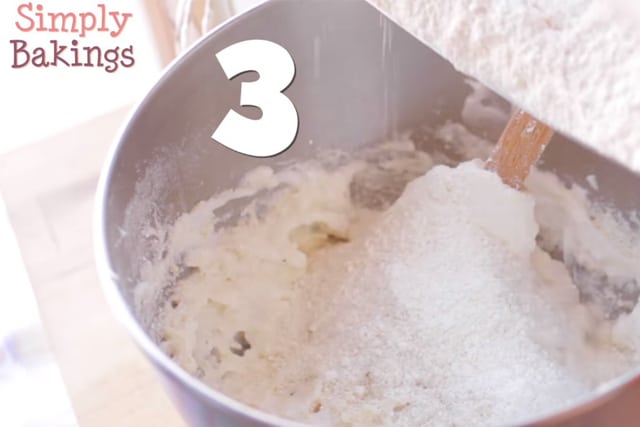
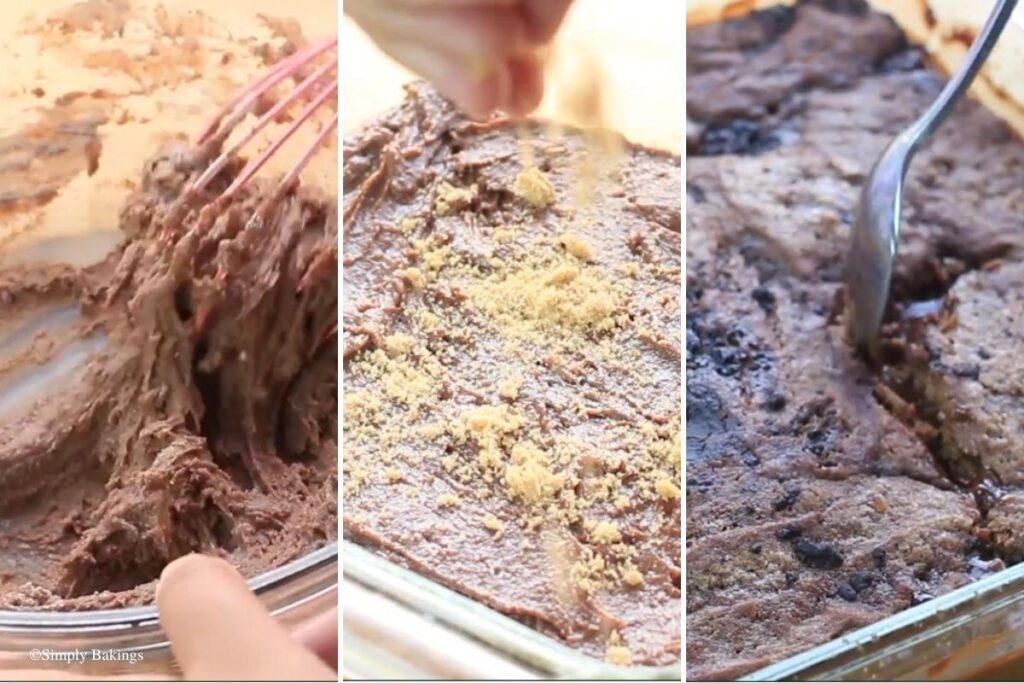
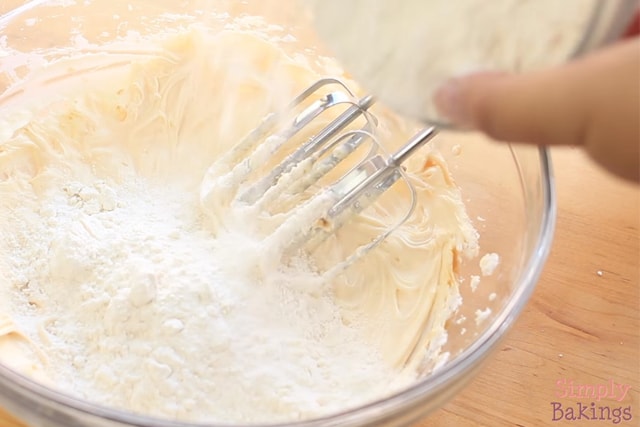
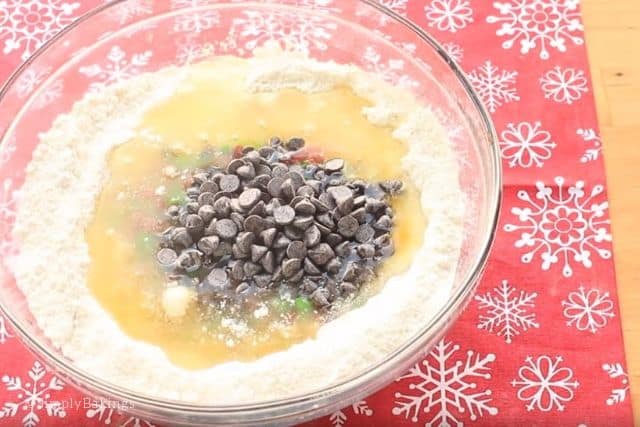
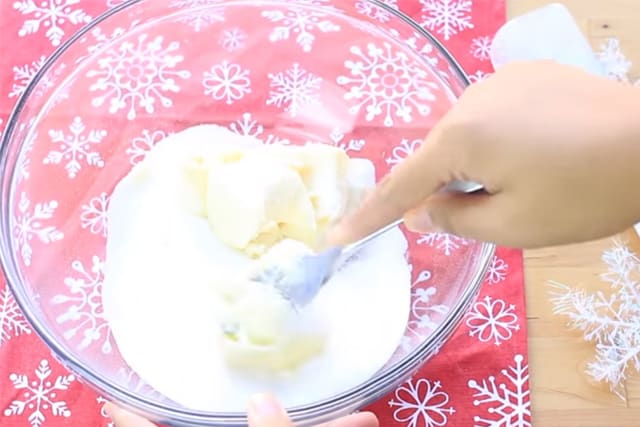
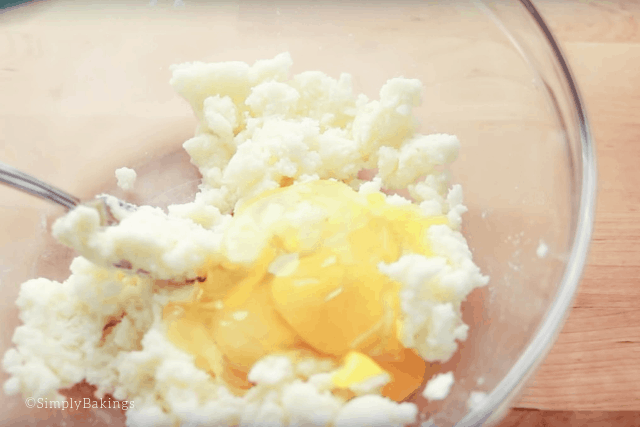
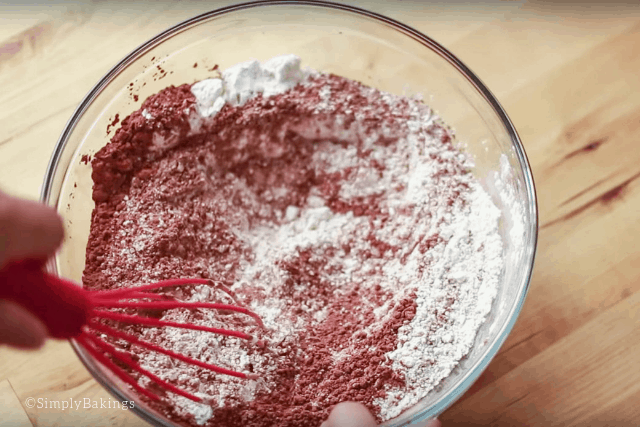
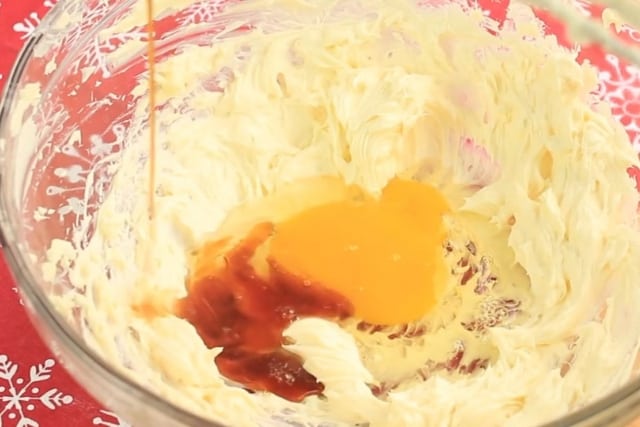
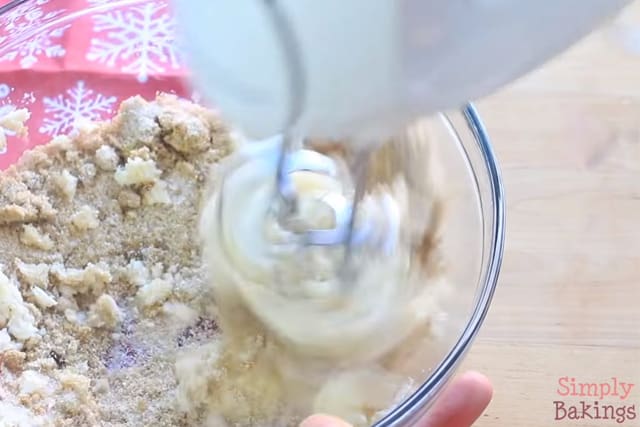
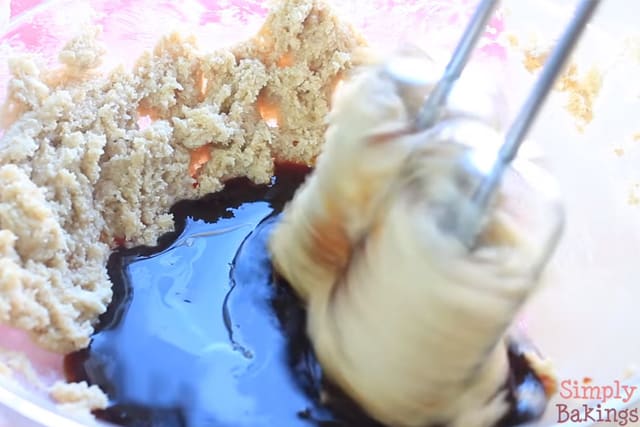
3. In a large mixing bowl, whisk together the brown sugar and egg until smooth.

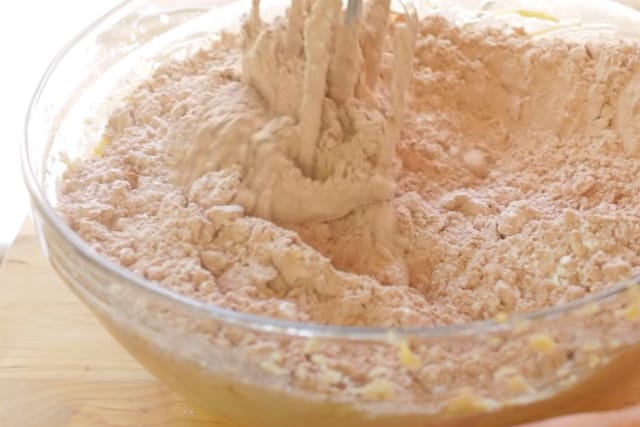
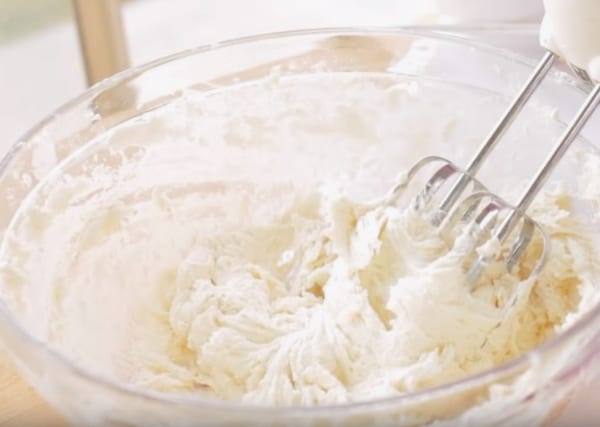
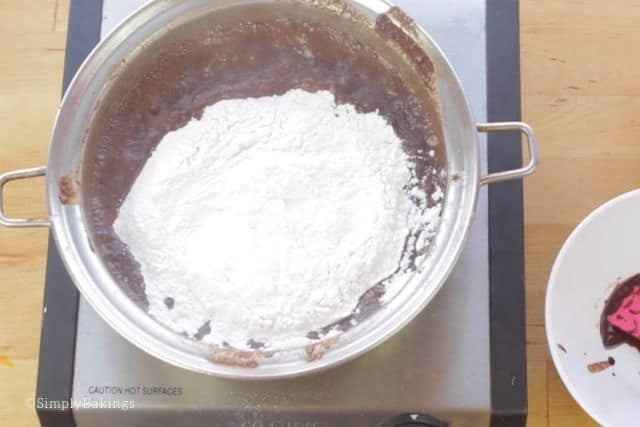
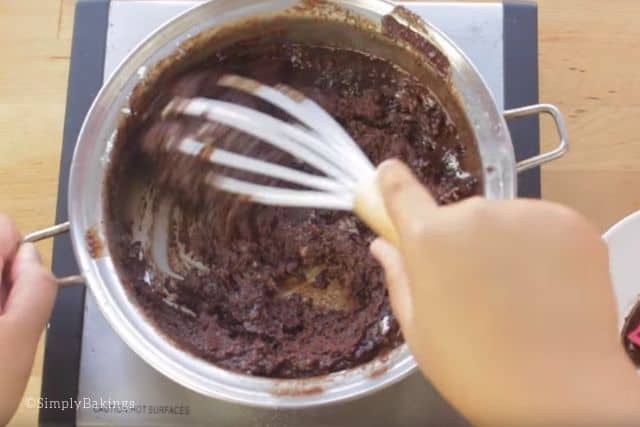
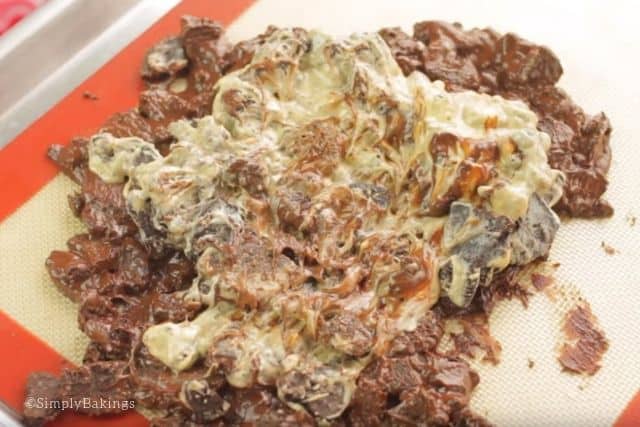
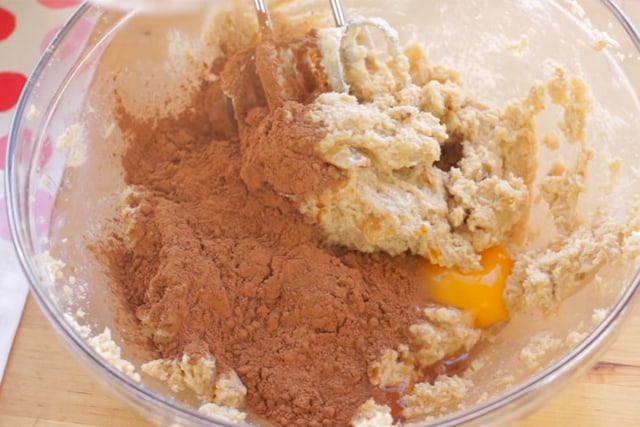
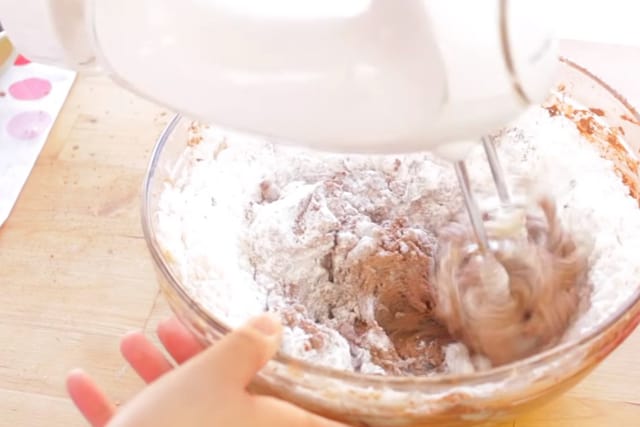
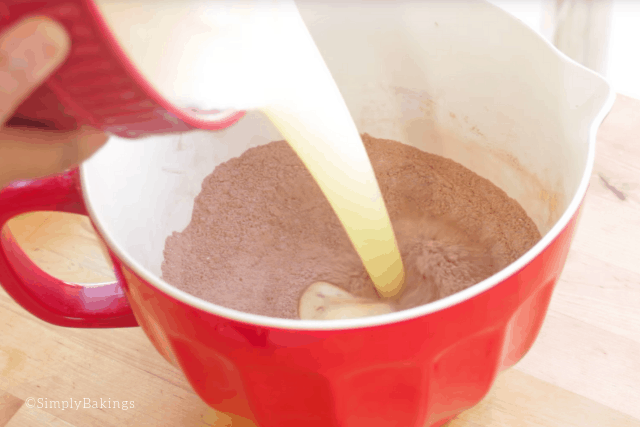
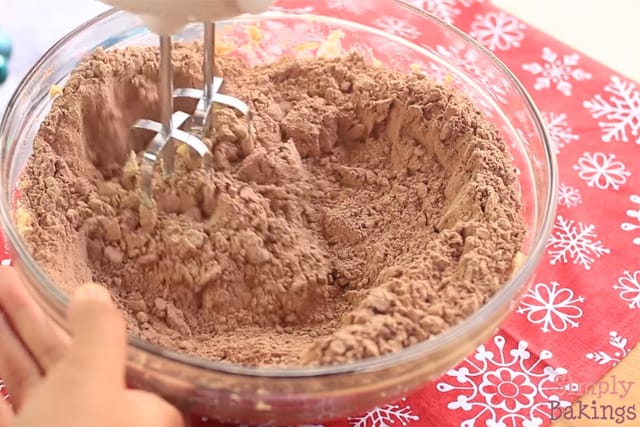
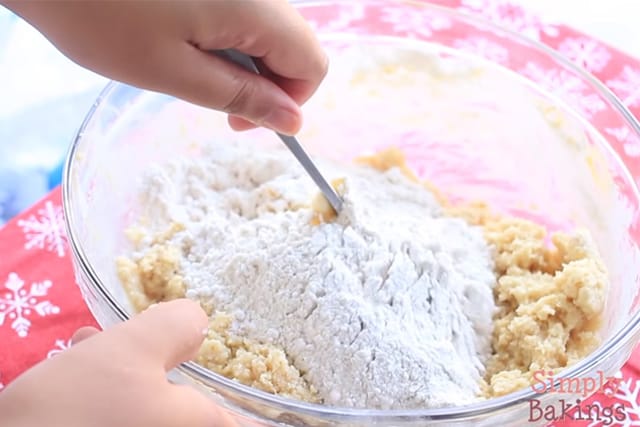
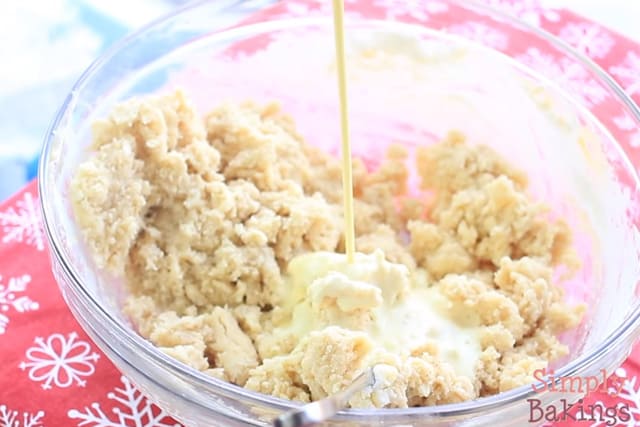
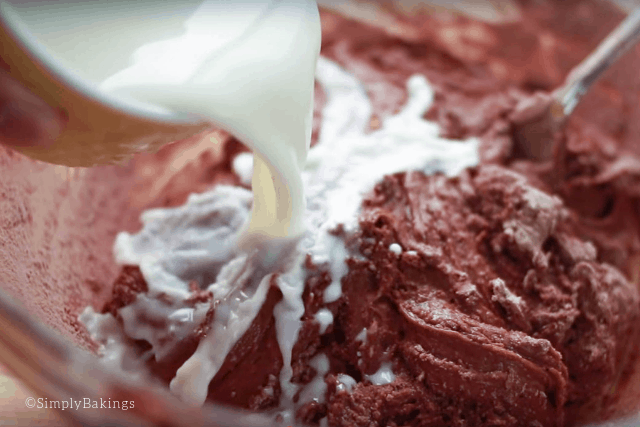
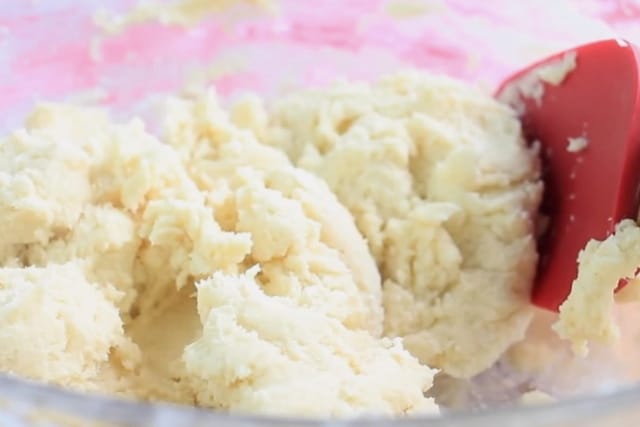
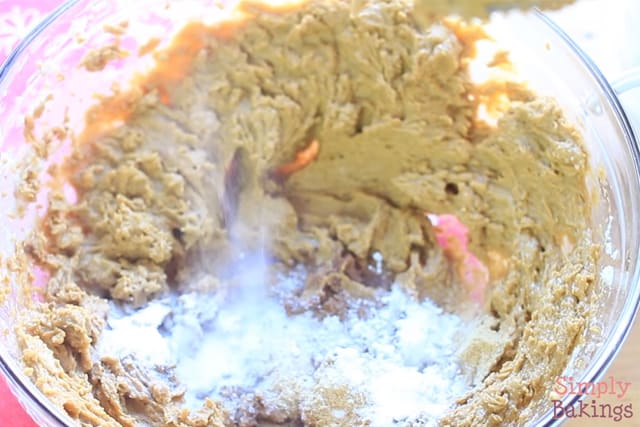
4. Add the creamy peanut butter and baking soda, and mix until well combined.
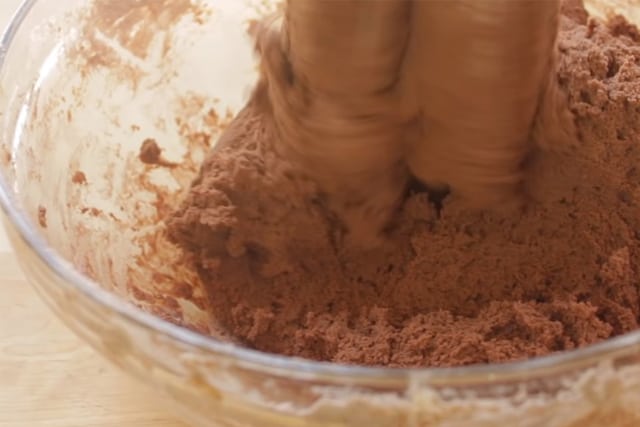
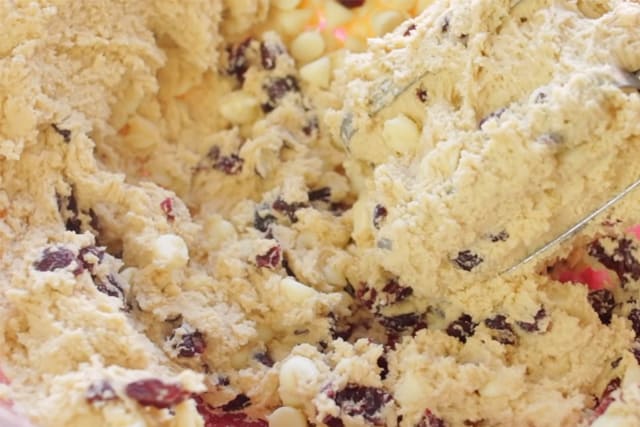
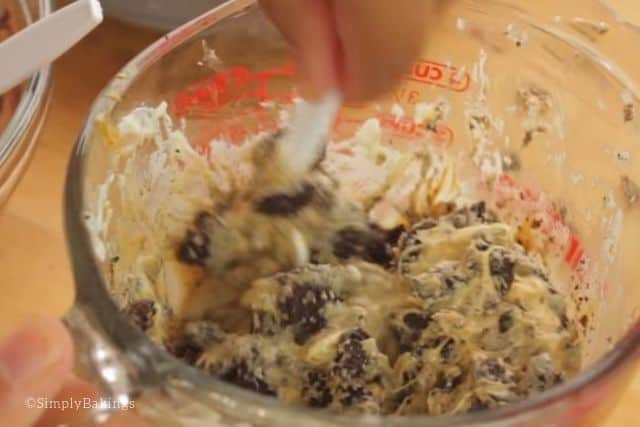
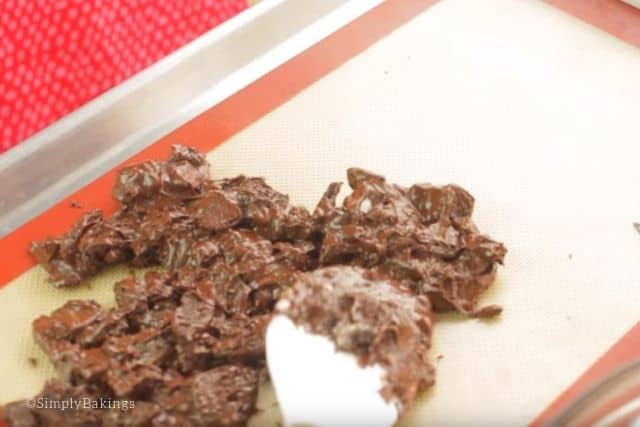
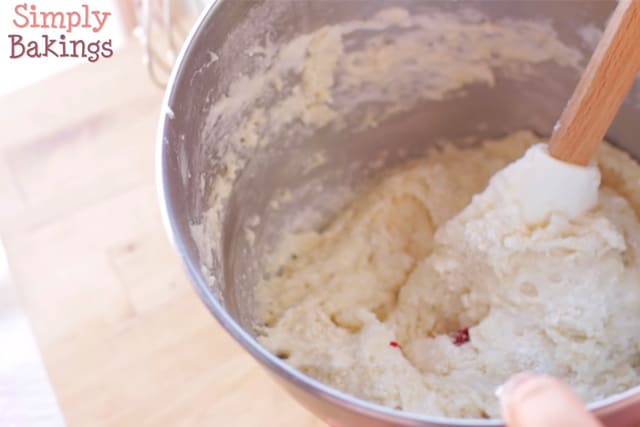
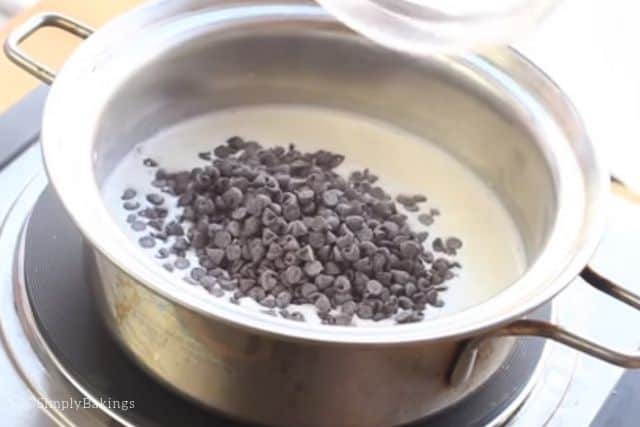
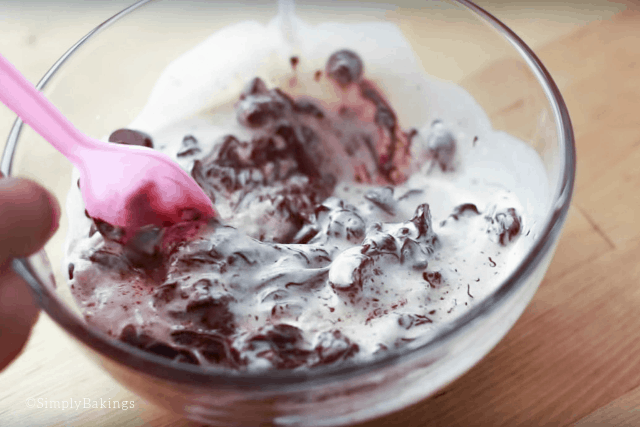
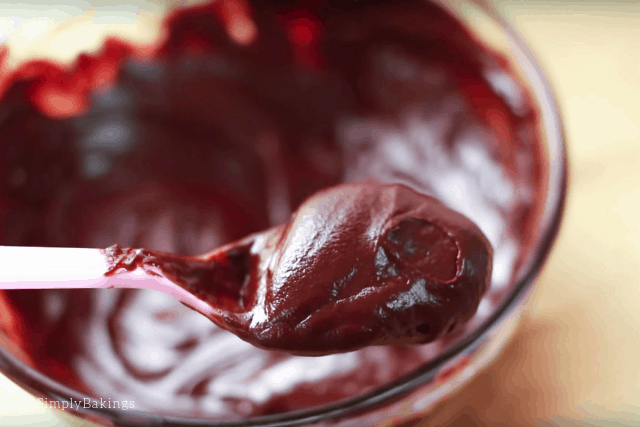
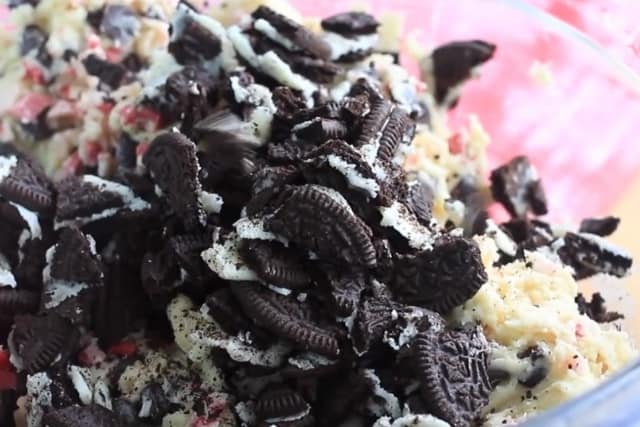
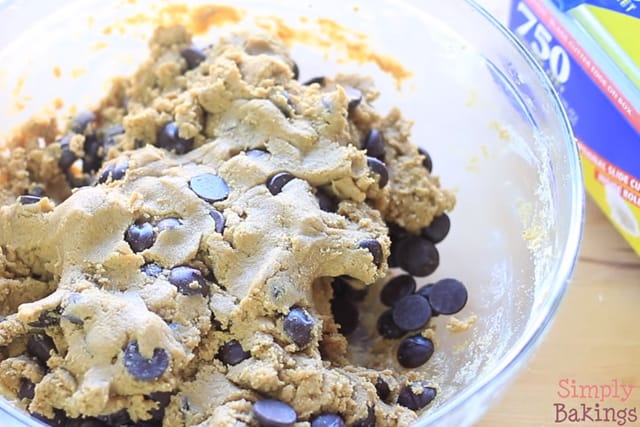
5. Stir in the chocolate chips.

Shape and Bake:
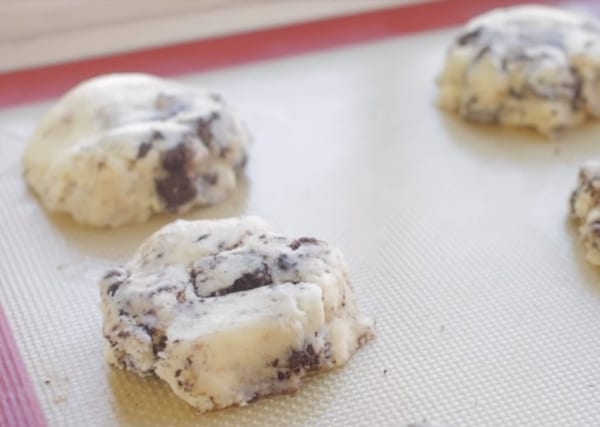
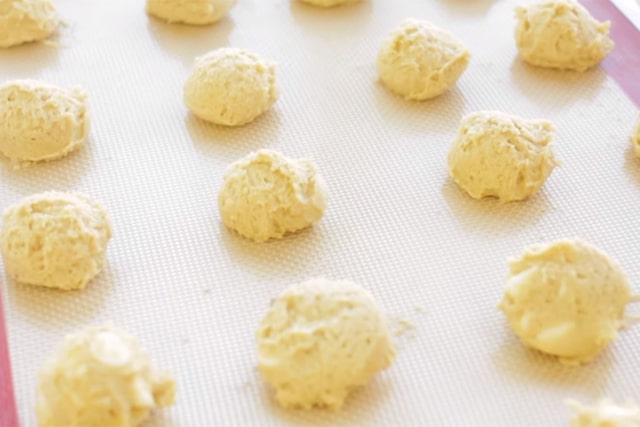
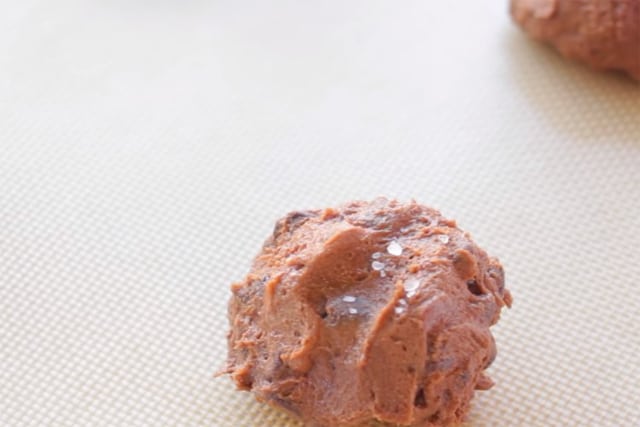
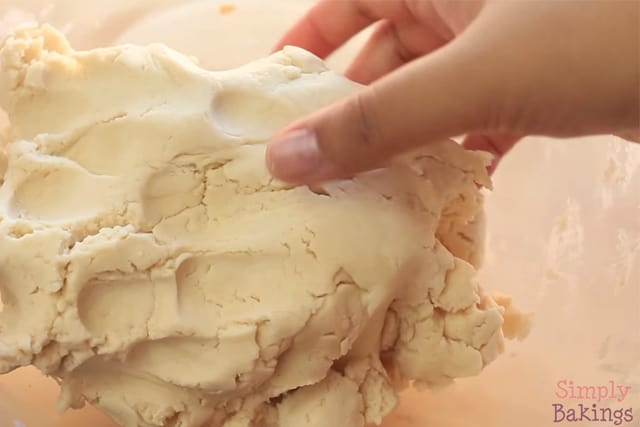
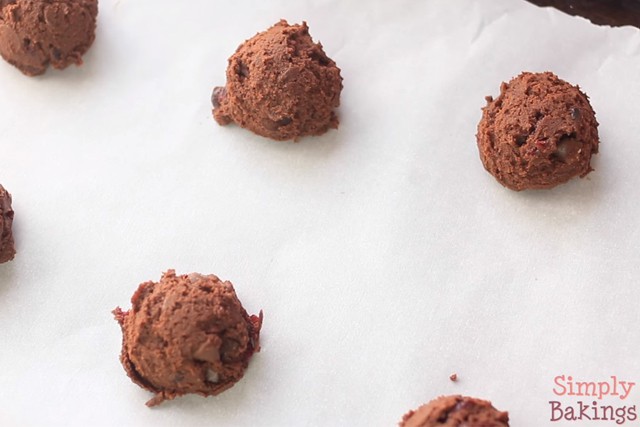
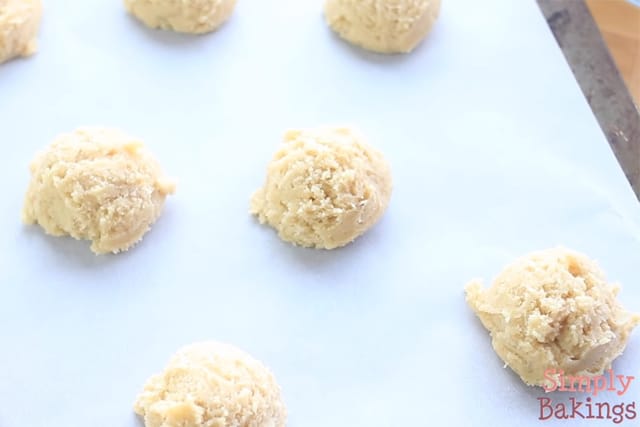
6. Using a cookie or ice cream scooper, scoop the dough onto the prepared baking sheet.
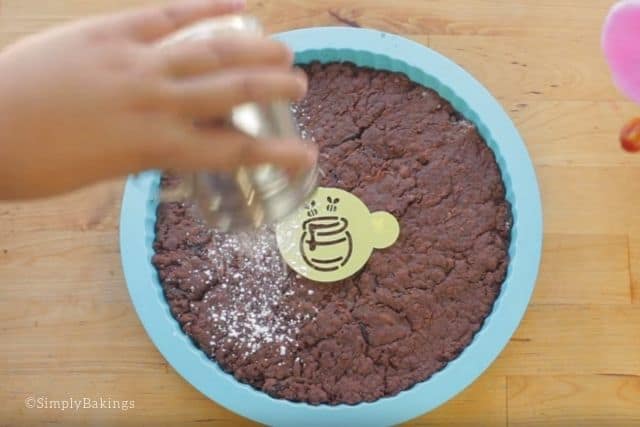
7. Flatten each cookie slightly with the back of a spoon or your fingers.

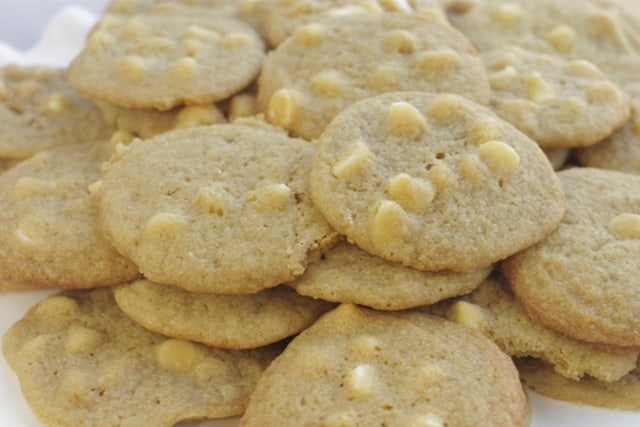
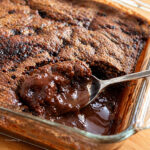
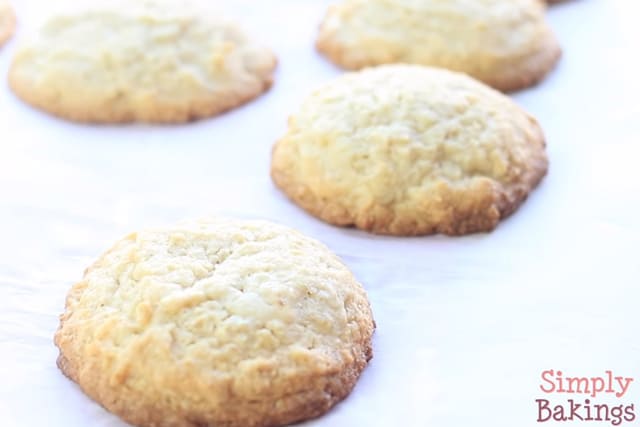
8. Bake for 8–10 minutes, or until the edges are set and slightly golden.
Cool and Serve:
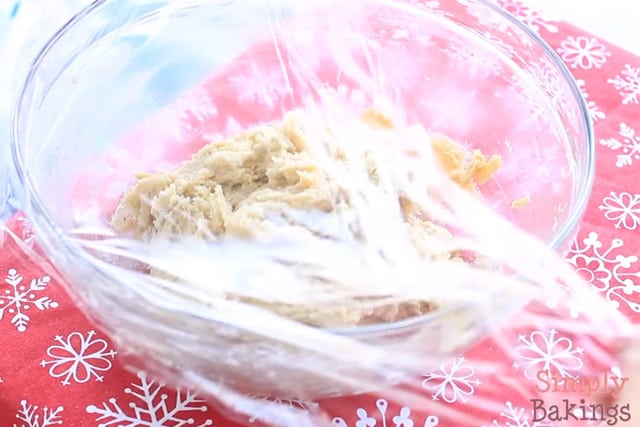
9. Let the peanut butter cookies cool on the baking sheet or trays for 5 minutes, then transfer to a wire rack to cool completely!
Substitutions & Variations
- Ingredient Swap
Swap the brown sugar with coconut sugar for a less refined option.
Add chopped nuts for extra crunch! - Variation
Use almond butter instead of peanut butter for a milder flavor. - Mistake to Avoid
Don’t overbake! These cookies firm up as they cool. - Storage Tips
- Store in an airtight container at room temperature for up to 5 days.
- Freeze baked cookies for up to 1 month; thaw at room temperature before serving.
- Cookie dough can also be frozen in balls and baked directly from frozen. Just add 1–2 minutes to bake time.

FAQs

5 Ingredient Gluten Free Peanut Butter Chocolate Chip Cookies
Ingredients
- ½ cup Brown sugar
- 1 large egg
- 1 cup Creamy peanut butter
- 1 teaspoon Baking soda
- 1 cup Semi-sweet chocolate chips
Instructions
Prepare the Oven and Pan:
- Preheat the oven to 350°F (175°C).
- Line a cookie sheet with parchment paper or a silicone baking mat.
Make the Dough:
- In a large mixing bowl, whisk together the brown sugar and egg until smooth.
- Add the creamy peanut butter and baking soda, and mix until well combined.
- Stir in the chocolate chips.
Shape and Bake:
- Using a cookie or ice cream scooper, scoop the dough onto the prepared baking sheet.
- Flatten each cookie slightly with the back of a spoon or your fingers.
- Bake for 8–10 minutes, or until the edges are set and slightly golden.
Cool and Serve:
- Let the cookies cool on the baking sheet for 5 minutes, then transfer to a wire rack to cool completely.

You Might Also Like:
Recipes for Every Moment
Need a sweet fix without turning your kitchen upside down? These 5-ingredient cookies come together in minutes and hit the spot every time!