Tips and Tricks for Making This Apple Monkey Bread Recipe:
- Serve this as a perfect Thanksgiving dessert and also a delicious sweet treat on a Christmas morning!
- Before using the canned dough, make sure it is thawed thoroughly. It will ensure a nicely baked apple monkey bread.
- If you want to use fresh apples for this recipe, you can use diced green apples since it is best for baking.
How to Make this Apple Monkey Bread Recipe:
Before mixing and assembling the apple monkey bread, preheat oven to 350F. It will save you a lot of prep time.
Now you are ready. Let's begin!
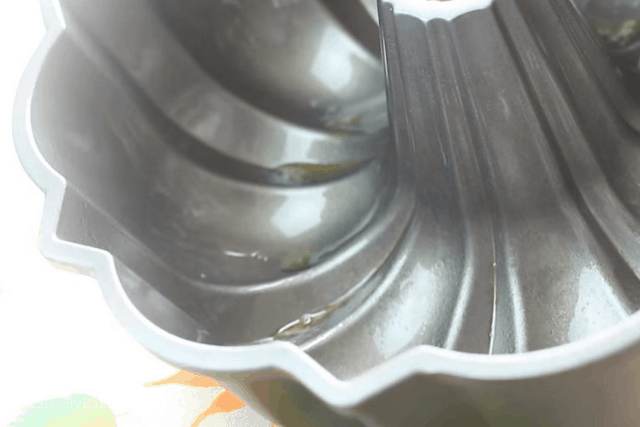
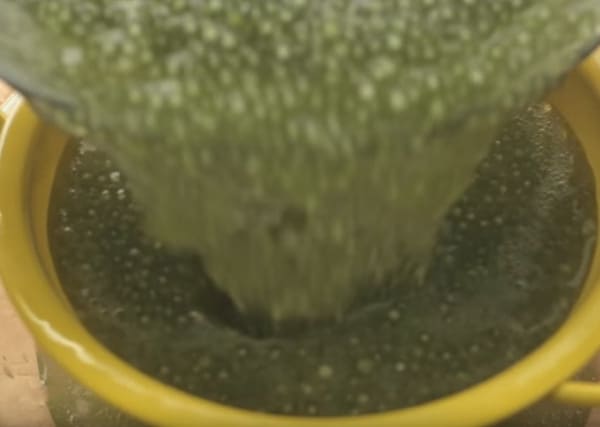
Generously spray a Bundt pan with nonstick cooking spray:
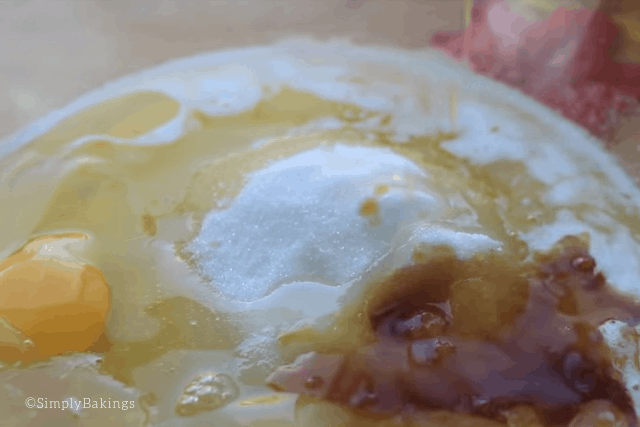
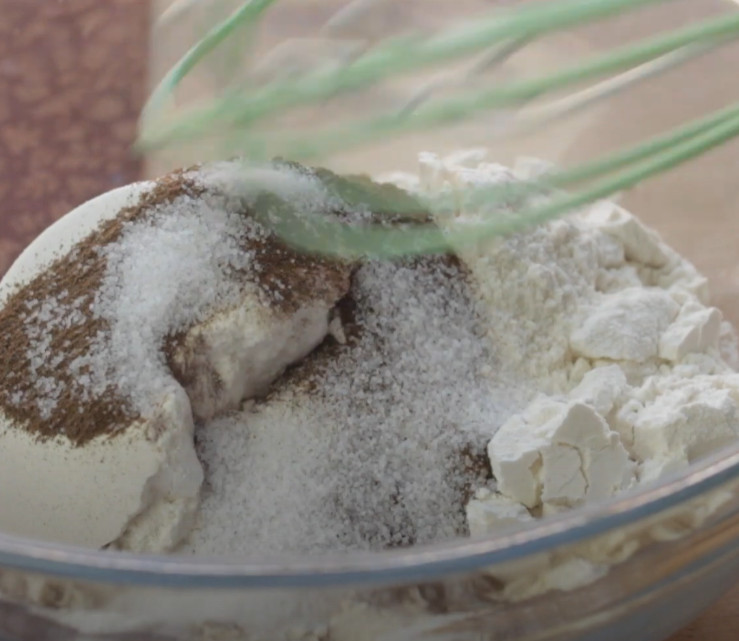
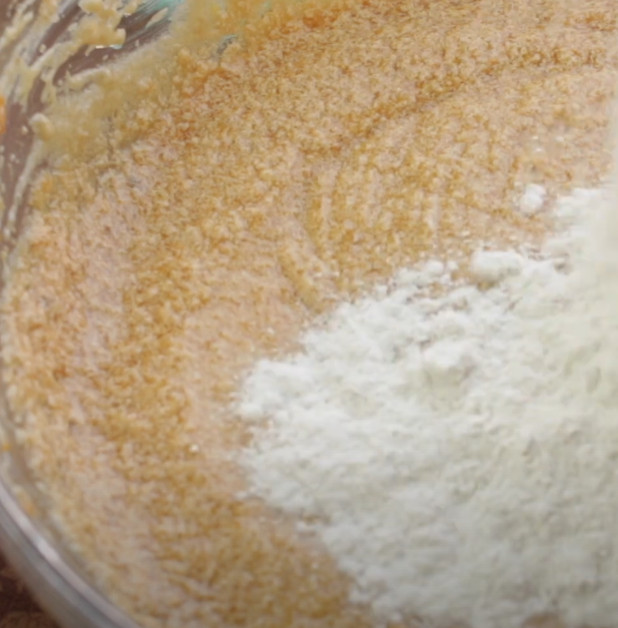
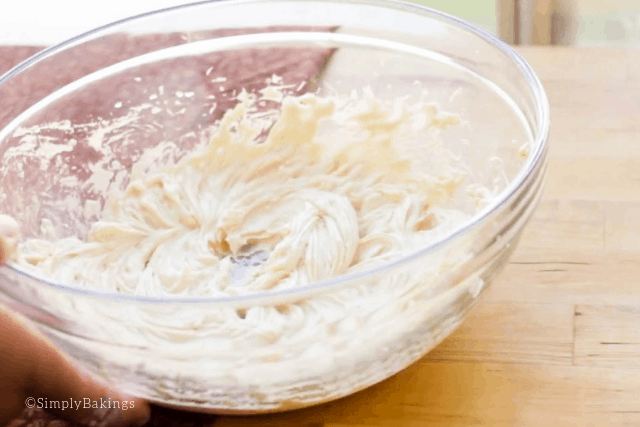
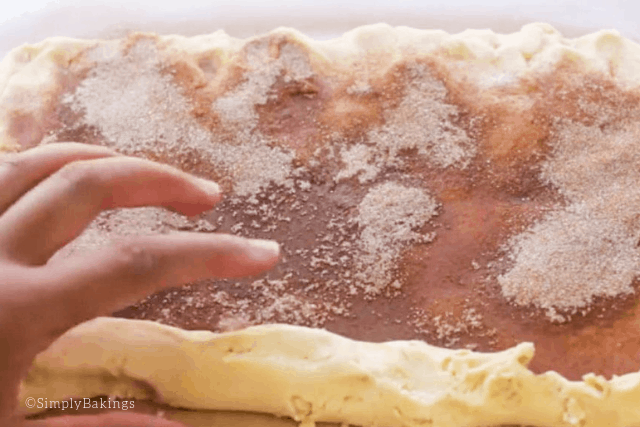
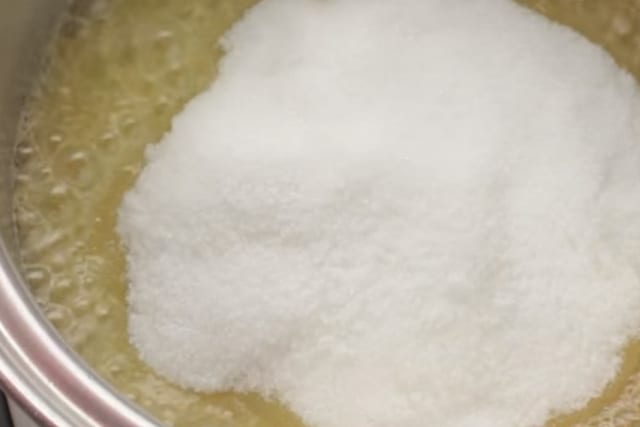
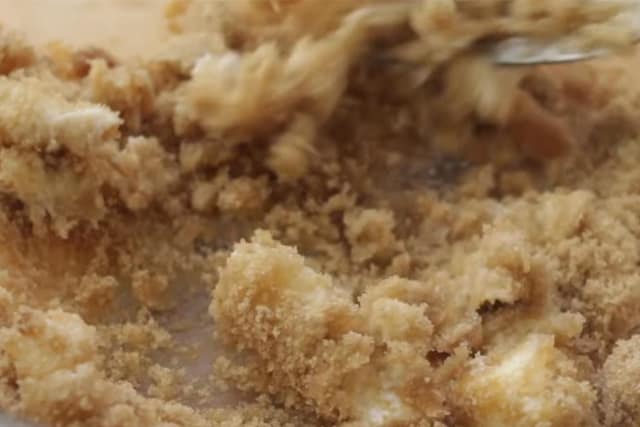
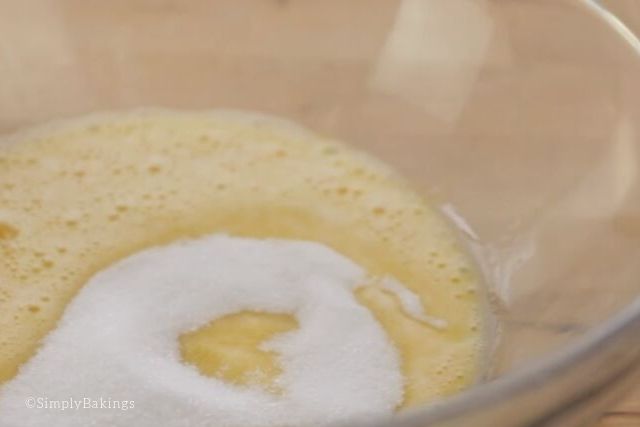
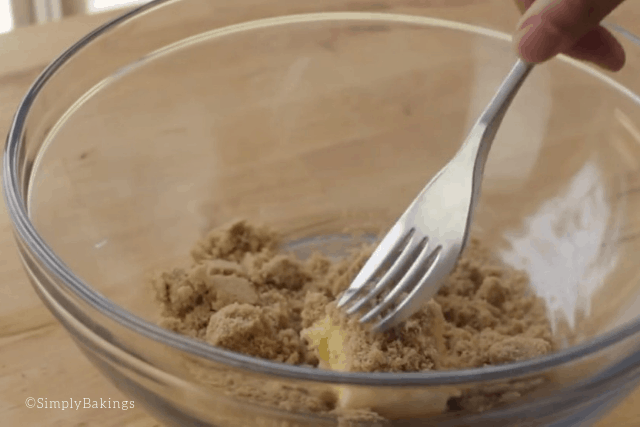
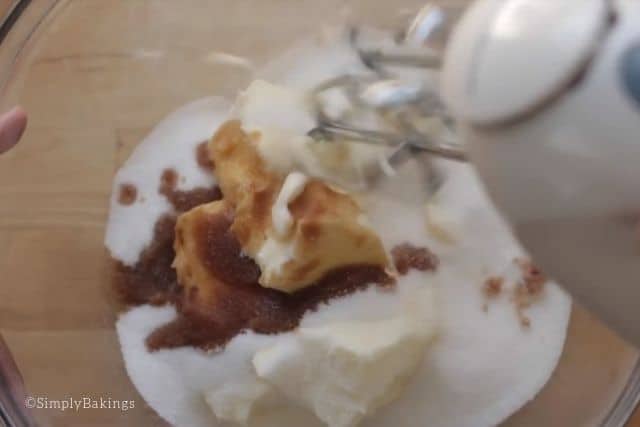
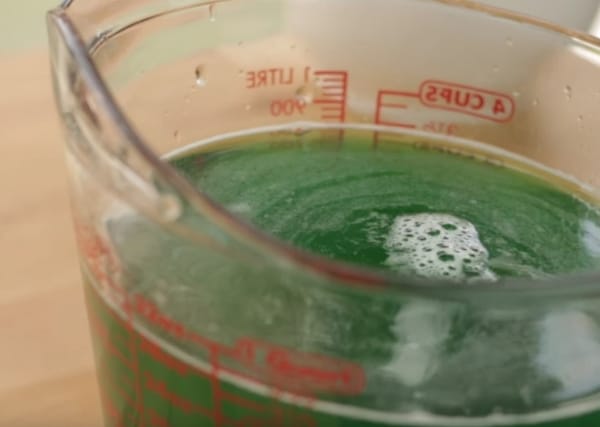
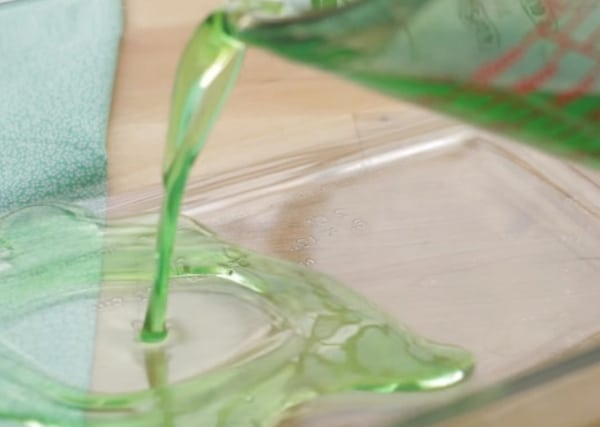
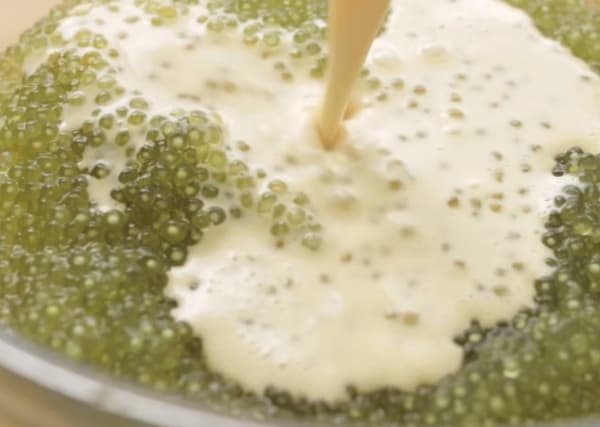
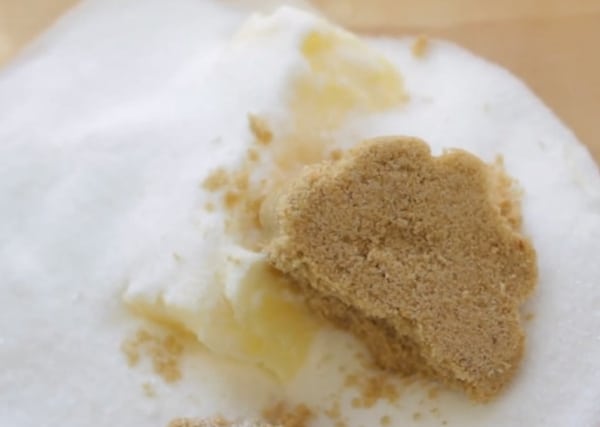
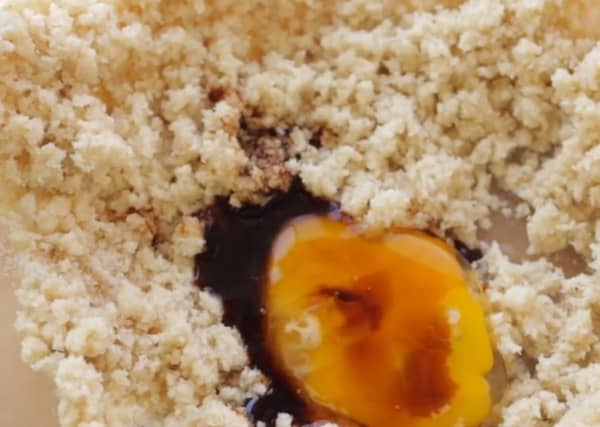
In a large bowl, mix the melted unsalted butter, sugar, and the ground cinnamon:

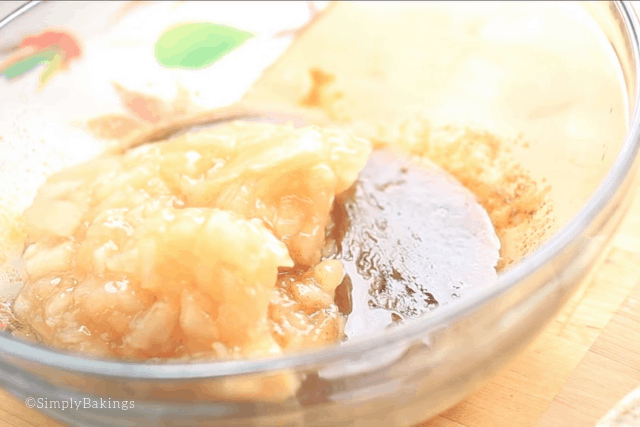
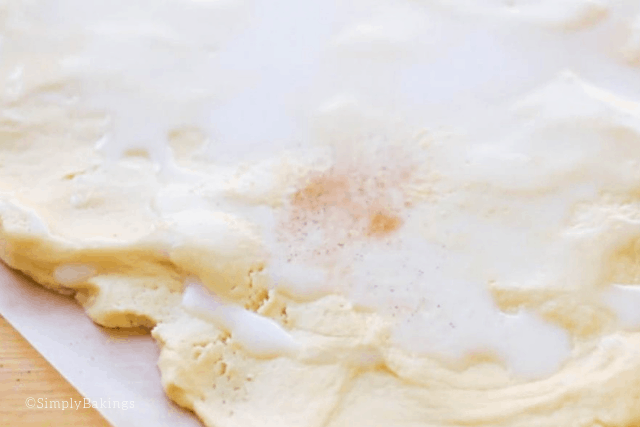
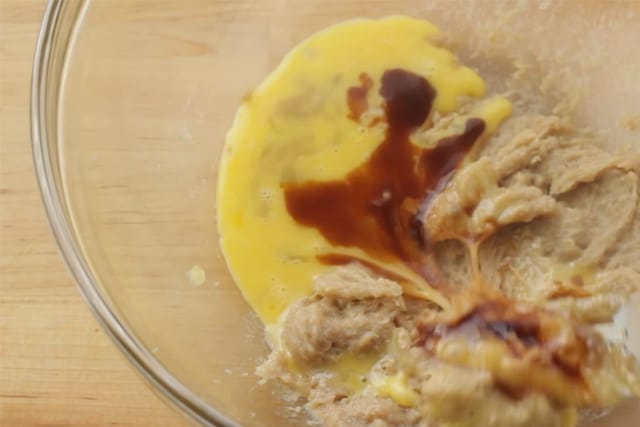
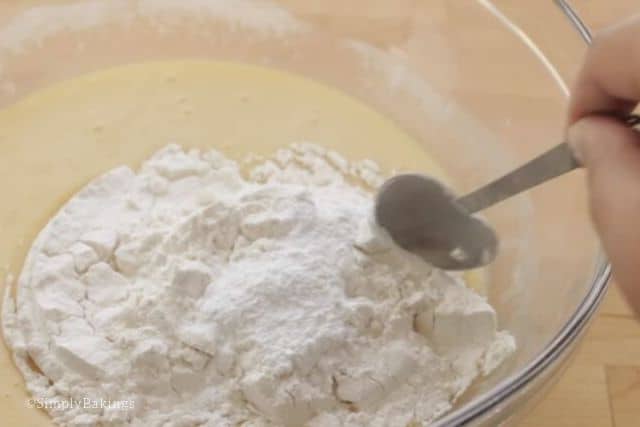
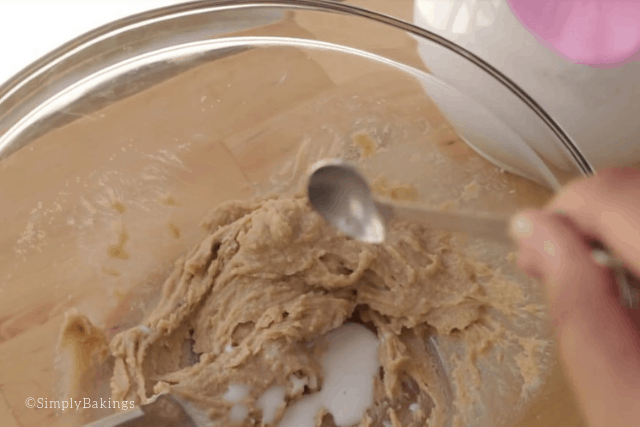
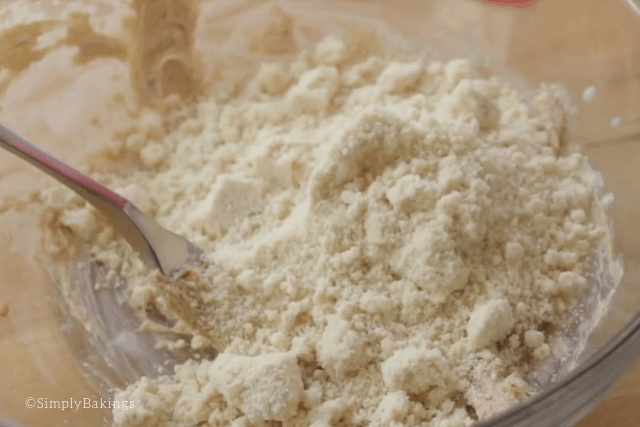
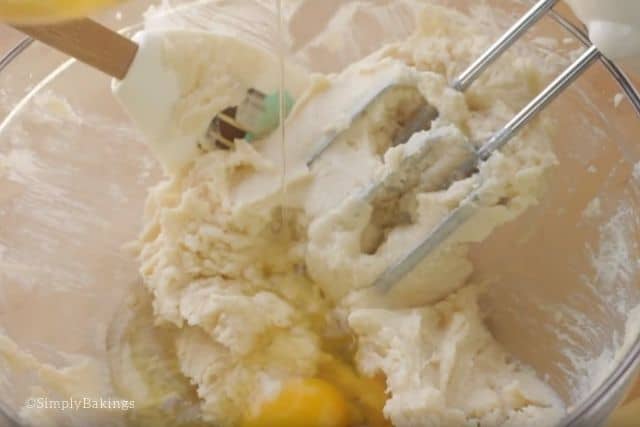
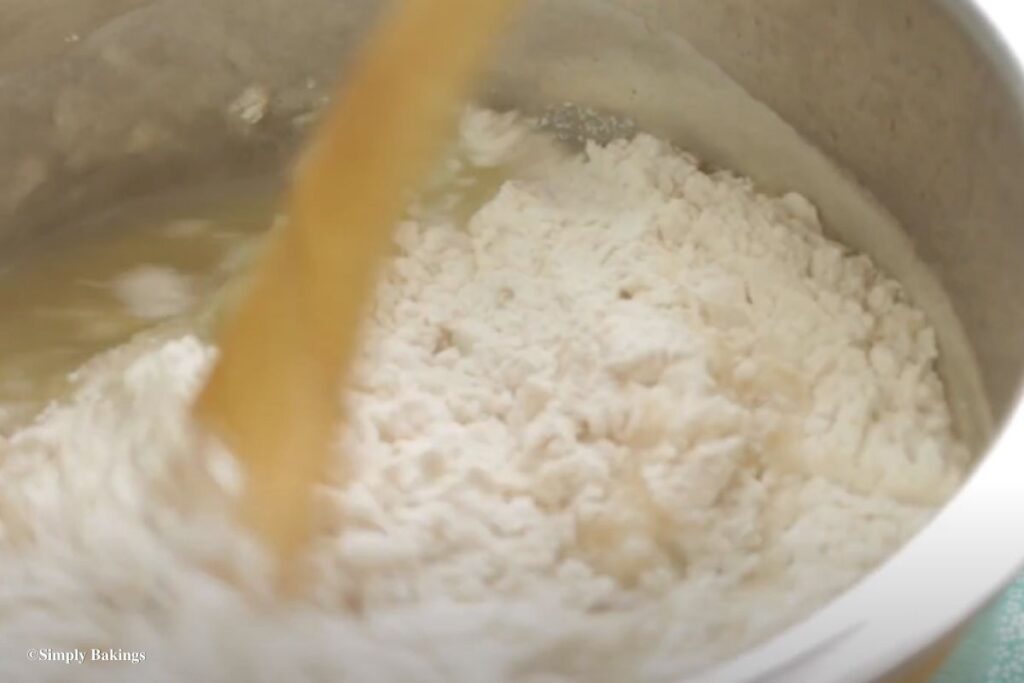
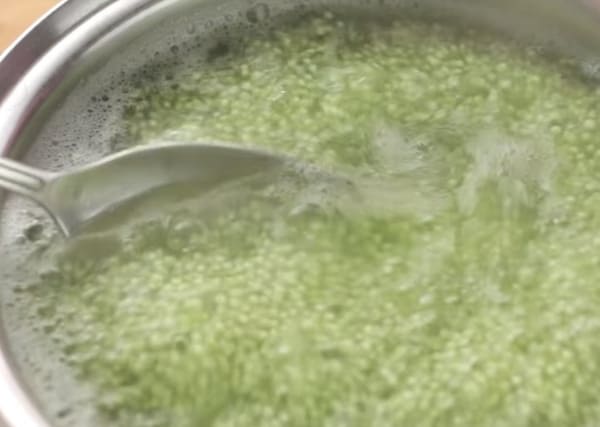
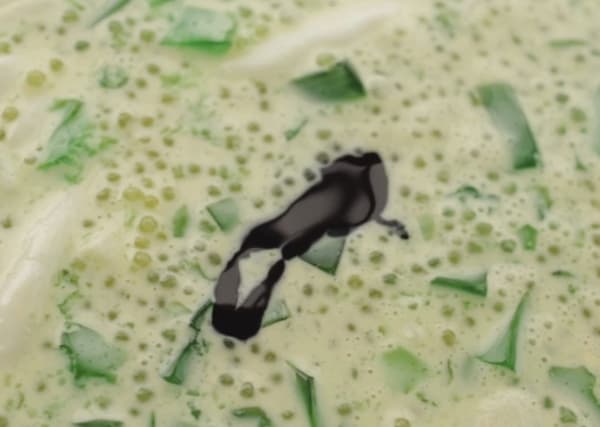
Add apple pie filling and mix until incorporated:
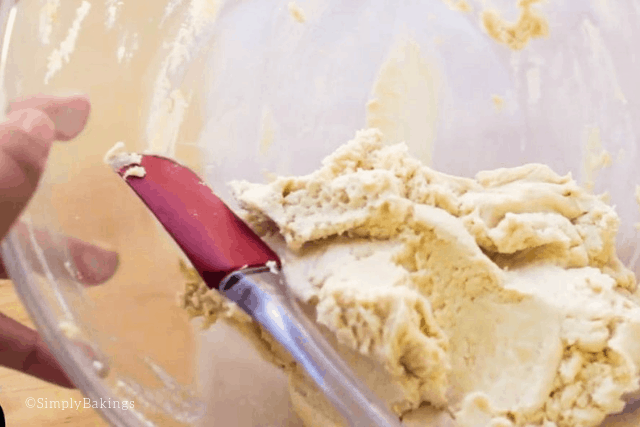
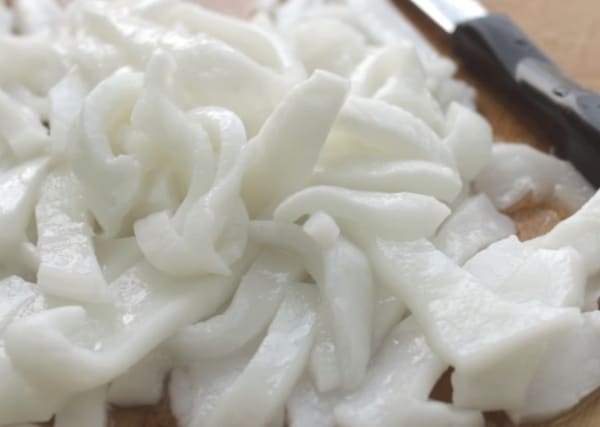
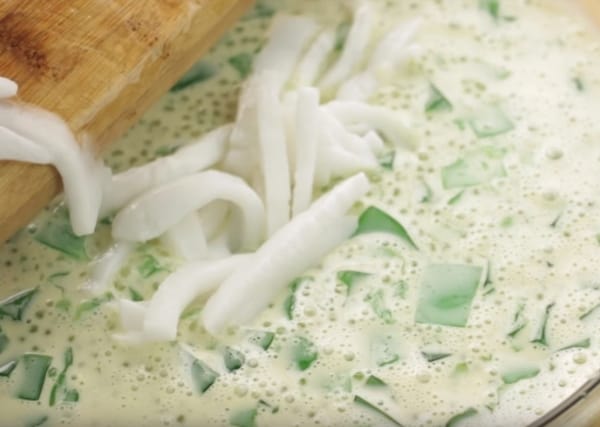
Cut the dough pieces into 4 pieces:

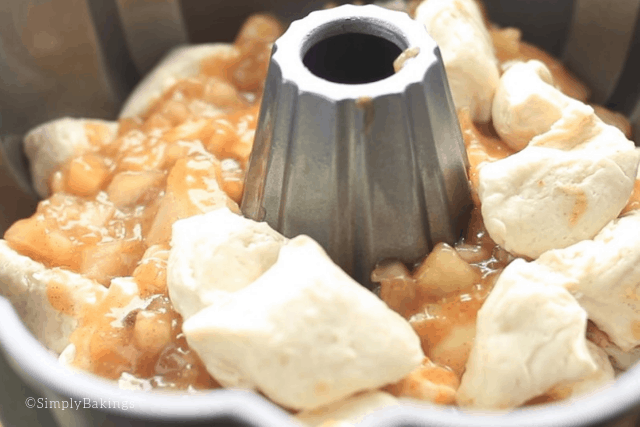
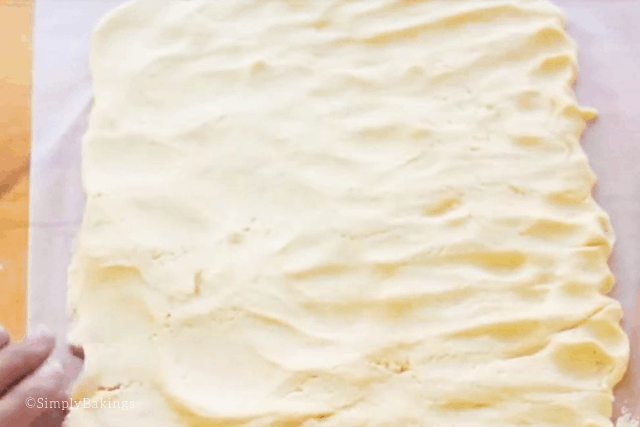
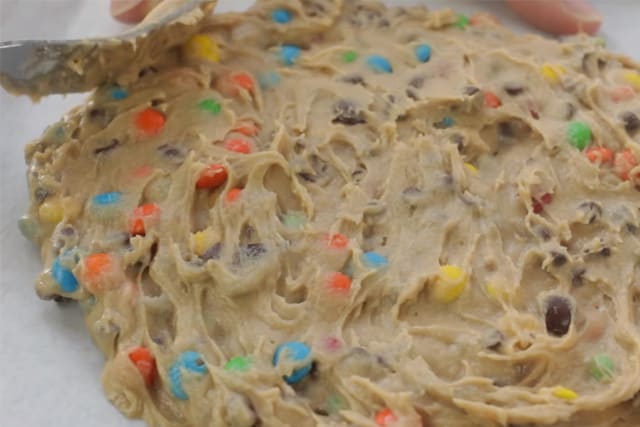
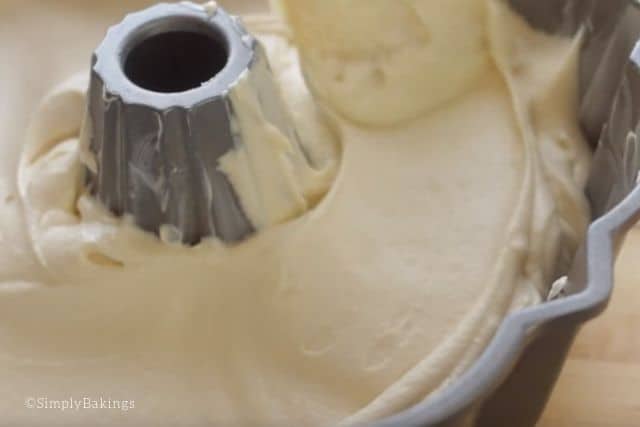
Arrange half of the bread dough (1 can) in the pan and add half of the apple mixture onto the dough:
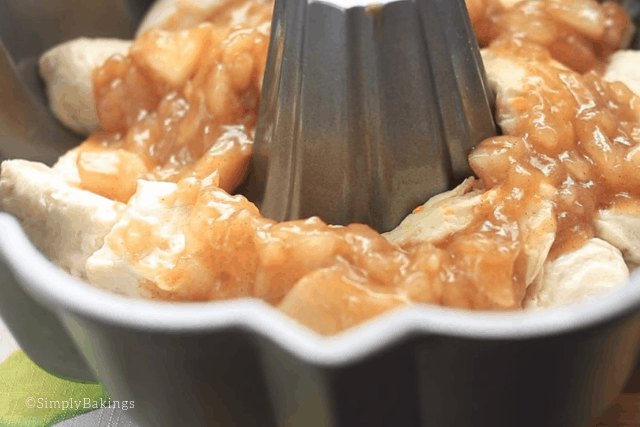
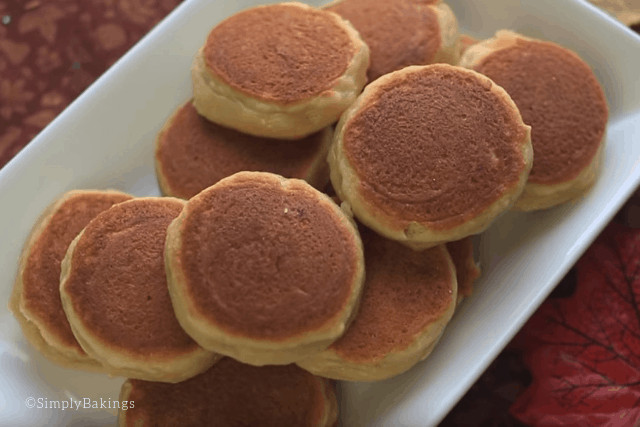
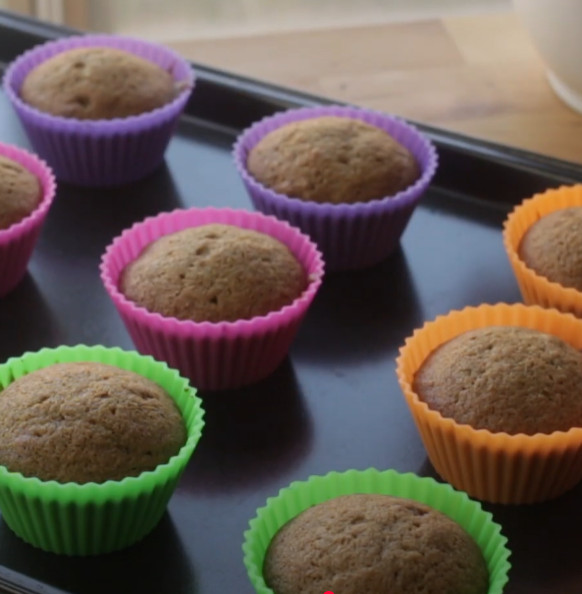
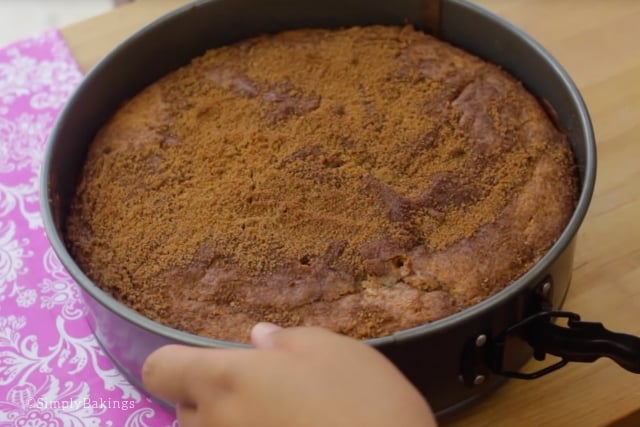
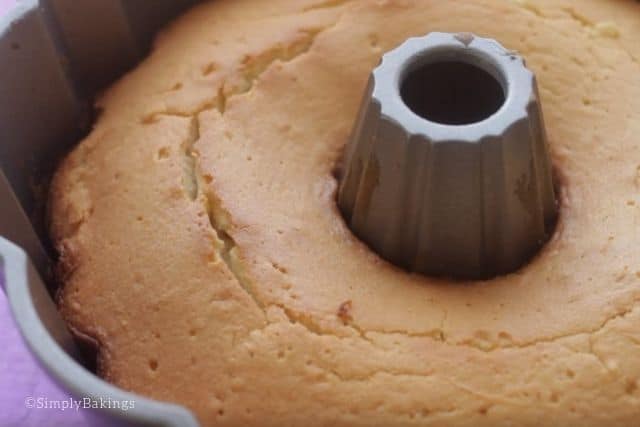
Add the rest of the bread dough in the pan and add the remaining apple mixture onto the dough and bake for 40-45 minutes:
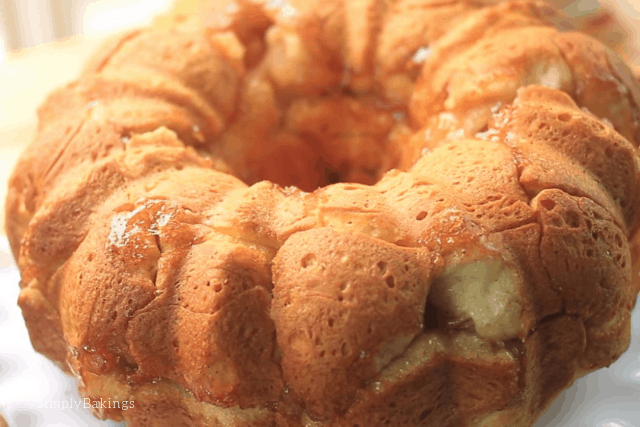
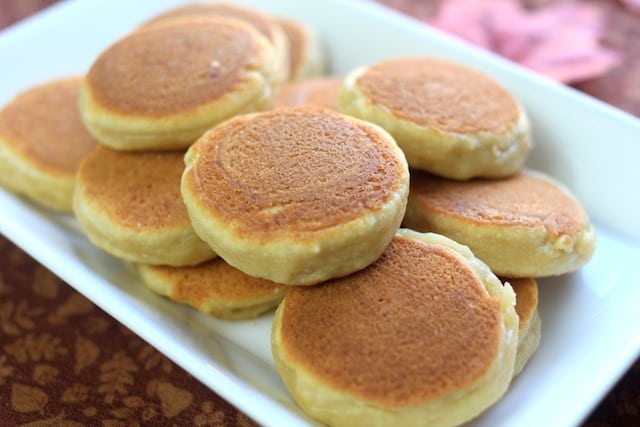
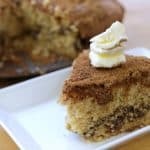
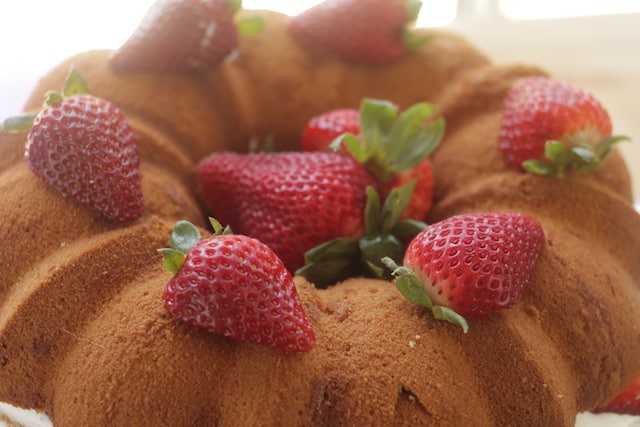
The wait is over, Simply Bakers! Woot! Is your kitchen smelling delicious? Mine did!
What are your favorite drinks to go with apple monkey bread? Mine is surely coffee!


Frequently Asked Questions for the Apple Monkey Bread Recipe:
Q: How many servings does this apple pull apart bread have?
A: This apple monkey bread has a yield of up to 6 to 8 servings.
Q: Can I use fresh apples for this recipe?
A: Yes you can. Apples cook fast and you can just use it the way we used the apple pie filling. It will just cook along with the bread.
Q: I do not have a bundt pan. Can I use a regular loaf pan instead?
A: Yes you can. Layer the ingredients the same as we did when using a bundt pan.
Q: What is the best occasion to serve this apple monkey bread?
A: This is perfect for Thanksgiving breakfast and Christmas mornings. It will make your house smell incredibly good!

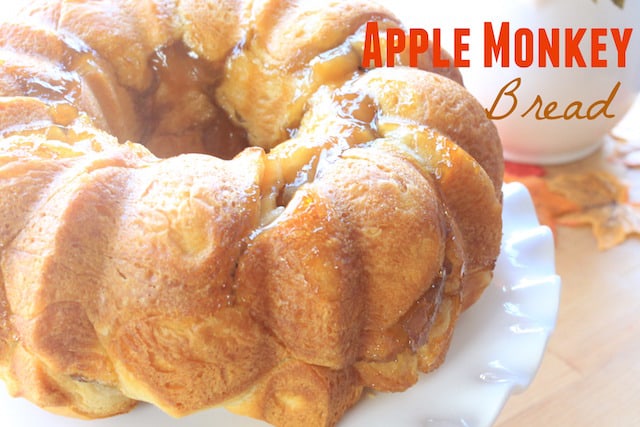
Apple Monkey Bread
Ingredients
- 2 cans of refrigerated dough bread
- 2 tablespoons butter melted
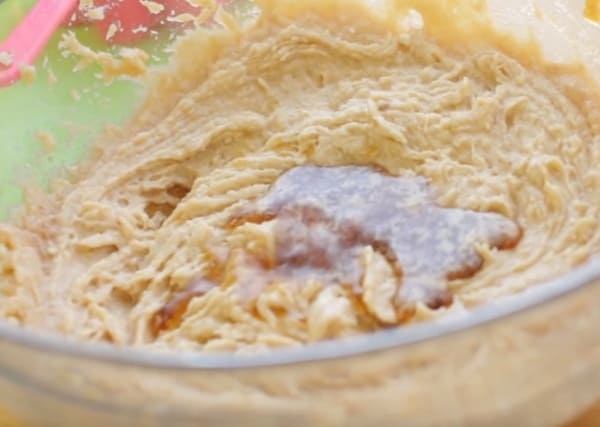
- 1 teaspoon vanilla extract
- ⅓ cup brown sugar
- 1 teaspoon cinnamon
- 1 ⅓ cups apple pie filling chopped
Instructions
- Preheat oven to 350F, generously spray a Bundt pan with non stick spray.
- In a large bowl, add apple pie filling, sugar, cinnamon, and mix. Add pie filling and mix until incorporated.
- Cut the dough pieces into 4 pieces and arrange half of the bread dough (1 can) in the pan. Add half of the apple mixture onto the dough. Add the rest of the bread dough in the pan and add the remaining apple mixture onto the dough.
- Bake for 40-45 minutes.
Watch The Recipe Video!


