Tips and Tricks for Making This Mocha Cinnamon Cake Recipe:
- Make the top of your cake level by using a spoon or a spatula before popping it in the oven. You can also gently tap the baking pan on your kitchen counter or table to let some excess air out of the batter.
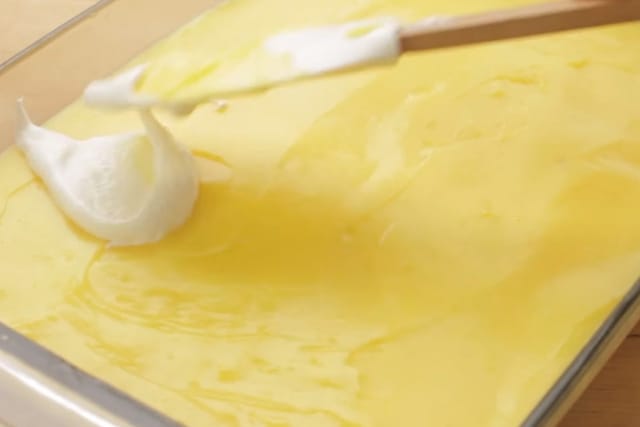
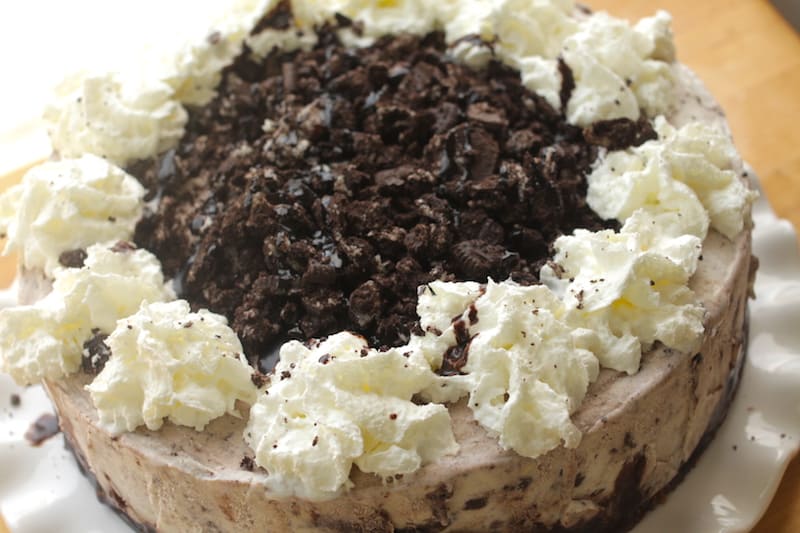
- For a more festive look, top with whipped cream or your favorite cake frosting before serving.
How to Make this Mocha Cinnamon Cake Recipe:
Gather the ingredients for this Mocha Cinnamon Cake. Before you start to mix the ingredients don't forget to preheat oven to 350F and oil 9-inch pan.
Once the ingredients are all ready, let's begin!

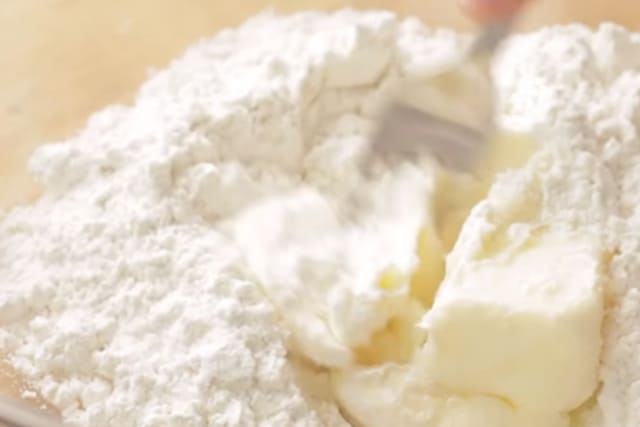
You will need sugar, eggs, butter, and flour:
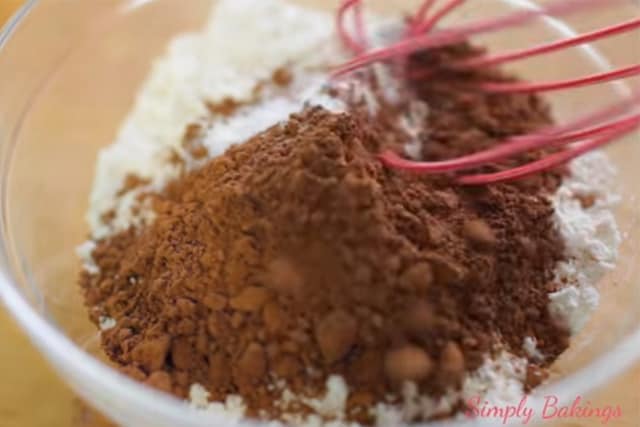
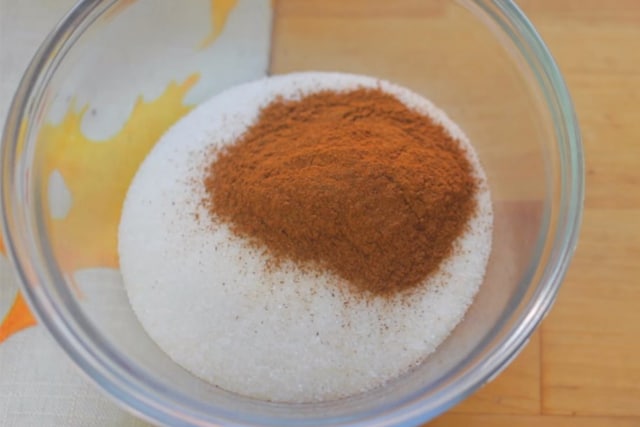
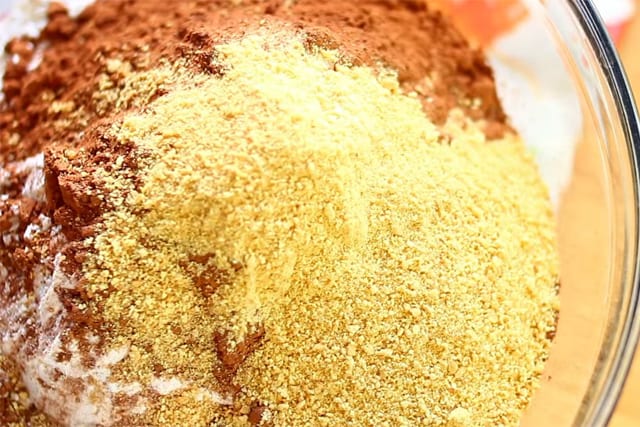
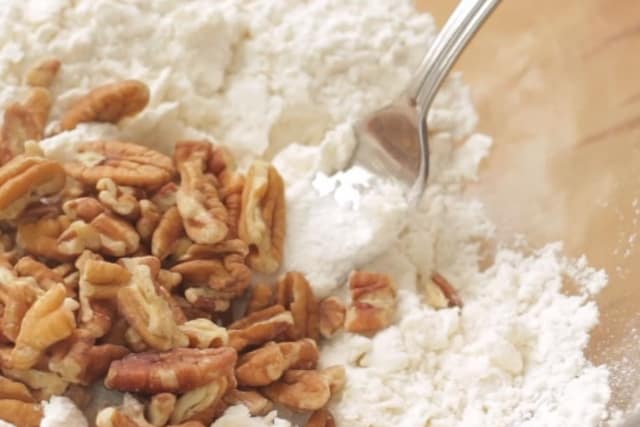
You will also need cinnamon, salt, coffee powder, chopped pecans, and mini chocolate chips:

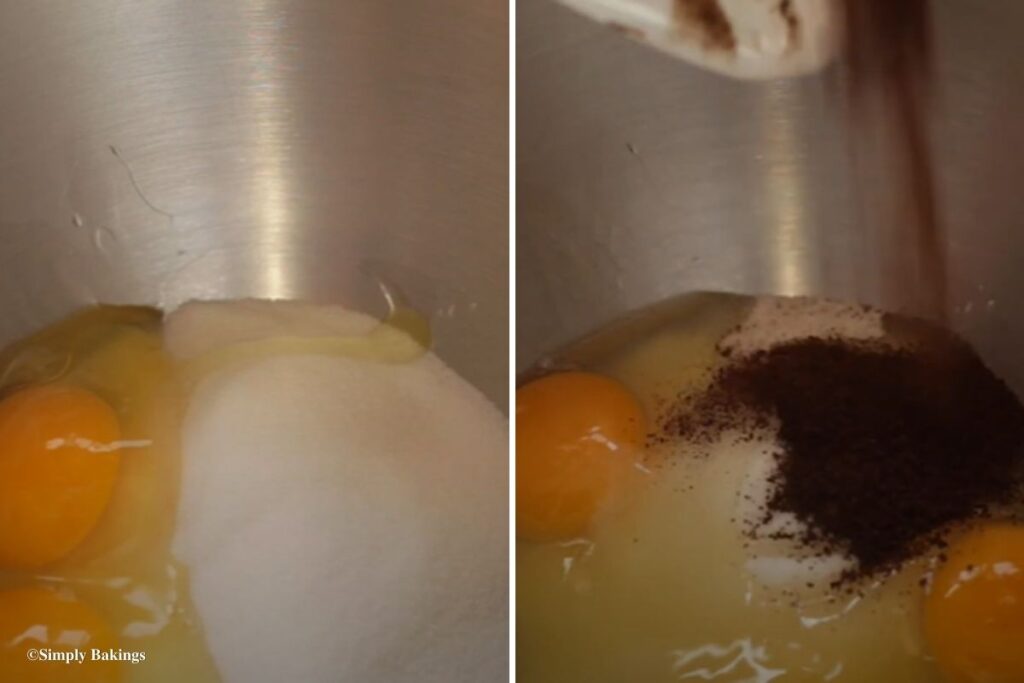
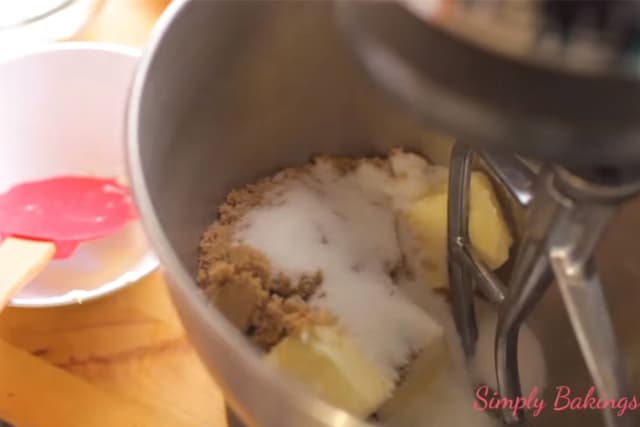
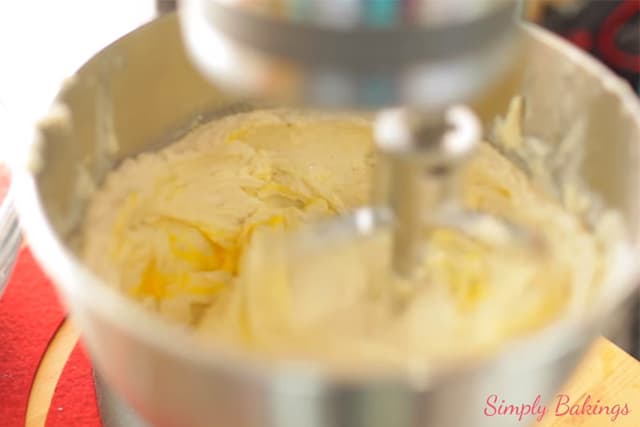
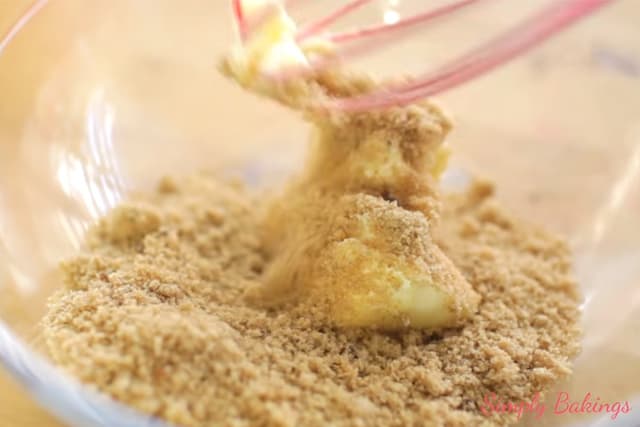
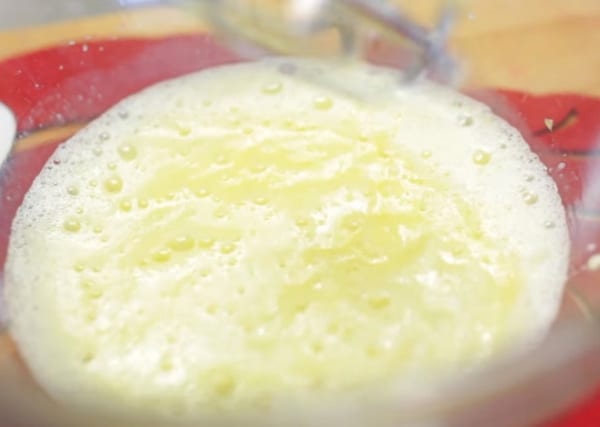
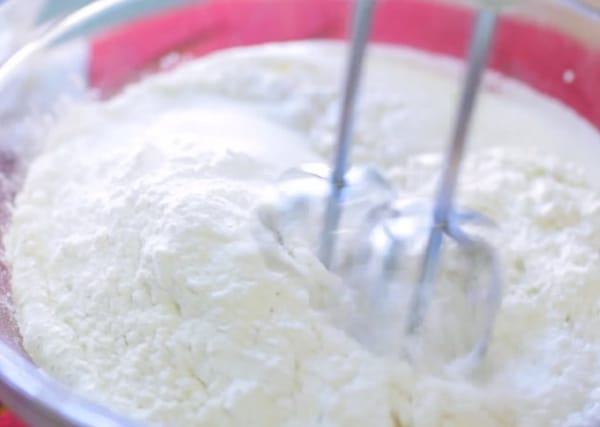
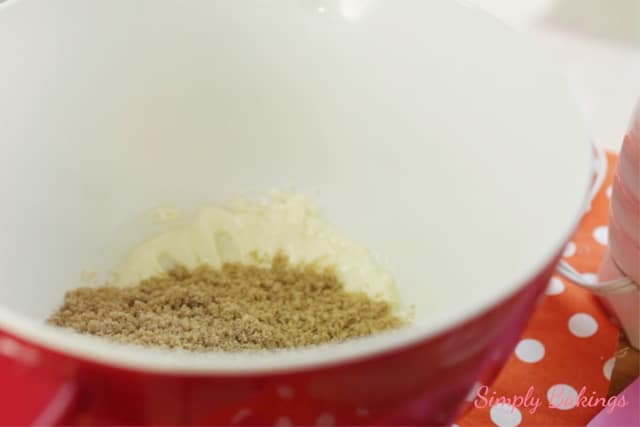
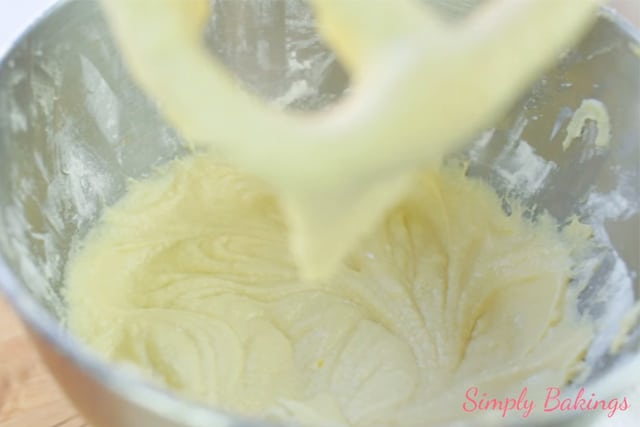
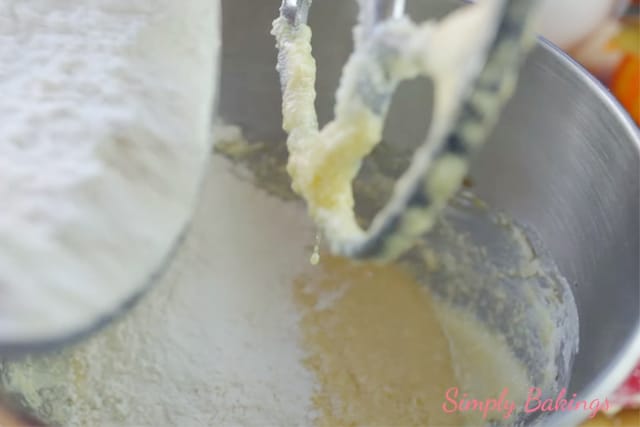
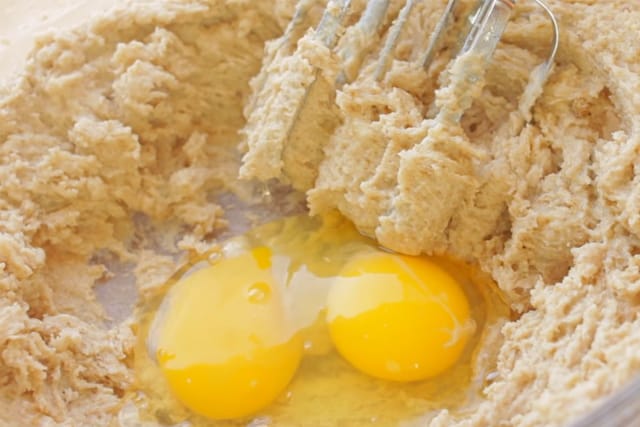
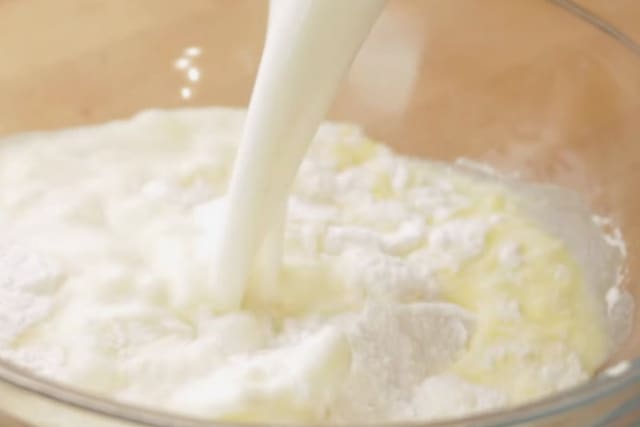
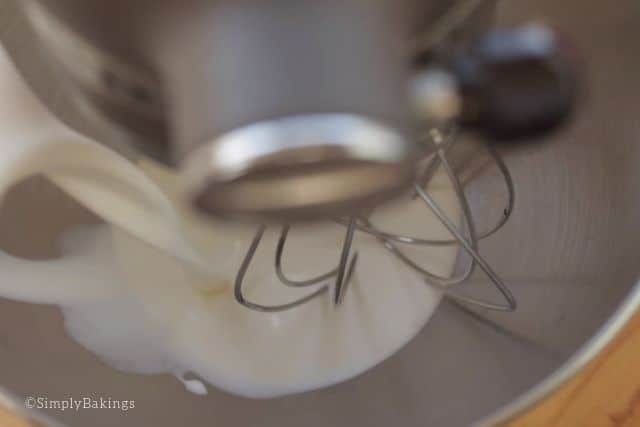
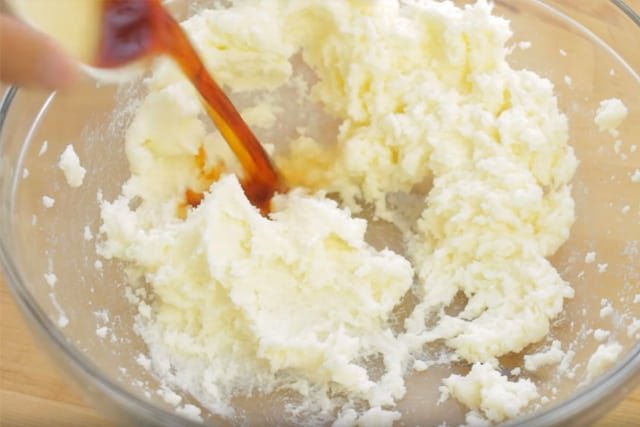
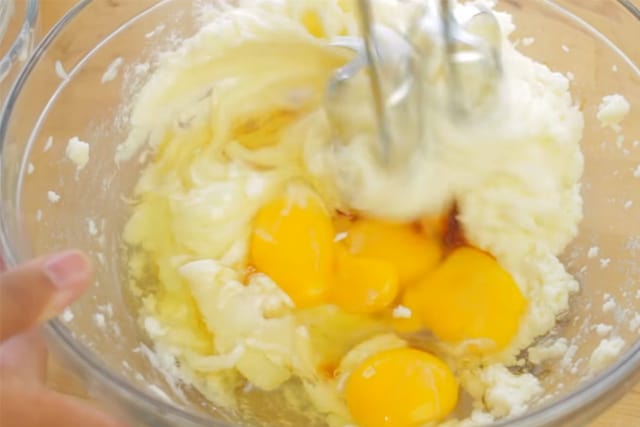
In a large bowl add the sugar, butter, eggs, and mix for about 3 minutes or until it’s light and fluffy:

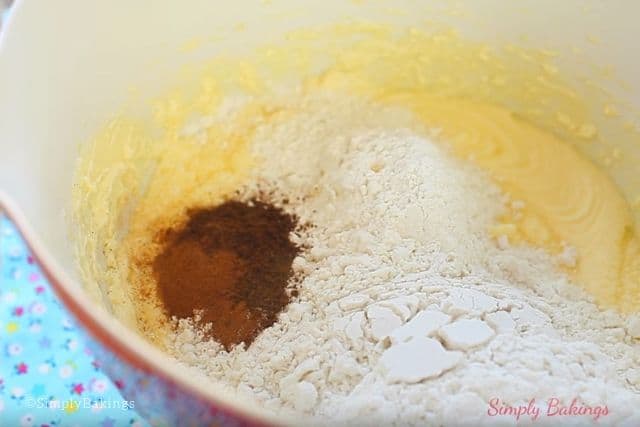
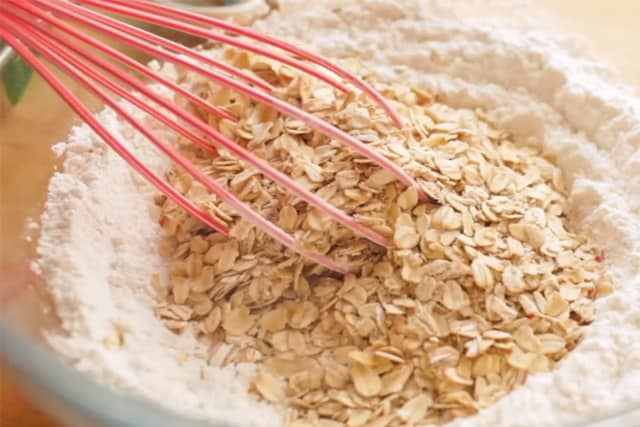
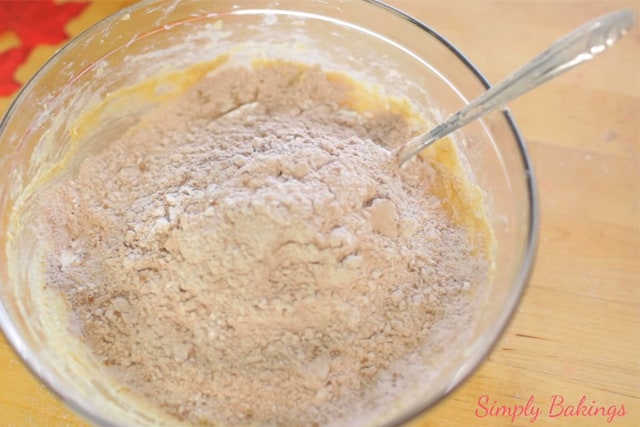
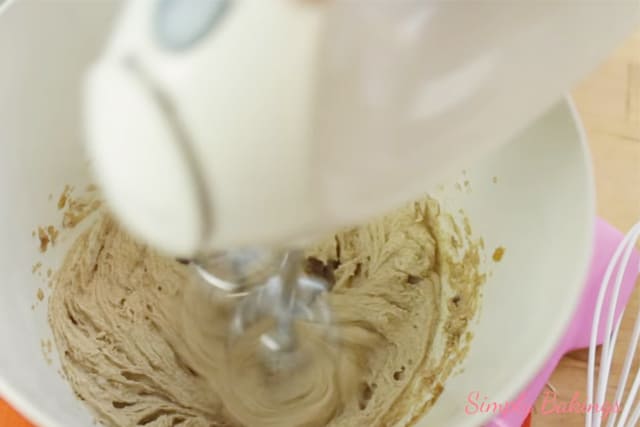
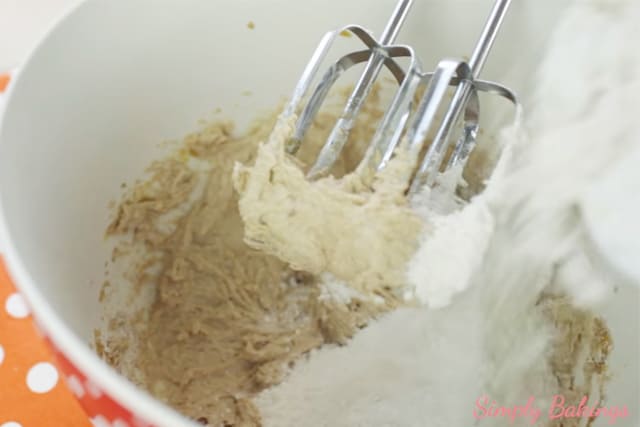
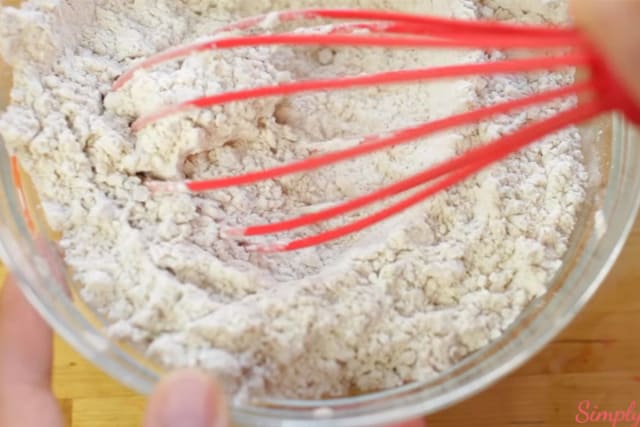
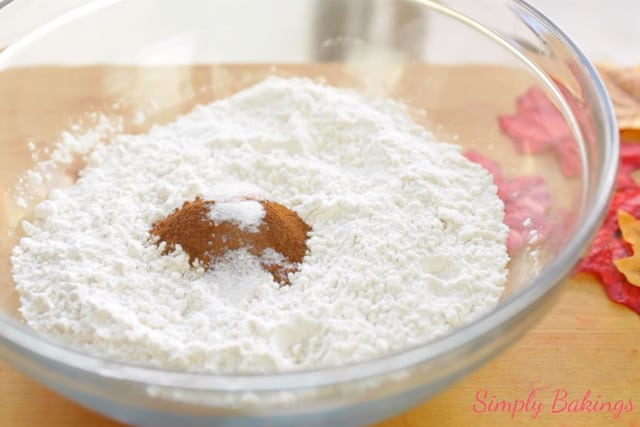
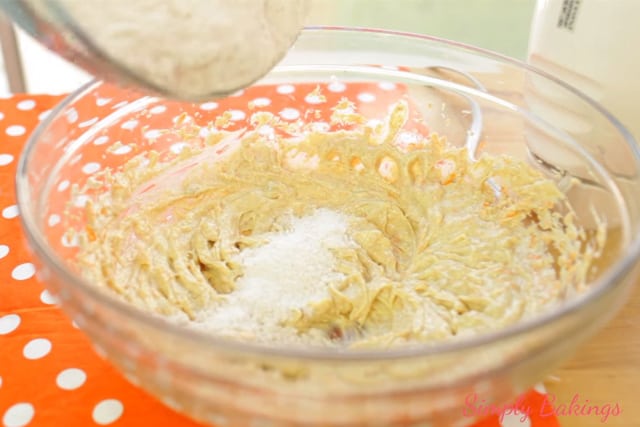
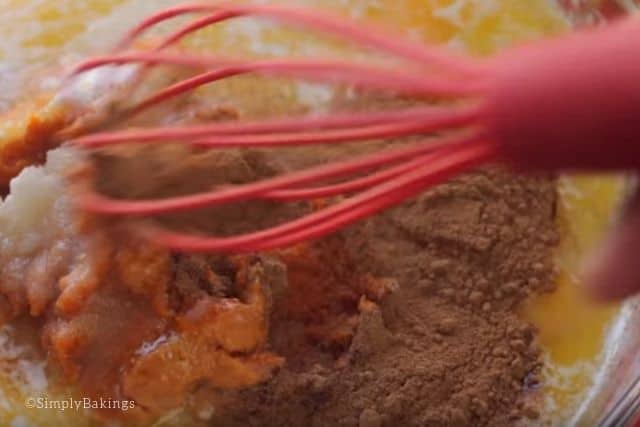
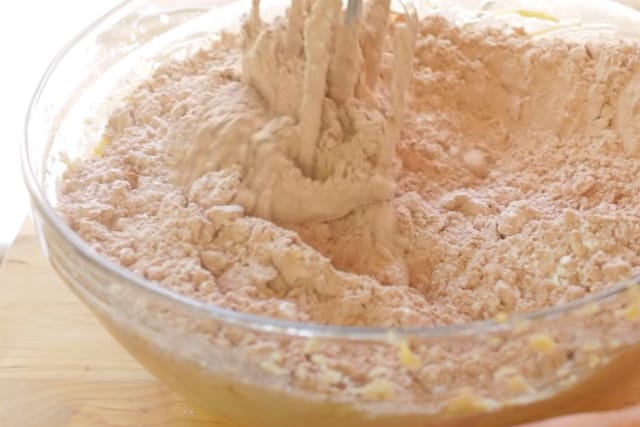
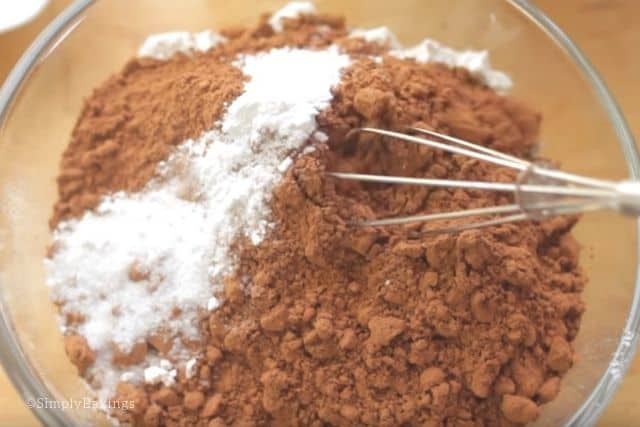
Next add the cinnamon, instant coffee granules, salt, all-purpose flour, and mix until well combined:
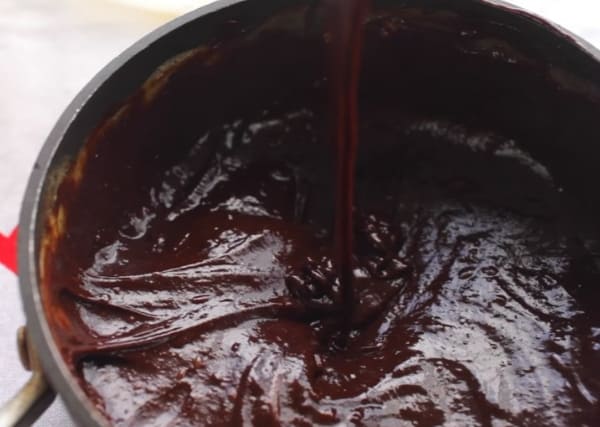
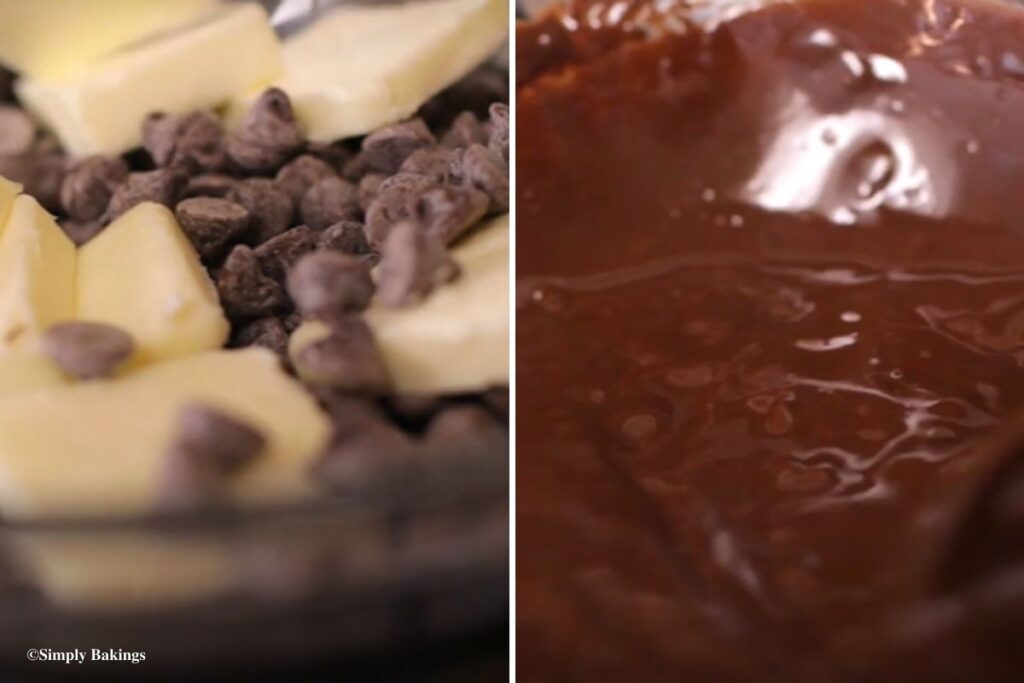
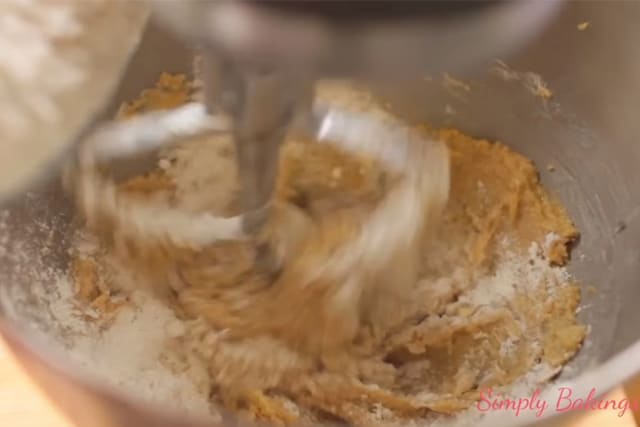
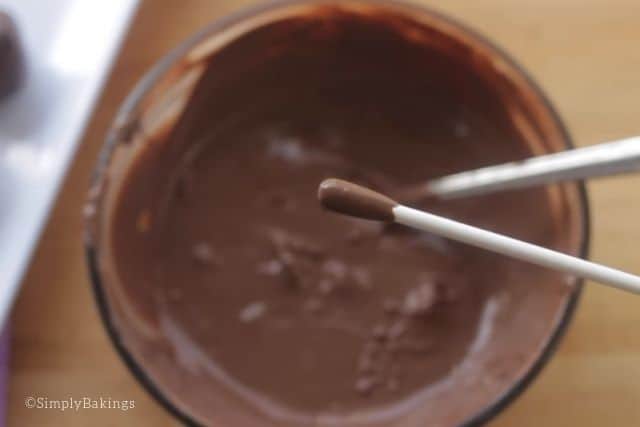
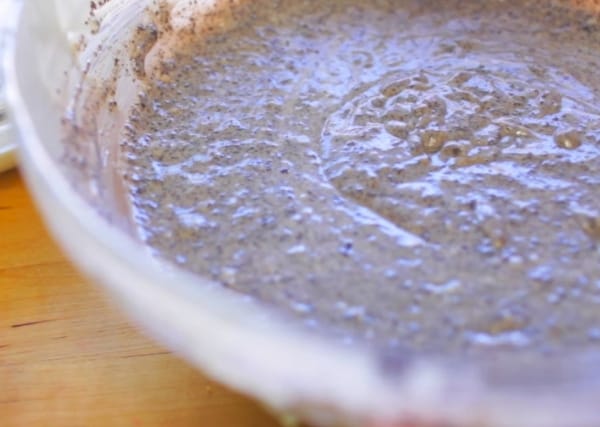
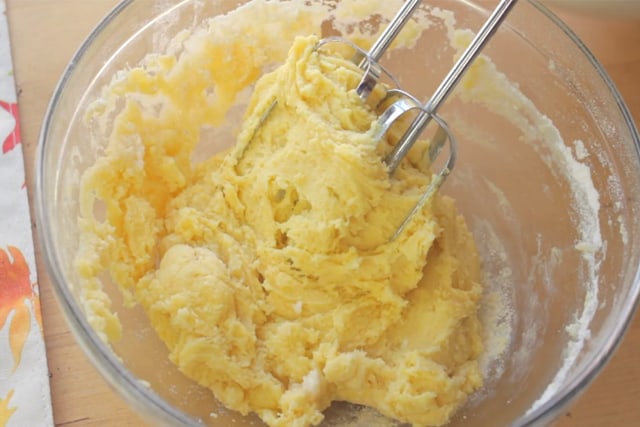
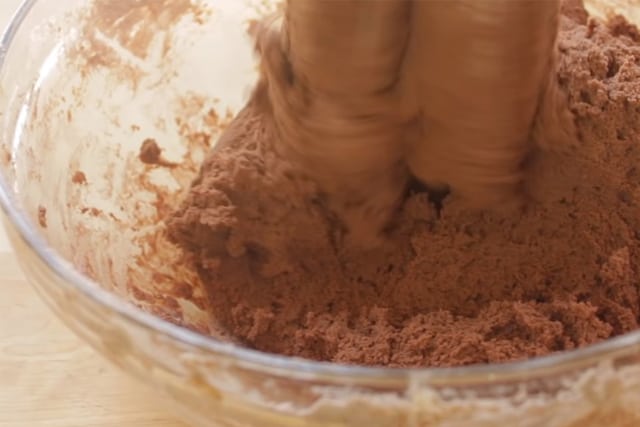
The batter should look like this, fine and smooth:

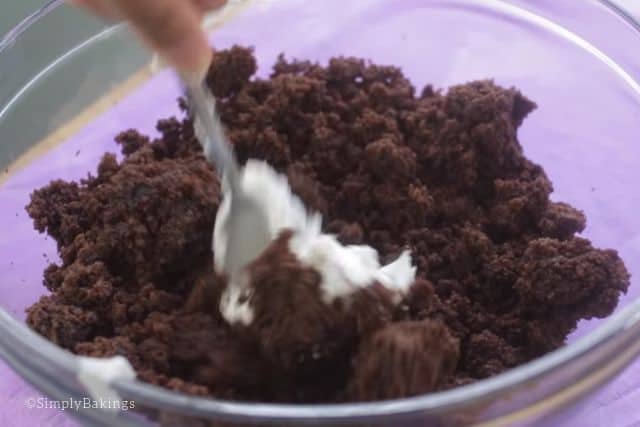
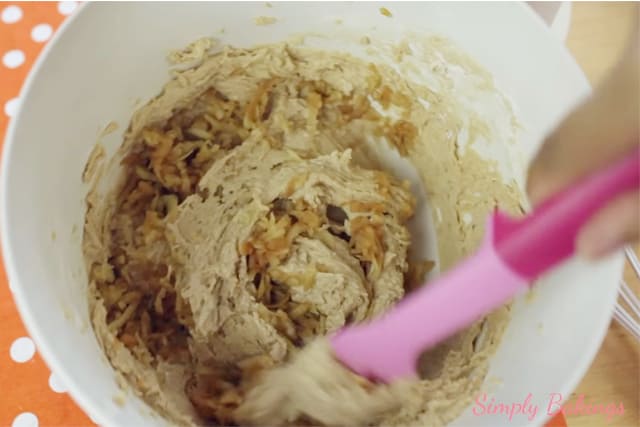
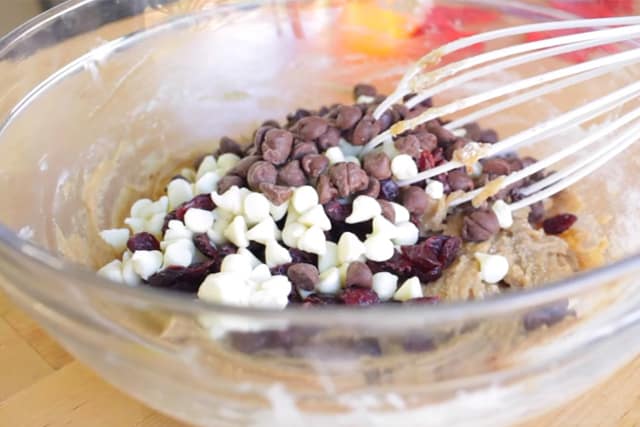
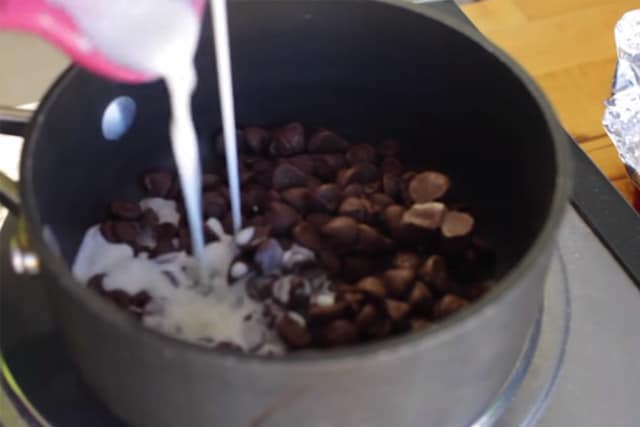
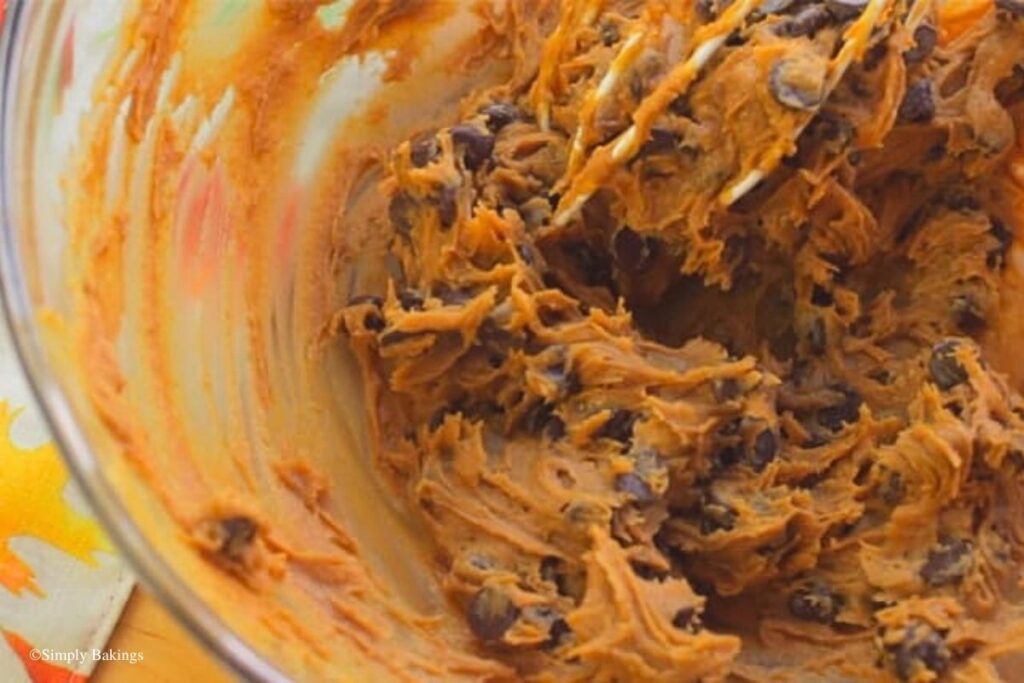
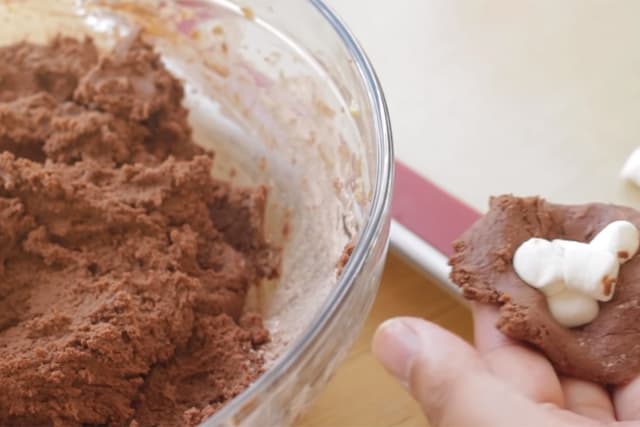
Finally add chocolate chips, chopped pecans, and mix:

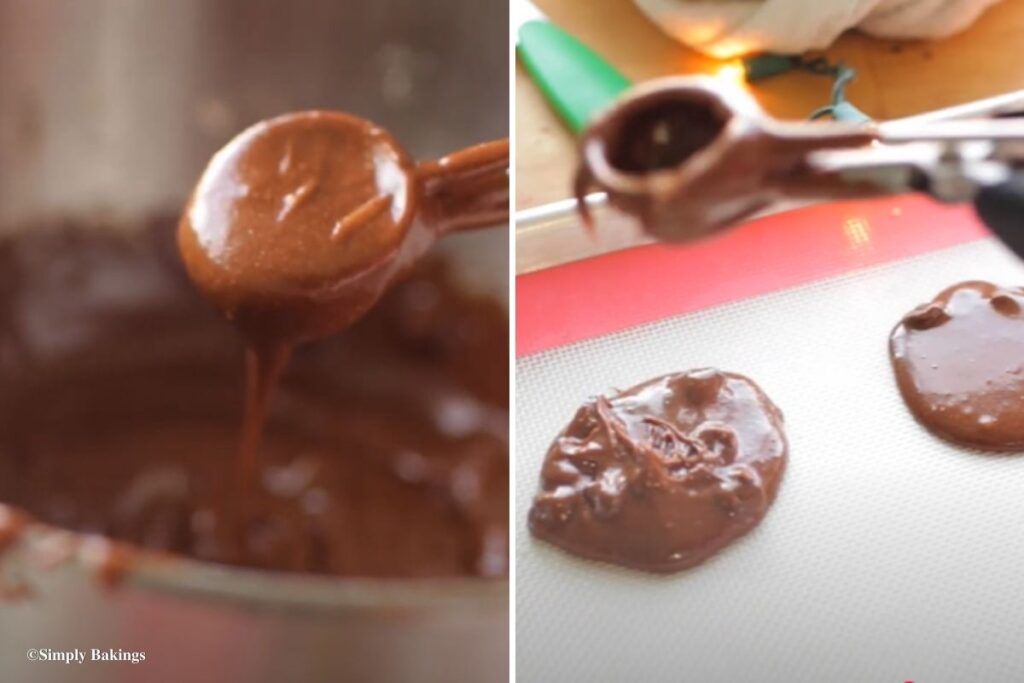
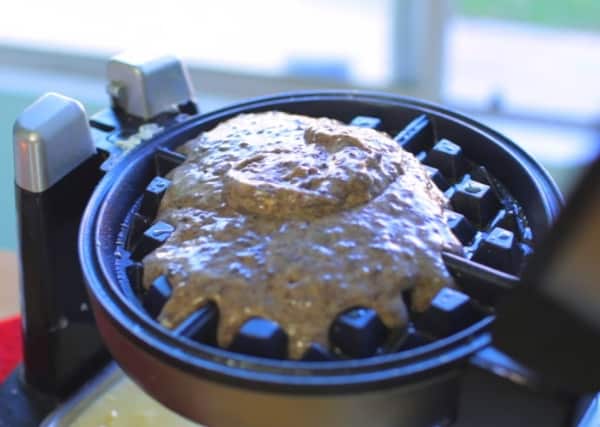
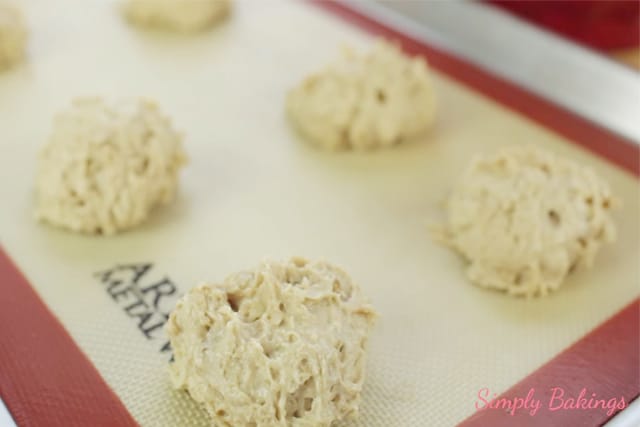
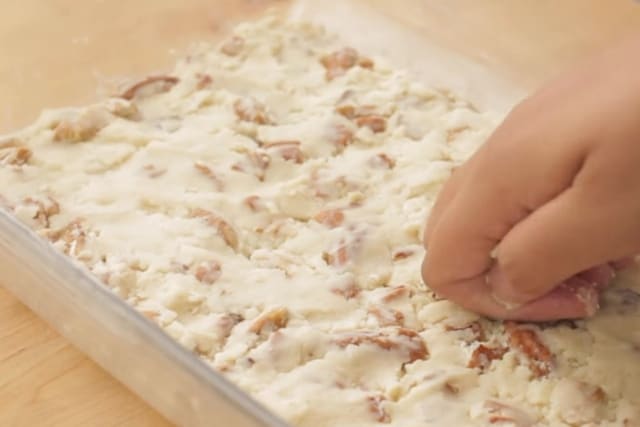
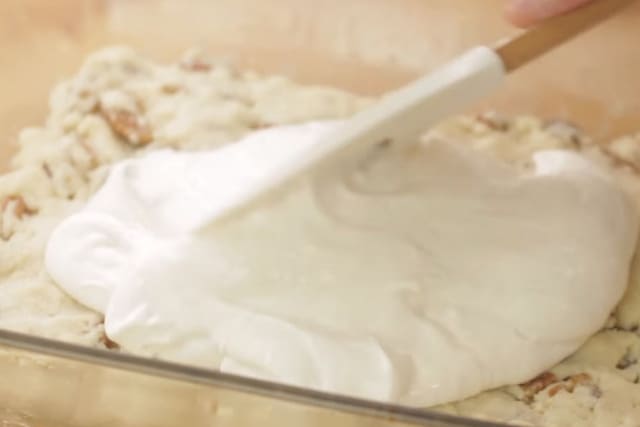
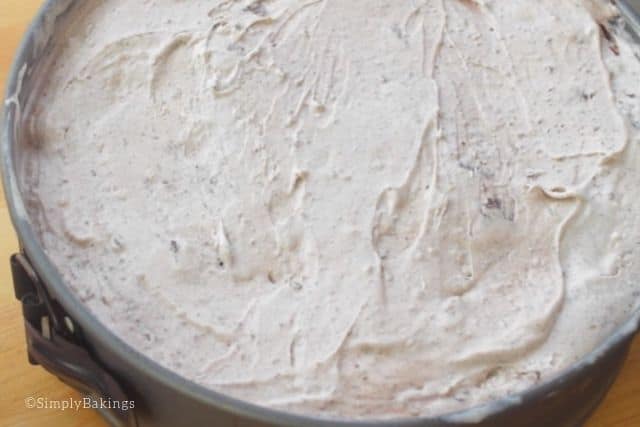
Transfer the batter into the pan and bake for about 35-40 minutes or use a toothpick to check if it’s finished:

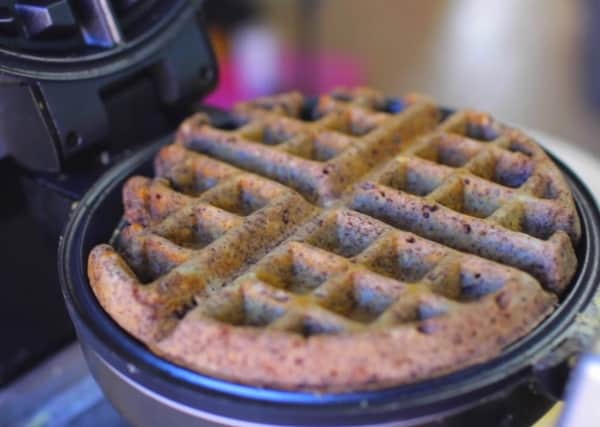
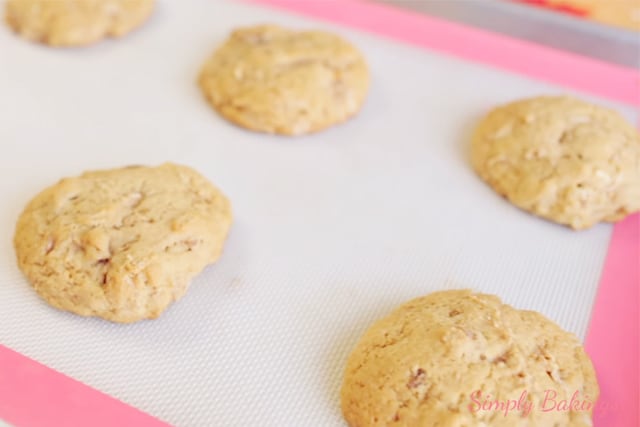
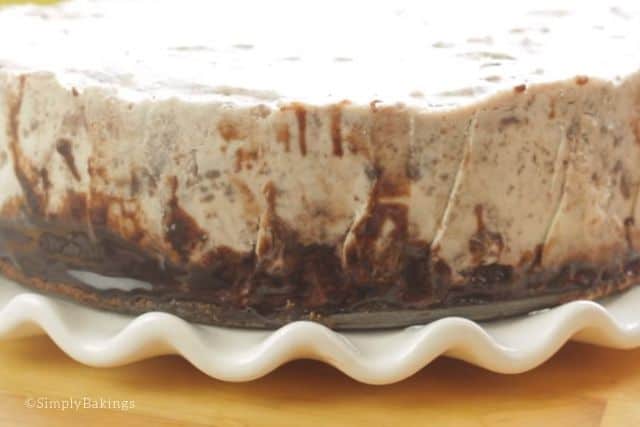
Allow the cake to cool for about an hour, then I took my knife and ran it around the edges of the side so it’s easier to release the cake:

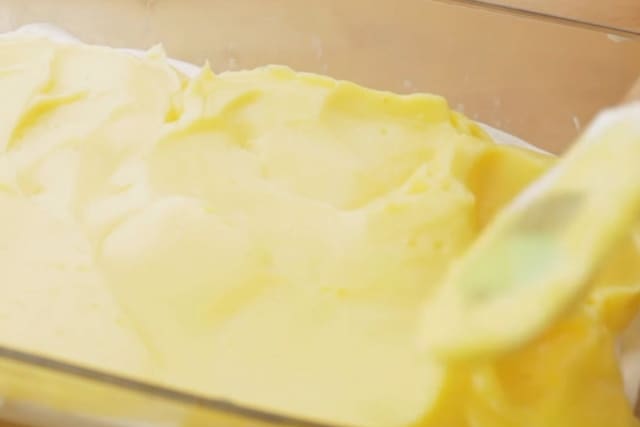
Decorate the top of the cake with your favorite frosting or whipped cream and add some sprinkles! What a lovely sight to see!

Frequently Asked Questions for the Mocha Cinnamon Cake Recipe:
Q: How many servings would this recipe do?
A: This delicious and easy mocha cinnamon cake recipe could make six to 8 slices, depending on how big your slices are.
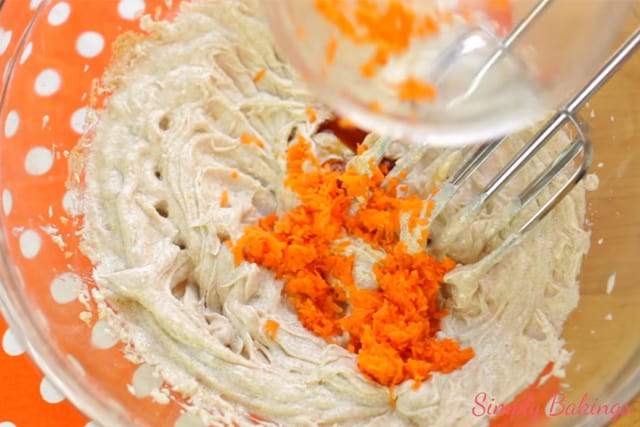
Q: Can I use other kinds of nuts?
A: Yes, you can. You may also add in some bits of chocolate or caramel candies in the batter, that is if you have a sweet tooth.

Mocha Cinnamon Cake
Ingredients
- 1 ¾ cups sugar
- 1 cup butter melted
- 4 eggs
- 1 teaspoons cinnamon
- 2 teaspoons instant coffee granules
- ¼ teaspoon salt
- 1 cup all purpose flour
- ¾ cup chocolate chips
- ½ cup chopped pecans
Instructions
- Preheat oven to 350F and oil 9-inch pan.
- In a large bowl add the sugar, butter, eggs, and mix for about 3 minutes or until it’s light and fluffy.
- Next add the cinnamon, instant coffee granules, salt, all purpose flour and mix until well combined. Finally add chocolate chips, chopped pecans and mix.
- Transfer the batter into the pan and bake for about 35-40 minutes or use a toothpick to check if it’s finished.
- Allow the cake to cool for about an hour, then I took my knife and ran it around the edges of the side so it’s easier to release the cake.
Watch The Recipe Video!

NEVER MISS A RECIPE!
PINTEREST / FACEBOOK / INSTAGRAM / TWITTER
If you’ve tried this or any other of my recipes, don’t forget to rate the recipe and to leave me a comment. I love hearing from you!