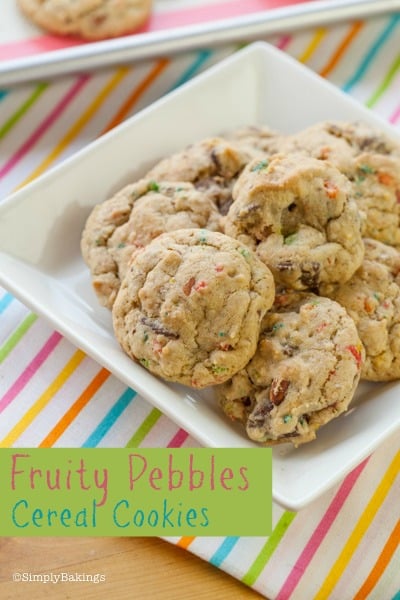
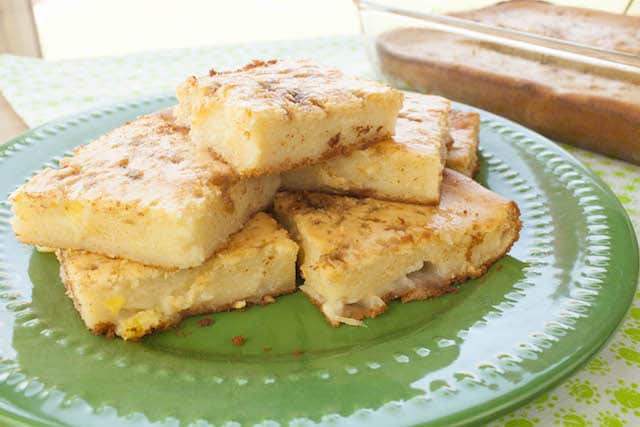
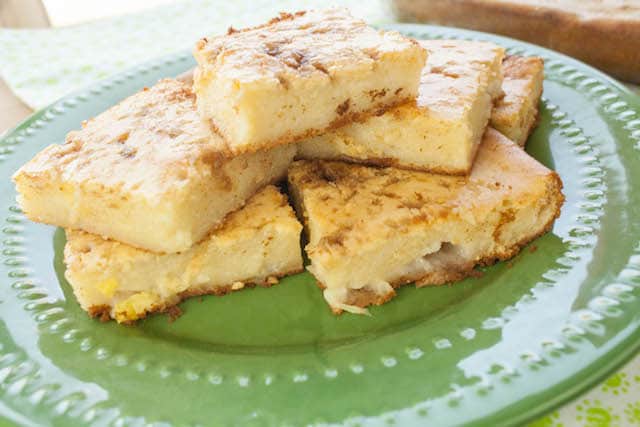
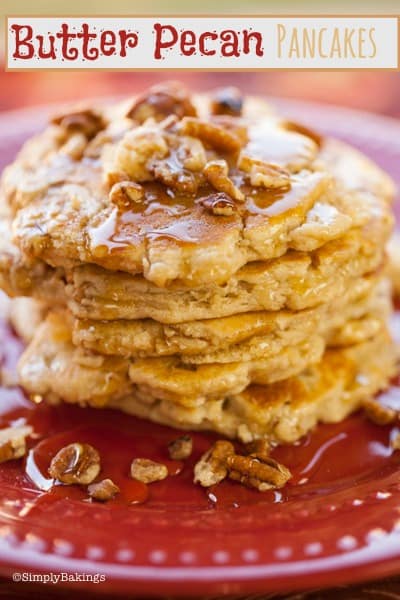
Experience the irresistible delight of Butter Pecan Pancakes, the ultimate breakfast indulgence! Whip up a batch in your own kitchen and prepare for everyone to sing its praises!
Looking for more pancake dishes? Try my Fluffy Matcha Soufflé Pancakes, Corn Pancakes, Ube Pancakes, or my Japanese Souffle Pancakes.
This recipe is typically a hit during the fall and Thanksgiving season, thanks to its comforting flavors. What makes it even better is its simplicity, as it relies on pre-made mixes. So, don't hesitate—give it a try!
[feast_advanced_jump_to]How to Make this Butter Pecan Pancakes Recipe:
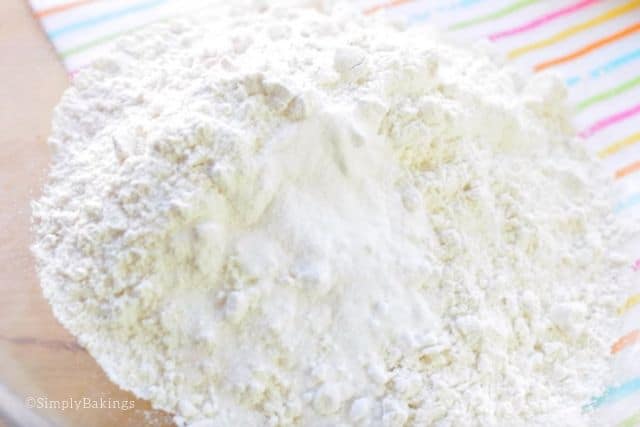
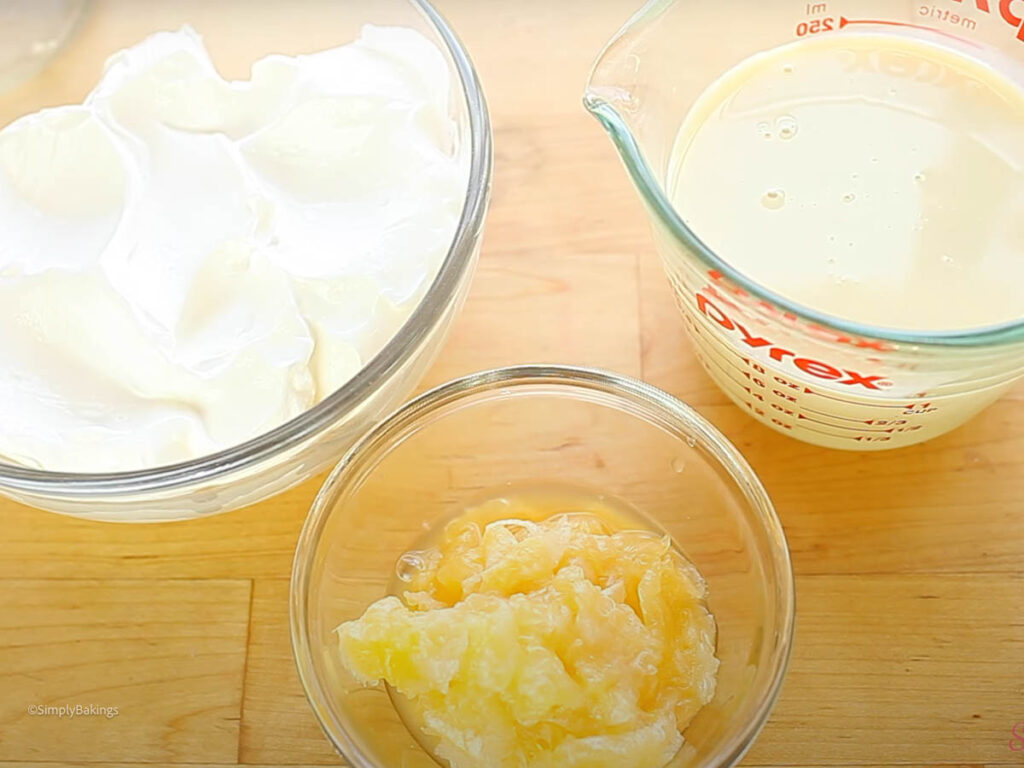
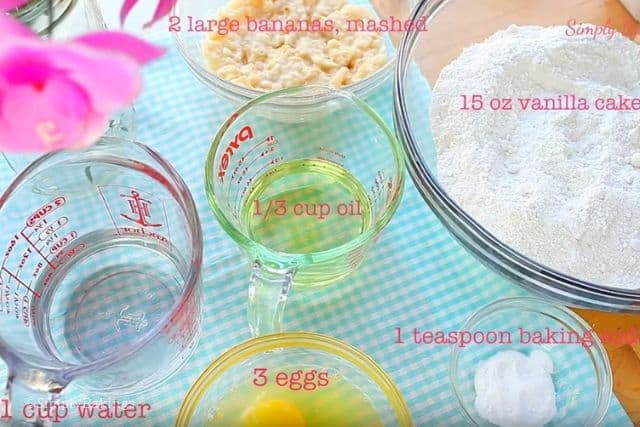
Listed below are all the ingredients you need:
- pancake mix (favorite brand)
- butter pecan cake mix
- butter
- egg
- pecans
- honey or maple syrup
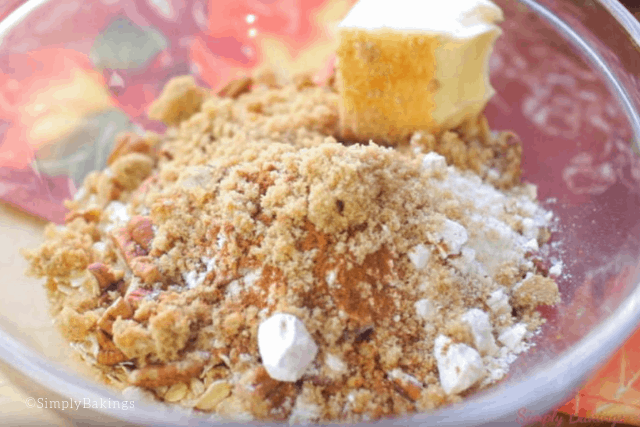
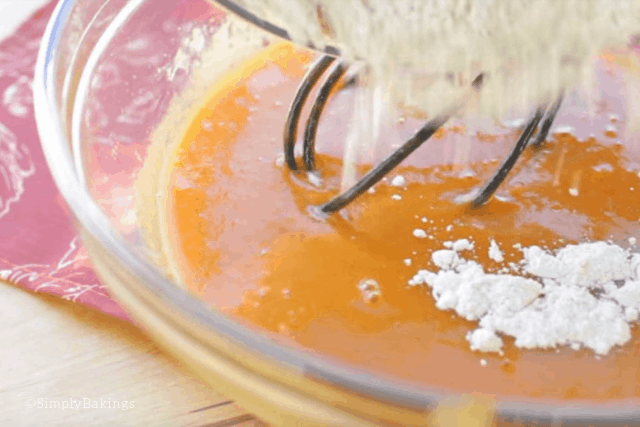
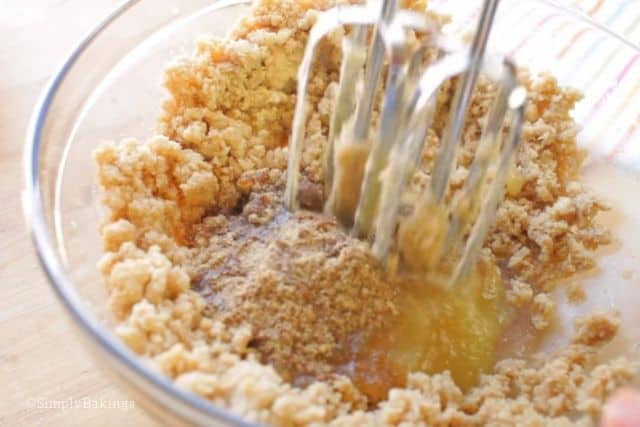
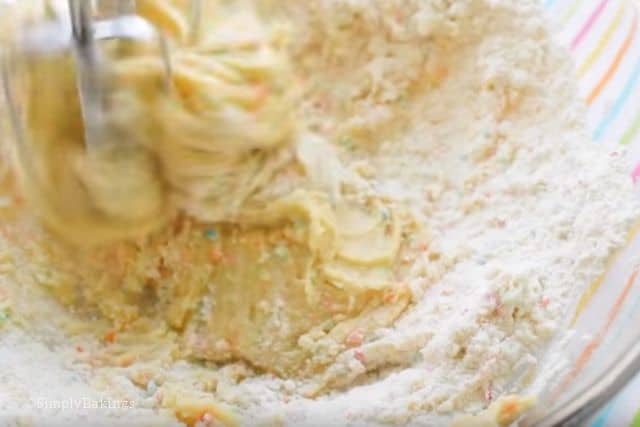
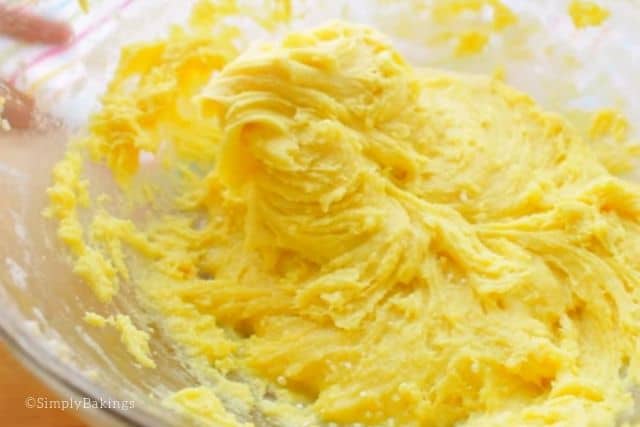
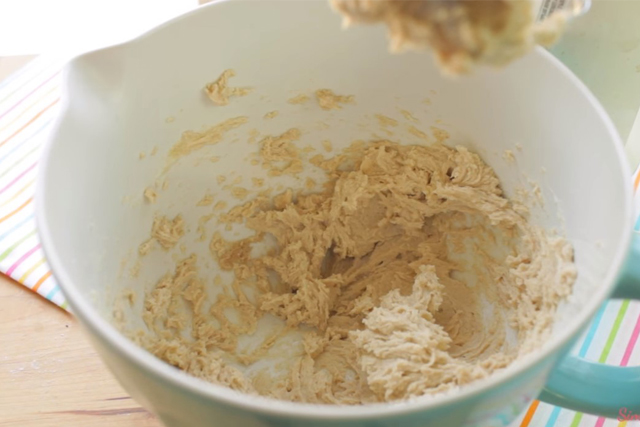
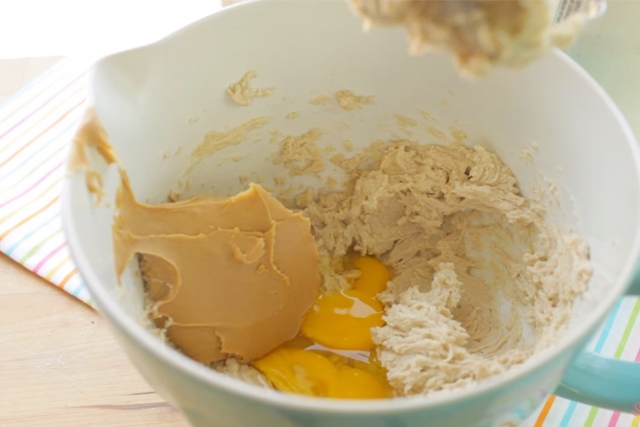
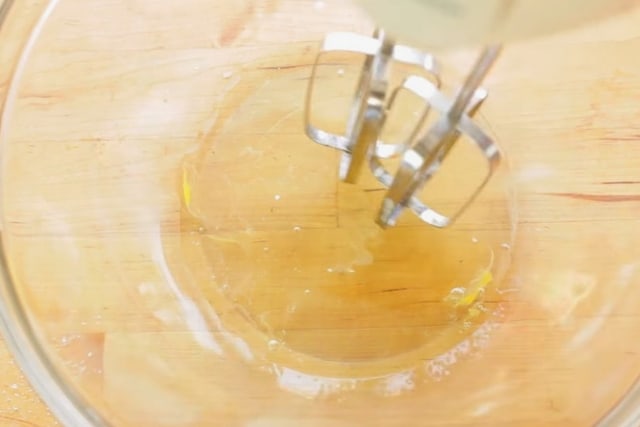
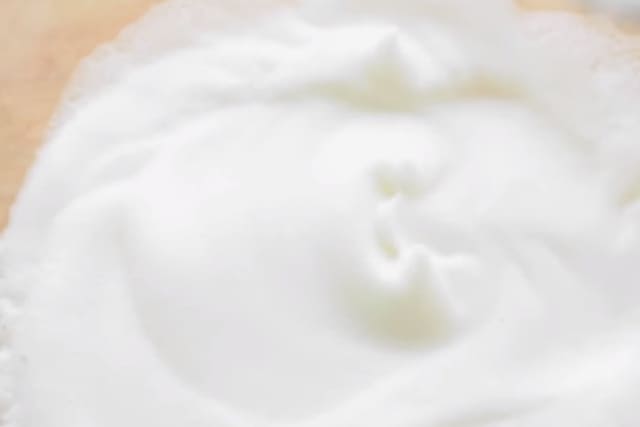
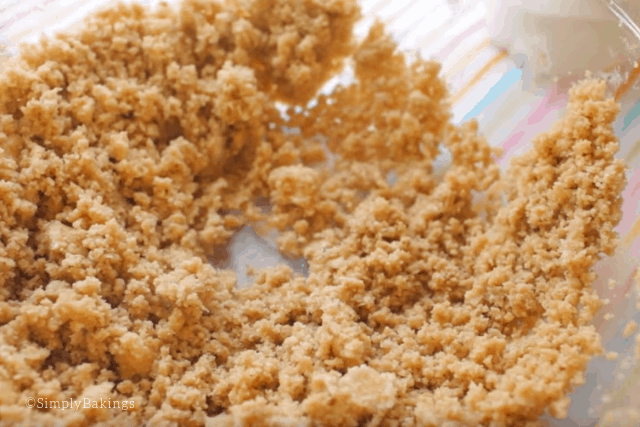
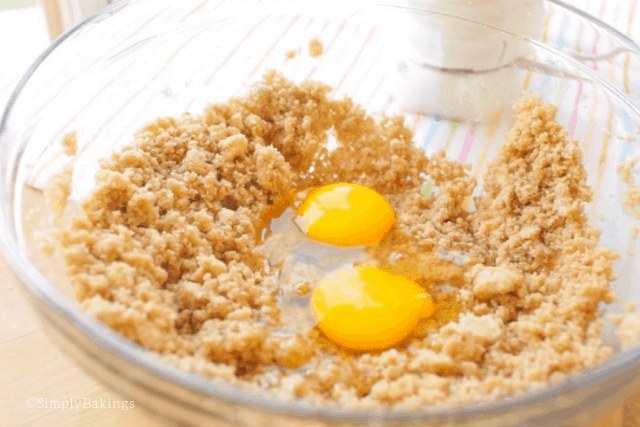
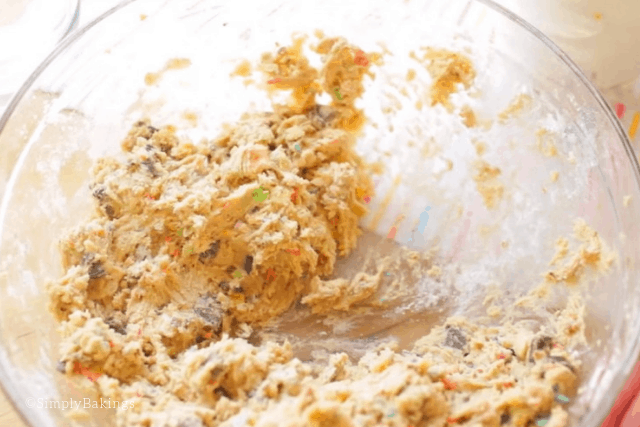
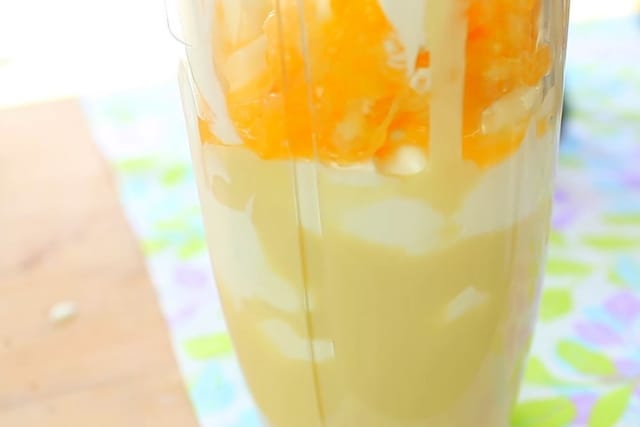
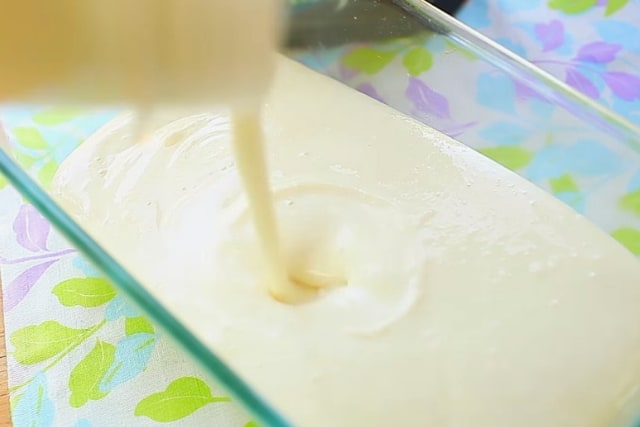
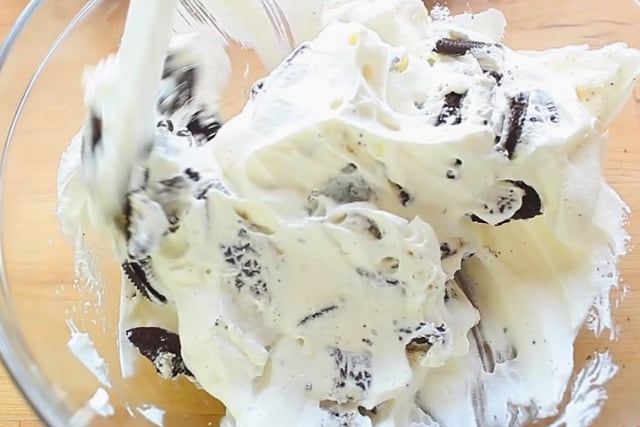
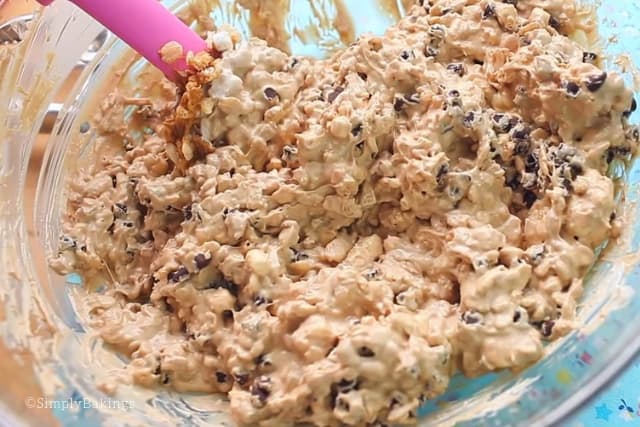
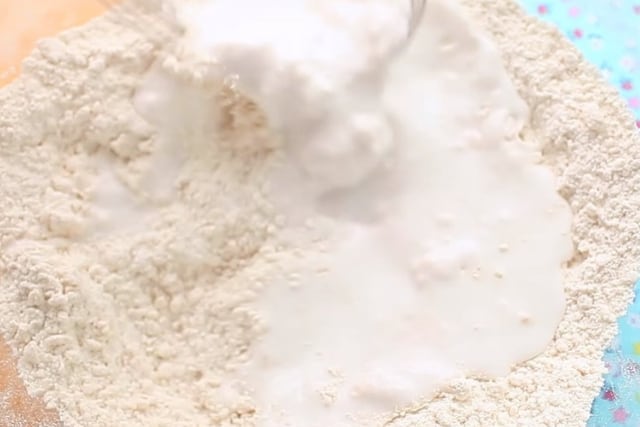
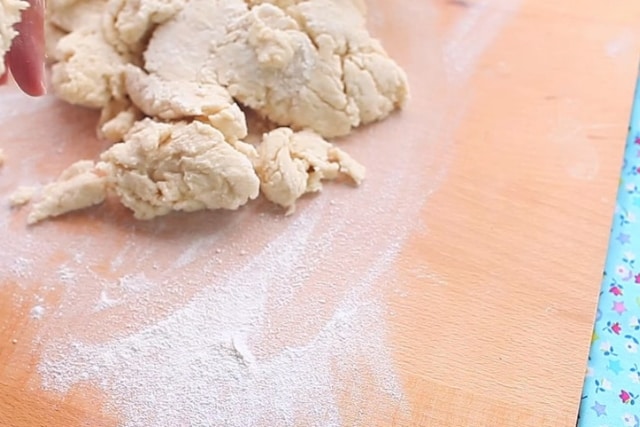
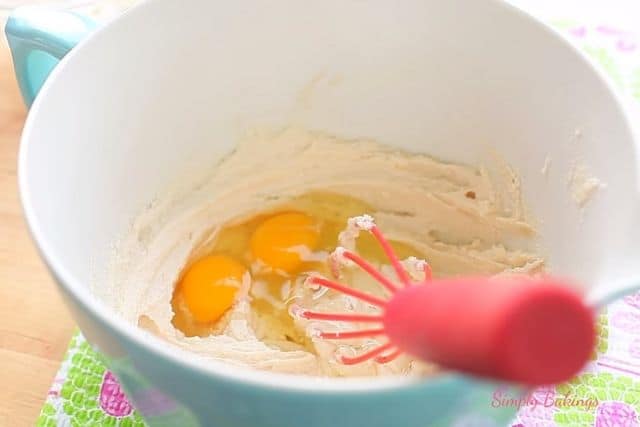
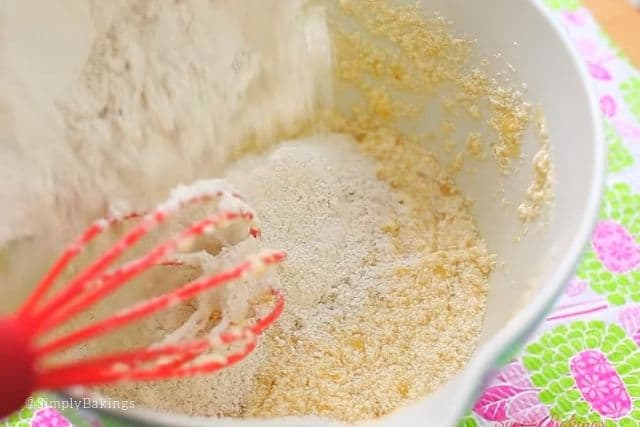
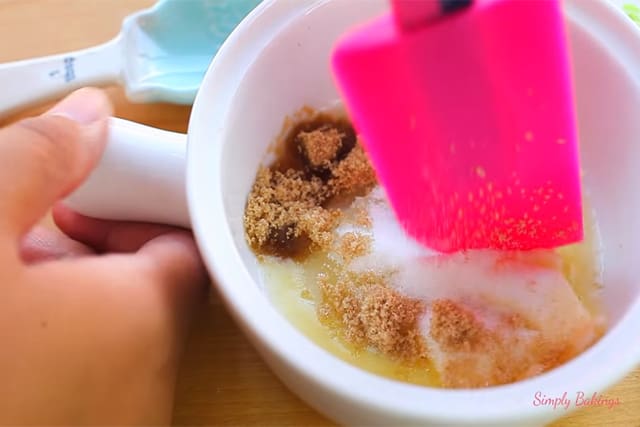
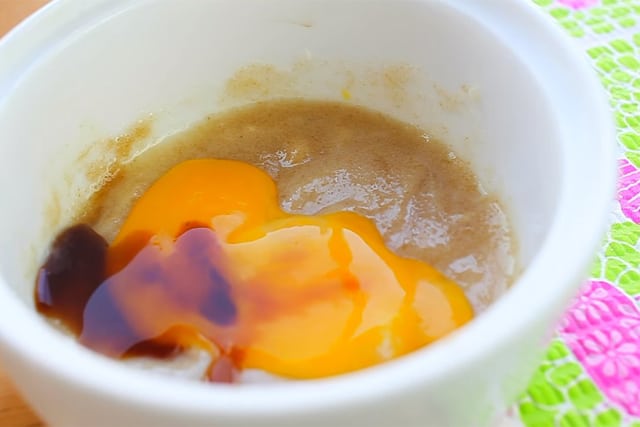
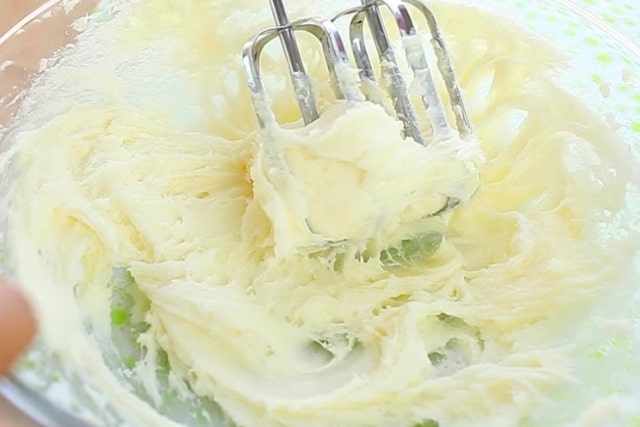
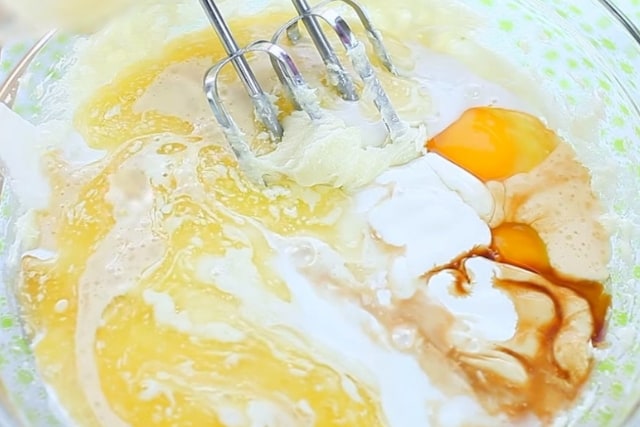
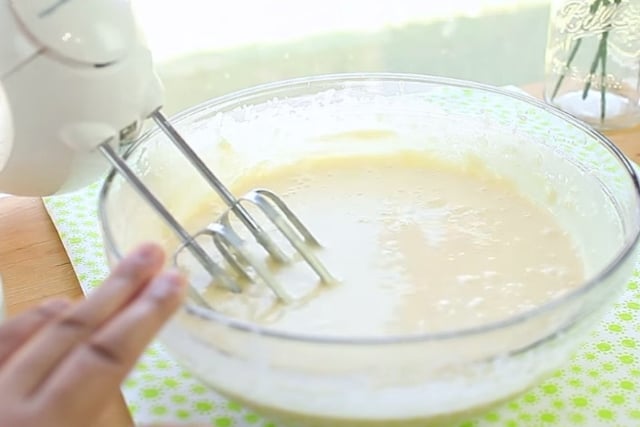
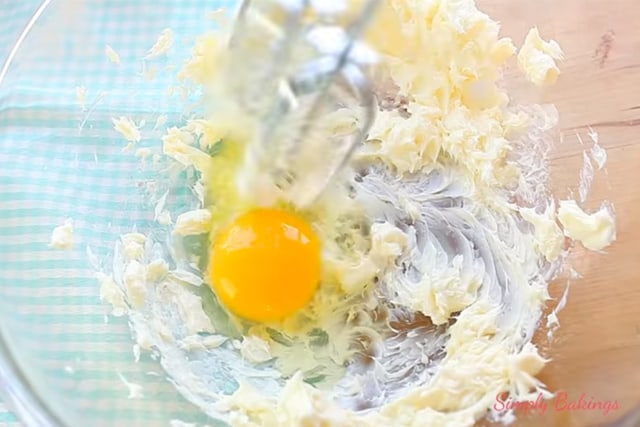
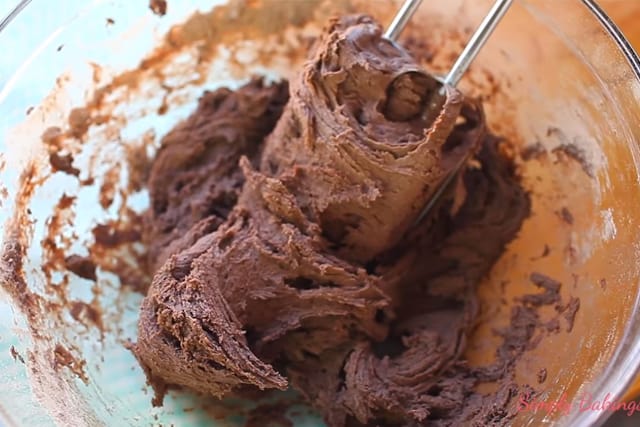
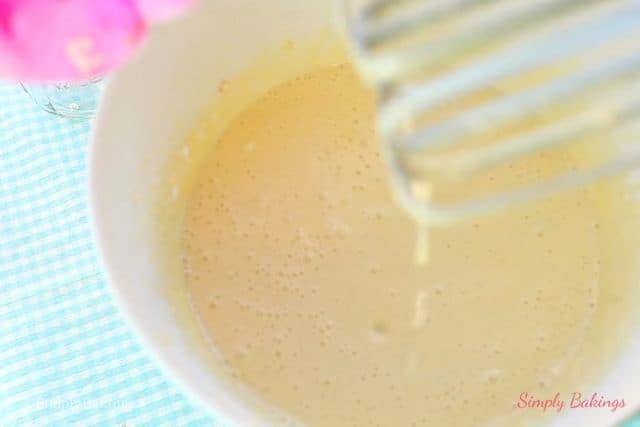
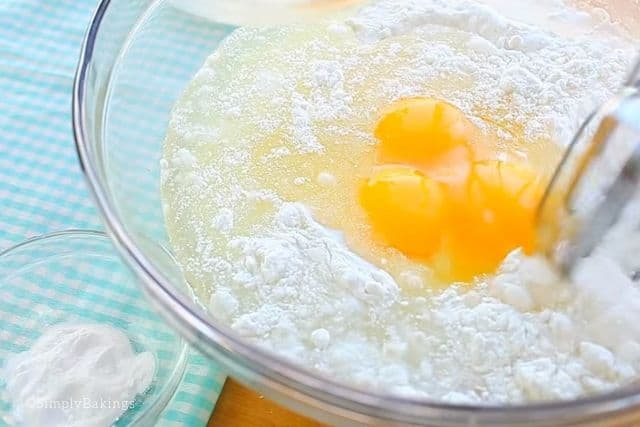
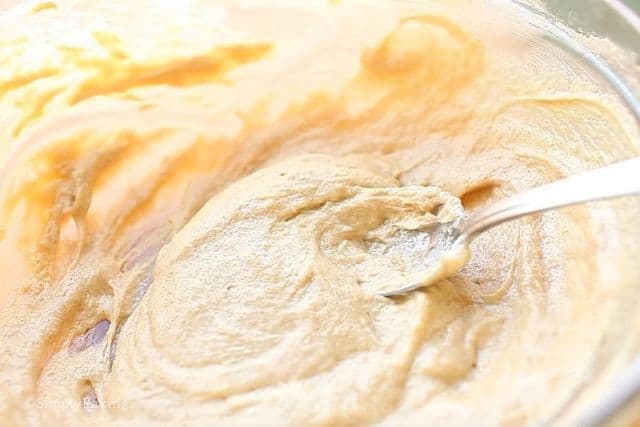
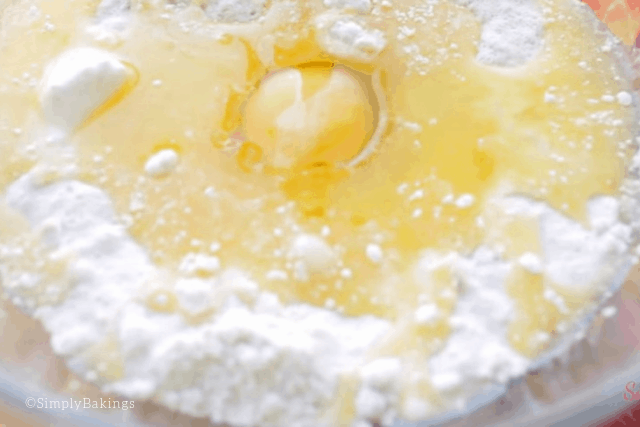
In a large mixing bowl, mix together the pancake mix and butter pecan cake mix. Next, add the butter and egg and mix well:
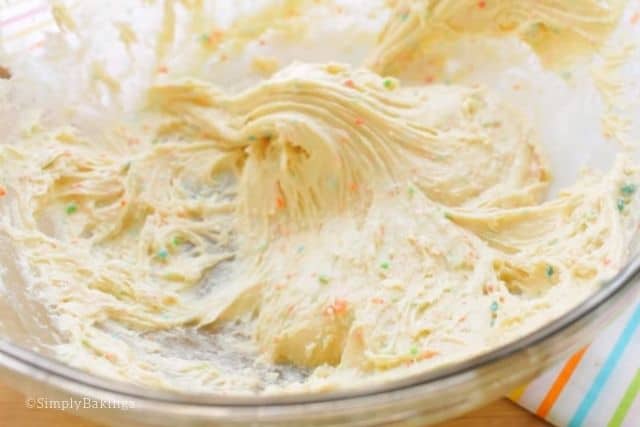
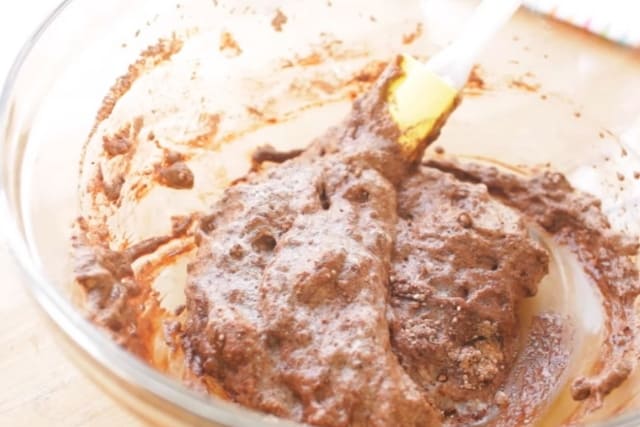
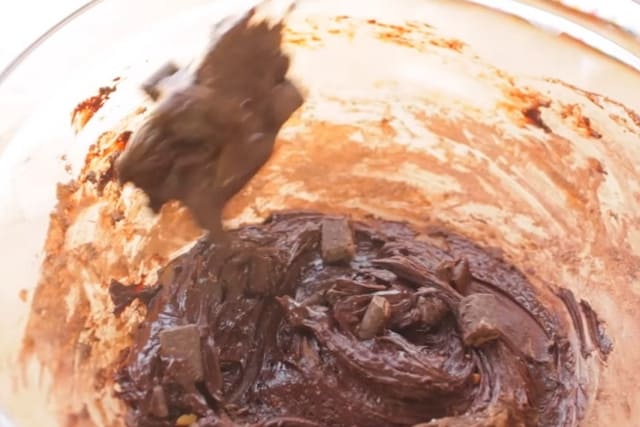
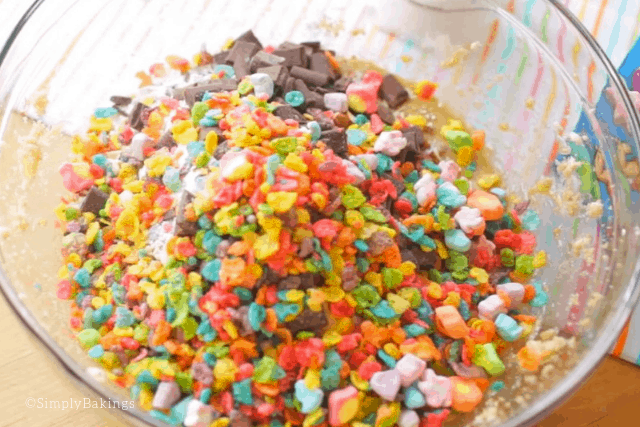
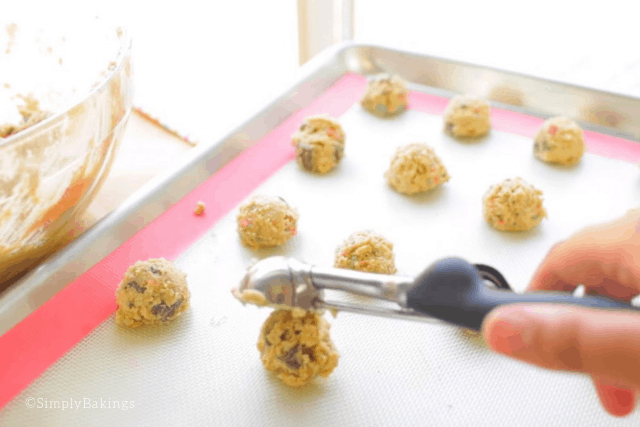
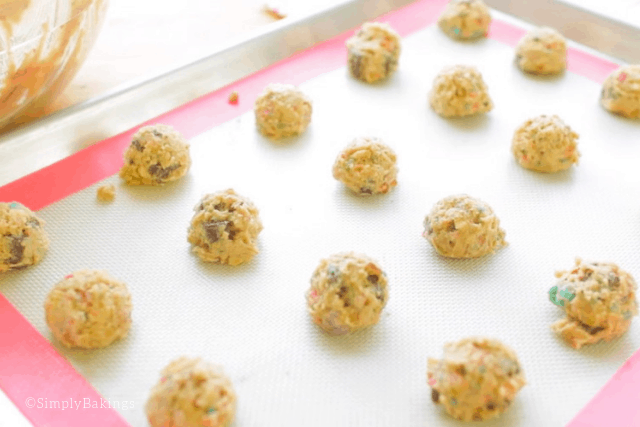
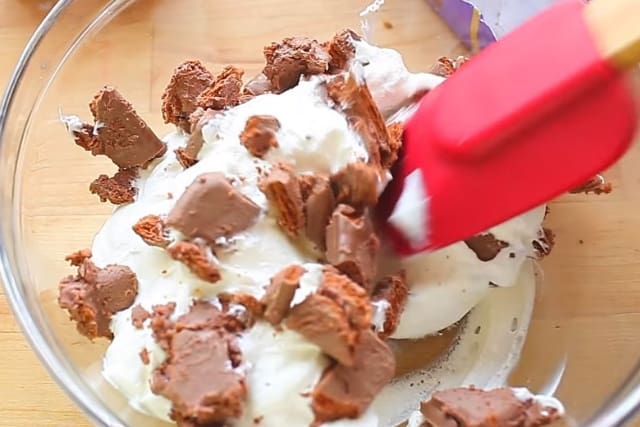
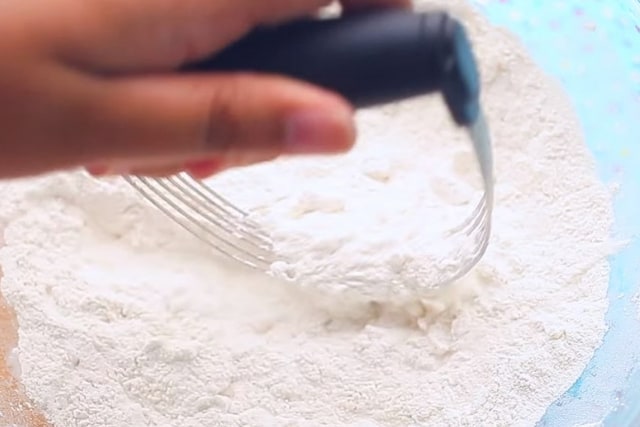
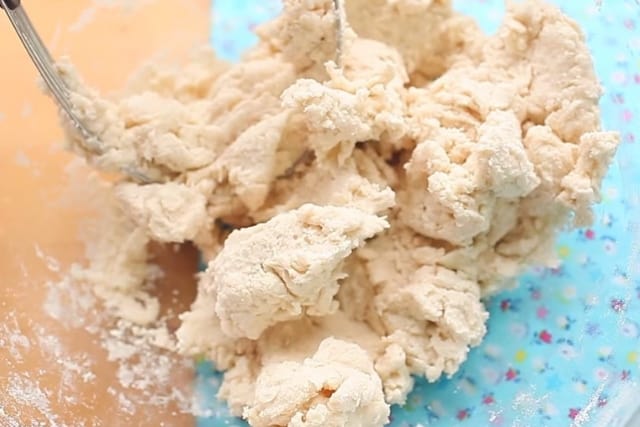
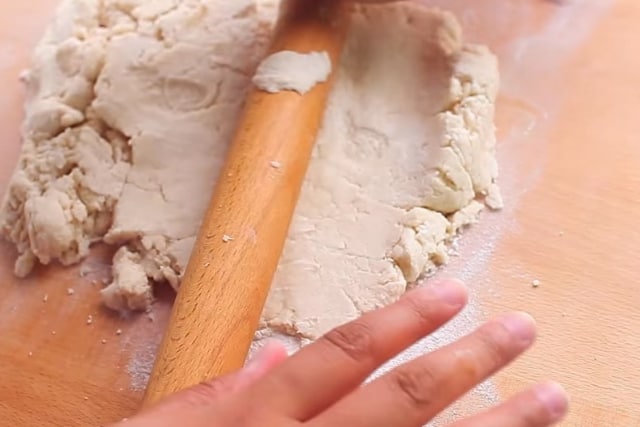
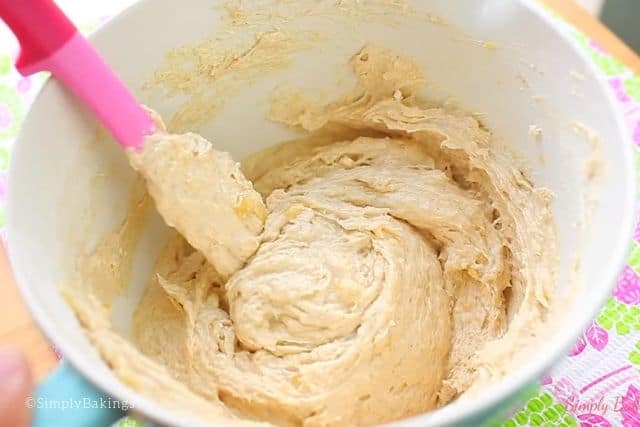
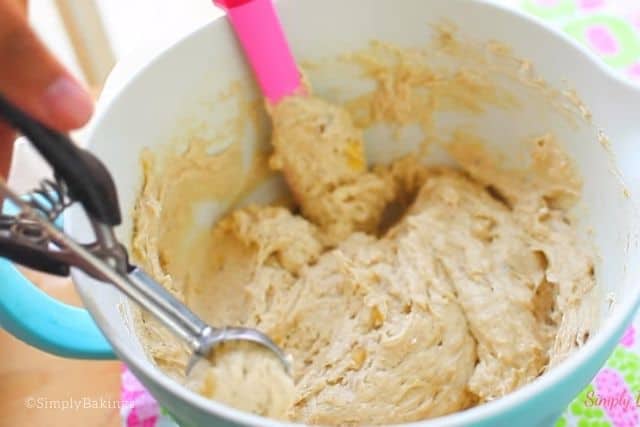
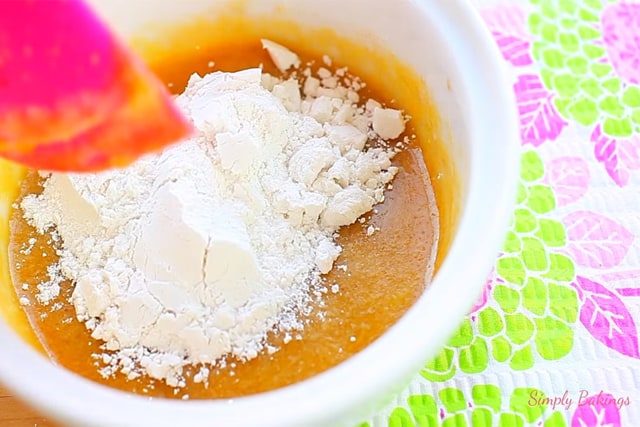
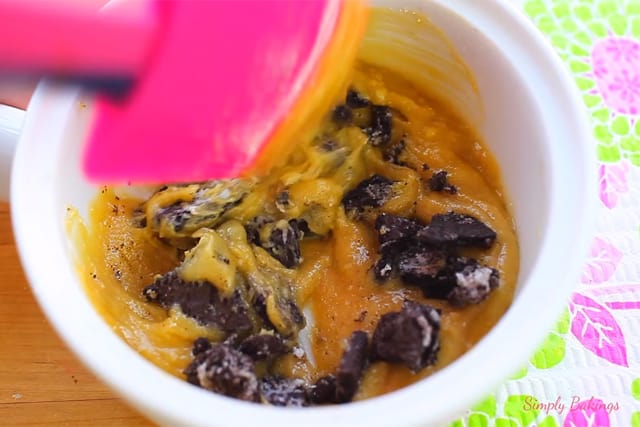
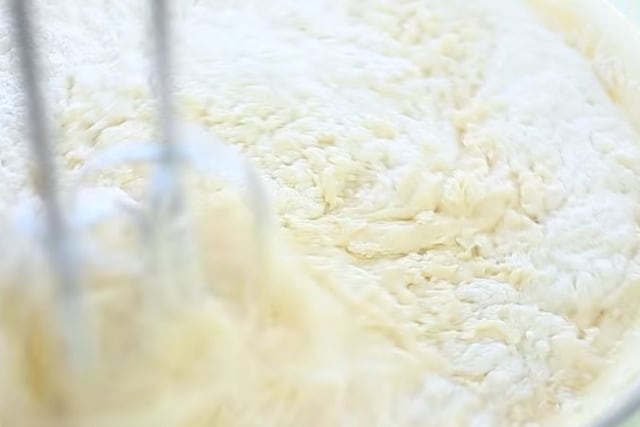
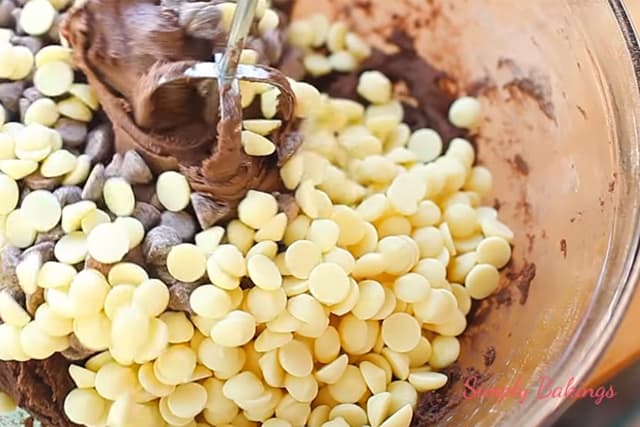
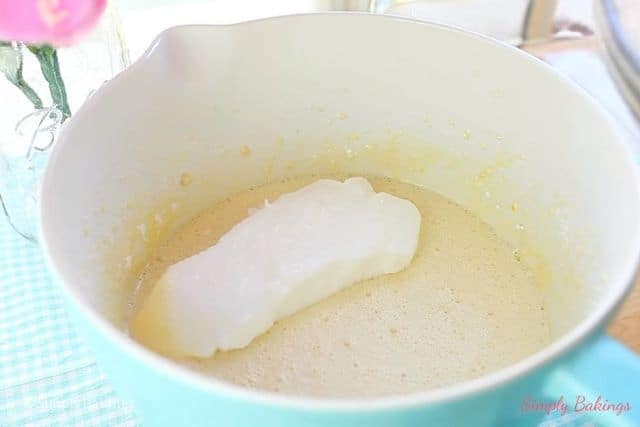
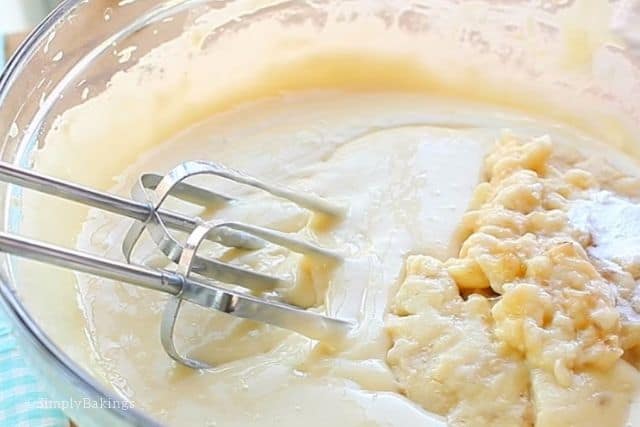
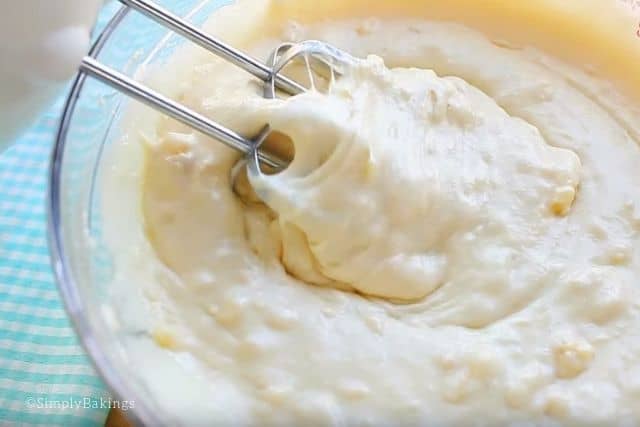
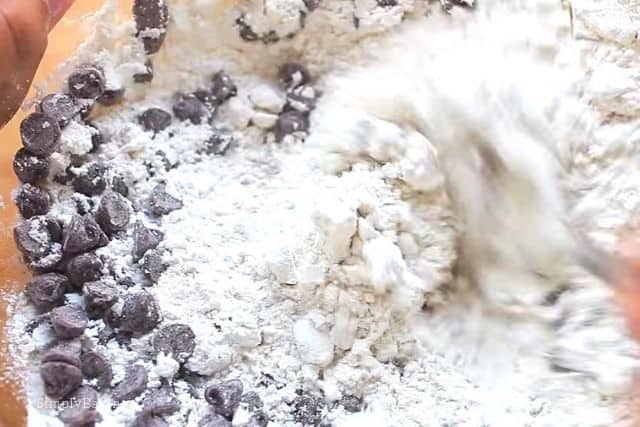
Now you can add the chopped pecans and stir until you don't see any flour:

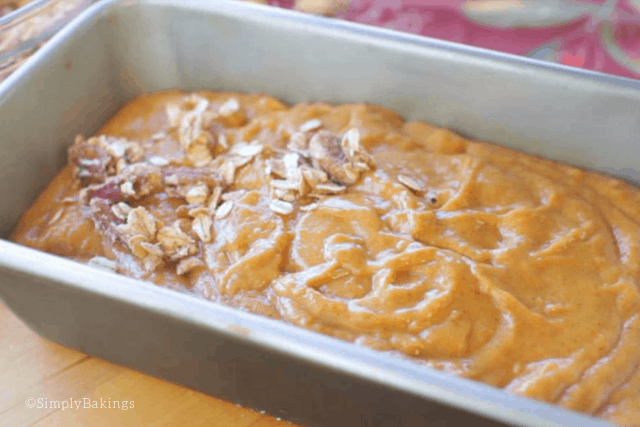
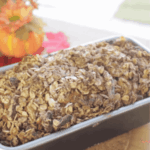
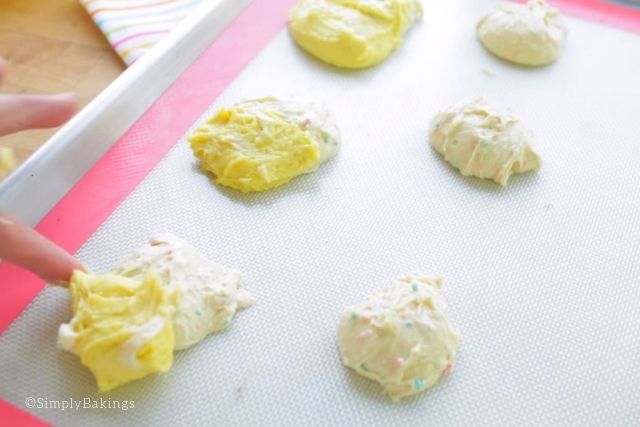
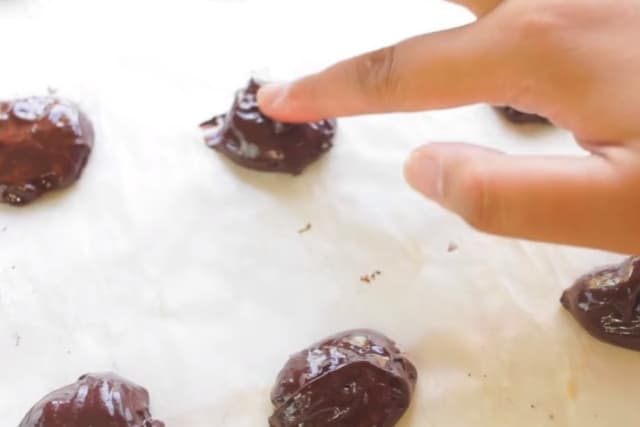
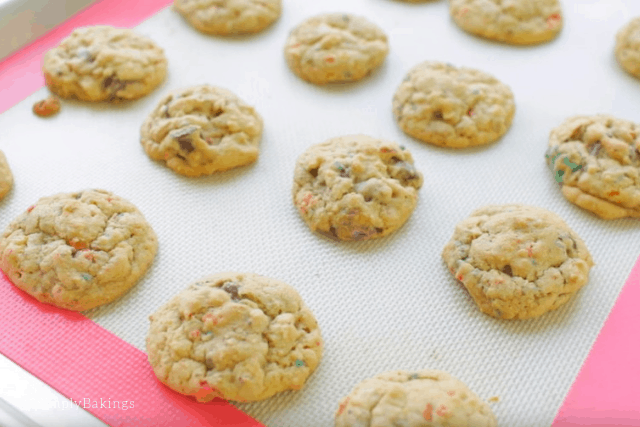
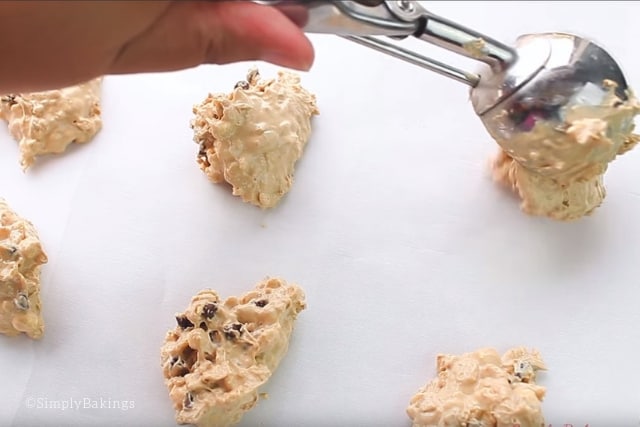
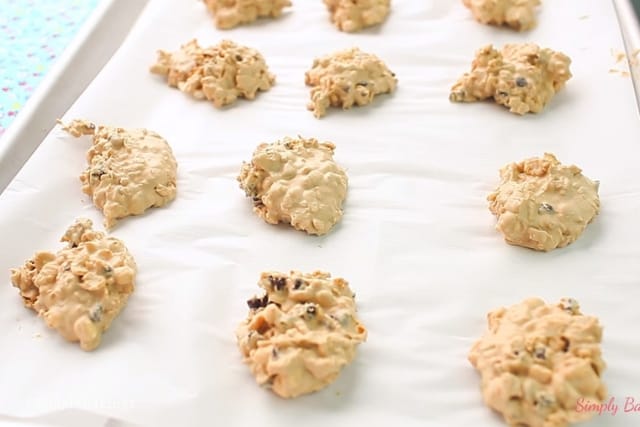
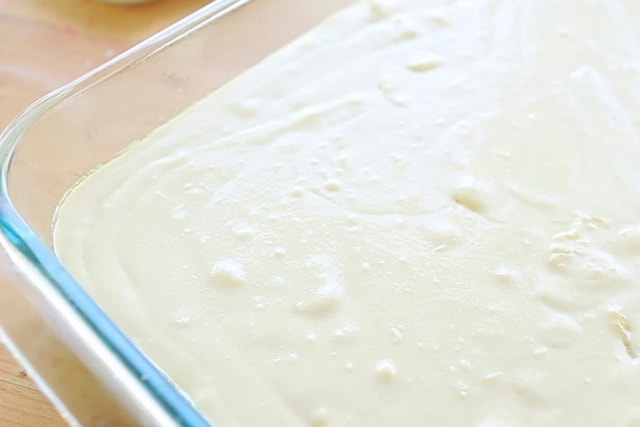
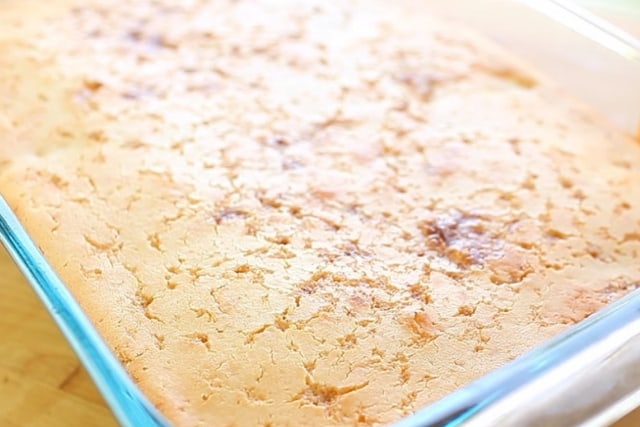
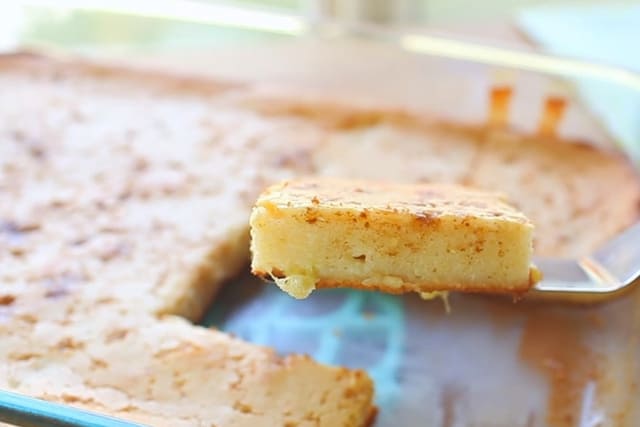
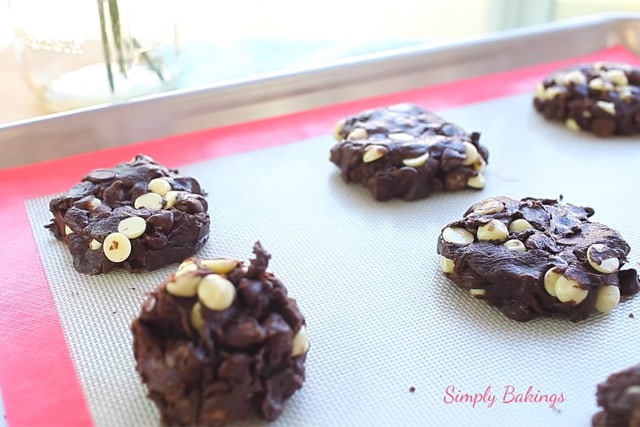
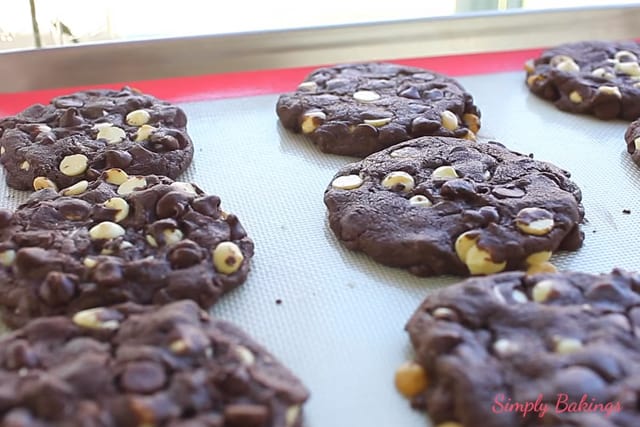
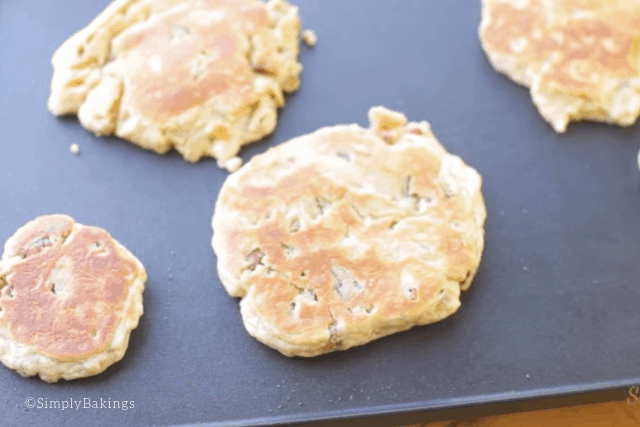
On a medium-heat frying pan or griddle, pour the pancake mix and fry until golden brown:
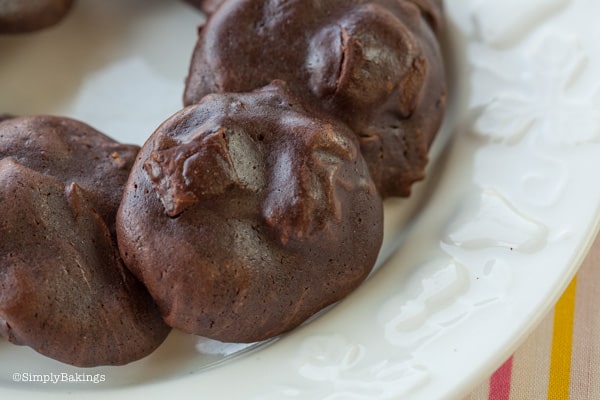
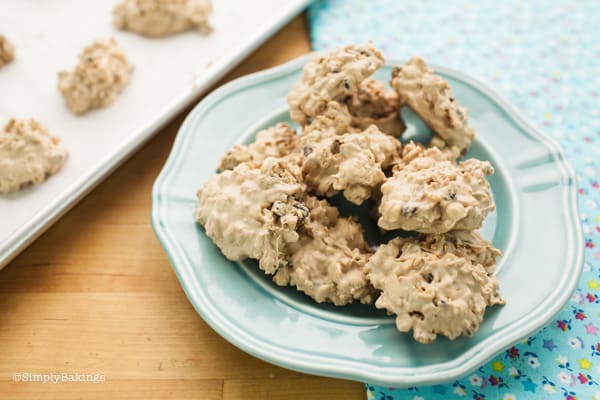
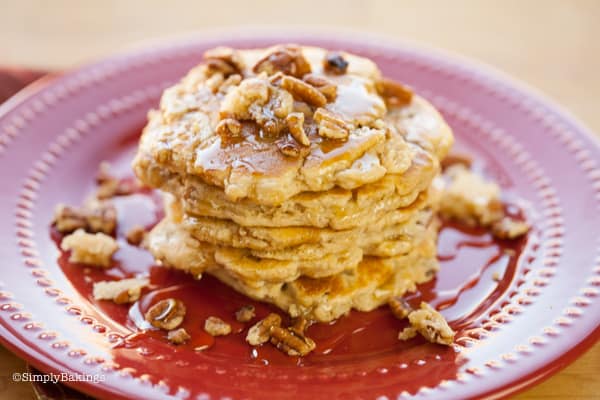
Now pour that delicious honey on top! Isn't that lovely and delicious?!?
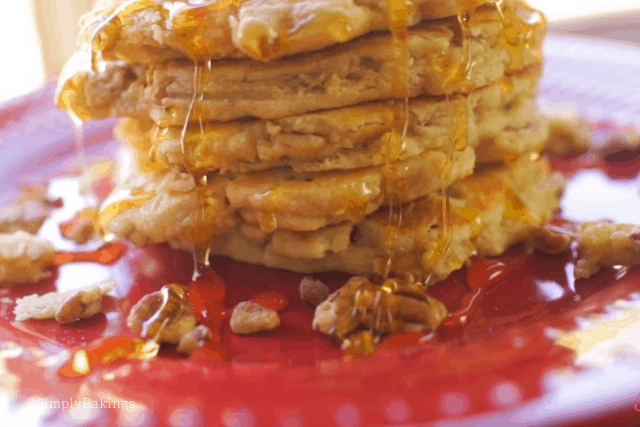
You would love to have a stack of these delicious and easy-to-make Butter Pecan Pancakes with a cup of latte. Enjoy!
Variations
- This recipe is very adaptable, you can add bananas, cinnamon, nutmeg, or vanilla extract to the pancake batter.
- If you want a sweeter pancake, add brown sugar or even coffee creamer to sweeten the pancakes.
Substitutions
- Use buttermilk pancake mix for more of a fluffy pancake.
Storage
- Freeze leftover pancakes for up to 6 months in an airtight container.
Pro Tip
- Browned butter will enhance the flavor of the pancakes. Simply melt over the stove in a saucepan for about 3-5 minutes or until the butter turns golden brown.
Frequently Asked Questions
Bubbles of gas are caught in the batter as it cooks and this is what makes the pancake fluffy.
Unsalted butter is better for cooking pancakes because it allows you to control the amount of salt.

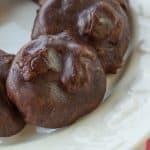
Addicting Butter Pecan Pancakes
Ingredients
- 1 cup pancake mix
- ½ cup butter pecan cake mix
- ½ cup butter melted
- 1 egg
- ½ cup chopped pecans
- honey *
Instructions
- In a large bowl mix together the pancake mix, butter pecan cake mix and make a well in the center.
- Next add the butter, egg, chopped pecans and mix until well combined.
- In a pan over medium high heat, add oil.
- On a medium low frying pan or griddle, pour the pancake mix and fry until golden brown
- Pour as much or as little on the honey on top and serve immediately.
Notes
Watch The Recipe Video!