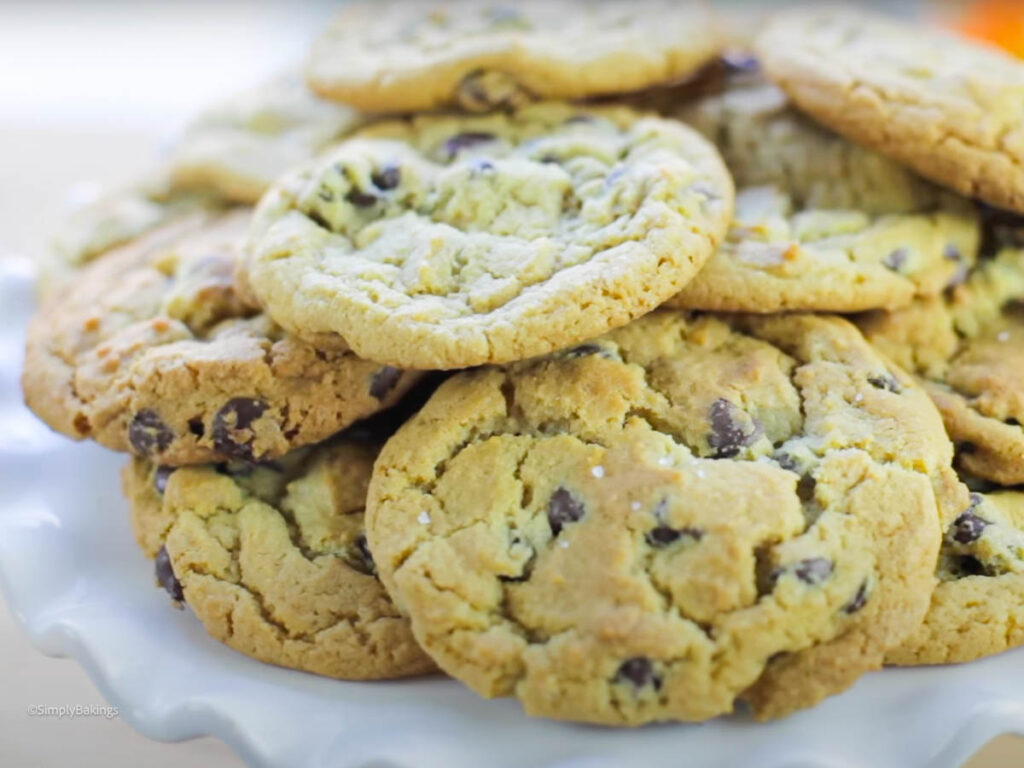
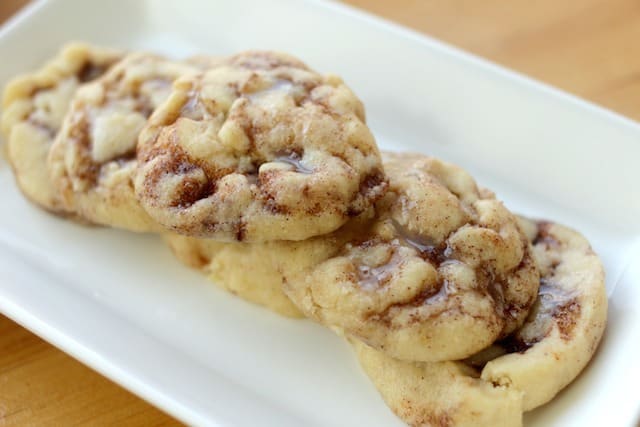
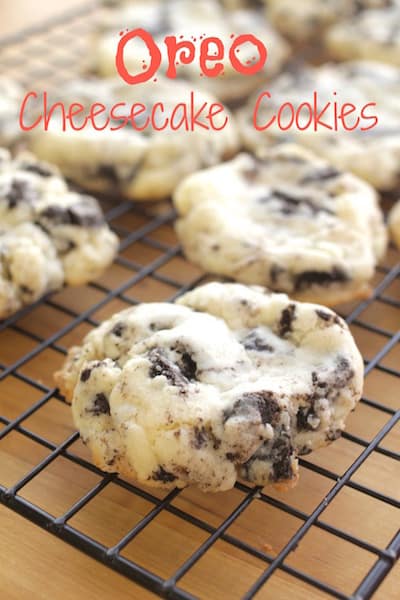
These Soft Oreo Cheesecake Cookies are an insanely easy and delicious treat! With just five simple ingredients, you can bake these soft treats that will wow anyone! No eggs, baking powder and baking soda needed.
Love cookies? Try the fan favorites: Amazing Chocolate Hazelnut Cookies, Quick & Easy Cranberry Chip Cookies, or Coffee Mint Cookies (Coffee Addicts will love this cookie).

Substitutions
- Try using different flavors of Oreos, like Golden Oreos or Mint Oreos, for a fun variation.
- Replace all-purpose flour with a gluten-free flour blend. Just make sure it’s one that can be used as a 1:1 replacement.
- You can use vegan cream cheese. I personally have not tried it, but if it does have a lot of fat content it should work.
Variations
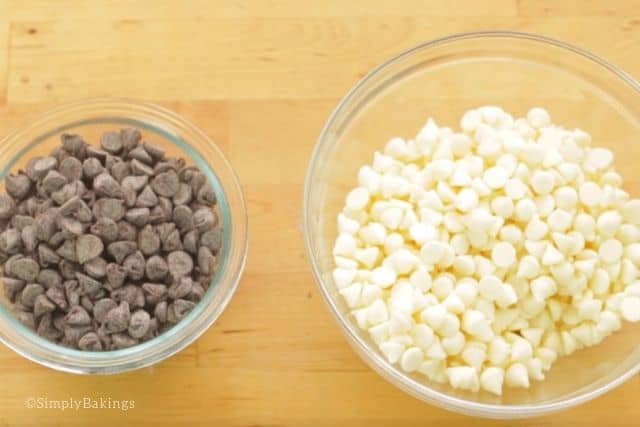
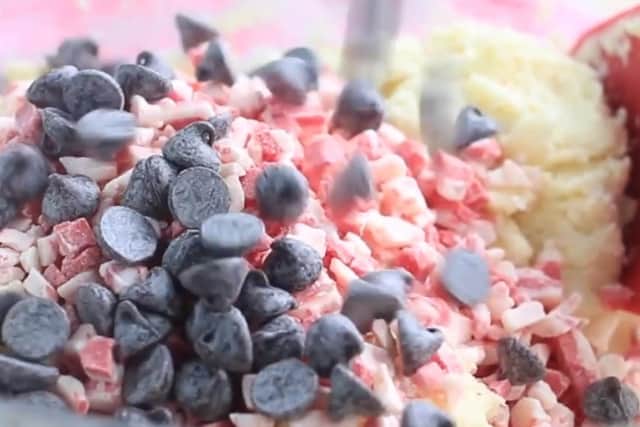
- Cookie variations: After you add in the Oreos, you can also include chopped white chocolate, or candy cane if you are baking this delicious treat during Christmas time.
- For an extra chocolatey twist, add a handful of white chocolate chips to the dough.
- Add vanilla extract for a warm, comforting flavor, and sprinkle the cookies with salt.
Storage
- These cookies can be stored in an airtight container at room temperature for up to 5 days.
- If you want to keep them longer, you can freeze the baked cookies for up to 3 months. Just make sure they are completely cool before freezing, and place a sheet of parchment paper between layers to prevent them from sticking together.
Top Tips
- Cream Cheese: Don't skimp out on the cream cheese, use the regular version. It makes the cookies so soft & chewy!
- If you want uniformed cookies, use a kitchen scale to weigh the doughs or a cookie scooper, and here's my favorite one I've been using for years!
- Be sure to scrape the sides of the bowl to collect any leftover dough for an extra cookie or two.
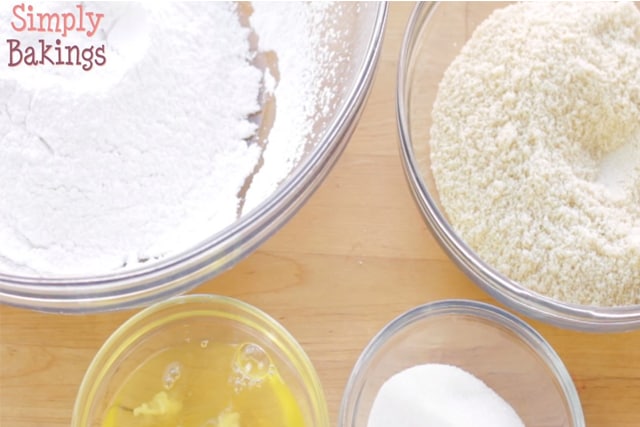
Ingredients
Listed below are all the ingredients you will need:
- cream cheese
- unsalted butter
- granulated sugar
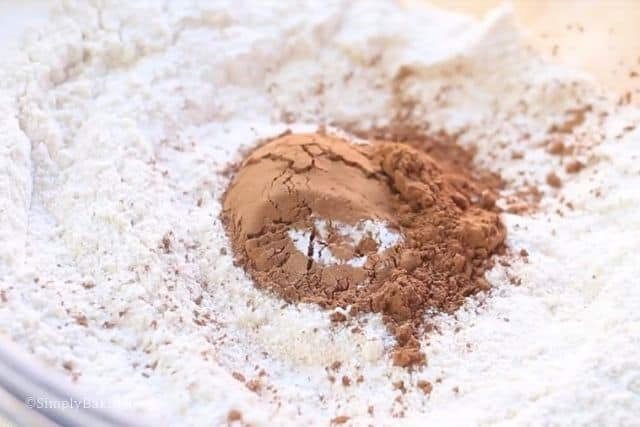
- all-purpose flour
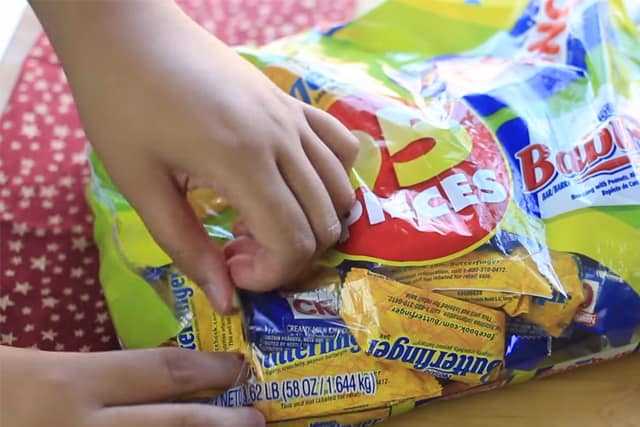
- Oreo cookies
Instructions
Line the baking pan with parchment paper or a non-stick baking mat.
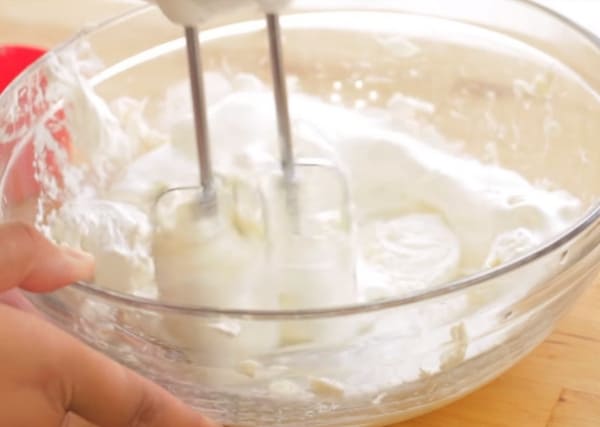
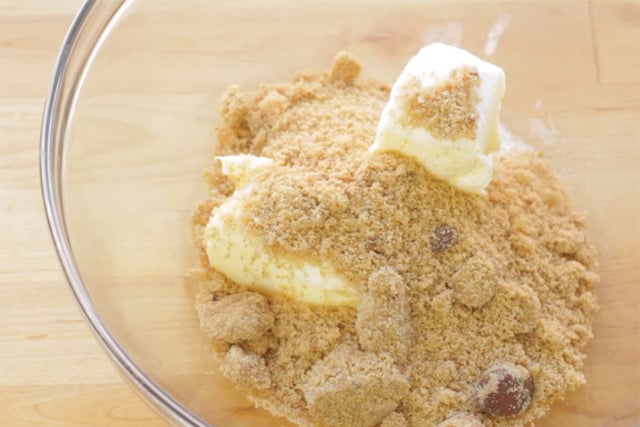
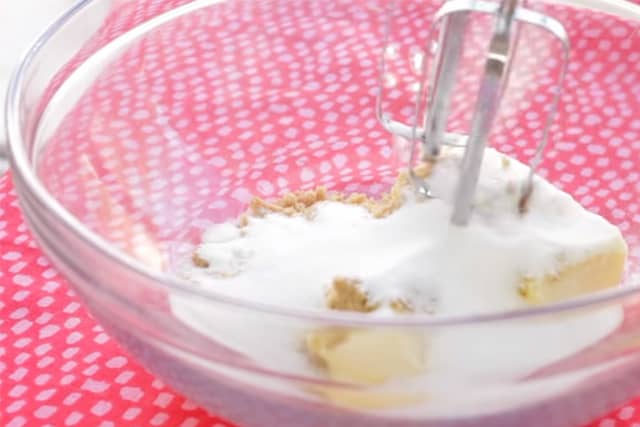
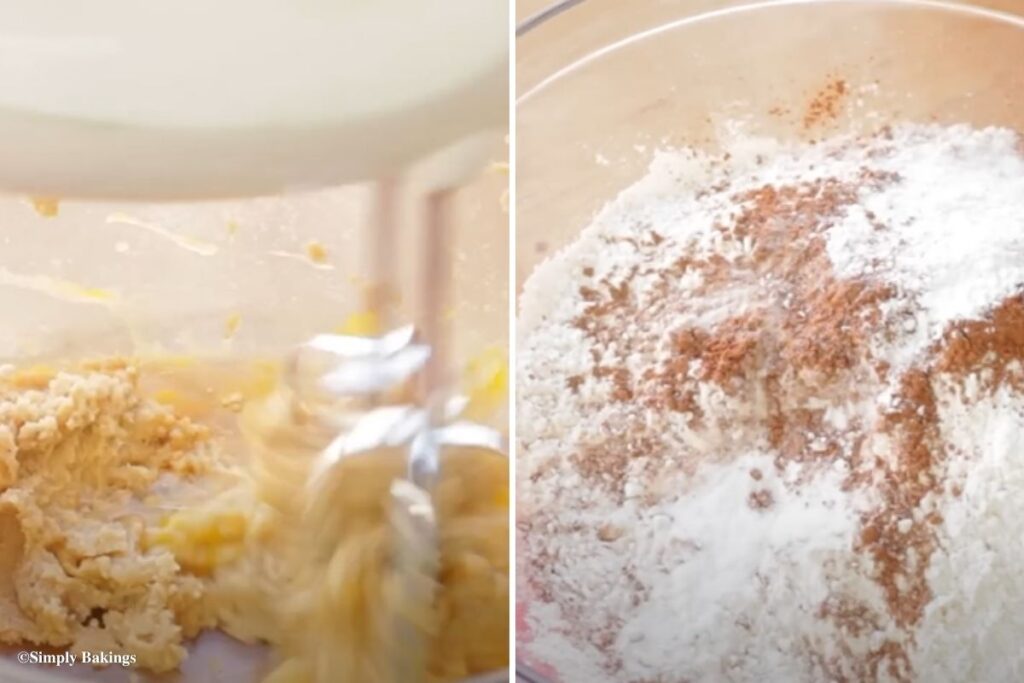
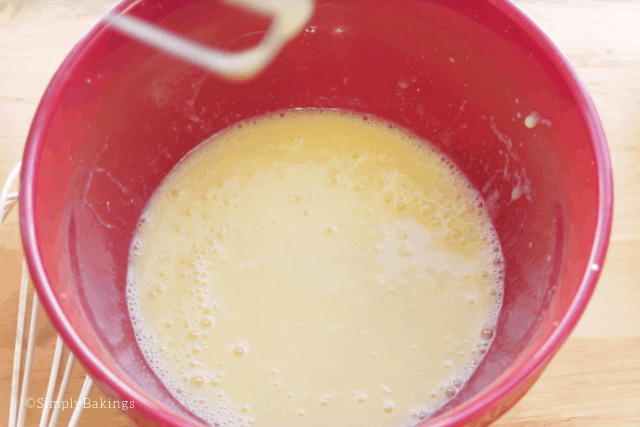
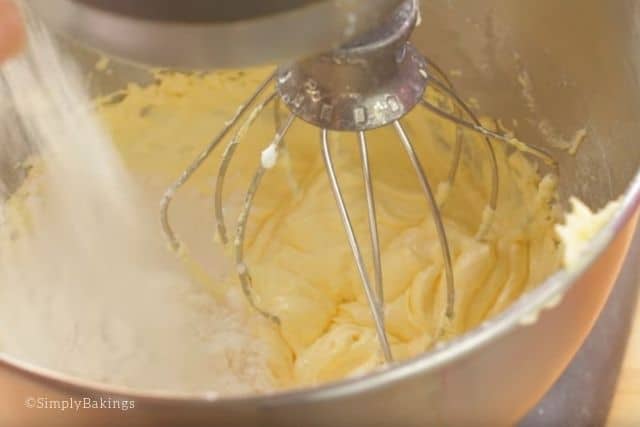
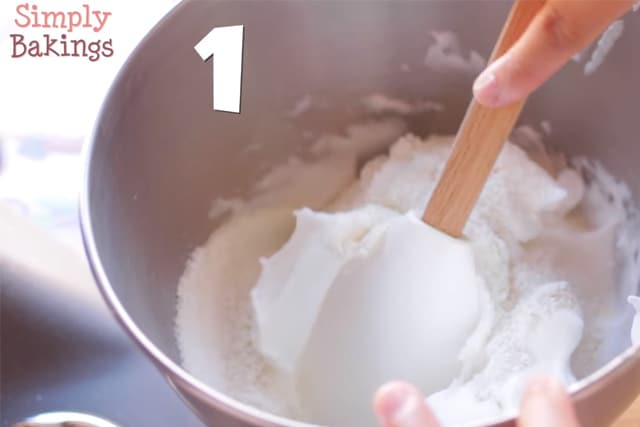
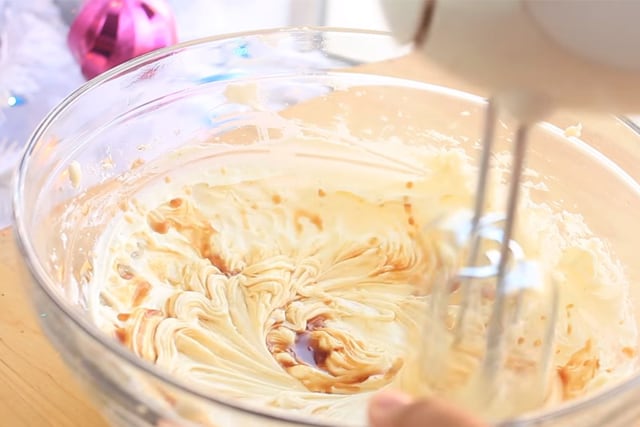
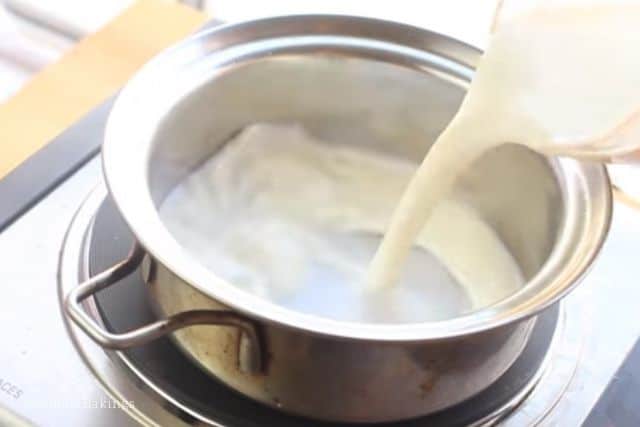
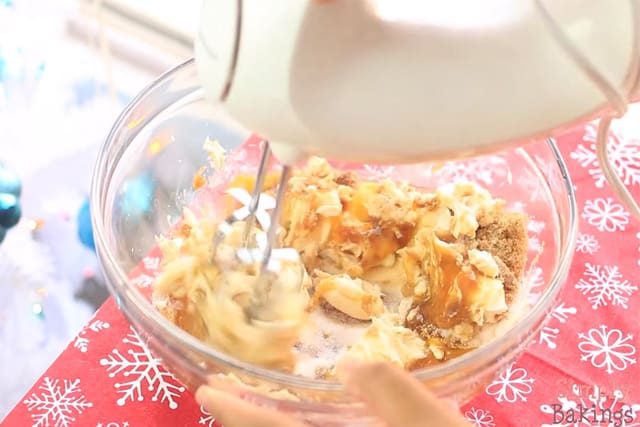
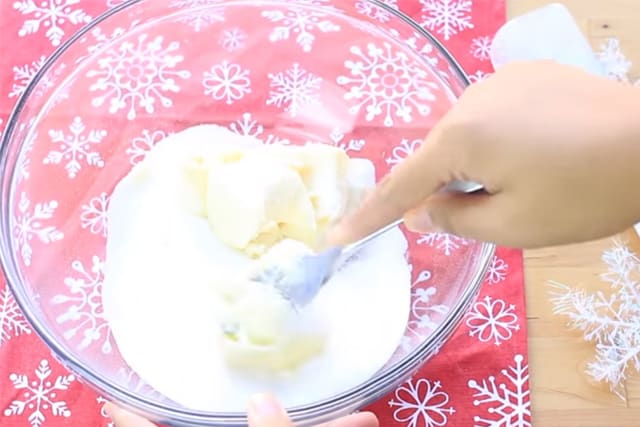
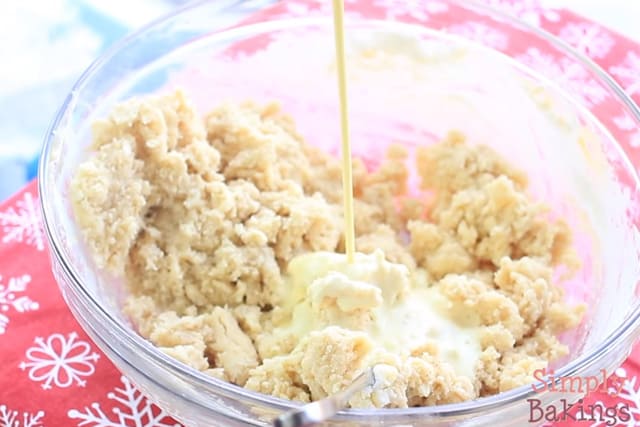
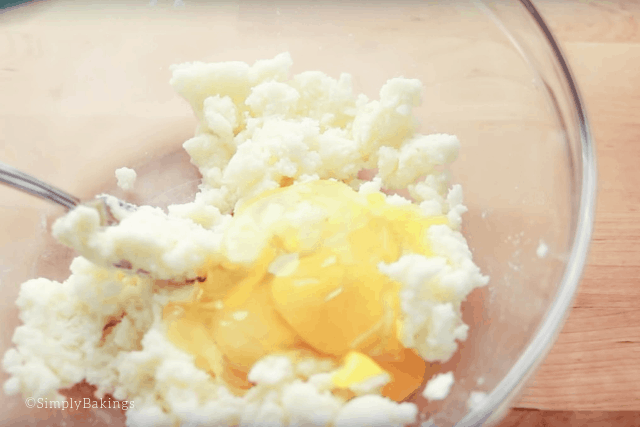
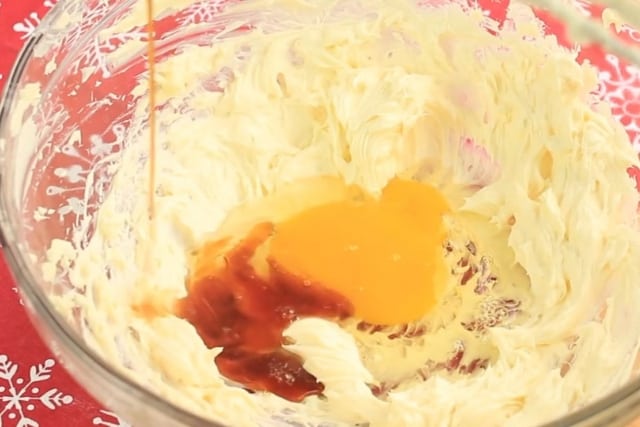
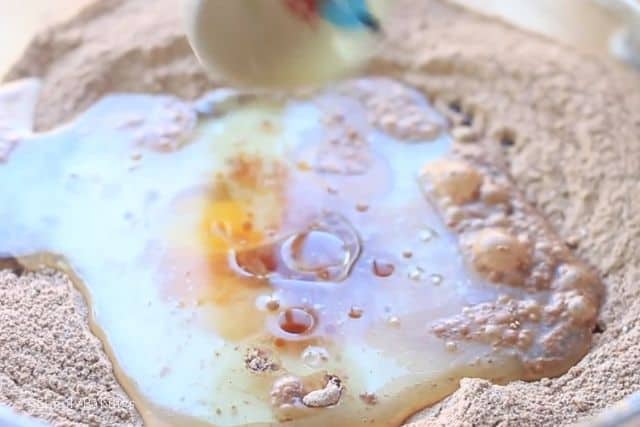
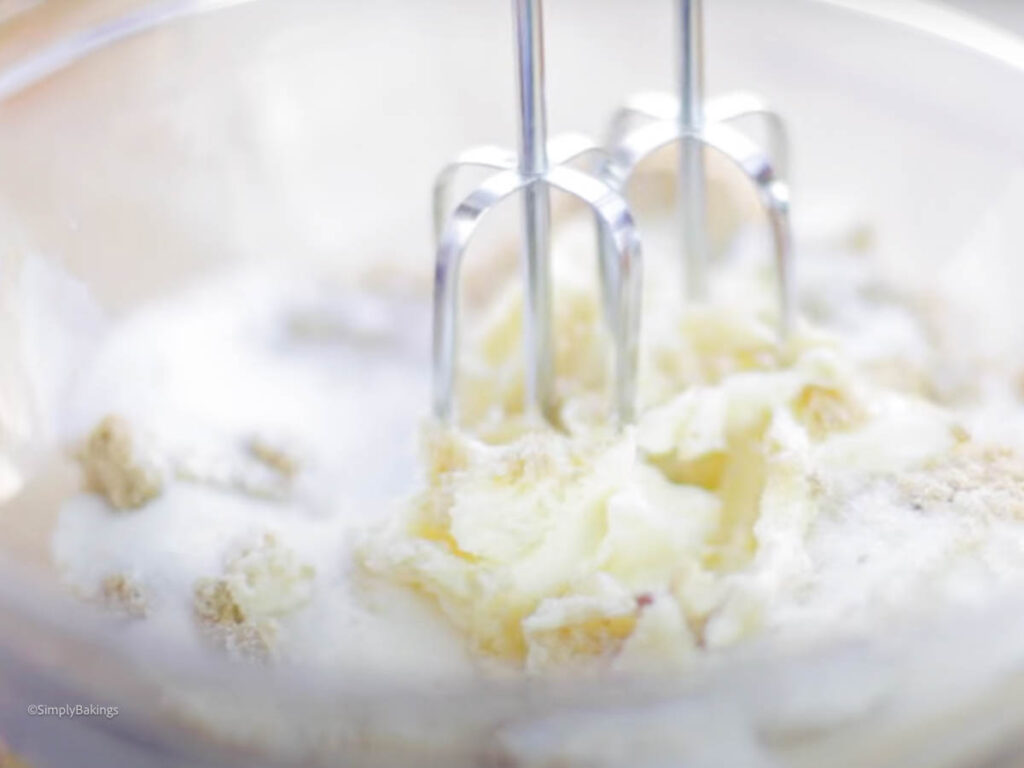
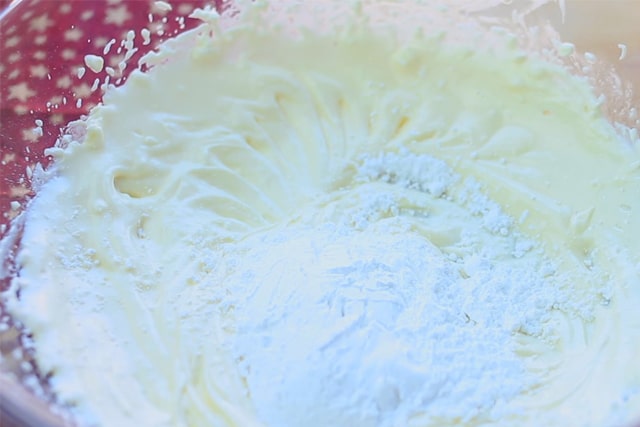
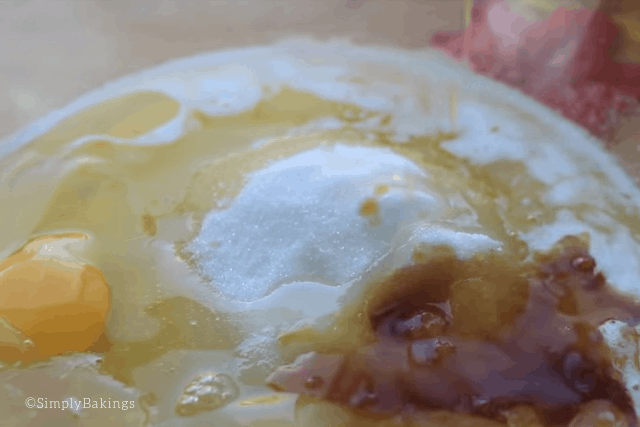
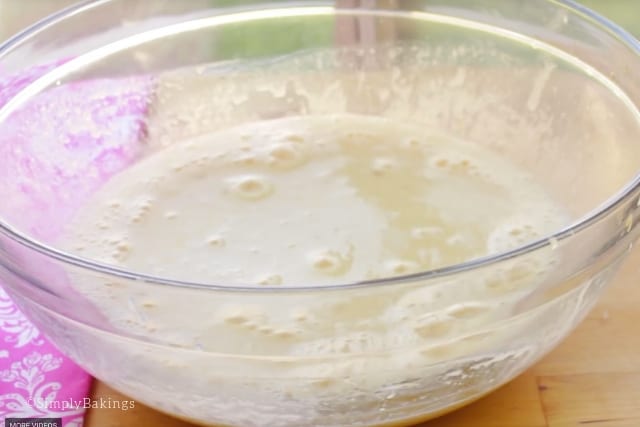
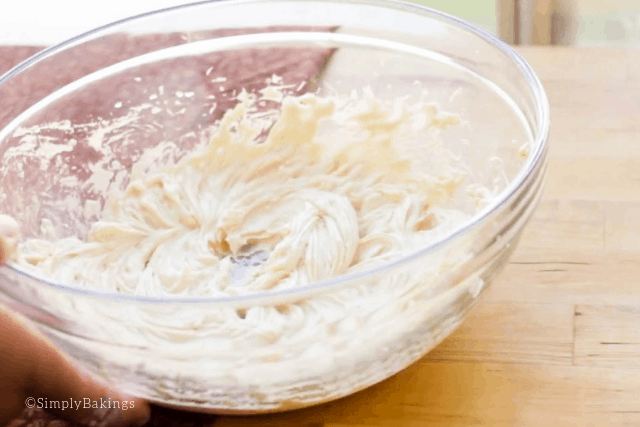
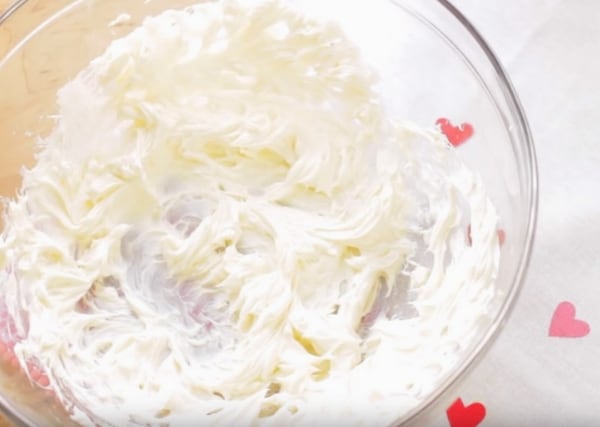
In a large mixing bowl, beat cream cheese, then beat in softened butter:

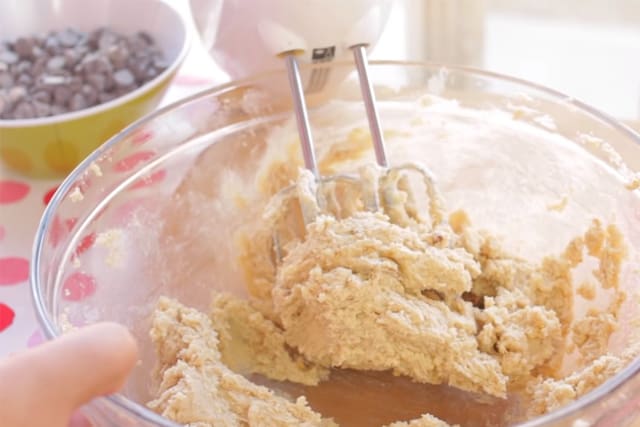
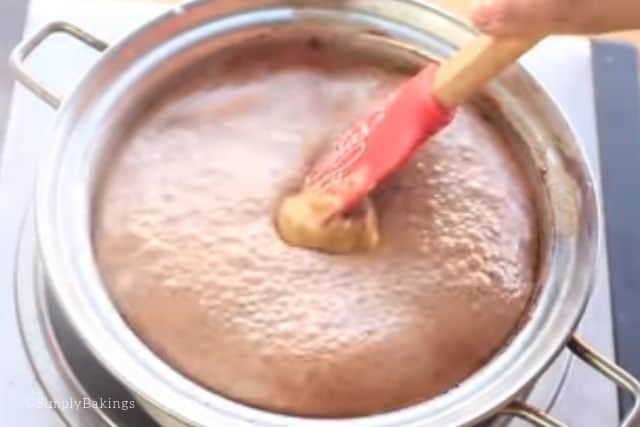
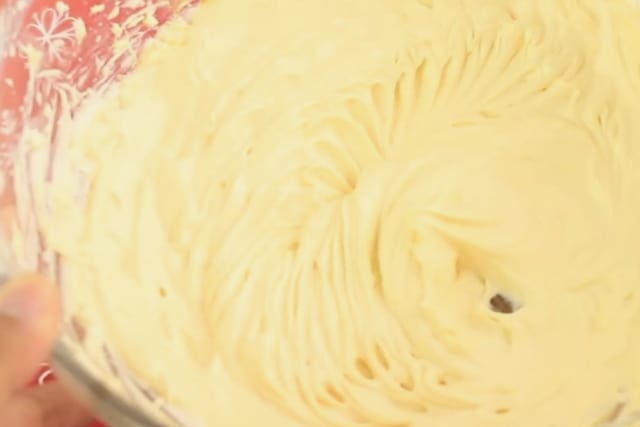
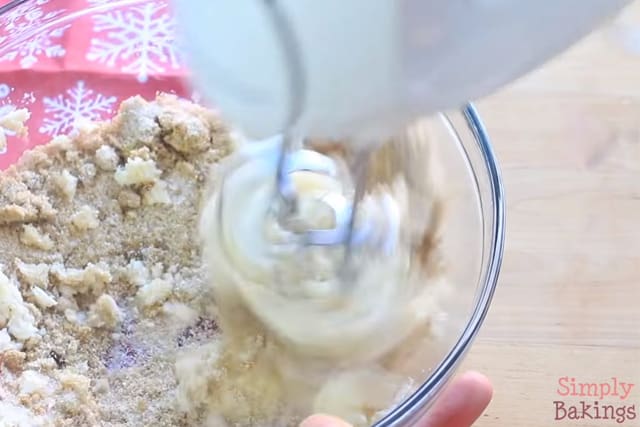
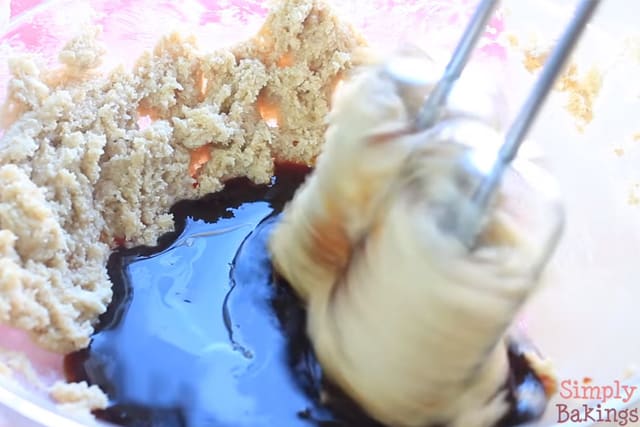
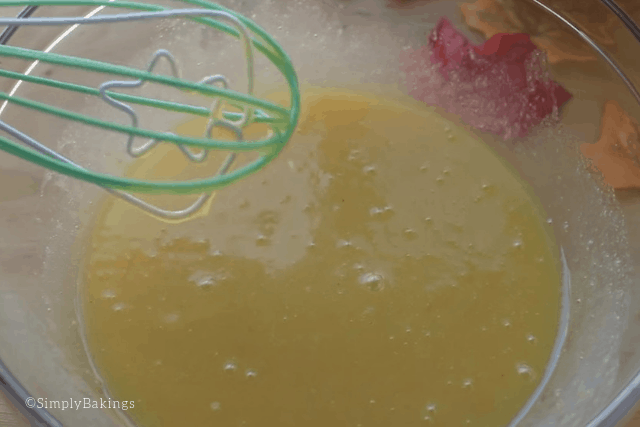
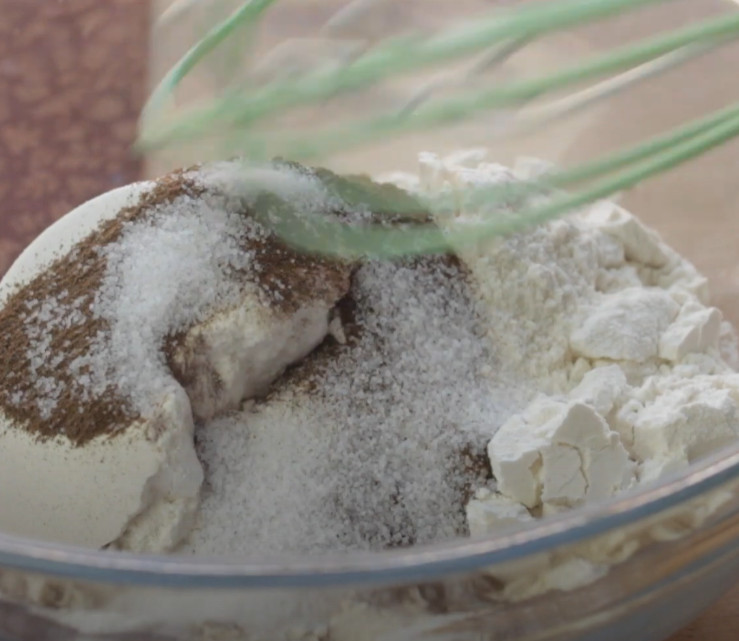
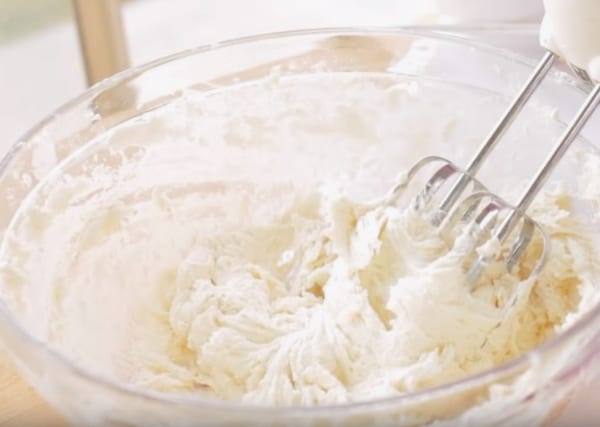
After you have the cream cheese softened, add sugar and mix until light and fluffy:
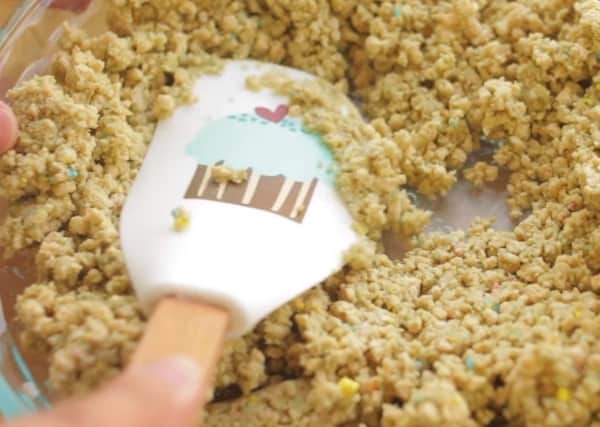
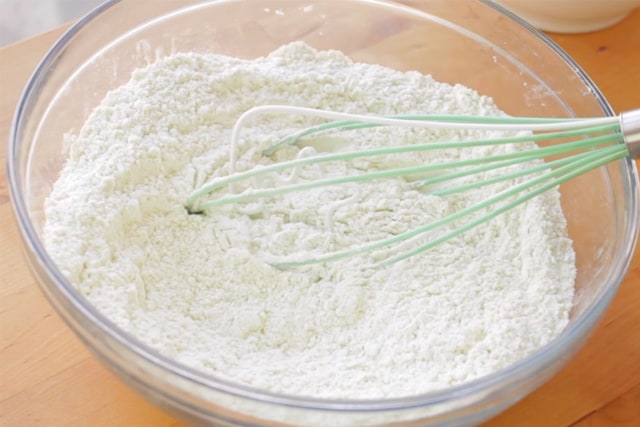
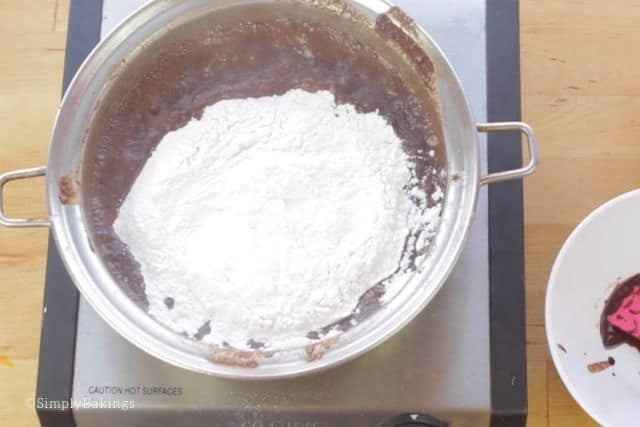
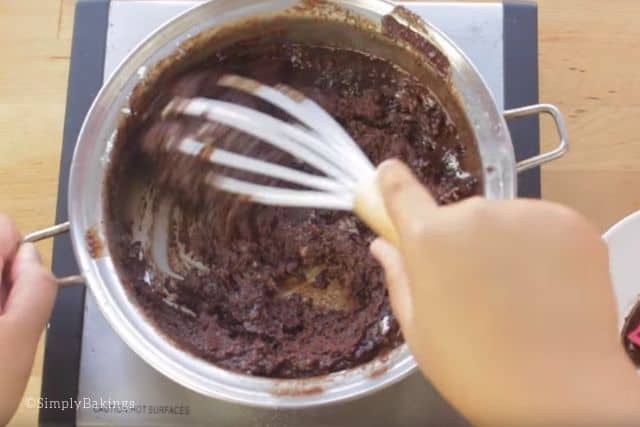
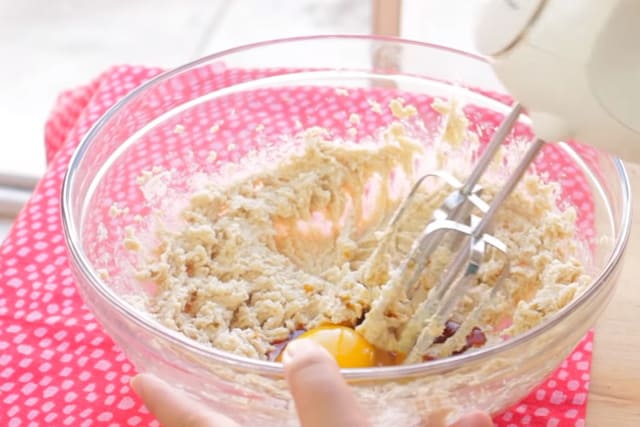
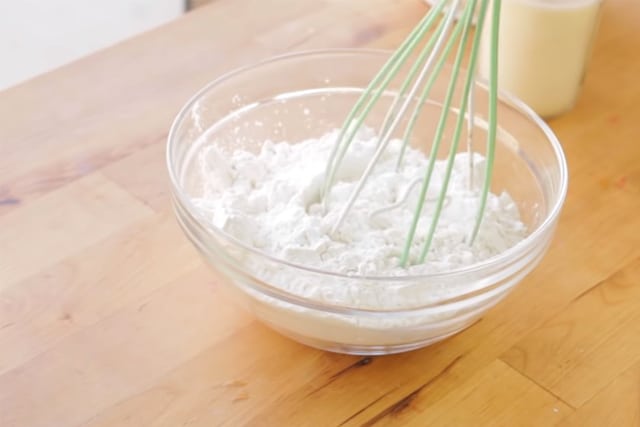
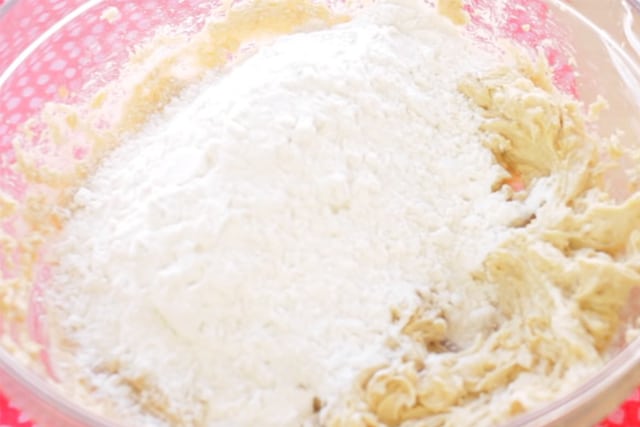
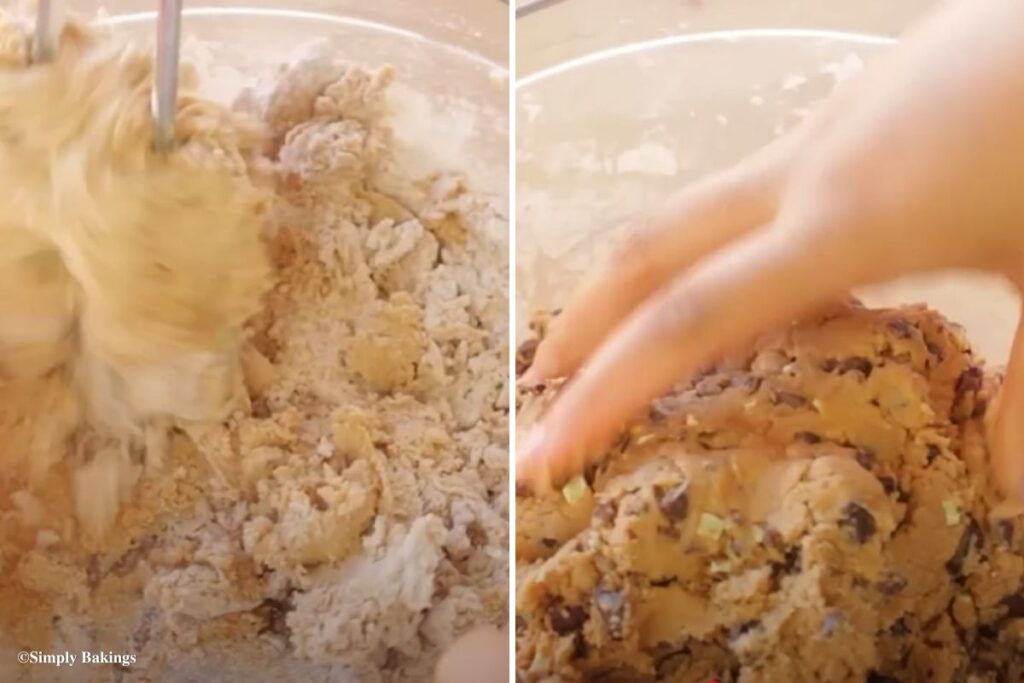
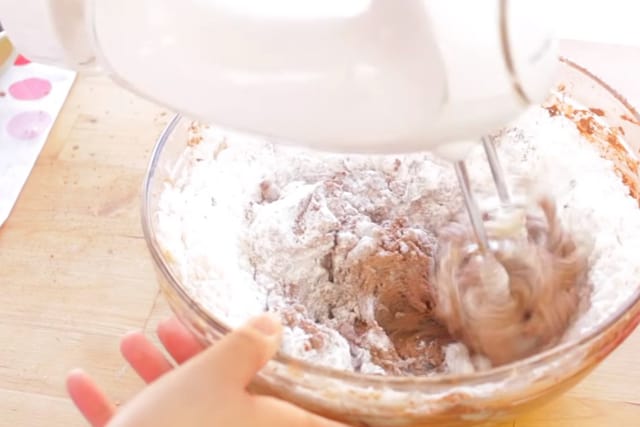
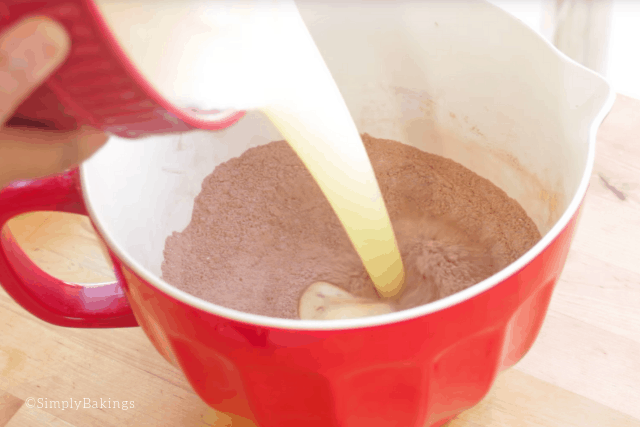
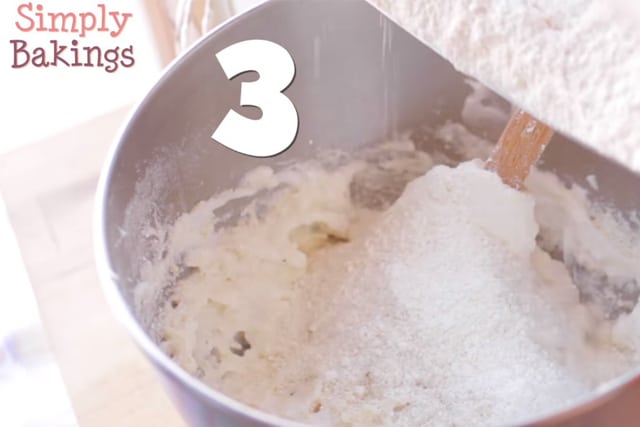
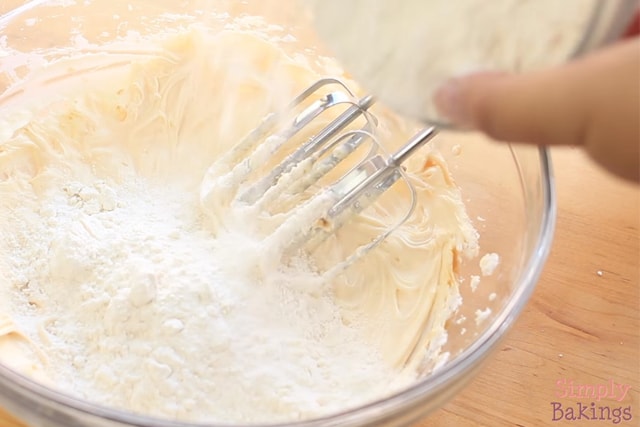
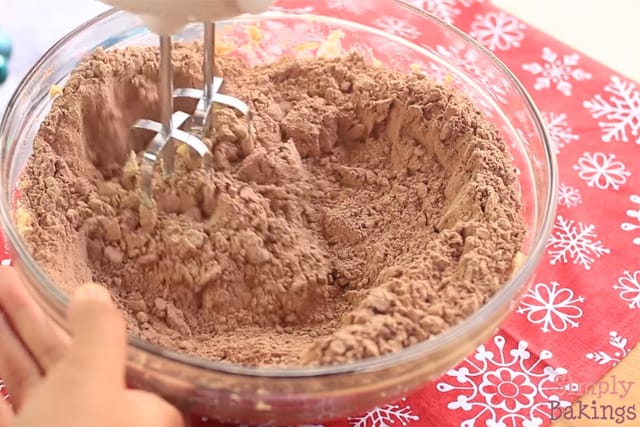
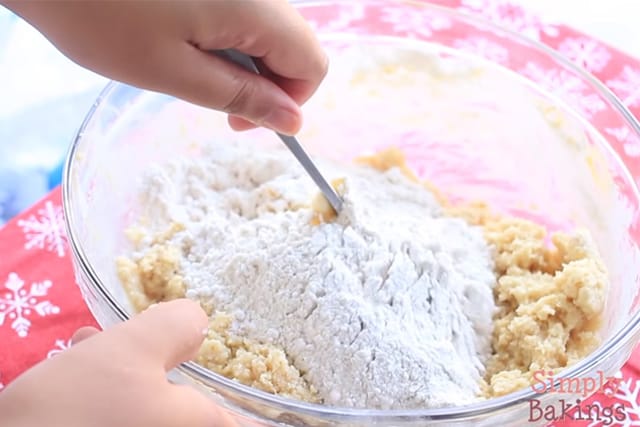
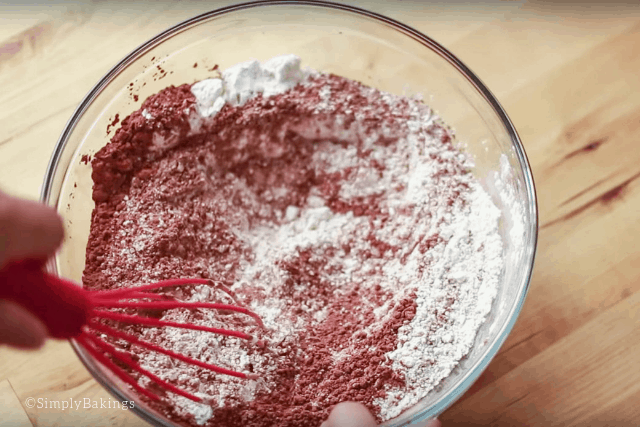
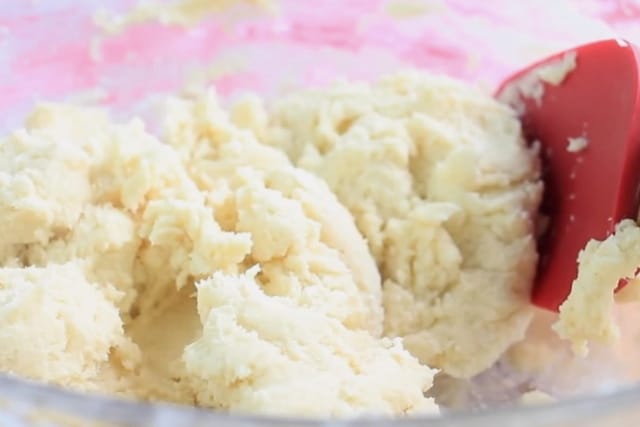
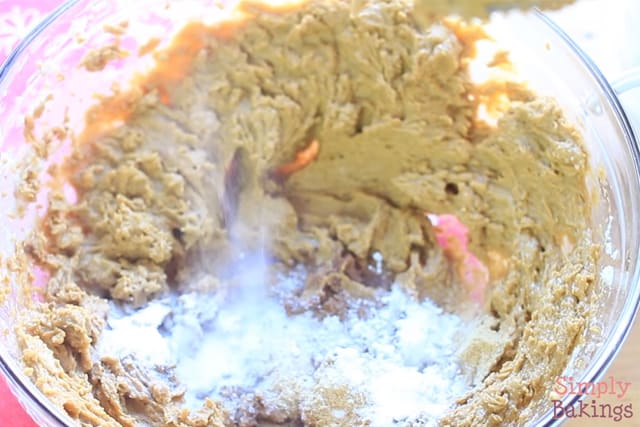
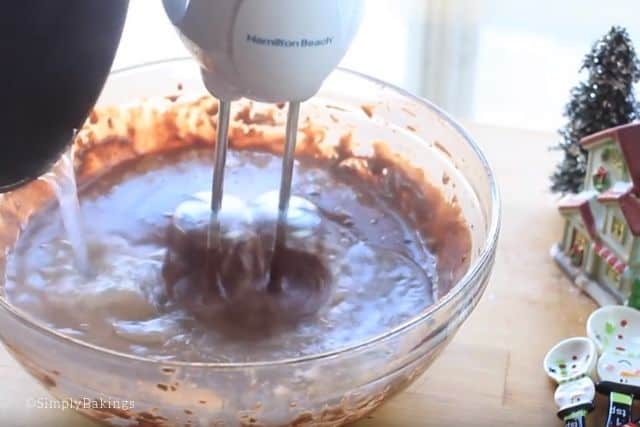
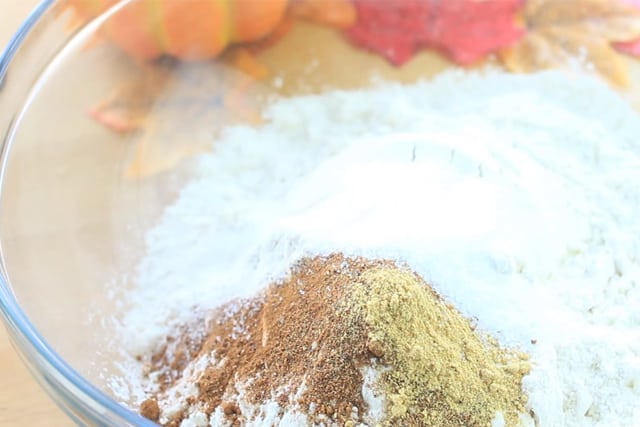
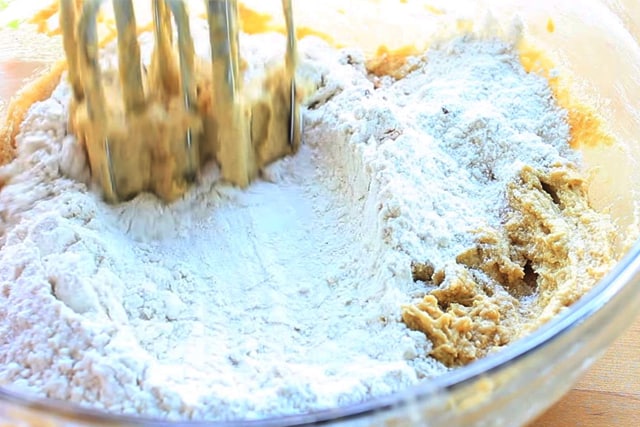
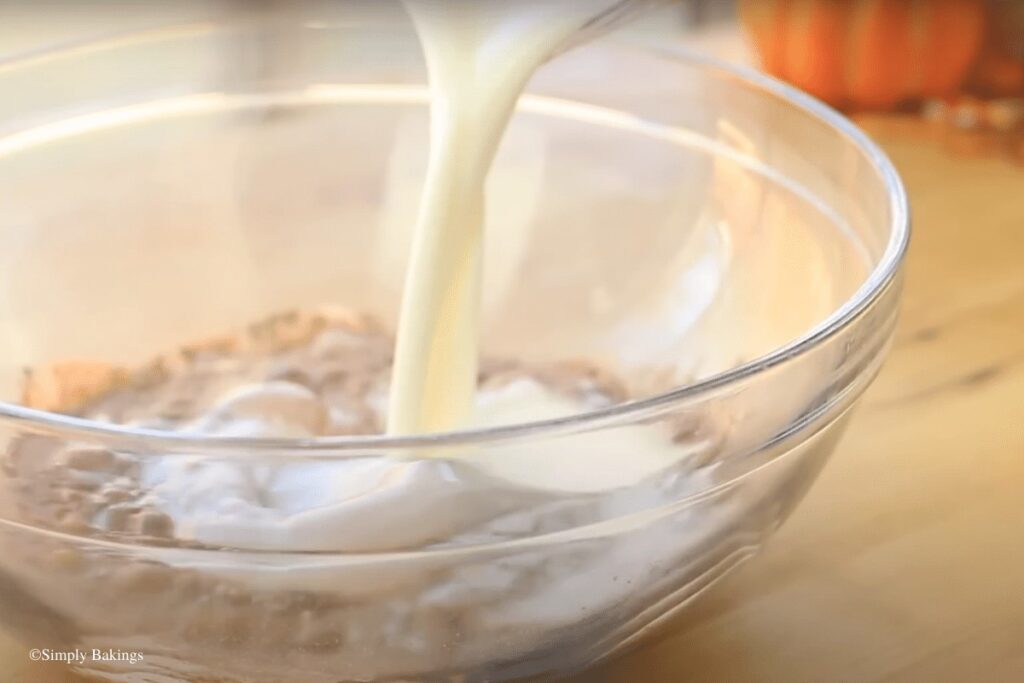
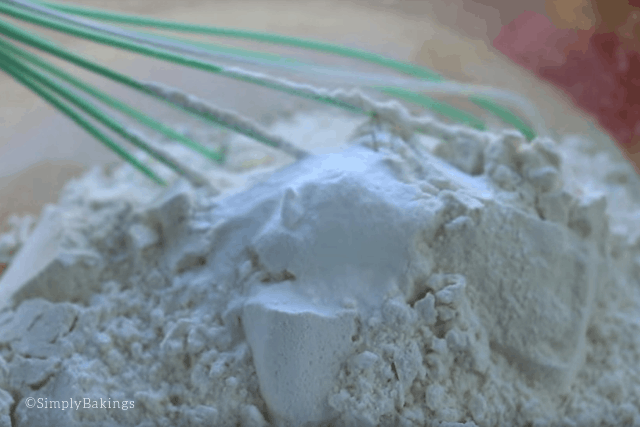
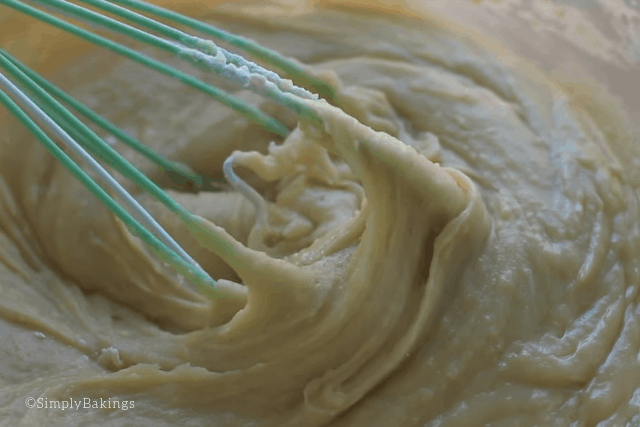
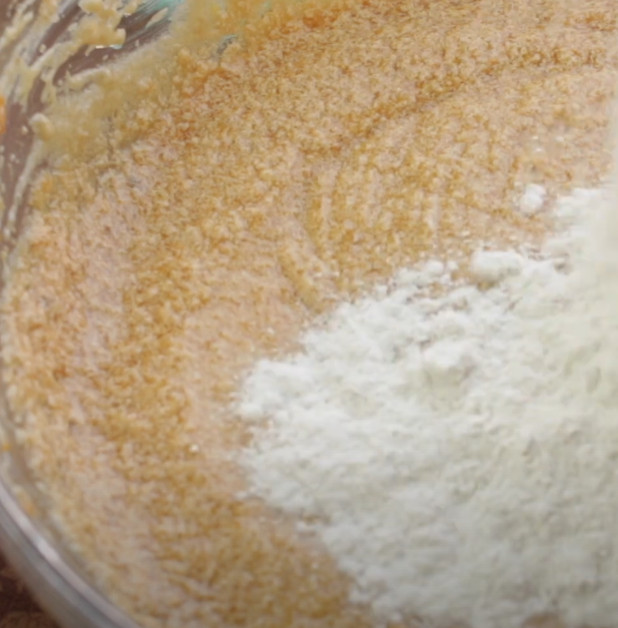
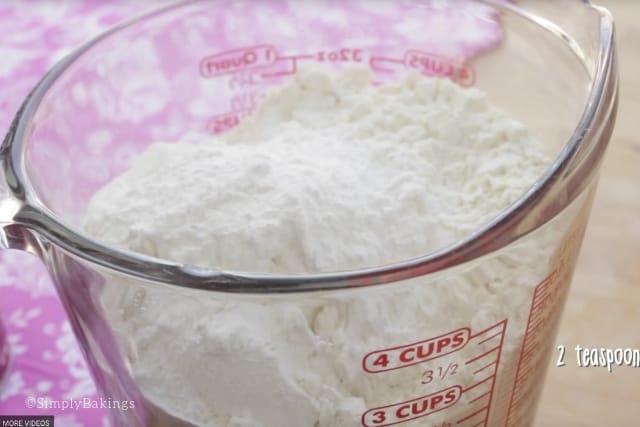
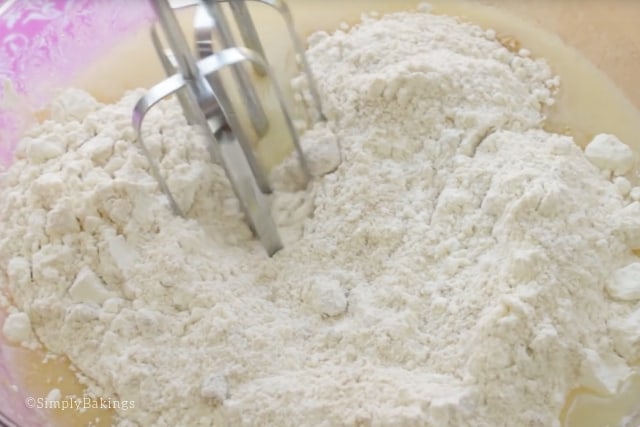
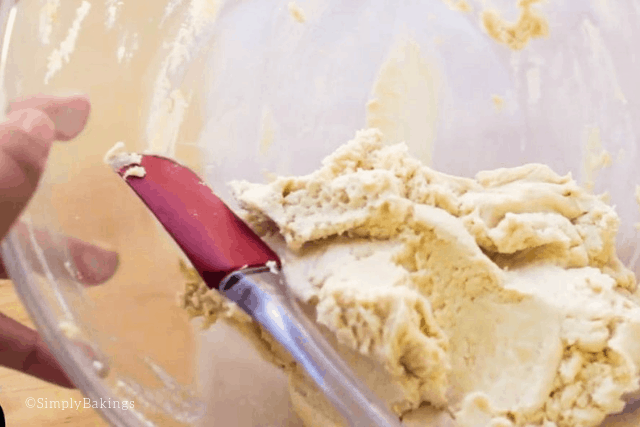
Add flour gradually and mix until well combined. At this part, the cookie dough gets a bit tough to mix manually, so I recommend you use an electric mixer like the hand mixer or stand mixer in medium speed:
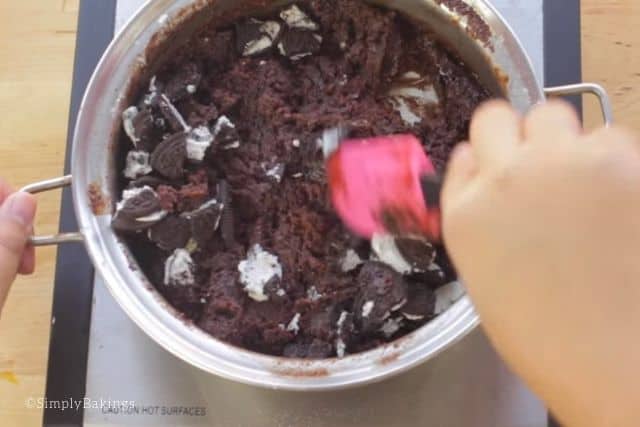
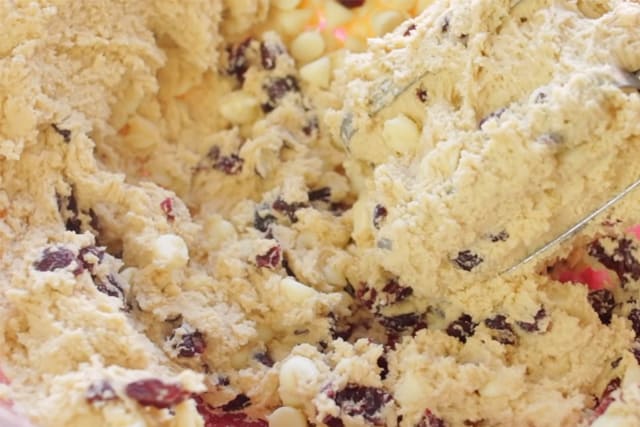
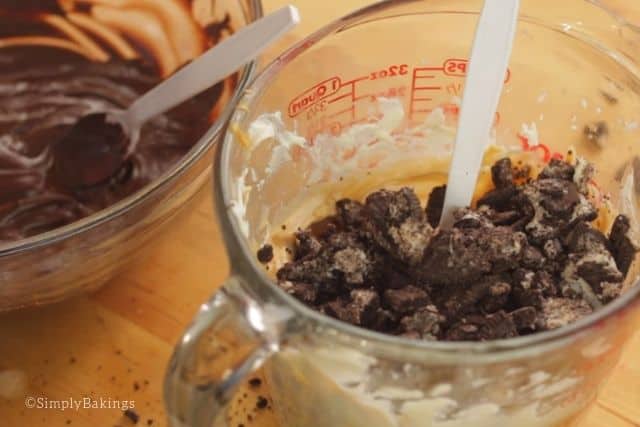
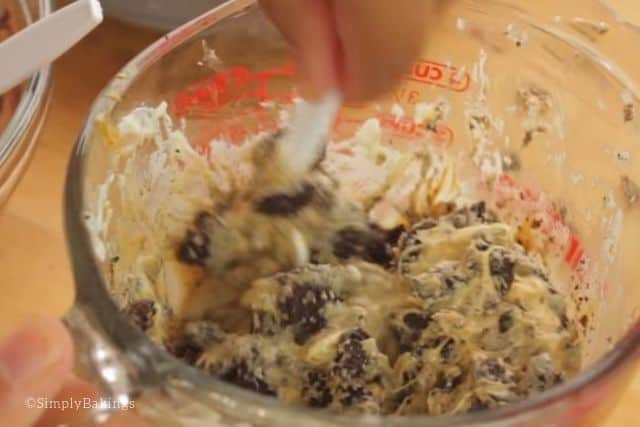
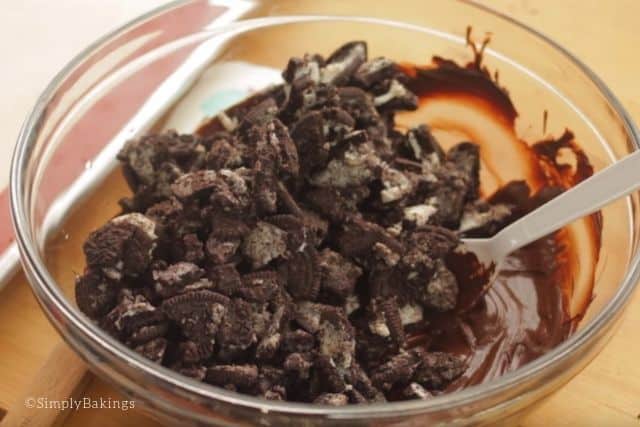
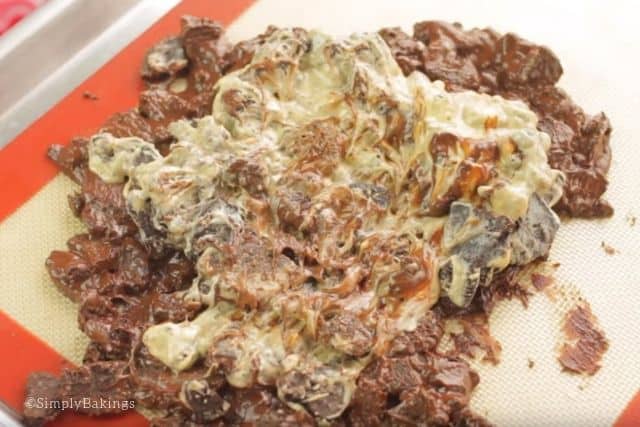
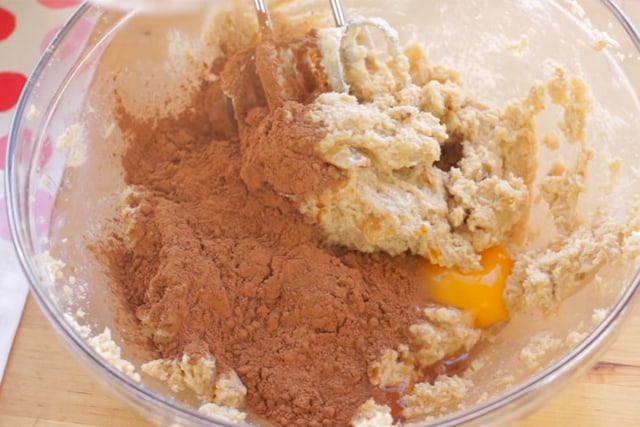
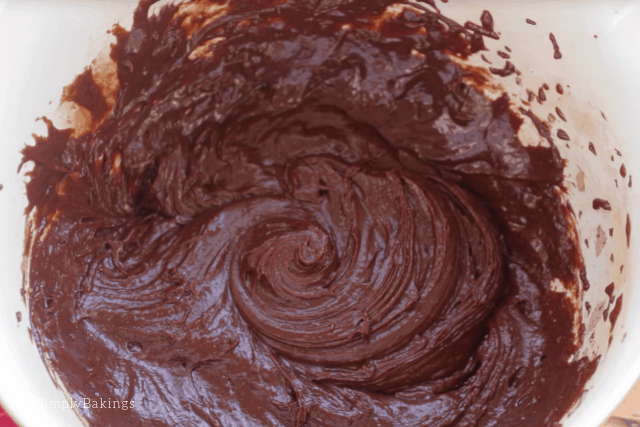
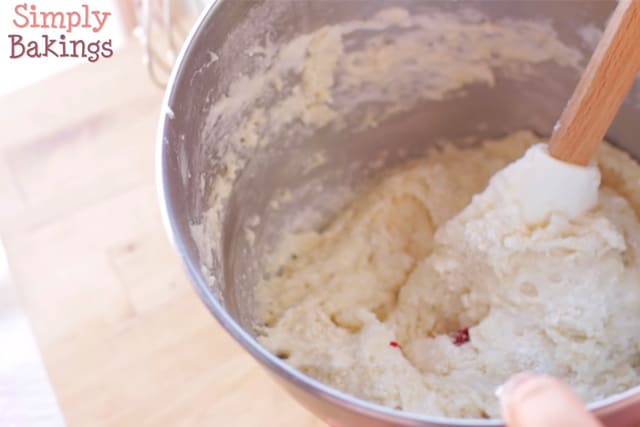
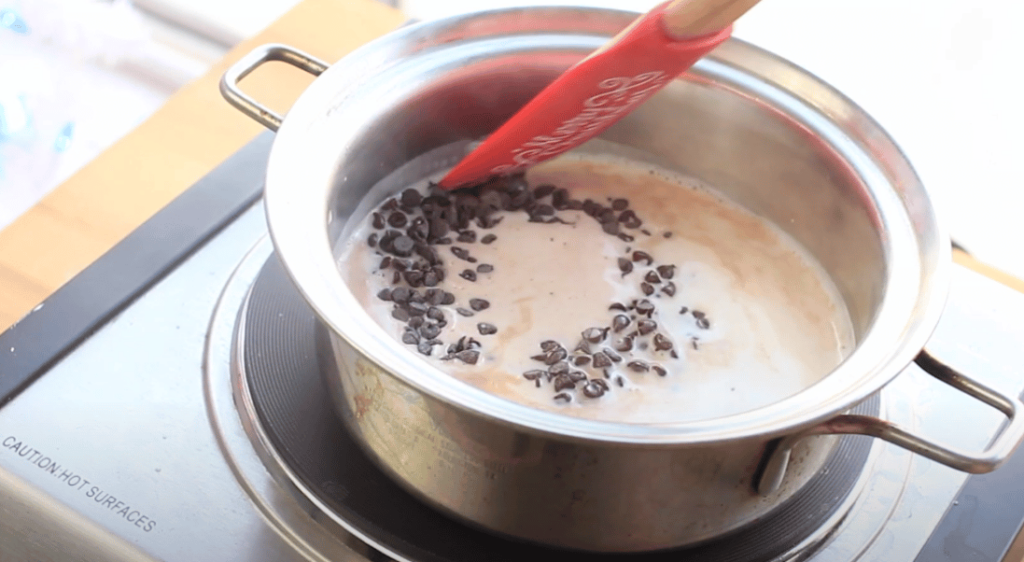
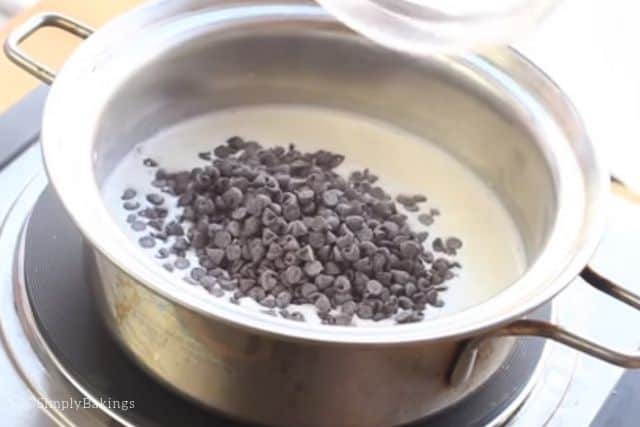
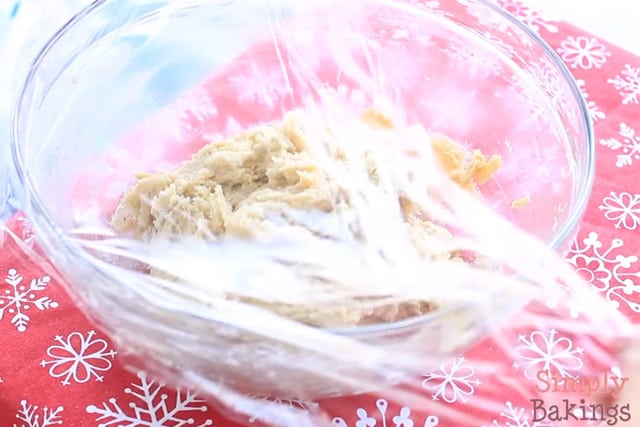
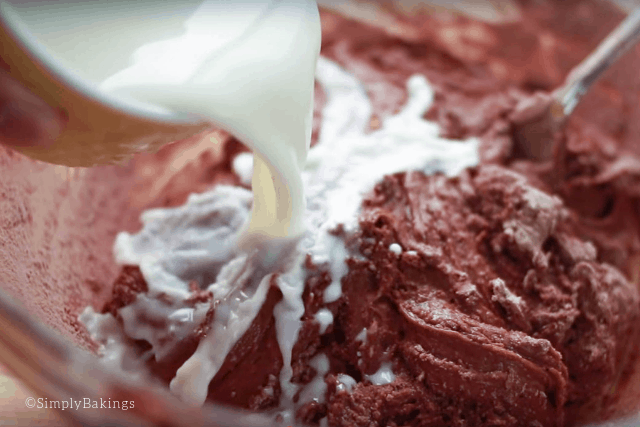
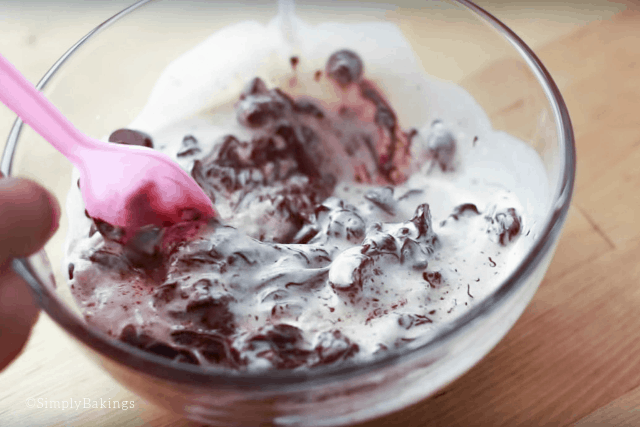
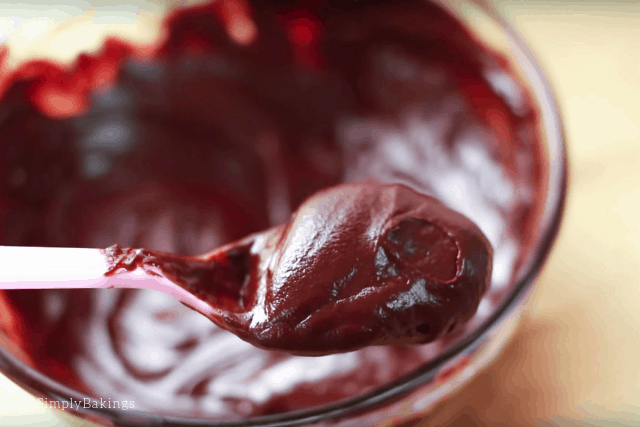
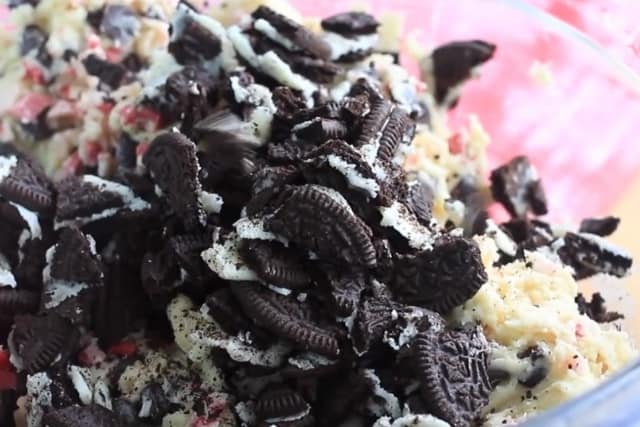
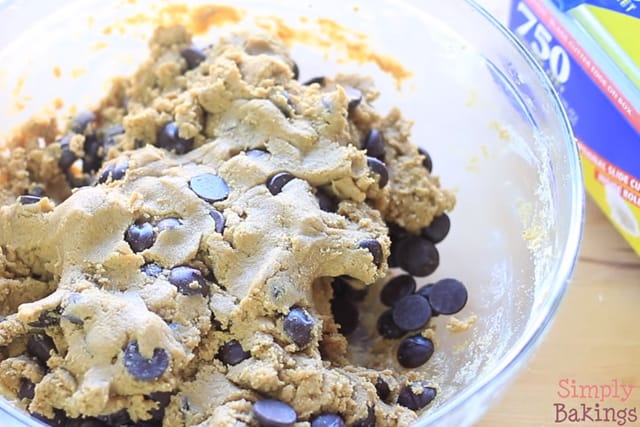
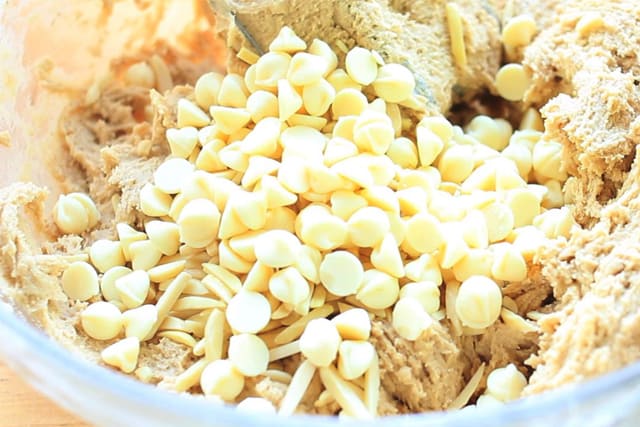
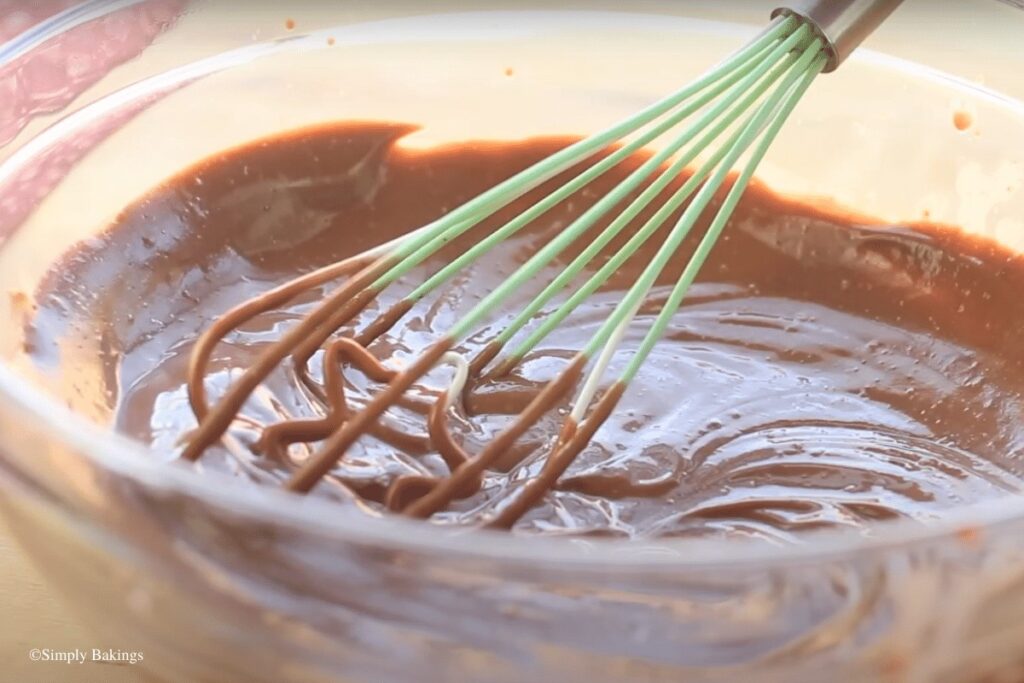
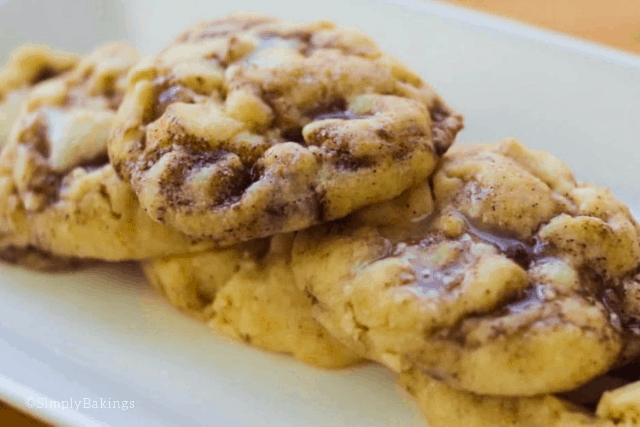
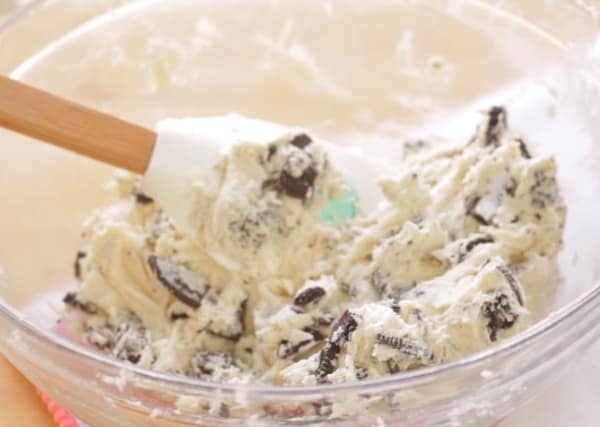
Fold in the Oreo cookie crumbs:
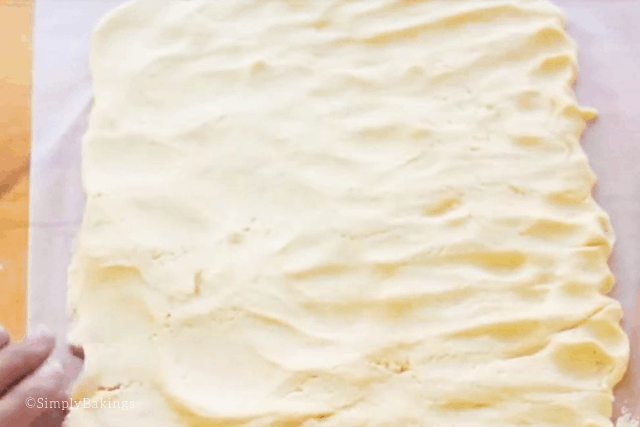
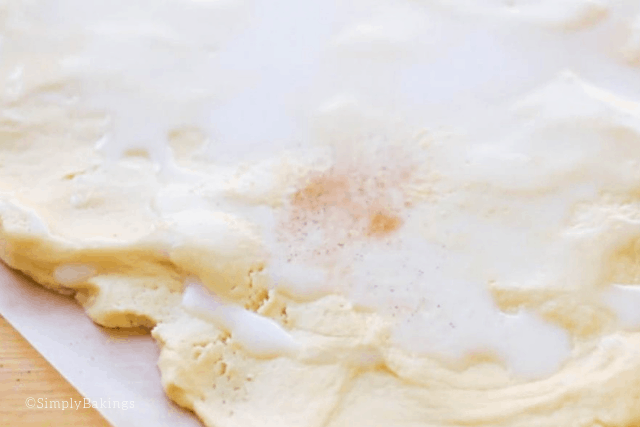
Cover bowl with saran wrap and place in the refrigerator for 1 hour or best overnight:

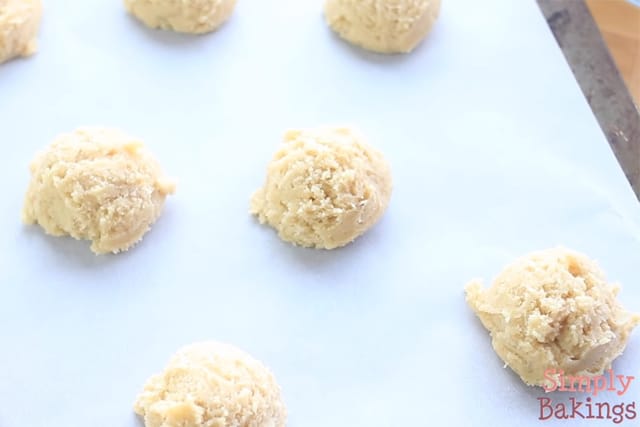
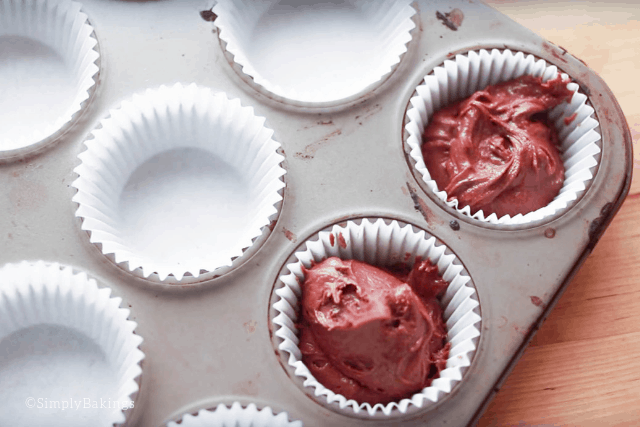
Preheat oven to 350F, line baking sheet with parchment paper or baking mat.
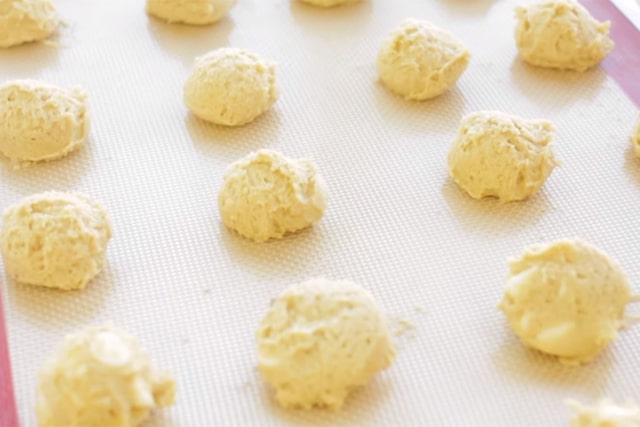
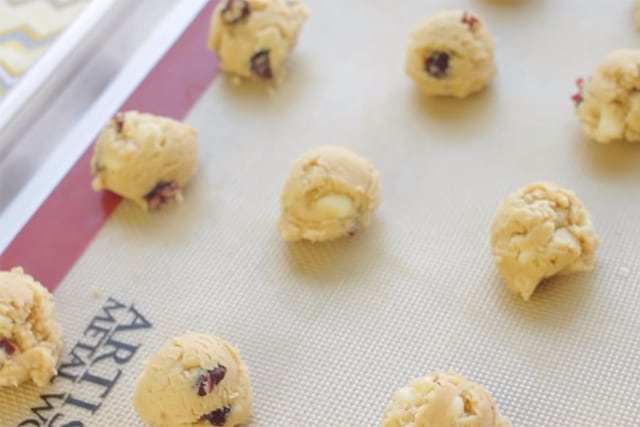
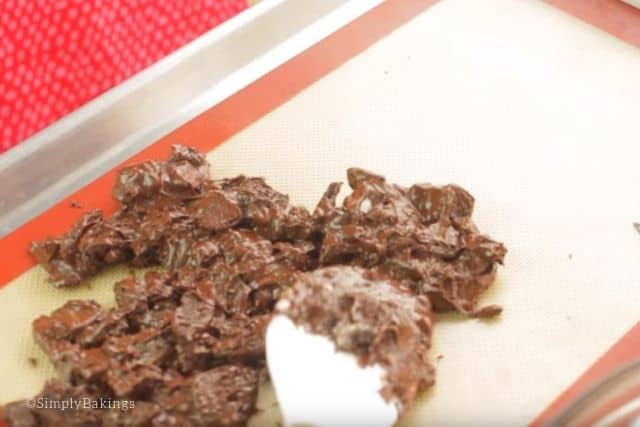
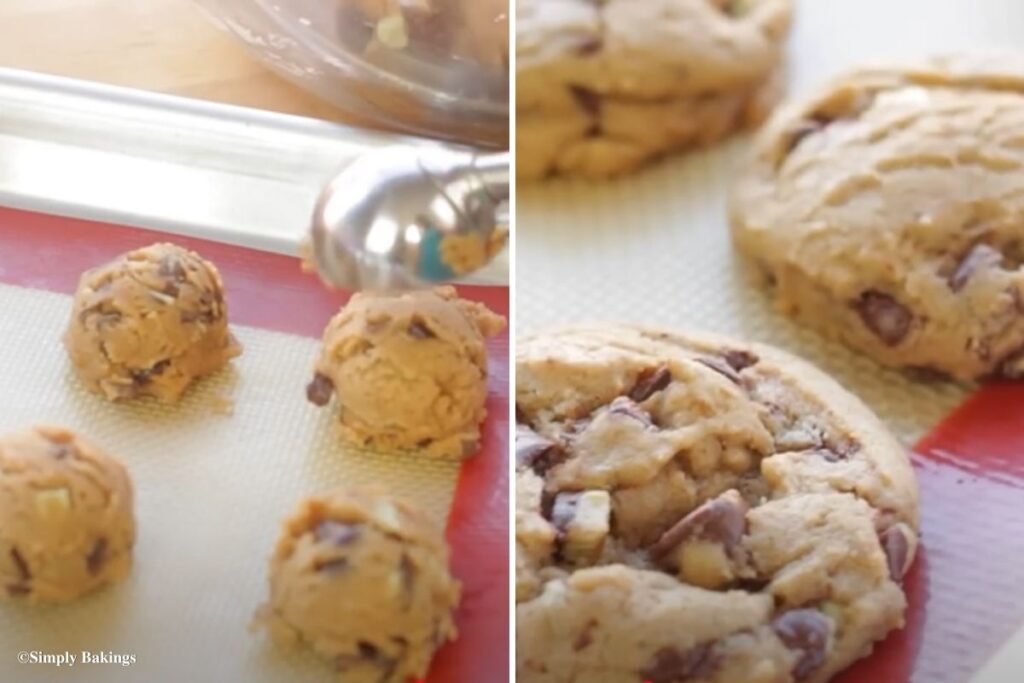
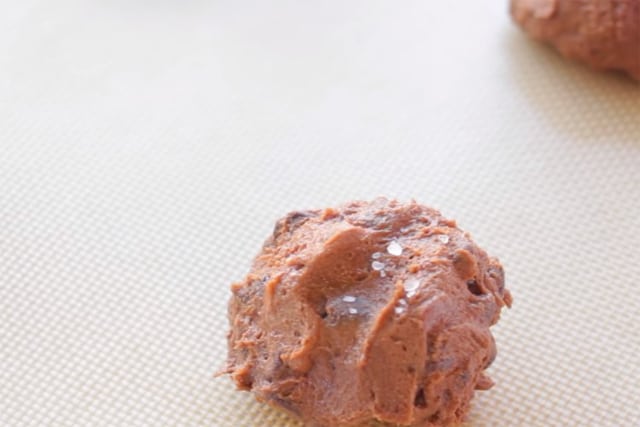
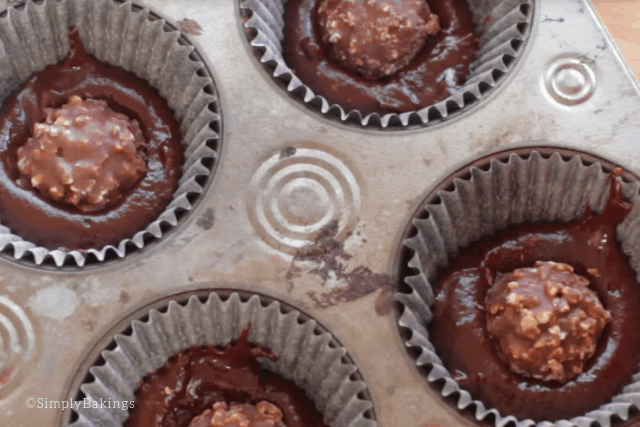
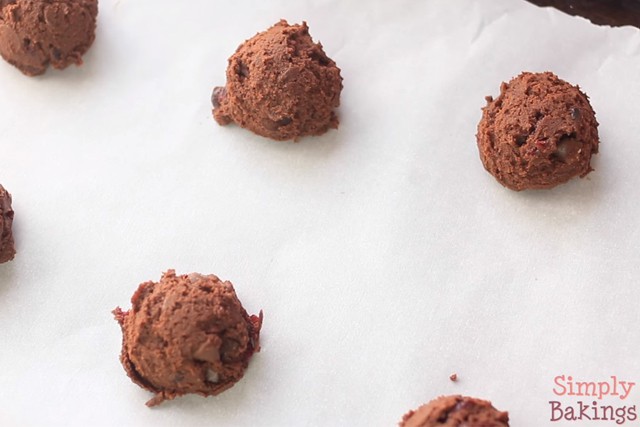
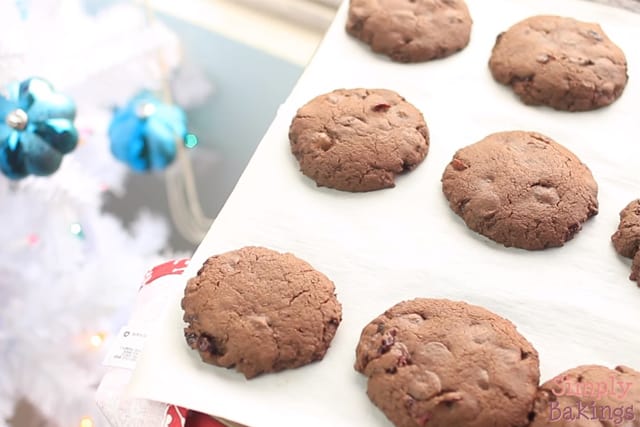
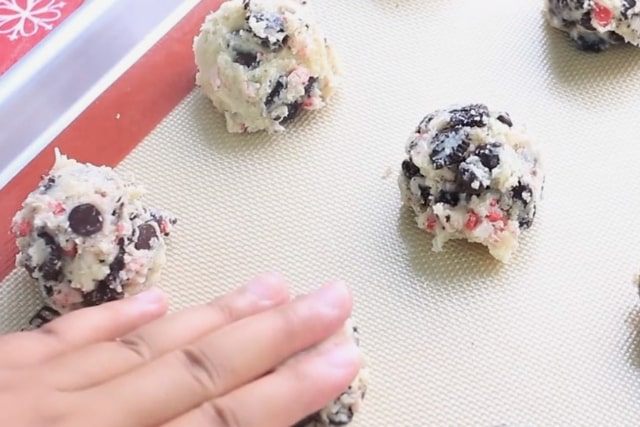
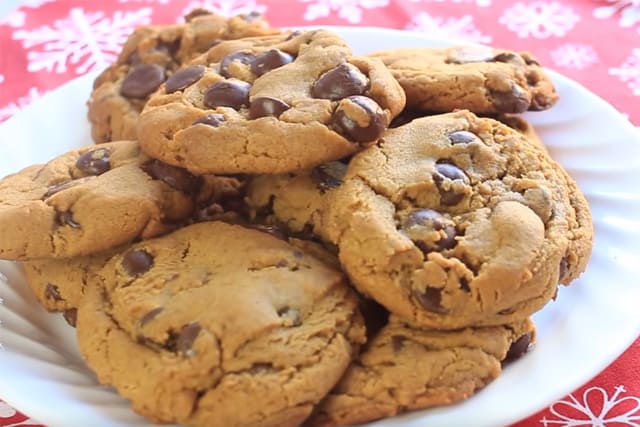
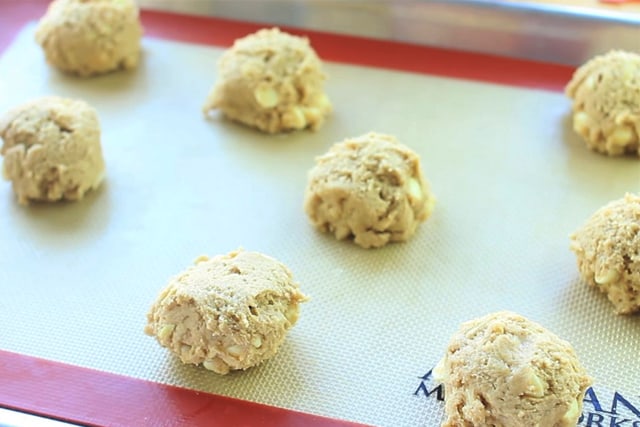
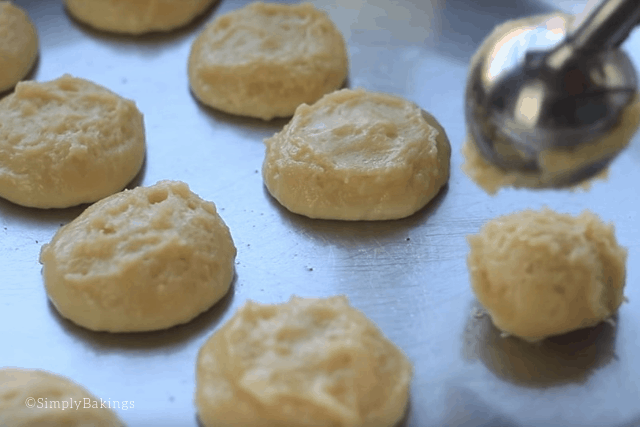
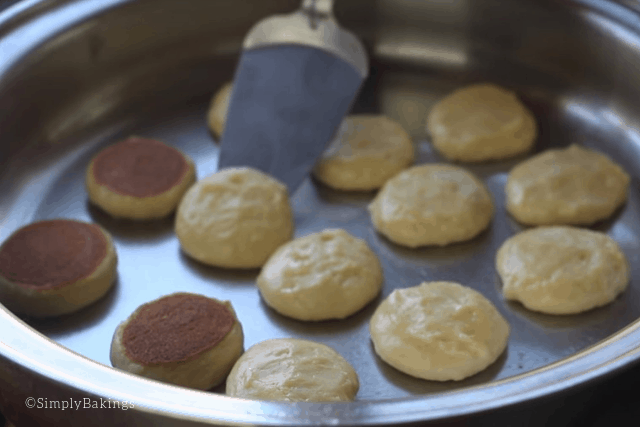
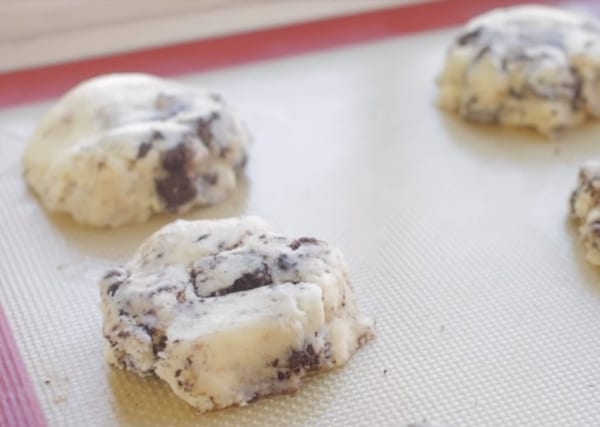
Make cookie dough balls onto mat using a cookie scoop and kind of flatten them with your palm and bake for 12-15 minutes or until the edges are golden :
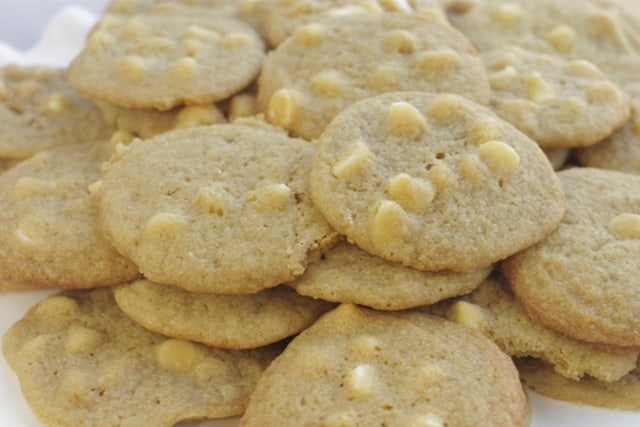
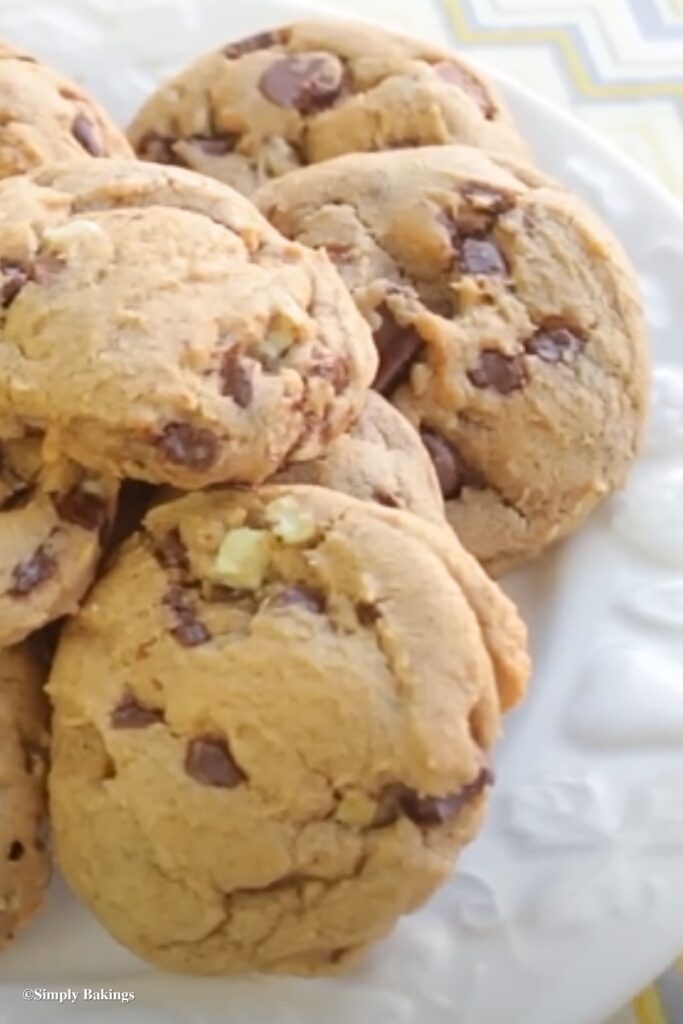
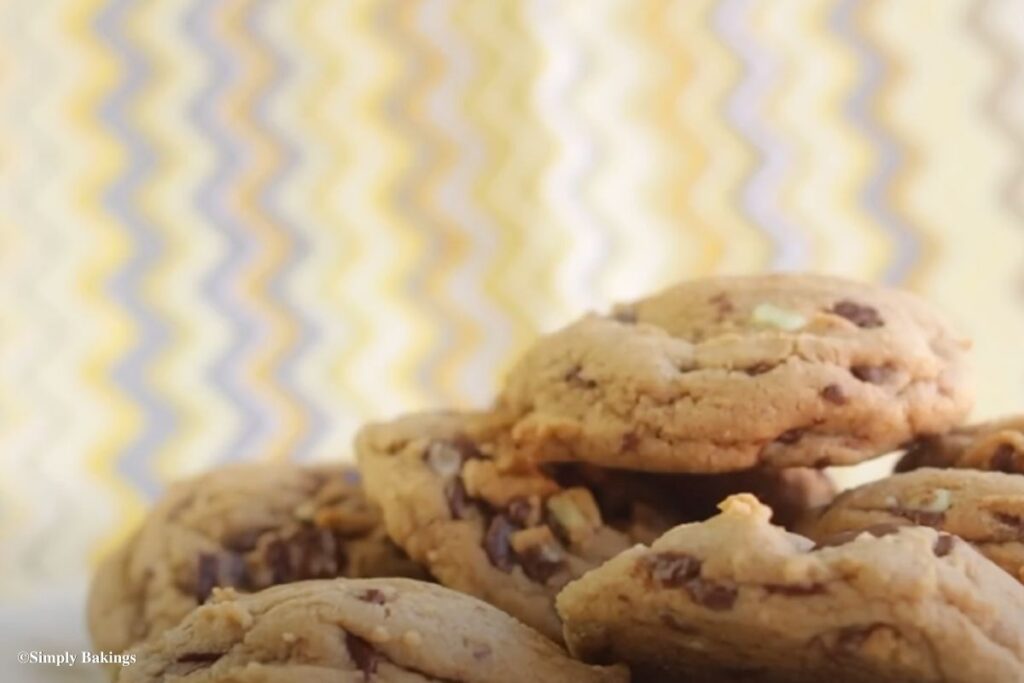
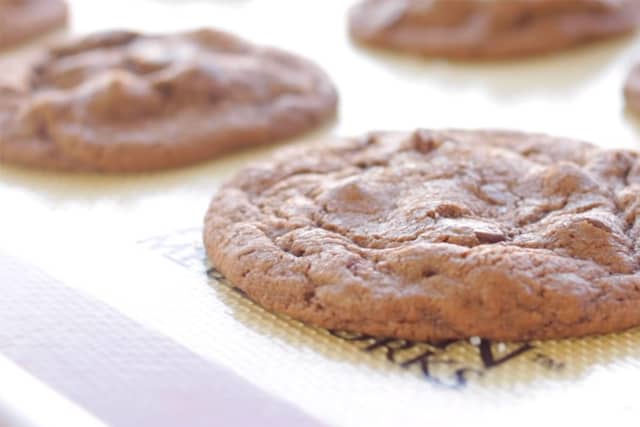
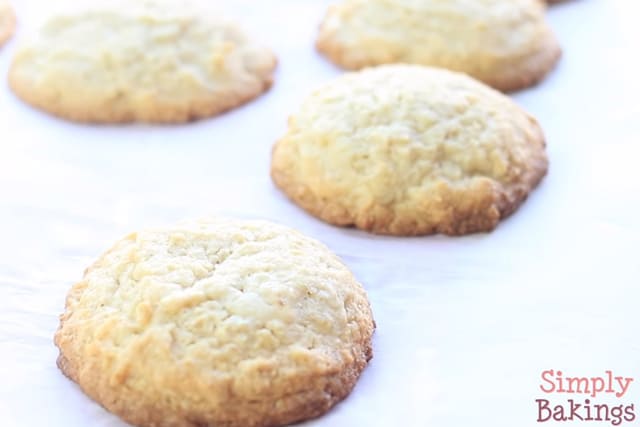
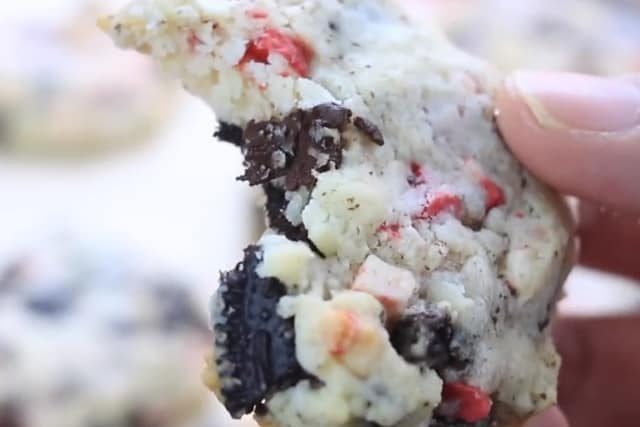
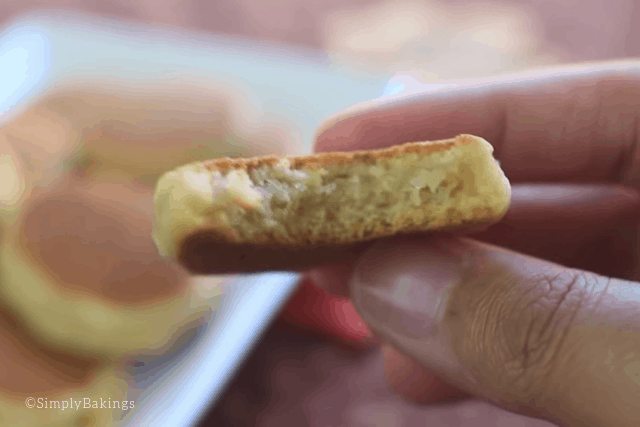
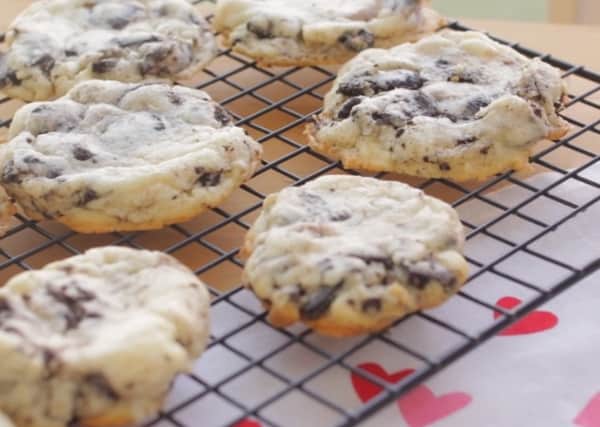
Cool them in a cookie wire rack for a few minutes and then serve!
Frequently Asked Questions
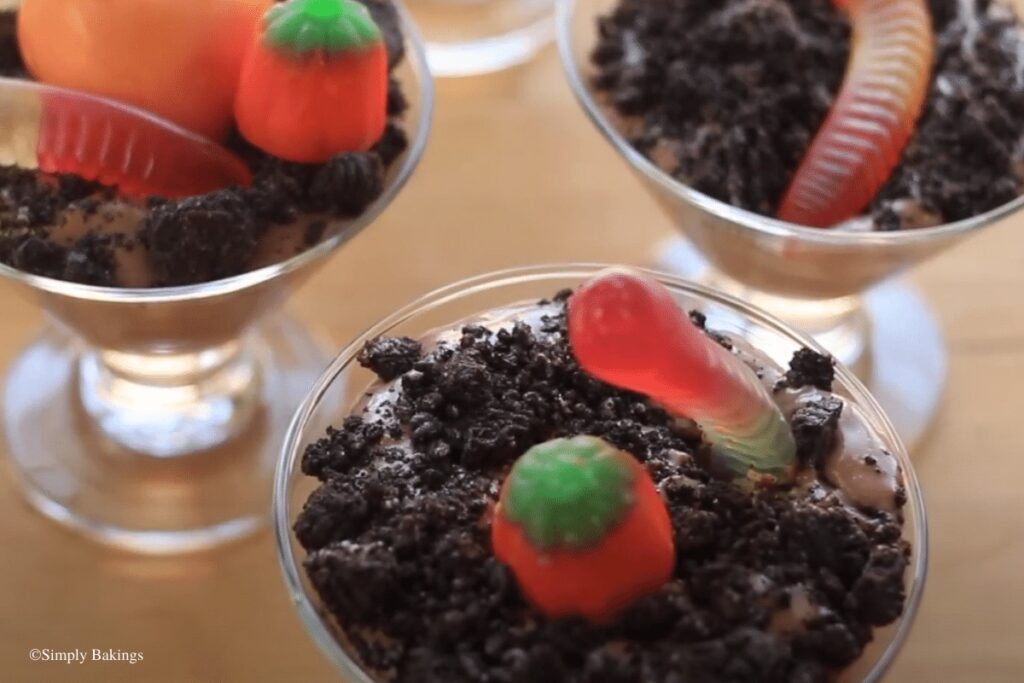
If you love this recipe, you're going to love my other oreo desserts:

Soft Oreo Cheesecake Cookies
Ingredients
- 4 oz cream cheese softened
- 8 tablespoons unsalted butter softened
- ¾ cup granulated sugar
- 1 cup + 2 tablespoons all purpose flour
- 12 Oreo cookies coarsely crushed
Instructions
- In a large bowl beat cream cheese, then add the butter and mix until well combined, about 1 minute.
- Add sugar and mix until light and fluffy.
- Gradually add flour and mix until well combined.
- Fold in oreos, then cover bowl with cling wrap and place in the refrigerator for 1 hour or best overnight.
- Preheat oven to 350F, line baking sheet with parchment paper or baking mat.
- Spoon cookies onto mat bake for 12-13 mins or until the edges are golden.
- Transfer the cookies to a cookie rack to cool then serve.
Notes
Watch The Recipe Video!

If you have been following me since I started my YouTube channel, you probably have noticed I have so many Oreo recipes! I LOVE Oreos and I cannot get enough of it! I don't know what's so addicting, but it's so good! Although I'm not a big fan of the cream, but I still eat it because it's so good!
Did you know Oreos are vegan?! I remember when my friend told me, I was vegan at the time and was struggling because I really missed eating cookies. I was camping and he came up for the day and handed me some Oreos and asked if I wanted some. I looked at him because he was also vegan and he says Oreo's are vegan. I didn't believe him at first, so we checked the ingredients and he was right! I was so so happy, I ate a lot of Oreos that day.
Recipe adapted by bakerbynature.com